写在前面
本次demo实现一个简单的银行转账功能,a向b转账过程中,如果无异常则,提交事务,a减去转出金额,b加上转入金额,否则事务回滚,a、b账户皆为初始状态。
ps:
SpringAOP事务控制的配置可以使用xml也可以使用注解,我这里用的是纯注解的方式
持久层用的是JdbcTemplate。
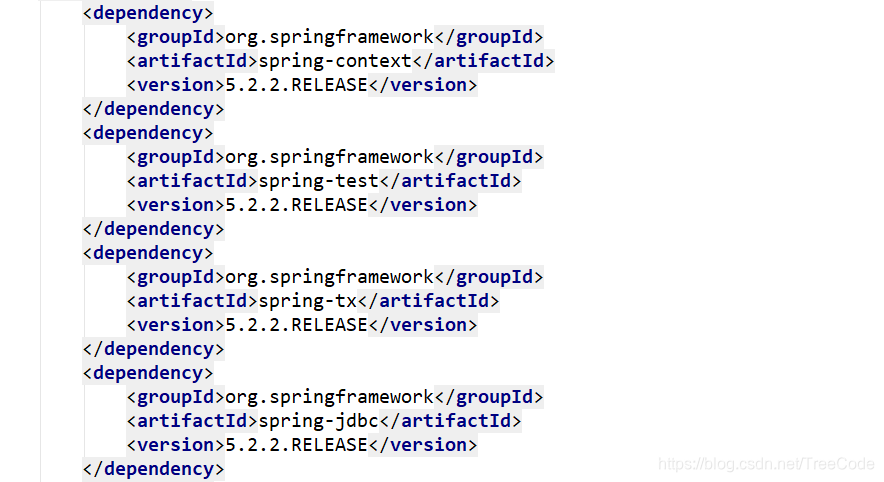
版本:
实现步骤
- 配置事务管理器
- 开启Spring对注解事务的支持
- 在需要事务支持的地方使用@Transcation注解,并配置属性。
代码:
数据源properties配置文件和业务层接口,持久层接口代码比较简单,我这里就先不给出来了,有需要的评论留言。
1.配置数据源
public class JdbcConfig {


    @Value("${jdbc.driver}")
    private String driver;
    @Value("${jdbc.url}")
    private String url;
    @Value("${jdbc.username}")
    private String username;
    @Value("${jdbc.password}")
    private String password;

    @Bean(name = "jdbcTemplate")
    public JdbcTemplate createJdbcTemplate(DataSource dataSource){


        return new JdbcTemplate(dataSource);
    }
    @Bean(name = "dataSource")
    public DataSource createDataSource(){


        try {


            ComboPooledDataSource ds = new ComboPooledDataSource();
            ds.setDriverClass(driver);
            ds.setJdbcUrl(url);
            ds.setUser(username);
            ds.setPassword(password);
            return ds;
        } catch (PropertyVetoException e) {


            throw new RuntimeException(e);
        }
    }
}
2.配置事务管理器
public class TransactionConfig {


    @Bean(name = "transactionManager")
    public PlatformTransactionManager createTransactionManager(DataSource dataSource){


        return new DataSourceTransactionManager(dataSource);
    }
}
3.配置主类
//@Configuration注解指定当前类为配置类,代替bean.xml工作
@Configuration
// ComponentScan注解代替<context:component-scan base-package="com.itlaoye"></context:component-scan>,实现扫描功能。
@ComponentScan("com.laoye")
@Import({

    JdbcConfig.class,TransactionConfig.class})
@PropertySource("classpath:jdbcConfig.properties")//导入数据源配置文件
@EnableTransactionManagement//开启Spring对注解事务的支持
public class SpringConfig {

    }//通过Import注解的方式引入,因此这里面的不用写内容
4.配置业务层
@Service("accountService")
@Transactional(propagation = Propagation.SUPPORTS,readOnly = true)//配置事务的属性
public class AccountServiceImpl implements IAccountService {


    @Autowired
    private IAccountDao accountDao;

@Transactional(propagation = Propagation.REQUIRED,readOnly = false)
    public void transfer(String sourceName, String targetName, Integer money) {


        try {


            Account source = accountDao.findAccountByName(sourceName);
            Account target = accountDao.findAccountByName(targetName);
            source.setBalance(source.getBalance() - money);
            target.setBalance(target.getBalance() + money);
            accountDao.updateAccount(source);
            System.out.println("进行转账操作");
            int i = 1/0;
            accountDao.updateAccount(target);
            System.out.println("操作结束");
        } catch (Exception e) {


            throw new RuntimeException("发生异常,事务回滚");
        }
    }
}
5.配置持久层
@Repository
public class AccountDaoImpl implements IAccountDao {


  @Autowired
  private JdbcTemplate jdbcTemplate;

  @Autowired
  private ConnectionUtil connectionUtil;

  public List<Account> findAllAccount() {


      return jdbcTemplate.query("select * from account", new BeanPropertyRowMapper<Account>(Account.class));
  }

  public void save(Account account) {


      jdbcTemplate.update("insert into account (name,balance) values(?,?)",
              account.getName(), account.getBalance());
  }

  public void updateAccount(Account account) {


      jdbcTemplate.update("update account set balance = ? where name = ?",
              account.getBalance(), account.getName());
  }

  public Account findAccountByName(String name) {


      List<Account> accounts = jdbcTemplate.query("select * from account where name = ?", new BeanPropertyRowMapper<Account>(Account.class), name);
      if (accounts.size() == 0 || accounts == null)
          return null;
      if (accounts.size() > 1)
          throw new RuntimeException("结果集不唯一");
      return accounts.get(0);
  }
}
6.测试
测试代码:
@RunWith(SpringJUnit4ClassRunner.class)
@ContextConfiguration(classes = SpringConfig.class)//使用注解的方式创建beans
public class TestDemo01 {


    @Autowired
    private IAccountService as;

    @Test
    public void testTransfer(){


        as.transfer("bbb","aaa",1);
    }
}
没有异常时
测试前数据:

无异常的测试结果:

测试后数据

有异常时
测试前数据
有异常的测试结果

测试后数据
综上完成纯注解方式的AOP事务增强,有问题的小伙伴可以在下面评论。