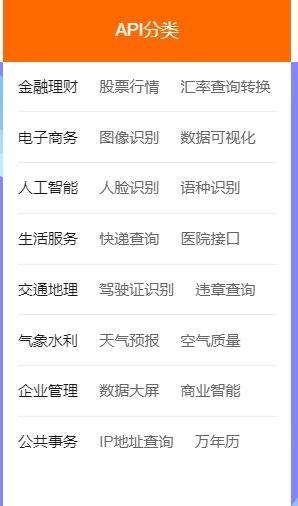
自学前端利用阿里云提供的数据学习
https://market.aliyun.com/data阿里云api
这里面有很多api可以免费调用
示例
自学过程中想做个新闻的网页,后台数据来源是阿里云提供的接口,本人使用Vue开发的,这里分享一下如何拿到后台数据。
使用阿里云市场中的api作为新闻数据来源
在真实的项目中,通常是使用自己服务器的api
阿里云:https://www.aliyun.com/
进入官网登录
新闻api:https://market.aliyun.com/products/57126001/cmapi011150.html
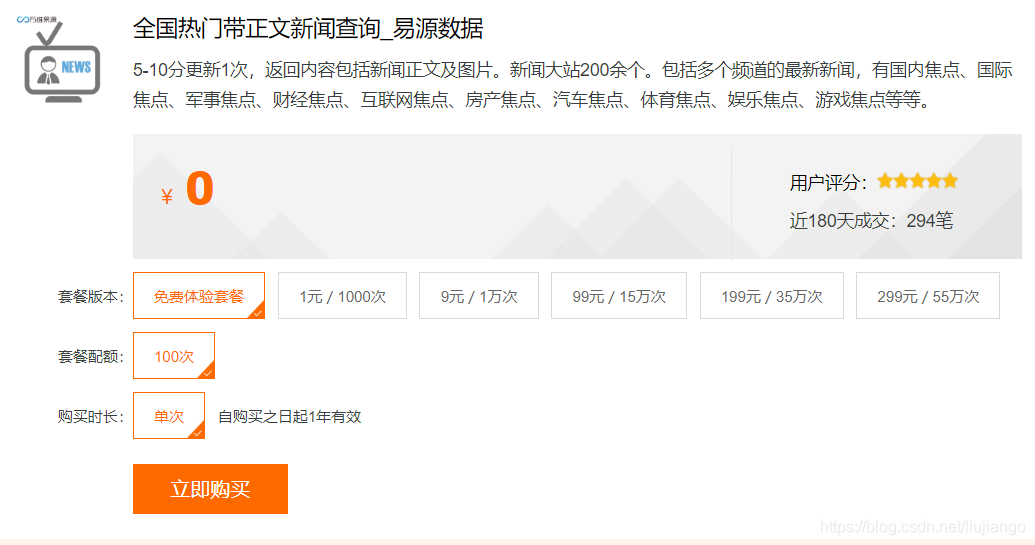
自己学习免费体验100次我是不够的,后来买了1块钱的1000次去学习。
Vue简单开发(渲染阿里云提供的数据)
使用axios库发送ajax请求,
这里把自己写的新闻组件放到这里:有 新闻列表的接口 和 新闻频道的接口。
连接服务器
import axios from "axios";
import {

    APPCODE} from "./config";

export async function getNewsChannels() {


  var resp = await axios.get("http://ali-news.showapi.com/channelList", {


    headers:{


      Authorization :`APPCODE ${

     APPCODE}`
    },
  });
  return resp.data.showapi_res_body.channelList;
}

export async function getNews(channelId,page=1,limit=10) {


  var resp = await axios.get("http://ali-news.showapi.com/newsList", {


    headers: {


      Authorization: `APPCODE ${

     APPCODE}`,
    },
    params:{


      channelId,
      page,
      maxResult:limit,
      needAllList:false,
      needContent: 1,
    },
  });
  return resp.data.showapi_res_body.pagebean;
}
config 配置的是的数据在阿里云拿。
可以在阿里云的控制台内查看;也可:首页=》云市场=》已购买的服务

拿到APPCODE 在配置中
export var APPCODE = "d11600ab13954952a36b399b21dede5d";
写入这句代码,配置的APPCODE按自己的写。这里他会判断次数,到了次数会拒绝访问。
接口的使用会有详细的介绍 调用地址写在服务端,如上图

具体的使用
这里是VUE组件的写法,调用的参数看API就好啦
这是新闻频道的代码:
<template>
  <div class="news-types" v-if="channels.length > 0">
    <div
      class="item"
      v-for="item in showChannels"
      :key="item.channelId"
      :class="{
        active: item.channelId === chooseId,
      }"
      @click="switchTo(item.channelId)"
    >
      <span class="name">{

    {

     item.name }}</span>
    </div>
    <a href="" @click.prevent="isCollapse = !isCollapse">{

    {


      isCollapse ? "展开" : "收起"
    }}</a>
  </div>
</template>

<script>
import {

     getNewsChannels } from "@/services/newsService";
export default {


  data() {


    return {


      channels: [],
      isCollapse: true, // 当前是否为折叠状态
      chooseId: null, // 当前选中的频道id
    };
  },
  computed: {


    // 需要显示的频道
    showChannels() {


      if (this.isCollapse) {


        // 折叠状态
        return this.channels.slice(0, 8); //折叠状态只需要显示8个数据
      } else {


        // 展开状态
        return this.channels;
      }
    },
  },
  async created() {


    var resp = await getNewsChannels();
    this.channels = resp;
    // 此时才有频道
    this.switchTo(this.channels[0].channelId);
  },
  methods: {


    // 切换chooseId
    switchTo(id) {


      this.chooseId = id;
      // 我知道我的频道被切换了,但,我不知道切换过后要干嘛?
      // 触发一个事件,让组件的使用者去搞定这件事
      this.$emit("change", this.chooseId);
    },
  },
};
</script>

<style scoped>
.news-types {


  margin: 30px 0;
  border-bottom: 1px solid #ccc;
  display: flex;
  flex-wrap: wrap;
  font-size: 14px;
  padding-bottom: 15px;
}
.item {


  padding: 10px 20px;
  border-radius: 5px;
  border: 1px solid #ccc;
  margin-right: 15px;
  margin: 7px 15px 7px 0;
  cursor: pointer;
  position: relative;
}
.item:hover {


  background: #ccc;
}
.item.active {


  background: #000;
  color: #fff;
}
.news-types a {


  align-self: flex-end;
  margin-bottom: 20px;
  color: #409eff;
}
</style>
这是新闻列表的代码:
<template>
  <div>
    <div v-for="item in news" :key="item.id" class="news-item-normal">
      <div class="image" v-if="item.havePic">
        <a :href="item.link" target="_blank">
          <img :src="item.imageurls[0].url" alt="" />
        </a>
      </div>
      <div class="words">
        <h2 class="title">
          <a :href="item.link" target="_blank">
            {

    {

     item.title }}
          </a>
        </h2>
        <div class="aside">
          <span>{

    {

     item.channelName }}</span>
          <span>来源:{

    {

     item.source }}</span>
          <span>发布日期:{

    {

     item.pubDate }}</span>
        </div>
        <div class="content">
          {

    {

     item.content }}
        </div>
      </div>
    </div>
  </div>
</template>

<script>
export default {


  props: {


    news: {


      type: Array,
      default: () => [],
    },
  },
};
</script>

<style scoped>
.news-item-normal {


  border-bottom: 1px solid #ccc;
  overflow: hidden;
  padding: 20px 0;
}
.image {


  width: 150px;
  height: 150px;
  border: 1px solid #ccc;
  border-radius: 4px;
  float: left;
  margin-right: 20px;
}
.image img {


  width: 100%;
  height: 100%;
  object-fit: contain;
}
.title {


  font-size: 1.5em;
}
.aside {


  font-size: 14px;
  color: #888;
}
.aside span {


  margin-right: 15px;
}

.content {


  max-height: 100px;
  overflow: hidden;
  line-height: 2;
}
</style>
看看效果吧:
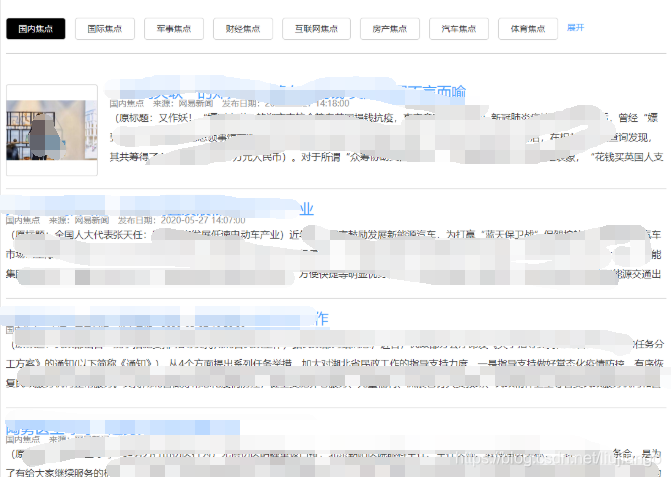
这样就把数据事实渲染出来啦!!