文章目录
零、学习目标
1、掌握Spring Boot单元测试实现
2、掌握Spring Boot热部署实现
3、熟悉Spring Boot基本原理
一、Spring Boot单元测试
(一)Spring Boot单元测试概述
- 在实际开发中,每当完成一个功能接口或业务方法的编写后,通常都会借助单元测试验证该功能是否正确。Spring Boot对项目的单元测试提供了很好的支持,在使用时,需要提前在项目的
pom.xml文件中添加spring-boot-starter-test测试依赖启动器,可以通过相关注解实现单元测试。
(二)对项目HelloWorld01进行单元测试

1、修改pom.xml文件,添加测试依赖启动器
<dependency>
    <groupId>org.springframework.boot</groupId>
    <artifactId>spring-boot-starter-test</artifactId>
    <scope>test</scope>
</dependency>

- 如果使用Spring Initializr方式构建Spring Boot项目,则会自动加入测试依赖启动器。大家可以查看上一讲我们创建的HelloWorld02项目。
2、创建测试类与测试方法
- 在src/test/java里创建net.hw.lesson01包

- 在net.hw.lesson01包里创建测试类TestHelloWorld01

- 给测试类添加测试启动器注解与Spring Boot单元测试注解
@RunWith(SpringRunner.class) //测试启动器,并加载Spring Boot测试注解
@SpringBootTest //标记Spring Boot单元测试,并加载applicationContext上下文环境

- 注入待测试类HelloWorld01Controller

- 创建测试方法contextLoad(),测试待测试类实例的方法
@Test
public void contextLoad(){
    // 获取控制器hello()方法的返回值
    String hello = helloWorld01Controller.hello();
    // 在控制台输出hello()方法的返回值
    System.out.println(hello);
}

-
运行测试方法contextLoad()

-
如果相判断待测试类的方法的返回值是不是指定的某个数据,那么我们可以利用Assert类的assertSame()方法来进行测试
-
修改测试方法contextLoad()

-
运行测试方法,查看结果

-
测试失败。抛出AssertionError(断言错误)。
-
期望值:
Hello World -
实际值:
<h3>Hello World</h3> -
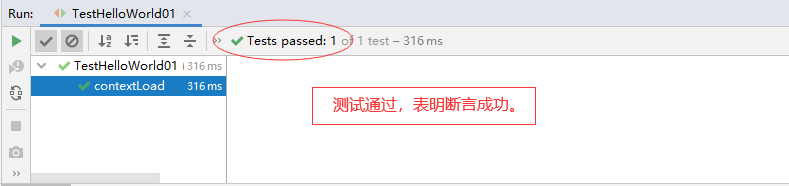
再修改测试方法contextLoad(),修改期望值

-
运行测试方法,查看结果
(三)对项目HelloWorld02进行单元测试

- 添加注解,注入待测试类,编写测试方法contextLoads()的测试代码

- 运行测试方法,查看结果
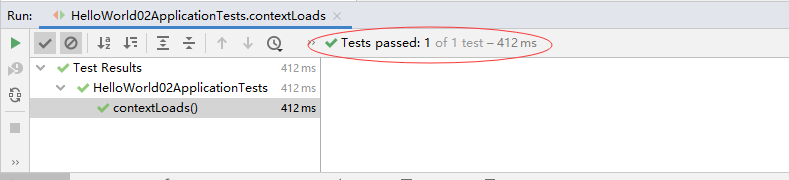
- 看到绿色勾勾,表明单元测试成功
二、Spring Boot热部署
(一)Spring Boot热部署概述
- 在开发过程中,通常会对一段业务代码不断地修改测试,在修改之后往往需要重启服务,有些服务需要加载很久才能启动成功,这种不必要的重复操作极大地降低了程序开发效率。为此,Spring Boot框架专门提供了进行热部署的依赖启动器,用于进行项目热部署,而无需手动重启项目。
(二)对项目HelloWorld01进行热部署

1、在pom.xml文件里添加开发工具依赖
<dependency>
    <groupId>org.springframework.boot</groupId>
    <artifactId>spring-boot-devtools</artifactId>
</dependency>

2、热部署配置
- 单击[file]->[settings]菜单项,打开设置对话框,找到
complier,勾选择build project automatically使用快速键

- 按组合键
Ctrl + Shift + Alt + /打开Maintenance对话框

- 单击Registry选项,在Registry对话框里,勾选
compiler.automake.allow.when.app.running,让程序在运行过程中也能自动编译

3、热部署测试
- 运行启动类HelloWorld01Application

- 在浏览器里访问
http://localhost:8080/hw01/hello

- 修改控制器HelloWorld01Controller代码

- 不用重新运行启动类HelloWorld01Application,刷新浏览器,查看结果
- 由此可见,采用了热部署,修改了程序,不用重启项目,系统会在程序运行过程中自动编译,于是可以看到修改后程序的运行结果。
三、Spring Boot原理分析
(一)Spring Boot依赖管理
1、spring-boot-starter-parent依赖
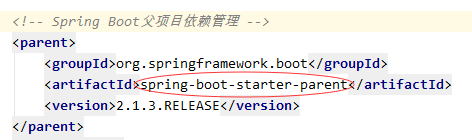
spring-boot-starter-parent是通过<properties>标签对一些常用技术框架的依赖文件进行了统一版本号管理。
2、spring-boot-starter-web依赖

spring-boot-starter-web依赖启动器的主要作用是提供Web开发场景所需的底层所有依赖文件,它对Web开发场景所需的依赖文件进行了统一管理。
(二)Spring Boot 自动配置
1、Spring Boot自动配置的实现
- Spring Boot应用的启动入口是@SpringBootApplication注解标注类中的main()方法
- @SpringBootApplication能够扫描Spring组件并自动配置Spring Boot
- @SpringBootApplication注解是一个组合注解,包含@SpringBootConfiguration、@EnableAutoConfiguration、@ComponentScan三个核心注解
2、@SpringBootApplication注解

(三)Spring Boot 执行流程
1、Spring Boot执行流程的两个步骤
- 初始化Spring Application实例

- 初始化Spring Boot 项目启动

2、Spring Boot执行流程的示意图
