
文章目录
一.前言
在Spring Cloud 之Eureka Server中,我们介绍了Eureka Server的搭建,今天我们来搭建Eureka Client。然后完成下面的案例
二.服务生产者
2.1 创建项目
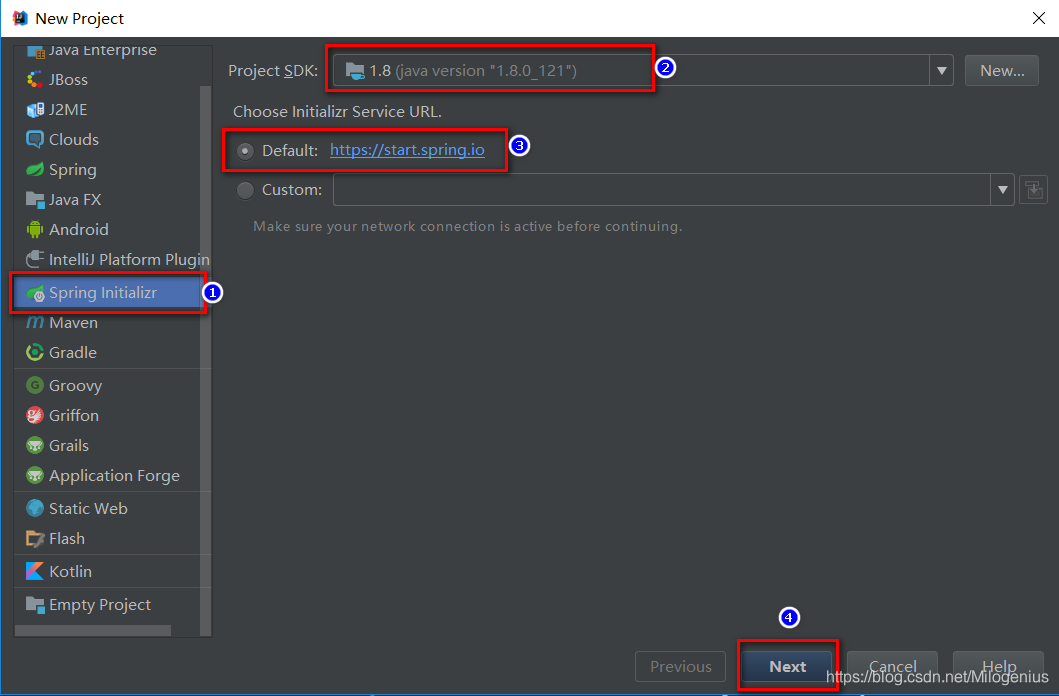
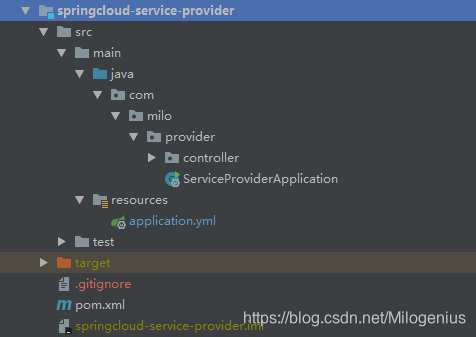
经过上面的一顿操作,我们已经成功创建项目,下面我们来看下项目结构
2.2 pom.xml文件
<?xml version="1.0" encoding="UTF-8"?>
<project xmlns="http://maven.apache.org/POM/4.0.0" xmlns:xsi="http://www.w3.org/2001/XMLSchema-instance"
         xsi:schemaLocation="http://maven.apache.org/POM/4.0.0 http://maven.apache.org/xsd/maven-4.0.0.xsd">
    <modelVersion>4.0.0</modelVersion>
    <parent>
        <groupId>com.milo</groupId>
        <artifactId>milgenius-springcloud</artifactId>
        <version>1.0.0</version>
    </parent>
    <groupId>com.milo</groupId>
    <artifactId>springcloud-service-provider</artifactId>
    <version>1.0.0</version>
    <name>springcloud-service-provider</name>
    <description>服务提供者</description>

    <properties>
        <java.version>1.8</java.version>
    </properties>

    <dependencies>

        <dependency>
            <groupId>org.springframework.boot</groupId>
            <artifactId>spring-boot-starter-web</artifactId>
        </dependency>

        <dependency>
            <groupId>org.springframework.cloud</groupId>
            <artifactId>spring-cloud-starter-netflix-eureka-client</artifactId>
        </dependency>

    </dependencies>


    <build>
        <plugins>
            <plugin>
                <groupId>org.springframework.boot</groupId>
                <artifactId>spring-boot-maven-plugin</artifactId>
            </plugin>
        </plugins>
    </build>

</project>
2.3 添加注解@EnableDiscoveryClient
package com.milo.provider;

import org.springframework.boot.SpringApplication;
import org.springframework.boot.autoconfigure.SpringBootApplication;
import org.springframework.cloud.client.discovery.EnableDiscoveryClient;


@SpringBootApplication
@EnableDiscoveryClient
public class ServiceProviderApplication {

    public static void main(String[] args) {
        SpringApplication.run(ServiceProviderApplication.class, args);
    }

}
2.4 配置文件
#服务命名
spring:
  application:
    name: service-provider

#服务注册中心地址
eureka:
  client:
    serviceUrl:
      defaultZone: http://localhost:8761/eureka/

server:
  port: 8762
2.5 模拟一个服务接口
/**
 * @author: Milogenius
 * @create: 2019-06-28 12:14
 * @description:
 **/
@RestController
@Slf4j
public class ProviderController {

    @Autowired
    private DiscoveryClient client;

    /**
     * 模拟一个服务接口
     * @return
     */
    @RequestMapping(value = "/hello",method = RequestMethod.GET)
    public String index(){
        List<ServiceInstance> instances = client.getInstances("service-provider");
        ServiceInstance instance = instances.get(0);
        log.info("hello, host:" + instance.getHost()+",service_id:"+instance.getServiceId());
        return "hello world";
    }
}
三.服务消费者
3.1 创建项目
经过上面的一顿操作,我们已经成功创建项目,下面我们来看下项目结构

3.2 pom.xml文件
<?xml version="1.0" encoding="UTF-8"?>
<project xmlns="http://maven.apache.org/POM/4.0.0" xmlns:xsi="http://www.w3.org/2001/XMLSchema-instance"
         xsi:schemaLocation="http://maven.apache.org/POM/4.0.0 http://maven.apache.org/xsd/maven-4.0.0.xsd">
    <modelVersion>4.0.0</modelVersion>
    <parent>
        <groupId>com.milo</groupId>
        <artifactId>milgenius-springcloud</artifactId>
        <version>1.0.0</version>
    </parent>
    <groupId>com.milo</groupId>
    <artifactId>springcloud-service-consumer</artifactId>
    <version>1.0.0</version>
    <name>springcloud-service-consumer</name>
    <description>服务消费者</description>

    <properties>
        <java.version>1.8</java.version>
        <spring-cloud.version>Greenwich.SR1</spring-cloud.version>
    </properties>

    <dependencies>
        <dependency>
            <groupId>org.springframework.boot</groupId>
            <artifactId>spring-boot-starter-web</artifactId>
        </dependency>

        <dependency>
            <groupId>org.springframework.cloud</groupId>
            <artifactId>spring-cloud-starter-netflix-eureka-client</artifactId>
        </dependency>

        <dependency>
            <groupId>org.springframework.boot</groupId>
            <artifactId>spring-boot-starter-test</artifactId>
            <scope>test</scope>
        </dependency>
    </dependencies>

    <build>
        <plugins>
            <plugin>
                <groupId>org.springframework.boot</groupId>
                <artifactId>spring-boot-maven-plugin</artifactId>
            </plugin>
        </plugins>
    </build>

</project>
3.3 添加注解@EnableDiscoveryClient
package com.milo.consumer;

import org.springframework.boot.SpringApplication;
import org.springframework.boot.autoconfigure.SpringBootApplication;
import org.springframework.cloud.client.discovery.EnableDiscoveryClient;
import org.springframework.context.annotation.Bean;
import org.springframework.web.client.RestTemplate;

@SpringBootApplication
@EnableDiscoveryClient
public class ServiceConsumerApplication {

    public static void main(String[] args) {
        SpringApplication.run(ServiceConsumerApplication.class, args);
    }

    @Bean
     RestTemplate restTemplate(){
        return new RestTemplate();
    }
}
3.4 配置文件
eureka:
  client:
  serviceUrl:
    defaultZone: http://localhost:8761/eureka/

server:
  port: 8764

spring:
  application:
    name: service-consumer
3.5 模拟一个业务
/**
 * @author: Milogenius
 * @create: 2019-06-28 13:45
 * @description:
 **/
@RestController
public class ConsumerController {

    @Autowired
    private IConsumerService consumerService;
    @RequestMapping(value = "/hello",method = RequestMethod.GET)
    public String index(@RequestParam String name){
        return  consumerService.hello(name);
    }
}
/**
 * @author: Milogenius
 * @create: 2019-06-28 13:48
 * @description:
 **/
public interface IConsumerService {

    String hello(String name);
}
/**
 * @author: Milogenius
 * @create: 2019-06-28 13:49
 * @description:
 **/
@Service
public class ConsumerServiceImpl implements IConsumerService {

    @Autowired
    RestTemplate restTemplate;
    @Override
    public String hello(String name) {
        return restTemplate.getForObject("http://SERVICE-PROVIDER:8762/hello?name="+name,String.class);
    }
}
四.服务间调用
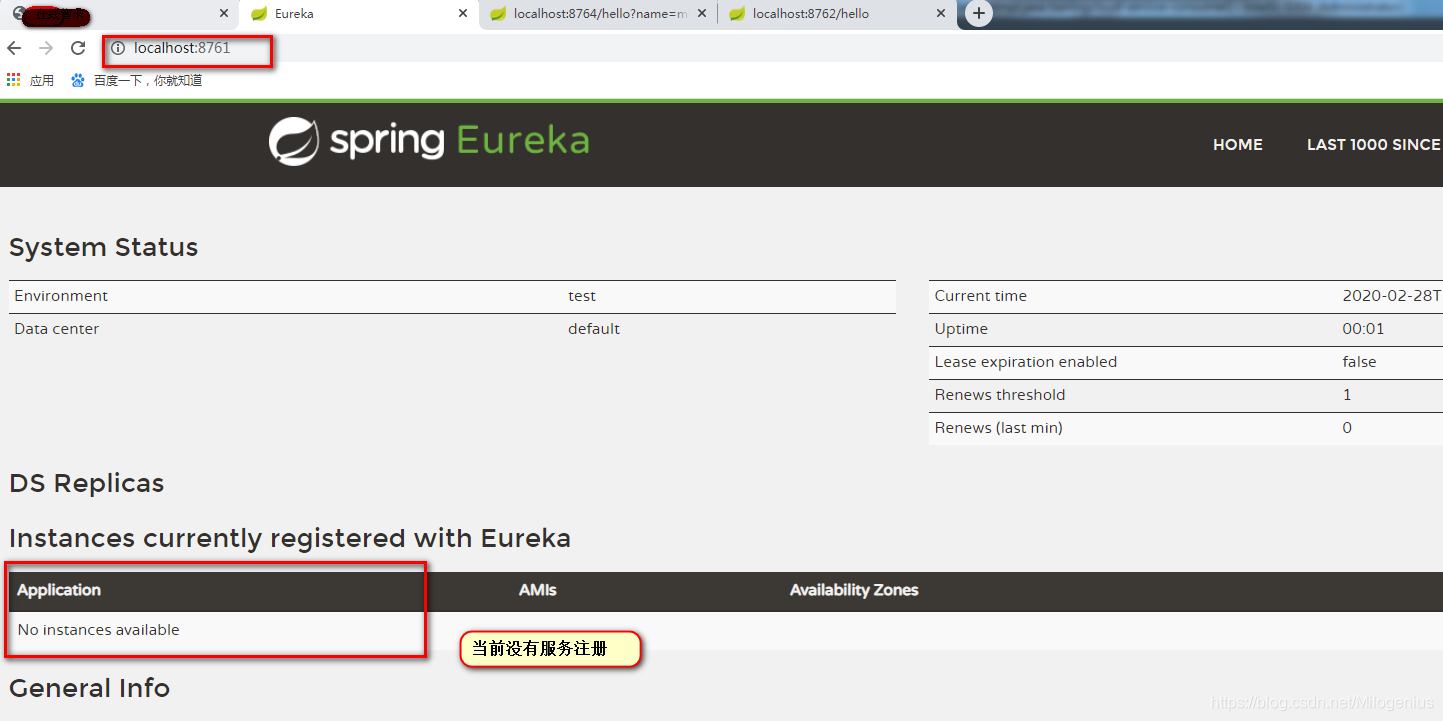
首次我们启动springcloud-eureka-serverEureka Server

浏览器访问http://localhost:8761/
接着我们启动springcloud-service-provider 服务提供者Eureka Client
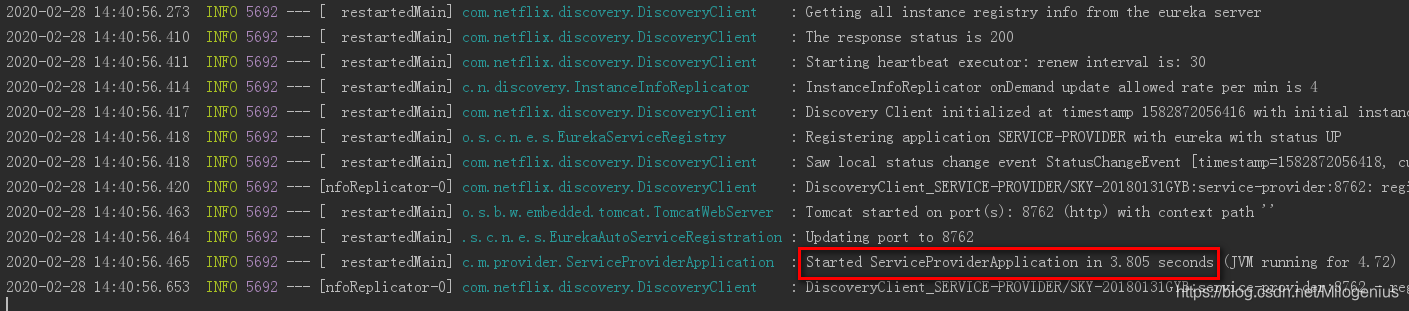
浏览器访问http://localhost:8761/

最后,我们启动springcloud-service-consumer服务消费者Eureka Client
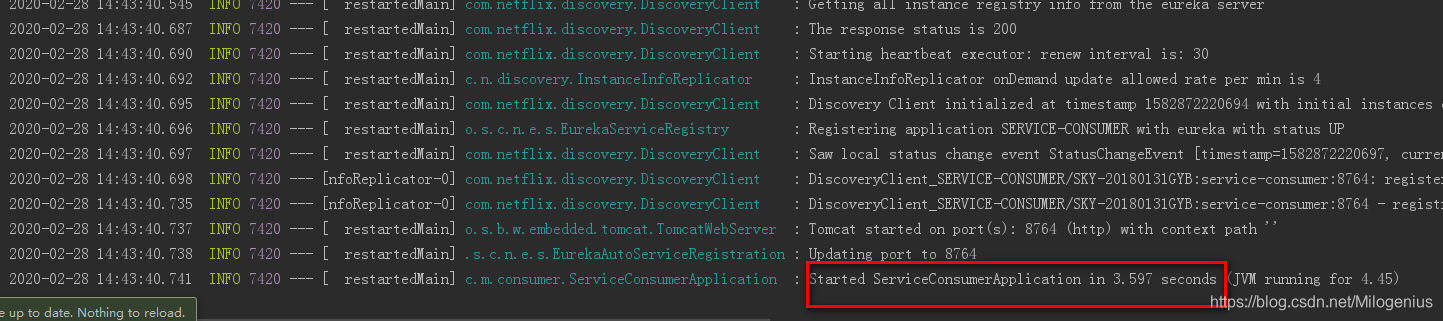
浏览器访问http://localhost:8761/

至此,我们完成了项目的搭建和服务的注册,接下来我们测试服务间的调用;
在我们大家服务消费者项目时候,我们模拟了一个业务,在ConsumerServiceImpl类的hello方法中我们模拟调用了另外一个服务;
浏览器访问http://localhost:8764/hello?name=milogenius
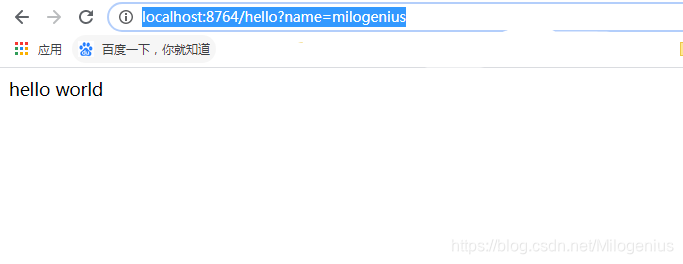
我们发现,页面成功响应helloworld;现在我们去服务生产者看一下后台日志;

五.结论
经过上面的学习,我们完成了Spring Cloud之Eureka的服务的注册和发现,并完成服务之间的调用;