SpringBoot整合Swagger2
前后端分离项目中,后端程序员和前端程序员都是安装文档开发和调用接口的。这时接口的维护显得至关重要必须实时更新开发好的接口,以供前端程序员调用。Swagger2就是为了解决此类问题而出现的
1. 创建项目
导入依赖
<dependency>
    <groupId>io.springfox</groupId>
    <artifactId>springfox-swagger2</artifactId>
    <version>2.9.2</version>
</dependency>
<dependency>
    <groupId>io.springfox</groupId>
    <artifactId>springfox-swagger-ui</artifactId>
    <version>2.9.2</version>
</dependency>
<dependency>
    <groupId>org.springframework.boot</groupId>
    <artifactId>spring-boot-starter-web</artifactId>
</dependency>
2. Swagger2配置
@Configuration
@EnableSwagger2
public class Swagger2Config {
@Bean
Docket docket(){
Docket docket = new Docket(DocumentationType.SWAGGER_2);
docket.select()
//指定包下的类生成接口文档
.apis(RequestHandlerSelectors.basePackage("com.fern.swagger2.controller"))
//哪些接口需要被生成文档
.paths(PathSelectors.any())
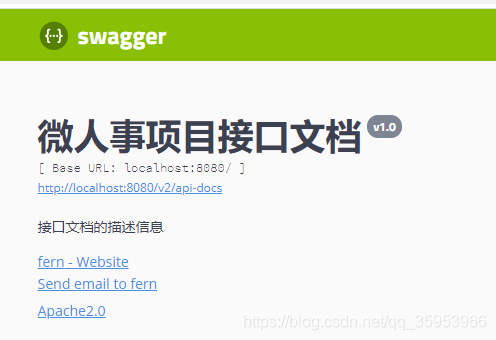
.build().apiInfo(new ApiInfoBuilder()
.description("接口文档的描述信息")
.title("微人事项目接口文档")
.contact(new Contact("fern","https:www.hi-fern.com","[email protected]"))
.version("v1.0")
.license("Apache2.0")
.licenseUrl("www.apache.com")
.build());
return docket;
}
}
上面代码如下几点叙述:
@Configuration表示这是一个配置类@EnableSwagger2表示启动Swagger2license使用的协议license协议的网址
启动项目
出现下图说明配置成功:
3. 创建Controller接口
- User类
public class User {

    private String name;

    private String address;

    public String getName() {
        return name;
    }

    public void setName(String name) {
        this.name = name;
    }

    public String getAddress() {
        return address;
    }

    public void setAddress(String address) {
        this.address = address;
    }
}
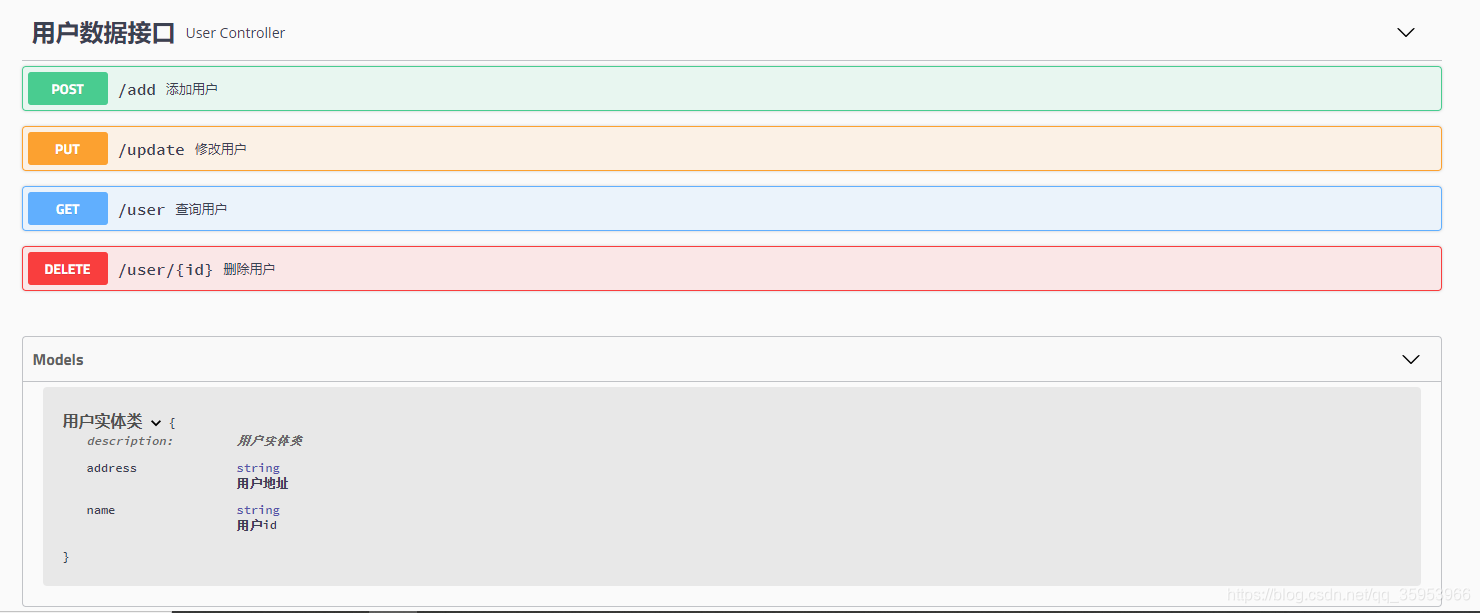
- UserController
@RestController
@Api(tags = "用户数据接口")
public class UserController {
@ApiOperation(value = "查询用户",notes = "根据用户ID查询用户")
@ApiImplicitParam(name = "id",value = "用户Id",required = true,defaultValue = "99")
@GetMapping("/user")
public User getUserById(@RequestParam(required = true) Integer id) {
User user = new User();
user.setName("z3");
user.setAddress("北京");
return user;
}
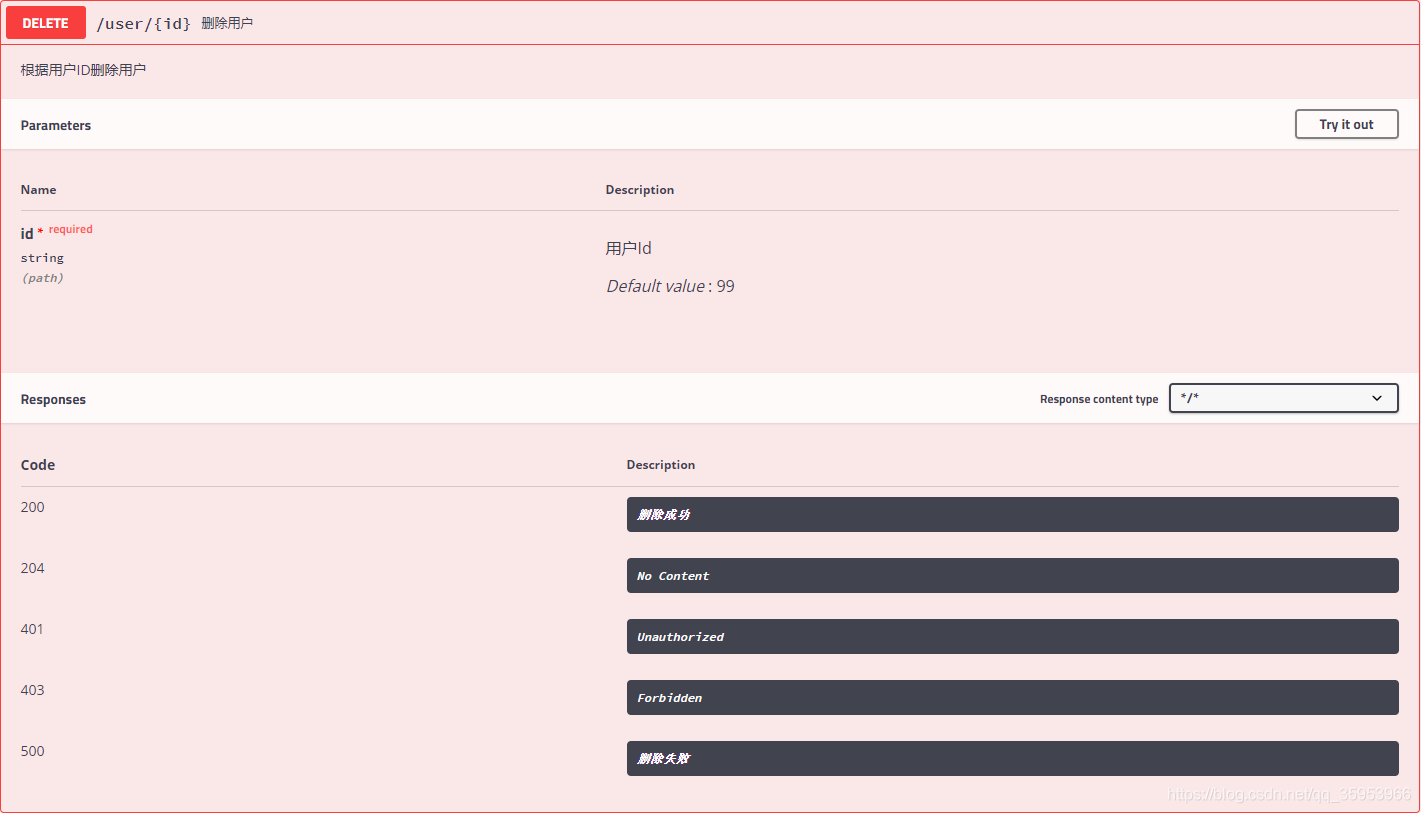
@ApiOperation(value = "删除用户", notes = "根据用户ID删除用户")
@ApiImplicitParam(name = "id", value = "用户Id", required = true, defaultValue = "99")
@ApiResponses({
@ApiResponse(code = 200, message = "删除成功"),
@ApiResponse(code = 500, message = "删除失败")
})
@DeleteMapping("/user/{id}")
public void delUserById(@PathVariable Integer id) {
System.out.println("delUserById:" + id);
}
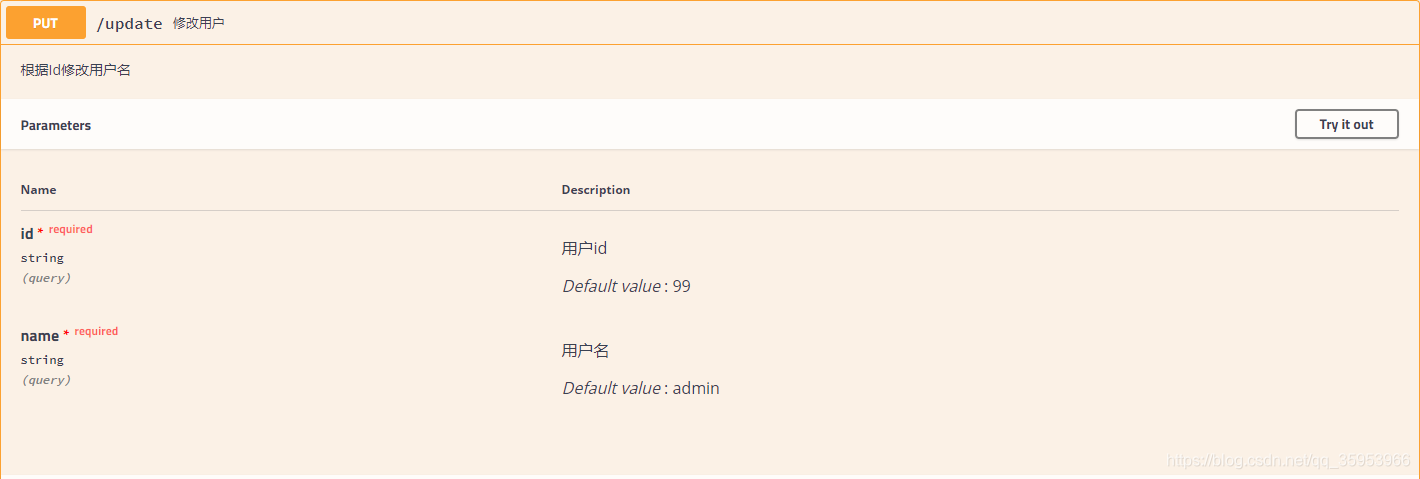
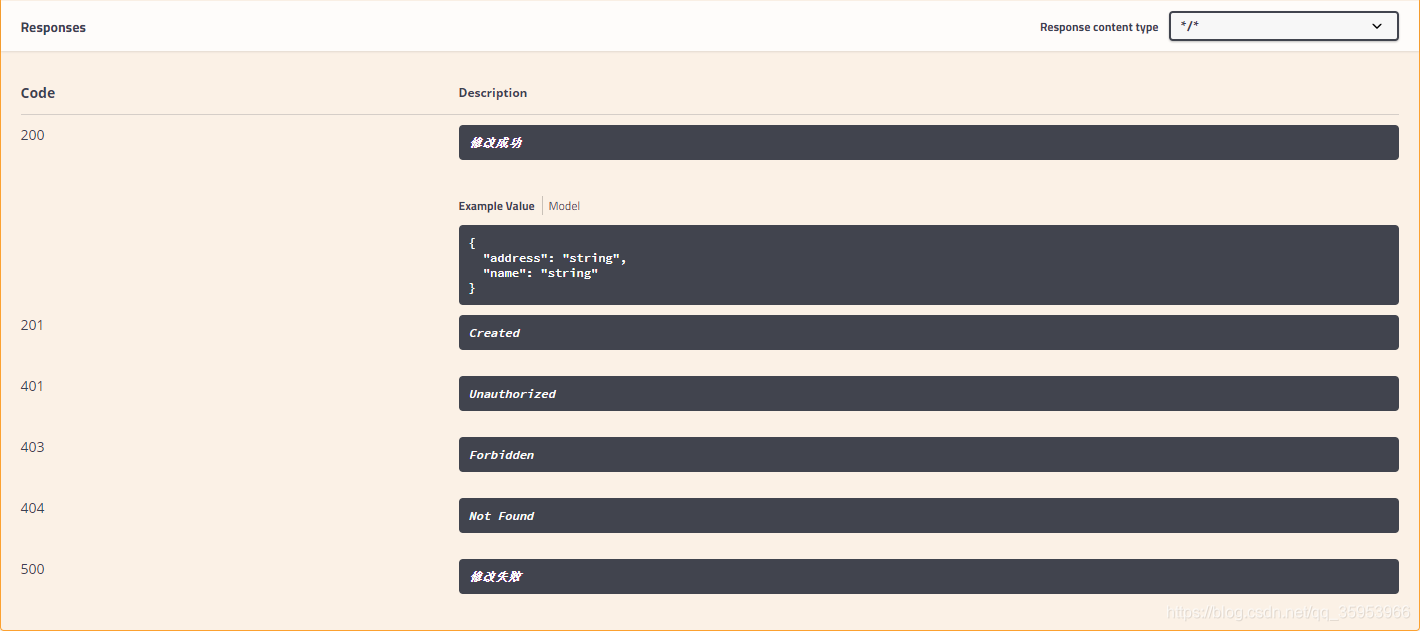
@ApiOperation(value = "修改用户",notes = "根据Id修改用户名")
@ApiImplicitParams({
@ApiImplicitParam(name = "name",value = "用户名",required = true,defaultValue = "admin"),
@ApiImplicitParam(name = "id",value = "用户id",required = true,defaultValue = "99")
})
@ApiResponses({
@ApiResponse(code = 200, message = "修改成功"),
@ApiResponse(code = 500, message = "修改失败")
})
@PutMapping("/update")
public User updateUserById(@RequestParam(required = true) String name,@RequestParam(required = true) Integer id) {
User user = new User();
user.setName(name);
user.setAddress("日本");
return user;
}
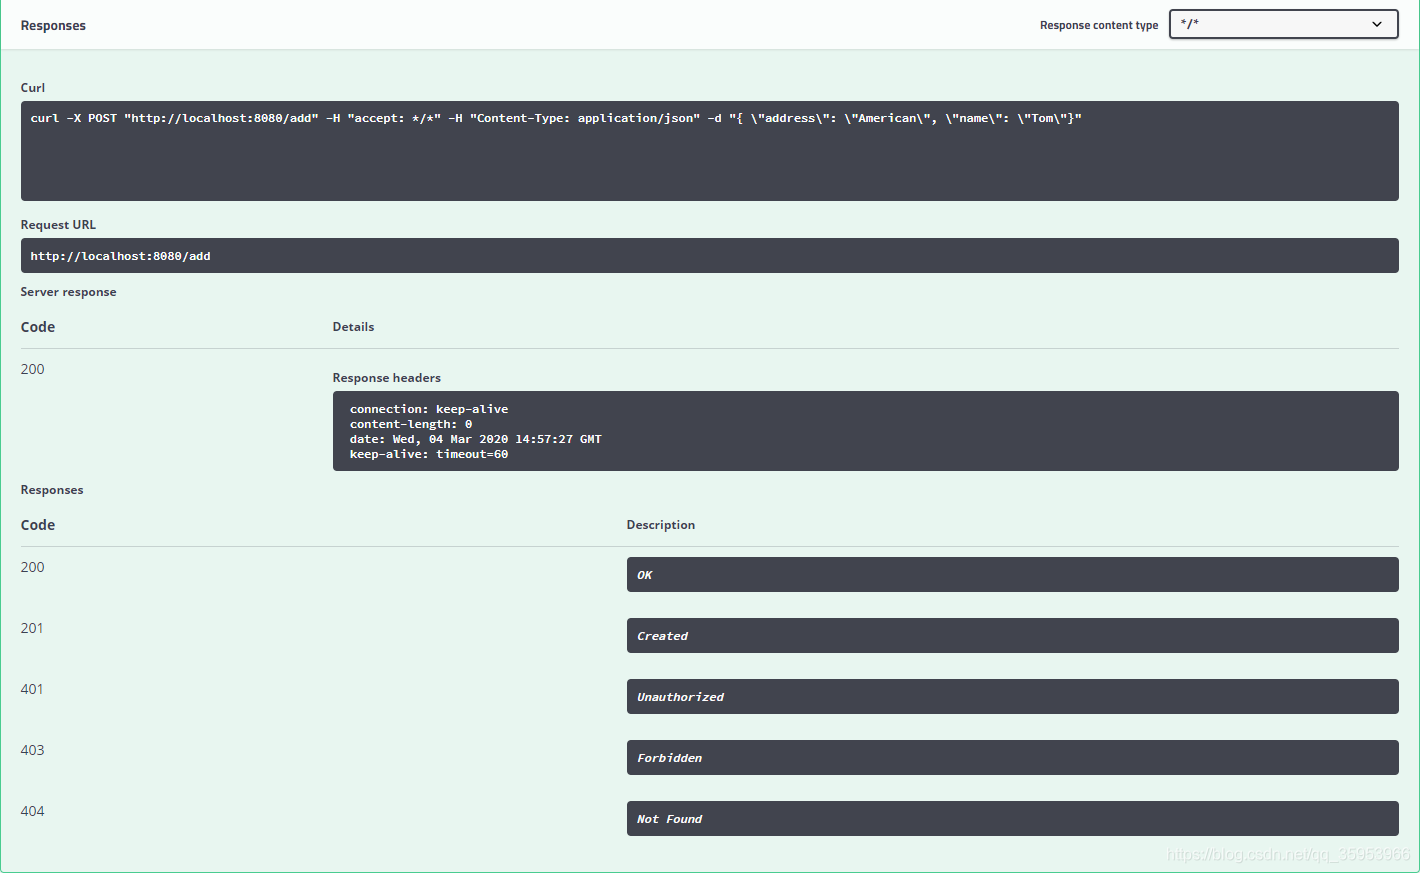
@ApiOperation(value = "添加用户",notes = "根据用户传入的对象添加用户")
@PostMapping("/add")
//@RequestBoby表示参数以json方式传递进来
public void addUser(@RequestBody User user) {
System.out.println("添加成功");
}
}
上面的代码的简述:
@Api注解用来标记当前Controller的功能@ApiOperation注解用来标记方法的作用@ApiImplicitParam注解用来描述方法中的参数,以及该参数的含义。required表示Swagger生成的文档上描述该参数为必填选项(注:这个必填只是文档生成的接口规范真实传值并没实现必填功),defaultValue默认值- 如果有多个参数,则需要使用多个
@ApiImplicitParam注解来描述,多个@ApiImplicitParam注解需要放在一个@ApiImplicitParams注解中。 @ApiResponse定义响应码的中文描述,定义多个时和@ApiImplicitParams一样@ApiIgnore用来忽略方法、类、参数被生成文档- 如果参数是一个对象(例如上文的更新接口),对于参数的描述也可以放在实体类中。例如下面一段代码:
@ApiModel(value = "用户实体类", description = "用户实体类")
public class User {
    @ApiModelProperty(value = "用户id")
    private String name;
    @ApiModelProperty(value = "用户地址")
    private String address;

    public String getName() {
        return name;
    }

    public void setName(String name) {
        this.name = name;
    }

    public String getAddress() {
        return address;
    }

    public void setAddress(String address) {
        this.address = address;
    }
}
4. 配置好启动项目看效果
4.1 GET

点击Try it out 可以进行接口测试
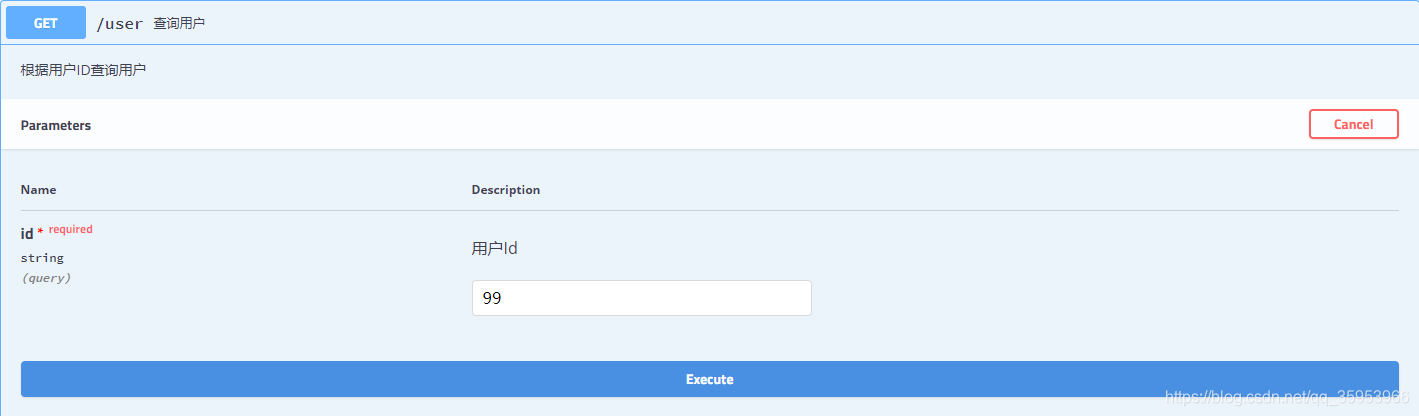
有三种方式传参:
- query表示key-value形式传参。例如
localhost:8080/user?id=99 - path表示以路径的方式。例如
localhost:8080/user/1 - body表示以流的方式。json
4.2 PUT
4.3 DELETE
4.4 POST

5. 在SpringSecurity中配置
如果我们的Spring Boot项目中集成了Spring Security,那么如果不做额外配置,Swagger2文档可能会被拦截,此时只需要在Spring Security的配置类中重写configure方法,添加如下过滤即可:
@Override
public void configure(WebSecurity web) throws Exception {
    web.ignoring()
            .antMatchers("/swagger-ui.html")
            .antMatchers("/v2/**")
            .antMatchers("/swagger-resources/**");
}
最后
该文章是学习【江南一点雨】博主写的。