调研过文本定位的大多看过caffe版的https://github.com/tianzhi0549/CTPN,一直觉得这个效果比较好,偶然发现TensorFlow版本的ctpn,欣喜同时打算跑一跑,可以在这个基础上做迁移学习了。
- 项目地址
https://github.com/eragonruan/text-detection-ctpn
项目包含训练好的模型,很给力。
- 环境
requirements: tensorflow1.3, cython0.24, opencv-python, easydict,(recommend to install Anaconda)
- 安装
cpu:
首先按照下面3个步骤进行修改
To use cpu only, I follow the author's instruction and make the following modifications:
(1) Set "USE_GPU_NMS " in the file ./ctpn/text.yml as "False"
(2) Set the "__C.USE_GPU_NMS" in the file ./lib/fast_rcnn/config.py as "False";
(3) Comment out the line "from lib.utils.gpu_nms import gpu_nms" in the file ./lib/fast_rcnn/nms_wrapper.py;
其次写个setup.py如下:
from Cython.Build import cythonize
import sys
import numpy as np
from distutils.core import setup
from distutils.extension import Extension

try:
    numpy_include = np.get_include()
    print np.get_include()
except AttributeError:
    numpy_include = np.get_numpy_include()
ext_modules = [
    Extension(
        'bbox',
        sources=['bbox.c'],
        include_dirs = [numpy_include]
    ),
    Extension(
        'cython_nms',
        include_dirs = [numpy_include],
        sources=['cython_nms.c'],
    )
]
setup(
    ext_modules=ext_modules
)
可以在text-detection-ctpn/lib/utils下创建build文件夹,运行python setup.py build,会在build文件夹下生成*.so文件,将其复制到text-detection-ctpn/lib/utils下即可。
也可以参见官网https://github.com/eragonruan/text-detection-ctpn/issues/43解决。
gpu:
cd lib/utils
chmod +x make.sh
./make.sh- 项目demo
运行:text-detection-ctpn/ctpn/demo.py
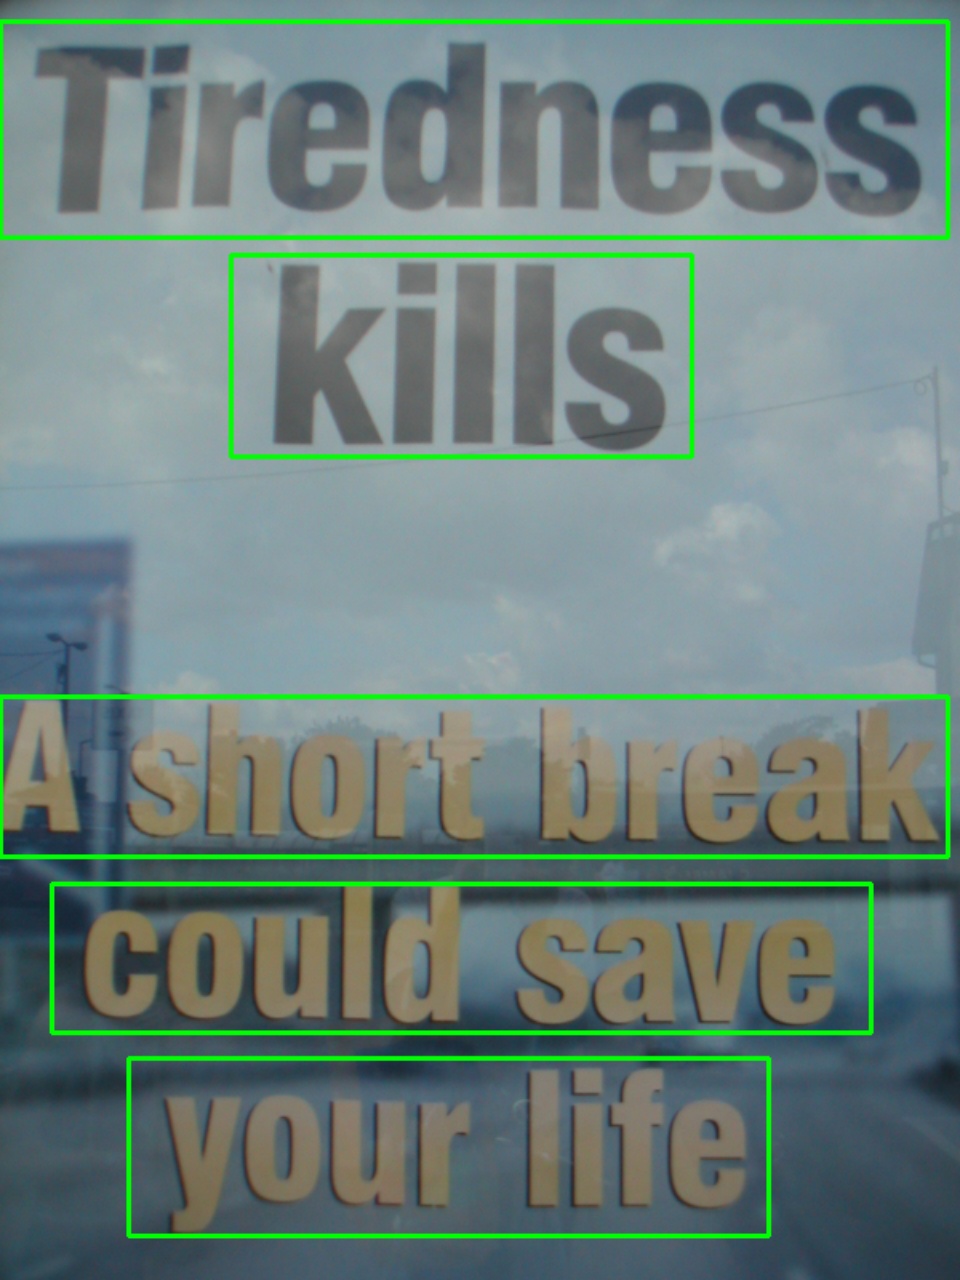
效果
Demo for /Users/jiafeimao/github/text-detection-ctpn/data/demo/009.jpg
Detection took 5.140s for 5 object proposals