前言
Cobbler是一个快速网络安装linux的服务,而且在经过调整也可以支持网络安装windows。该工具使用python开发,小巧轻便,使用简单的命令即可完成PXE网络安装环境的配置,同时还可以管理DHCP、DNS、以及yum仓库、构造系统ISO镜像。
◆ Cobbler支持命令行管理,web界面管理,还提供了API接口,可以方便二次开发使用。
◆ Cobbler客户端Koan支持虚拟机安装和操作系统重新安装,使重装系统更便捷。
◆ Cobbler集成的服务:
● PXE 服务
● DHCP服务管理
● DNS服务管理
● HTTP服务管理
● TFTP服务管理
● Kickstart服务
● yum仓库管理
● 电源管理
一:环境准备与详细安装过程
1.1:环境准备
● 使用VMware软件演示
● 安装CentOS 7操作系统当做服务端
● 新建CentOS 7虚拟机当做客户端,留作安装系统
1.2:安装信息库软件包
● Windows宿主机下载了这个软件包
● 使用共享挂载,安装信息库软件包
[root@localhost ~]# smbclient -L //192.168.100.3/
Enter SAMBA\root's password:

        Sharename       Type      Comment
        ---------       ----      -------
        ADMIN$          Disk      远程管理
        C$              Disk      默认共享
        ccc             Disk      '//宿主机共享的文件夹'
...省略内容
[root@localhost ~]# mount.cifs //192.168.100.3/cccc /opt
Password for root@//192.168.100.3/cccc:
[root@localhost ~]# df -hT
Filesystem           Type      Size  Used Avail Use% Mounted on
/dev/sda2            xfs        20G  3.5G   17G  18% /
...省略内容
//192.168.100.3/cccc cifs      444G   31G  413G   7% /opt
[root@localhost ~]# cd /opt
[root@localhost ~]# ls
epel-release-latest-7.noarch.rpm
[root@localhost opt]# rpm -ivh epel-release-latest-7.noarch.rpm
warning: epel-release-latest-7.noarch.rpm: Header V3 RSA/SHA256 Signature, key ID 352c64e5: NOKEY
Preparing...                          ################################# [100%]
Updating / installing...
   1:epel-release-7-11                ################################# [100%]
[root@localhost opt]# cd
[root@localhost ~]# umount /opt		'解挂载'
1.3:安装Cobbler环境
[root@localhost ~]# mount /dev/sr0 /mnt		'需要保证虚拟机已经连接镜像'
mount: /dev/sr0 is write-protected, mounting read-only
[root@localhost ~]# df -hT
Filesystem     Type      Size  Used Avail Use% Mounted on
/dev/sda2      xfs        20G  3.5G   17G  18% /
...省略内容
/dev/sr0       iso9660   4.3G  4.3G     0 100% /mnt
[root@localhost ~]# cd /etc/yum.repos.d/
[root@localhost yum.repos.d]# ls
CentOS-Base.repo       CentOS-fasttrack.repo  CentOS-Vault.repo
CentOS-CR.repo         CentOS-Media.repo      epel.repo
CentOS-Debuginfo.repo  CentOS-Sources.repo    epel-testing.repo
[root@localhost yum.repos.d]# yum install cobbler cobbler-web dhcp tftp-server pykickstart httpd rsync xinetd -y	'这些服务环境软件包都要安装'
1.4:安装步骤
1.4.1:大致思路
● cobbler服务:自动部署装机
● dhcp:自动分配IP地址使新机器和服务器在同一个段落互联互通
● tftp:压缩内核,引导程序(速度快)
● ftp:iso镜像文件
● CentOS 7设置
systemctl start network.service
systemctl enable httpd
1.4.2:cobbler工具配置(有工具可以忽略)
● ifconfig工具
yum install net-tools -y
nslookup 127.0.0.1 | grep server '//查看本机自动获取IP中的DNS地址'
● mount.cifs工具
yum install cifs-utils -y '//挂载宿主机共享文件夹'
1.4.3:正式部署安装
yum install cobbler cobbler-web dhcp tftp-server pykickstart httpd rsync xinetd -y
systemctl restart httpd.service
systemctl start cobblerd.service
cobbler check
● 接下来开始搞配置文件
vim /etc/cobbler/settings     '//修改配置文件'
next_server:192.168.197.175    '//指定PXE位置'
server:192.168.197.175
manage_dhcp:1   '//管理dhcp启动'
systemctl stop firewalld.service   '//关闭防火墙'
setenforce 0	'//关闭增强安全性功能'
● cobbler check 检查需要优化的内容
'cobbler check 检查的结果进行优化'
wq设置密码
openssl passwd -1 -salt 'abner' 'abner' '//盐值加密'
'//加密结果'
继续回settings文件中
default_password_crypted:“加密结果”
保存退出settings文件
cobbler get-loaders		'//下载引导操作系统文件'
systemctl start rsyncd.service 	'//启动服务'
vim /etc/xinete.d/tftp
disable = no 	'//启动'
systemctl restart xinetd.service 	'//重启服务'
vim /etc/cobbler/dhcp.template		'//cobbler控制的dhcp服务模板'
subnet 192.168.197.0 netmask 255.255.255.0 {
    option routers			    192.168.197.1;	'//修改网关'
    option domain-name-servers   192.168.197.2;	 '//修改DNS'
    option subnet-mask			255.255.255.0;
    range dynamic-bootp			192.168.197.100 192.168.197.200; 	'//修改地址池'
cobbler sync	'//帮助同步生成DHCP配置文件'
systemctl restart dhcpd.service 	'//启动dhcpd服务'
'//以下三条可以忽略不去处理'
1:SELinux is enabled. Please review the following wiki page for details on ensuring cobbler works correctly in your SELinux environment: https://github.com/cobbler/cobbler/wiki/Selinux
2 : debmirror package is not installed, it will be required to manage debian deployments and repositories
3 : fencing tools were not found, and are required to use the (optional) power management features. install cman or fence-agents to use them
● 导入系统镜像步骤
/var/log/cobbler/cobbler.log	'//日志文件所在位置'
cobbler import --path=/mnt/ --name=CentOS-7-x86_64 --arch=x86_64	'//导入iso镜像文件'
/var/www/cobbler/ks_mirror/CentOS-7-x86_64	'//默认导入存放位置'
cobbler list	'//查看导入结果'
cobbler distro list		'//查看发行版本'
tree /var/lib/tftpboot/images	'//查看内核和初始化文件在tftp server 共享目录'
cobbler profile report
/var/lib/cobbler/kickstarts/sample_end.ks	'//ks默认文件存放位置'
客户端安装完成后只具备字符界面  登录账户  root  密码 abner
● 两种cobbler web–第一种
/etc/cobbler/modules.conf	//authn_configfile  模块认证
htdigest -c /etc/cobbler/users.digest Cobbler cbadmin
输入两次确认密码  例如:abc123
systemctl restart cobblerd.service
systemctl restart httpd.service
web账户为  cbadmin  密码为 abc123
● 两种cobbler web–第二种 pam认证
vim /etc/cobbler/modules.conf
module = authn_pam	'//修改pam认证'
module = authz_ownership	'//在users.conf指定访问权限'
useradd webuser
passwd webuser
vim /etc/cobbler/users.conf
[admins]
admin = “”
cobbler = “”
webuser = “”	'//添加'
systemctl restart cobblerd.service
systemctl restart httpd.service
二:修改配置文件并优化
2.1:修改cobbler配置文件
[root@localhost ~]# cd /etc/cobbler/
[root@localhost cobbler]# ls
auth.conf         import_rsync_whitelist  pxe                 users.conf
cheetah_macros    iso                     reporting           users.digest
cobbler_bash      ldap                    rsync.exclude       version
completions       modules.conf            rsync.template      zone.template
dhcp.template     mongodb.conf            secondary.template  zone_templates
dnsmasq.template  named.template          settings
genders.template  power                   tftpd.template
[root@localhost cobbler]# vim settings
...省略内容
# if using cobbler with manage_dhcp, put the IP address
# of the cobbler server here so that PXE booting guests can find it
# if you do not set this correctly, this will be manifested in TFTP open timeouts.
next_server: 192.168.197.175	'//此处指向cobbler服务器地址'
...省略内容
# this is the address of the cobbler server -- as it is used
# by systems during the install process, it must be the address
# or hostname of the system as those systems can see the server.
# if you have a server that appears differently to different subnets
# (dual homed, etc), you need to read the --server-override section
# of the manpage for how that works.
server: 192.168.197.175		'//此处指向cobbler服务器地址'
...省略内容
# set to 1 to enable Cobbler's DHCP management features.
# the choice of DHCP management engine is in /etc/cobbler/modules.conf
manage_dhcp: 1		'//开启dhcp'
...省略内容
2.2:开启dhcpd与cobblerd.service服务并关闭防火墙
```css
[root@localhost cobbler]# systemctl start httpd.service
[root@localhost cobbler]# systemctl start cobblerd.service
[root@localhost cobbler]# systemctl status cobblerd.service 	'//检查开启状态 '
[root@localhost cobbler]# systemctl stop firewalld.service
[root@localhost cobbler]# setenforce 0
2.3:cobbler check 并优化
[root@localhost cobbler]# cobbler check
'//此三条可以不做优化'
1:SELinux is enabled. Please review the following wiki page for details on ensuring cobbler works correctly in your SELinux environment: https://github.com/cobbler/cobbler/wiki/Selinux
2 : debmirror package is not installed, it will be required to manage debian deployments and repositories
3 : fencing tools were not found, and are required to use the (optional) power management features. install cman or fence-agents to use them
'//开始优化其他配置'
[root@localhost cobbler]# vim /etc/xinetd.d/tftp
...省略内容
disable  =  no  '//修改成no'
[root@localhost cobbler]# systemctl enable rsyncd.service
[root@localhost cobbler]# systemctl restart cobblerd.service
[root@localhost cobbler]# cobbler check
[root@localhost cobbler]# openssl passwd -1 -salt 'abc123' 'abc123'
$1$abc123$9v8z2./E/PZihXrVcy3II0	'//设置密码,复制秘钥'
[root@localhost cobbler]# vim /etc/cobbler/settings
    ...省略内容
default_password_crypted: "$1$abc123$9v8z2./E/PZihXrVcy3II0"	'//刚刚生成的密码粘贴再此处'
...省略内容
[root@localhost cobbler]# systemctl start rsyncd.service
[root@localhost cobbler]# systemctl restart xinetd.service
[root@localhost cobbler]# ls
[root@localhost cobbler]# vim dhcp.template
    ...省略内容
subnet 192.168.197.0 netmask 255.255.255.0 {
     option routers             192.168.197.1;
     option domain-name-servers 192.168.197.2;
     option subnet-mask         255.255.255.0;
     range dynamic-bootp        192.168.197.100 192.168.197.200;
...省略内容
[root@localhost cobbler]# cobbler sync
[root@localhost cobbler]# cd /etc/dhcp
[root@localhost dhcp]# ls
dhclient.d  dhclient-exit-hooks.d  dhcpd6.conf  dhcpd.conf  scripts
[root@localhost dhcp]# vim dhcpd.conf
'//发现已经变成无法修改,被cobbler管理'
# ******************************************************************
# Cobbler managed dhcpd.conf file
# generated from cobbler dhcp.conf template (Sun Dec  8 06:33:55 2019)
# Do NOT make changes to /etc/dhcpd.conf. Instead, make your changes
# in /etc/cobbler/dhcp.template, as /etc/dhcpd.conf will be
# overwritten.
# ******************************************************************
...省略内容
[root@localhost dhcp]# cobbler get-loaders
[root@localhost dhcp]# systemctl restart dhcpd.service
[root@localhost dhcp]# systemctl restart cobblerd.service
[root@localhost dhcp]# cobbler check
'//发现只剩下前面提到的三个可以忽略,不用优化的内容。此时,cobbler已经优化完毕'
三:导入系统镜像
3.1:导入系统镜像步骤
/var/log/cobbler/cobbler.log	'//日志文件所在位置'
cobbler import --path=/mnt/ --name=CentOS-7-x86_64 --arch=x86_64	'//导入iso镜像文件'
/var/www/cobbler/ks_mirror/CentOS-7-x86_64	'//默认导入存放位置'
cobbler list	'//查看导入结果'
cobbler distro list		'//查看发行版本'
tree /var/lib/tftpboot/images	'//查看内核和初始化文件在tftp server 共享目录'
cobbler profile report
/var/lib/cobbler/kickstarts/sample_end.ks	'//ks默认文件存放位置'
客户端安装完成后只具备字符界面  登录账户  root  密码 abner
3.2:挂载并导入镜像文件
[root@localhost dhcp]# mount /dev/sr0 /mnt
mount: /dev/sr0 is write-protected, mounting read-only
[root@localhost dhcp]# df -h
Filesystem      Size  Used Avail Use% Mounted on
/dev/sda2        20G  3.6G   17G  18% /
...省略内容
/dev/sr0        4.3G  4.3G     0 100% /mnt
[root@localhost dhcp]# cobbler import --path=/mnt/ --name=CentOS-7-x86_64 --arch=x86_64
task started: 2019-12-08_144856_import
task started (id=Media import, time=Sun Dec  8 14:48:56 2019)
'//省略内容'
Keeping repodata as-is :/var/www/cobbler/ks_mirror/CentOS-7-x86_64/repodata
*** TASK COMPLETE ***
3.3:查看导入情况
[root@localhost dhcp]# cd /var/www/cobbler/ks_mirror/
[root@localhost ks_mirror]# ls
CentOS-7-x86_64  config
[root@localhost ks_mirror]# cobbler list
distros:
   CentOS-7-x86_64
profiles:
   CentOS-7-x86_64
'//省略内容'
[root@localhost ks_mirror]# yum install tree -y
[root@localhost ks_mirror]# tree /var/lib/tftpboot/images
/var/lib/tftpboot/images
└── CentOS-7-x86_64
    ├── initrd.img
    └── vmlinuz

1 directory, 2 files
[root@localhost ks_mirror]# systemctl restart cobblerd.service
[root@localhost ks_mirror]# systemctl restart dhcpd.service
[root@localhost ks_mirror]# systemctl restart xinetd.service
[root@localhost ks_mirror]# systemctl restart httpd.service
[root@localhost ks_mirror]#
四:测试装机与cobbler-web认证管理
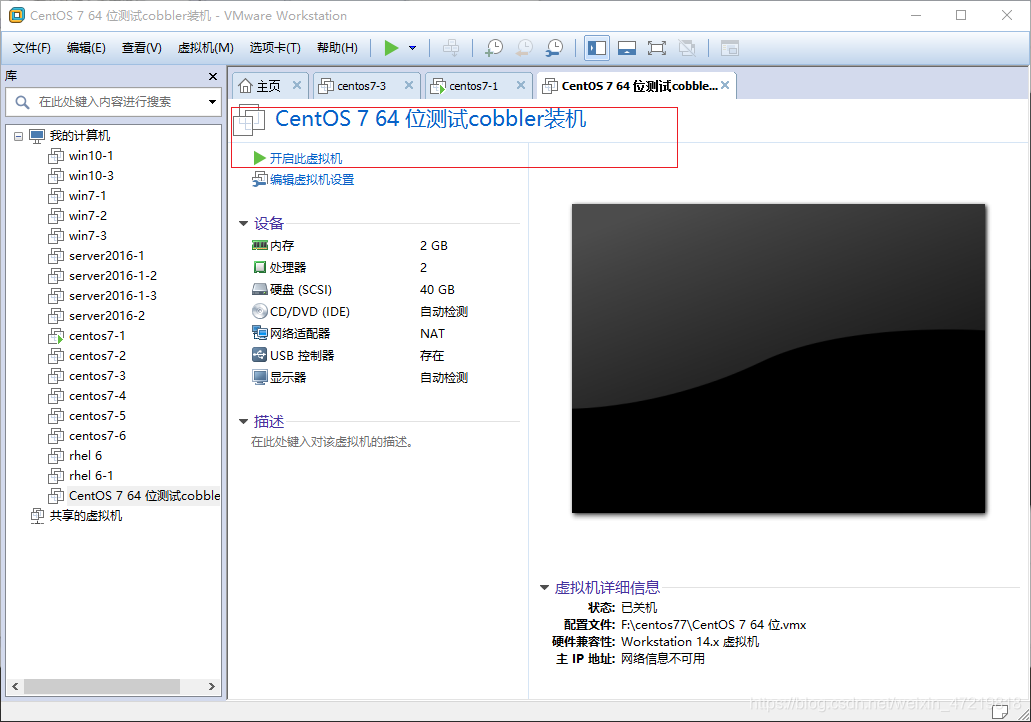
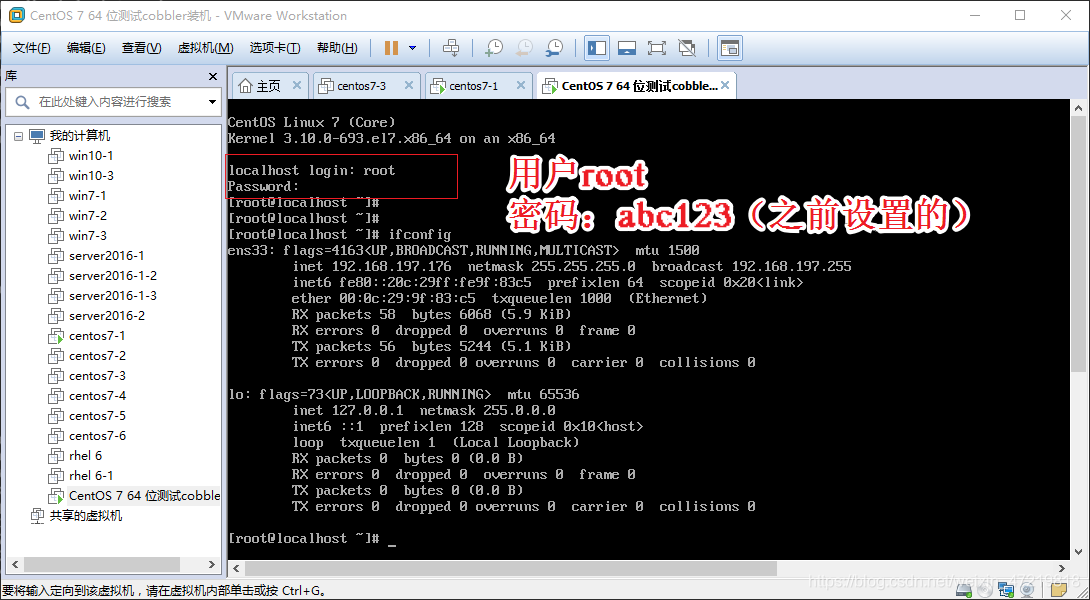
4.1:新建一台虚拟机
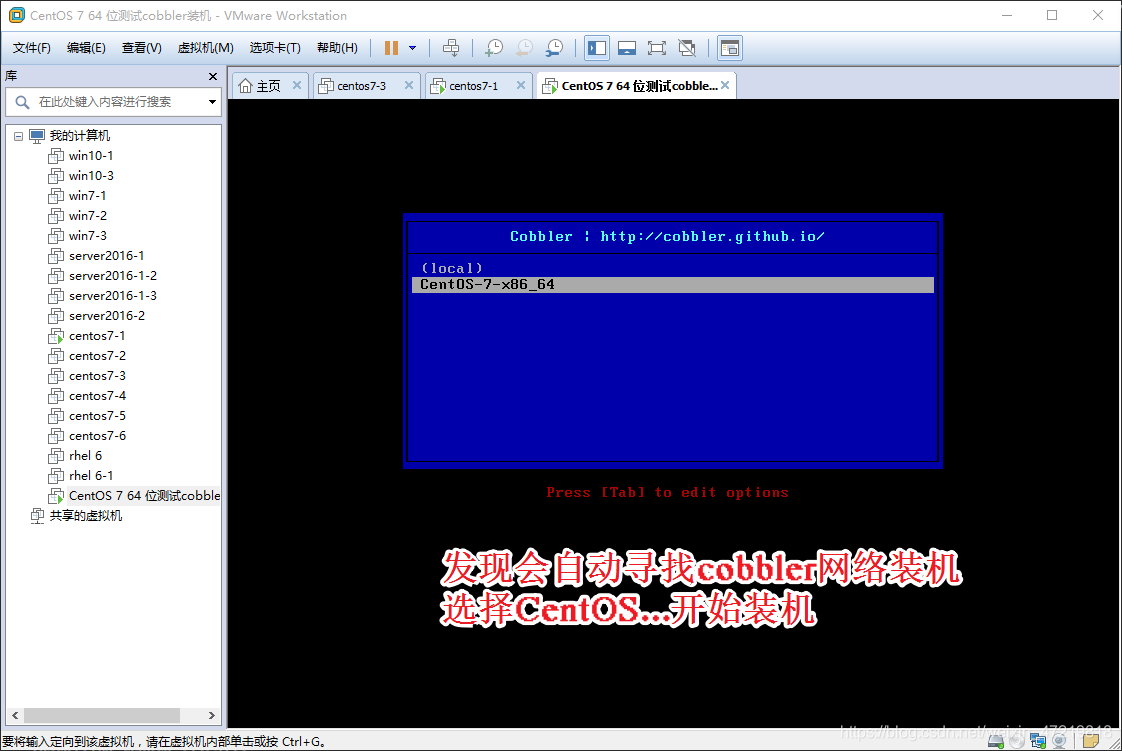
4.2:开始装机
点击开启此虚拟机–选择CentOS-7-86_64–回车–自动装机

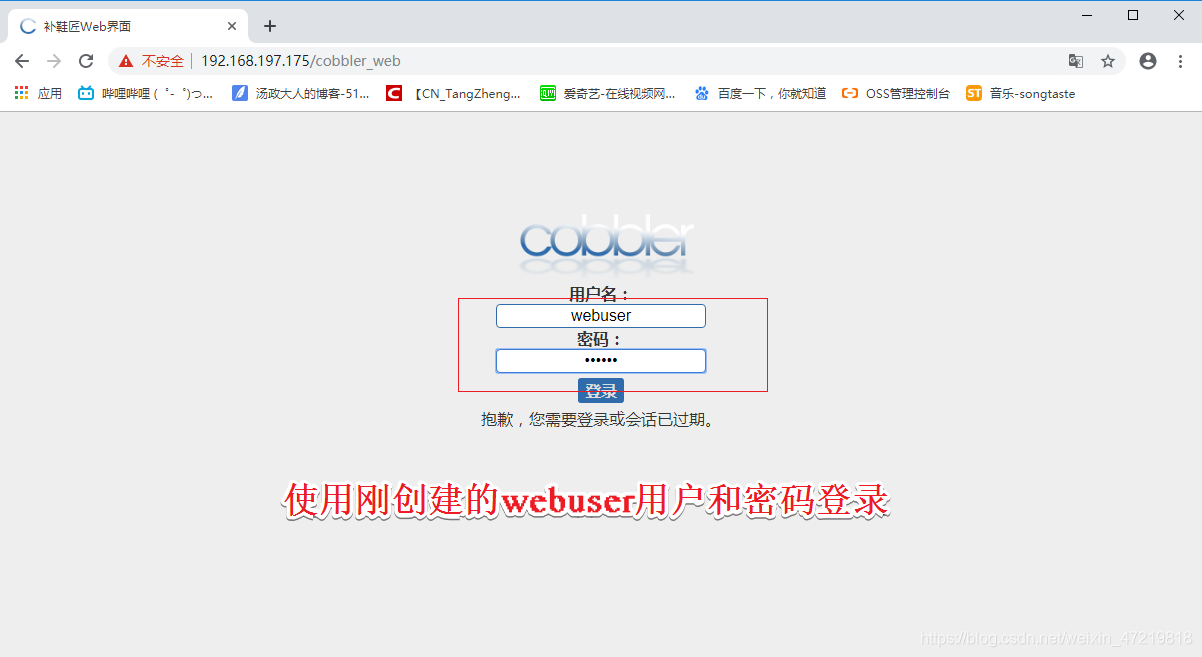
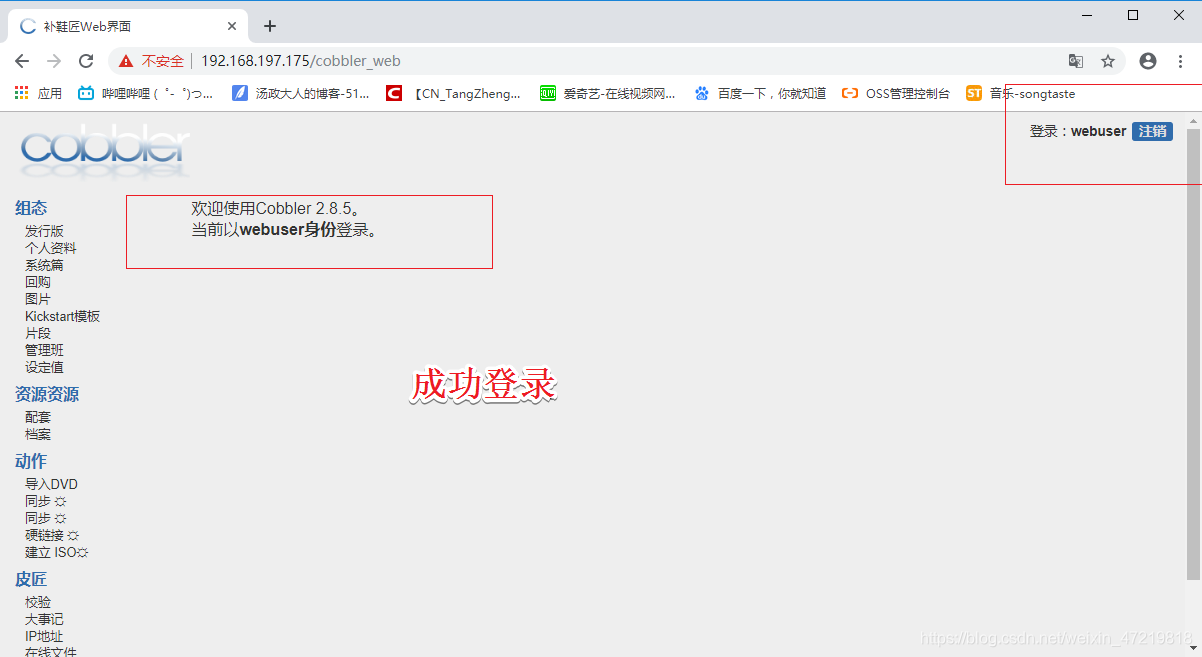
4.3:cobbler-web管理
● 第一种cobbler-web认证
/etc/cobbler/modules.conf	//authn_configfile  模块认证
htdigest -c /etc/cobbler/users.digest Cobbler cbadmin
输入两次确认密码  例如:abc123
systemctl restart cobblerd.service
systemctl restart httpd.service
web账户为  cbadmin  密码为 abc123
● 第二种cobbler-web认证–pam认证
vim /etc/cobbler/modules.conf
module = authn_pam	'//修改pam认证'
module = authz_ownership	'//在users.conf指定访问权限'
useradd webuser
passwd webuser
vim /etc/cobbler/users.conf
[admins]
admin = “”
cobbler = “”
webuser = “”	'//添加'
systemctl restart cobblerd.service
systemctl restart httpd.service
4.3.1:认证
[root@localhost ks_mirror]# vim /etc/cobbler/modules.conf
...省略内容
[authentication]
module = authn_pam
...省略内容
[authorization]
module = authz_ownership
...省略内容
[root@localhost ks_mirror]# useradd webuser
[root@localhost ks_mirror]# passwd webuser
Changing password for user webuser.
New password:
BAD PASSWORD: The password is shorter than 7 characters
Retype new password:
passwd: all authentication tokens updated successfully.
[root@localhost ks_mirror]# vim /etc/cobbler/users.conf
...省略内容
[admins]
admin = ""
cobbler = ""
webuser = ""	'//添加webuser = ""'
[root@localhost ks_mirror]# systemctl restart httpd.service
[root@localhost ks_mirror]# systemctl restart cobblerd.service
[root@localhost ks_mirror]#