今天给大家带来的是Android网络通信框架第一篇,Volley请求
Volley介绍
Volley是在2013年Google I/O大会上推出了一个新的网络通信框架,它的设计目标就是非常适合去进行数据量不大,但通信频繁的网络操作,而对于大数据量的网络操作,比如说下载文件等,Volley的表现就会非常糟糕。
必做操作
添加依赖
implementation ‘com.android.volley:volley:1.1.1’
网络请求都必须添加INTERNET权限,想必大家都非常清楚了.
<uses-permission android:name=“android.permission.INTERNET”/>
Android10以上的还需要添加 添加明文权限:
在AndroidManifest.xml的application中:
android:usesCleartextTraffic=“true”
StringRequest文本请求
- 需要先获取RequestQueue对象
- 然后获取StringRequest对象
- 然后在使用RequestQueue对象.add()方法,将StringRequest对象设置进去
/**
     * Creates a new GET request.
     *
     * @param url URL to fetch the string at
     * @param listener Listener to receive the String response
     * @param errorListener Error listener, or null to ignore errors
     */
    public StringRequest(String url, Listener<String> listener, @Nullable ErrorListener errorListener)
//RequestQueue对象
RequestQueue queue = Volley.newRequestQueue(this);
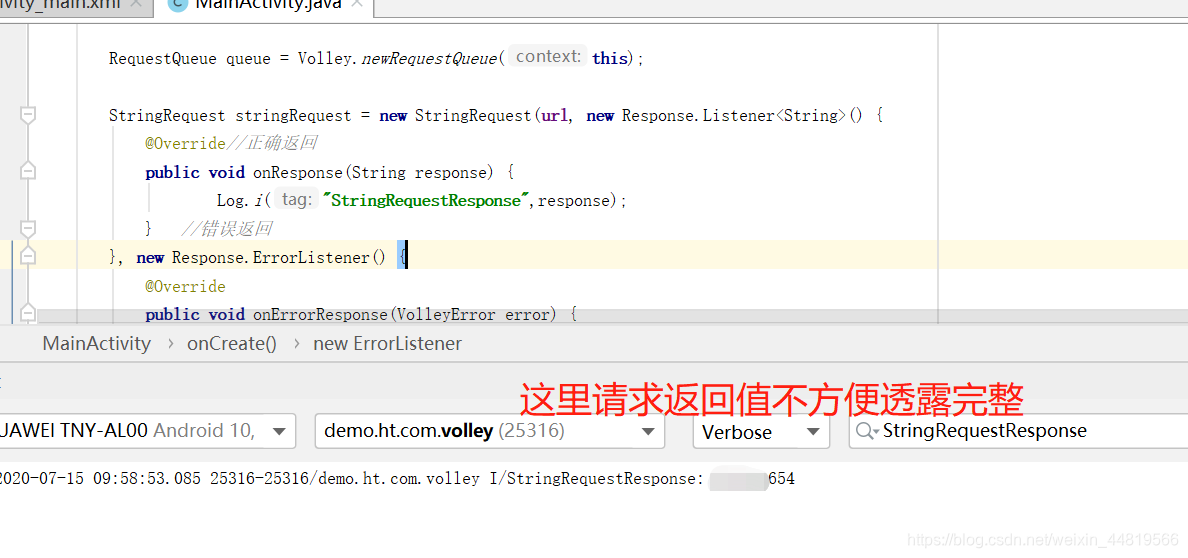
//获取StringRequest对象 //这里url不方便透露 ,但可查看结果
StringRequest stringRequest = new StringRequest(STRINGREQUEST_URL, new Response.Listener<String>() {
@Override//正确返回
public void onResponse(String response) {
Log.i("StringRequestResponse",response);
} //错误返回
}, new Response.ErrorListener() {
@Override
public void onErrorResponse(VolleyError error) {
Log.i("onErrorResponse",error.getMessage());
}
});
//通过add()方法将RequestQueue 对象设置进去
queue.add(stringRequest);
注意:StringRequest()只建议用来请求文本信息
康康Log返回结果吧:
JsonObjectRequest获取JSON字符串GET和POST请求
- 需要先获取RequestQueue对象
- 然后获取JsonObjectRequest对象
- 然后在使用RequestQueue对象.add()方法,将JsonObjectRequest对象设置进去
 /**
     * Creates a new request.
     *
     * @param method the HTTP method to use
     * @param url URL to fetch the JSON from
     * @param jsonRequest A {@link JSONObject} to post with the request. Null indicates no
     *     parameters will be posted along with request.
     * @param listener Listener to receive the JSON response
     * @param errorListener Error listener, or null to ignore errors.
     */
    public JsonObjectRequest(
            int method,
            String url,
            @Nullable JSONObject jsonRequest,
            Listener<JSONObject> listener,
            @Nullable ErrorListener errorListener)
GET请求
//获取RequestQueue对象
RequestQueue queue = Volley.newRequestQueue(this);
//获取JsonObjectRequest对象
 JsonObjectRequest jsonObjectRequest = new JsonObjectRequest("http://www.weather.com.cn/data/city3jdata/china.html", null, new Response.Listener<JSONObject>() {
            @Override
            public void onResponse(JSONObject response) {
                Log.i("JsonObjectResponse", response.toString());
            }
        }, new Response.ErrorListener() {
            @Override
            public void onErrorResponse(VolleyError error) {
                Log.i("JsonObjectResponse", error.getMessage());
            }
        });
//使用RequestQueue对象.add()方法,将JsonObjectRequest对象设置进去
        queue.add(jsonObjectRequest);
来康康Log吧:
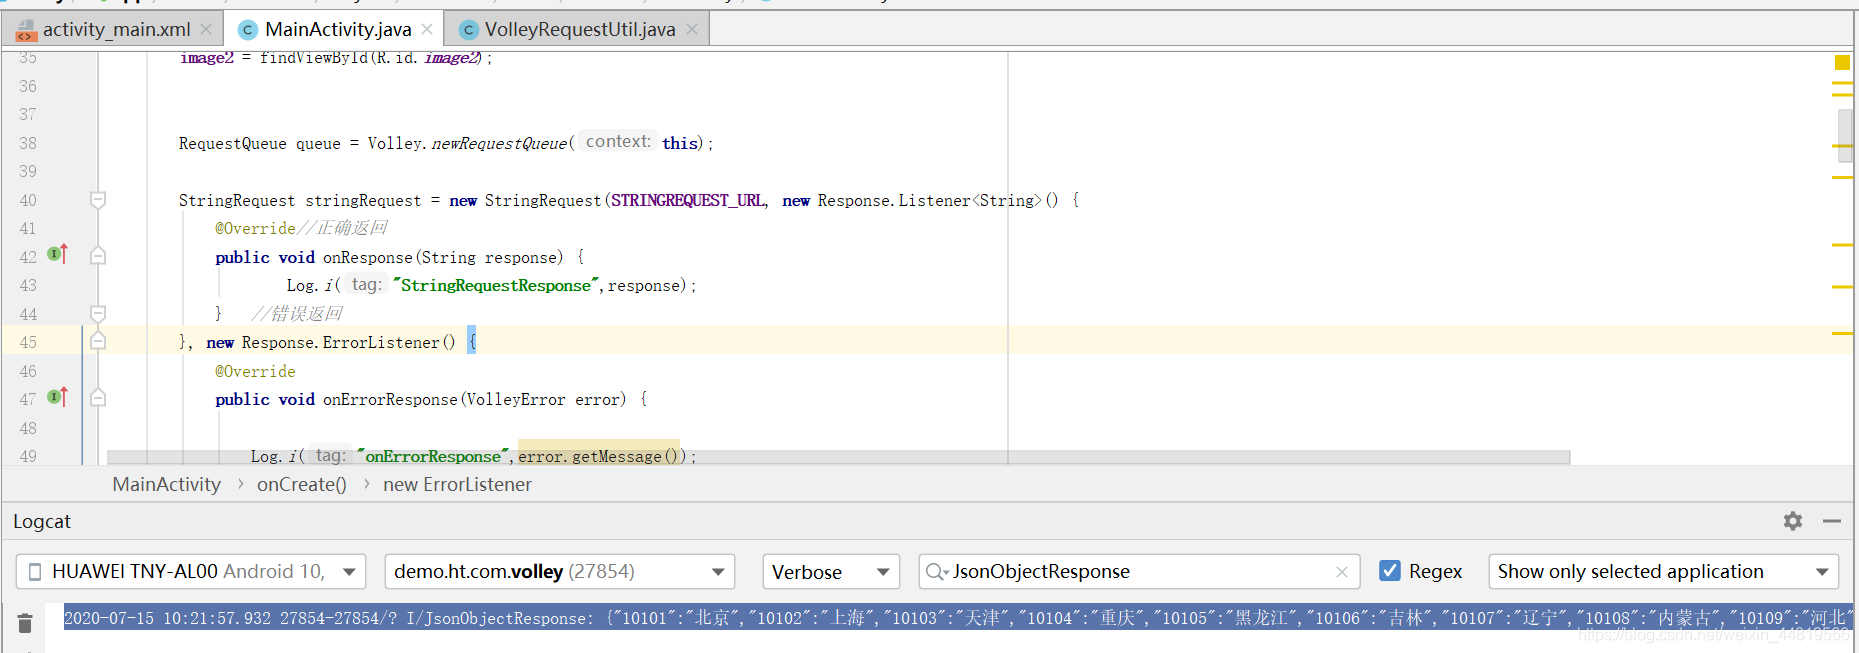
可以看到返回的是JSONObject,还需要通过原生的JSONObject解析才能得出最终想要的结果,所以说请求网络数据并不建议使用这种办法,建议使用Retrofit或者OkHttp等
POST请求
使用基本都一直,就不在重复说了,
这里需要注意的是:
- POST请求JsonObjectRequest()第一个参数得是Request.Method.POST.
- POST请求通过JSONObject()的方式来设置参数
		Map params = new HashMap();

        params.put("app_key", "74D2E724FE2B69EF7EA3F38E9400CF71");
        //创建原生的JSONObject将map设置进去
        JSONObject jsonObject = new JSONObject(params);
        /**
         *      参数一:POST声明
         *      参数二: 请求POST路径
         *      参数三:JSONObject设置POST的key和value
         *      参数四:成功返回JSONObject
         *      参数五:错误返回
         */
 JsonObjectRequest jsonObjectRequest = new JsonObjectRequest(Request.Method.POST,url, jsonObject , new Response.Listener<JSONObject>() {
            @Override
            public void onResponse(JSONObject response) {
                Log.i("JsonObjectResponse", response.toString());
            }
        }, new Response.ErrorListener() {
            @Override
            public void onErrorResponse(VolleyError error) {

                Log.i("JsonObjectonResponse", response.toString());
            }
        });

        queue.add(jsonObjectRequest);
来康康结果吧,正常情况返回请求码为200,则请求成功:
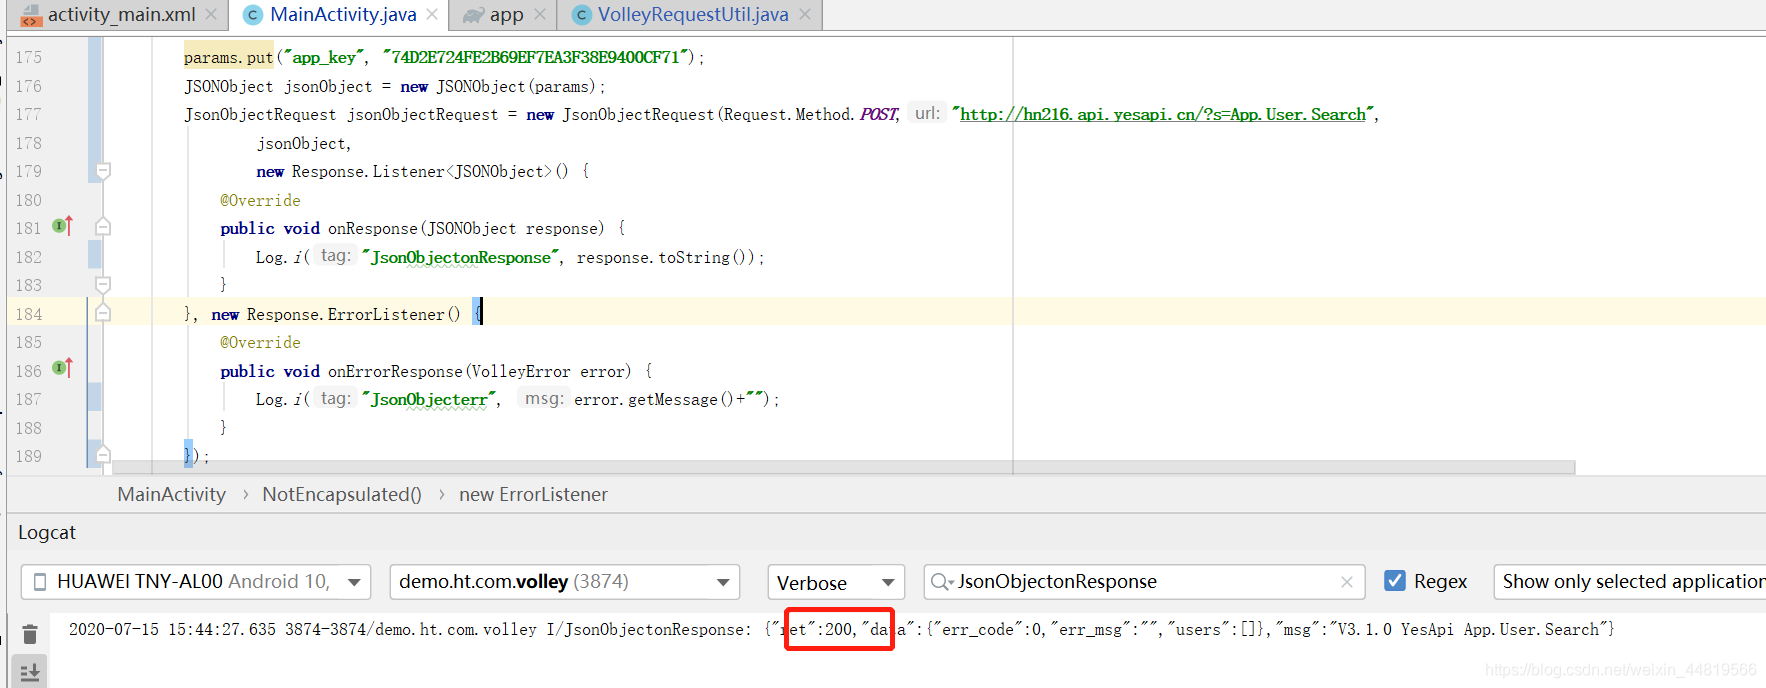
如我所愿,返回码确实为200;
ImageRequest设置图片
/**
     * Creates a new image request, decoding to a maximum specified width and height. If both width
     * and height are zero, the image will be decoded to its natural size. If one of the two is
     * nonzero, that dimension will be clamped and the other one will be set to preserve the image's
     * aspect ratio. If both width and height are nonzero, the image will be decoded to be fit in
     * the rectangle of dimensions width x height while keeping its aspect ratio.
     *
     * @param url URL of the image
     * @param listener Listener to receive the decoded bitmap
     * @param maxWidth Maximum width to decode this bitmap to, or zero for none
     * @param maxHeight Maximum height to decode this bitmap to, or zero for none
     * @param scaleType The ImageViews ScaleType used to calculate the needed image size.
     * @param decodeConfig Format to decode the bitmap to
     * @param errorListener Error listener, or null to ignore errors
     */
public ImageRequest(
            String url,
            Response.Listener<Bitmap> listener,
            int maxWidth,
            int maxHeight,
            Config decodeConfig,
            Response.ErrorListener errorListener)
用法基本一直,这里就不细说了,要有参数不懂,可以看源码注释!
//获取RequestQueue 对象
RequestQueue queue = Volley.newRequestQueue(this);
//获取ImageRequest 对象
/**
第五个参数用于指定图片的颜色属性,Bitmap.Config下的几个常量都可
以在这里使用,其中ARGB_8888可以展示最好的颜色属性,每个图片像素
占据4个字节的大小,而RGB_565则表示每个图片像素占据2个字节大小
*/
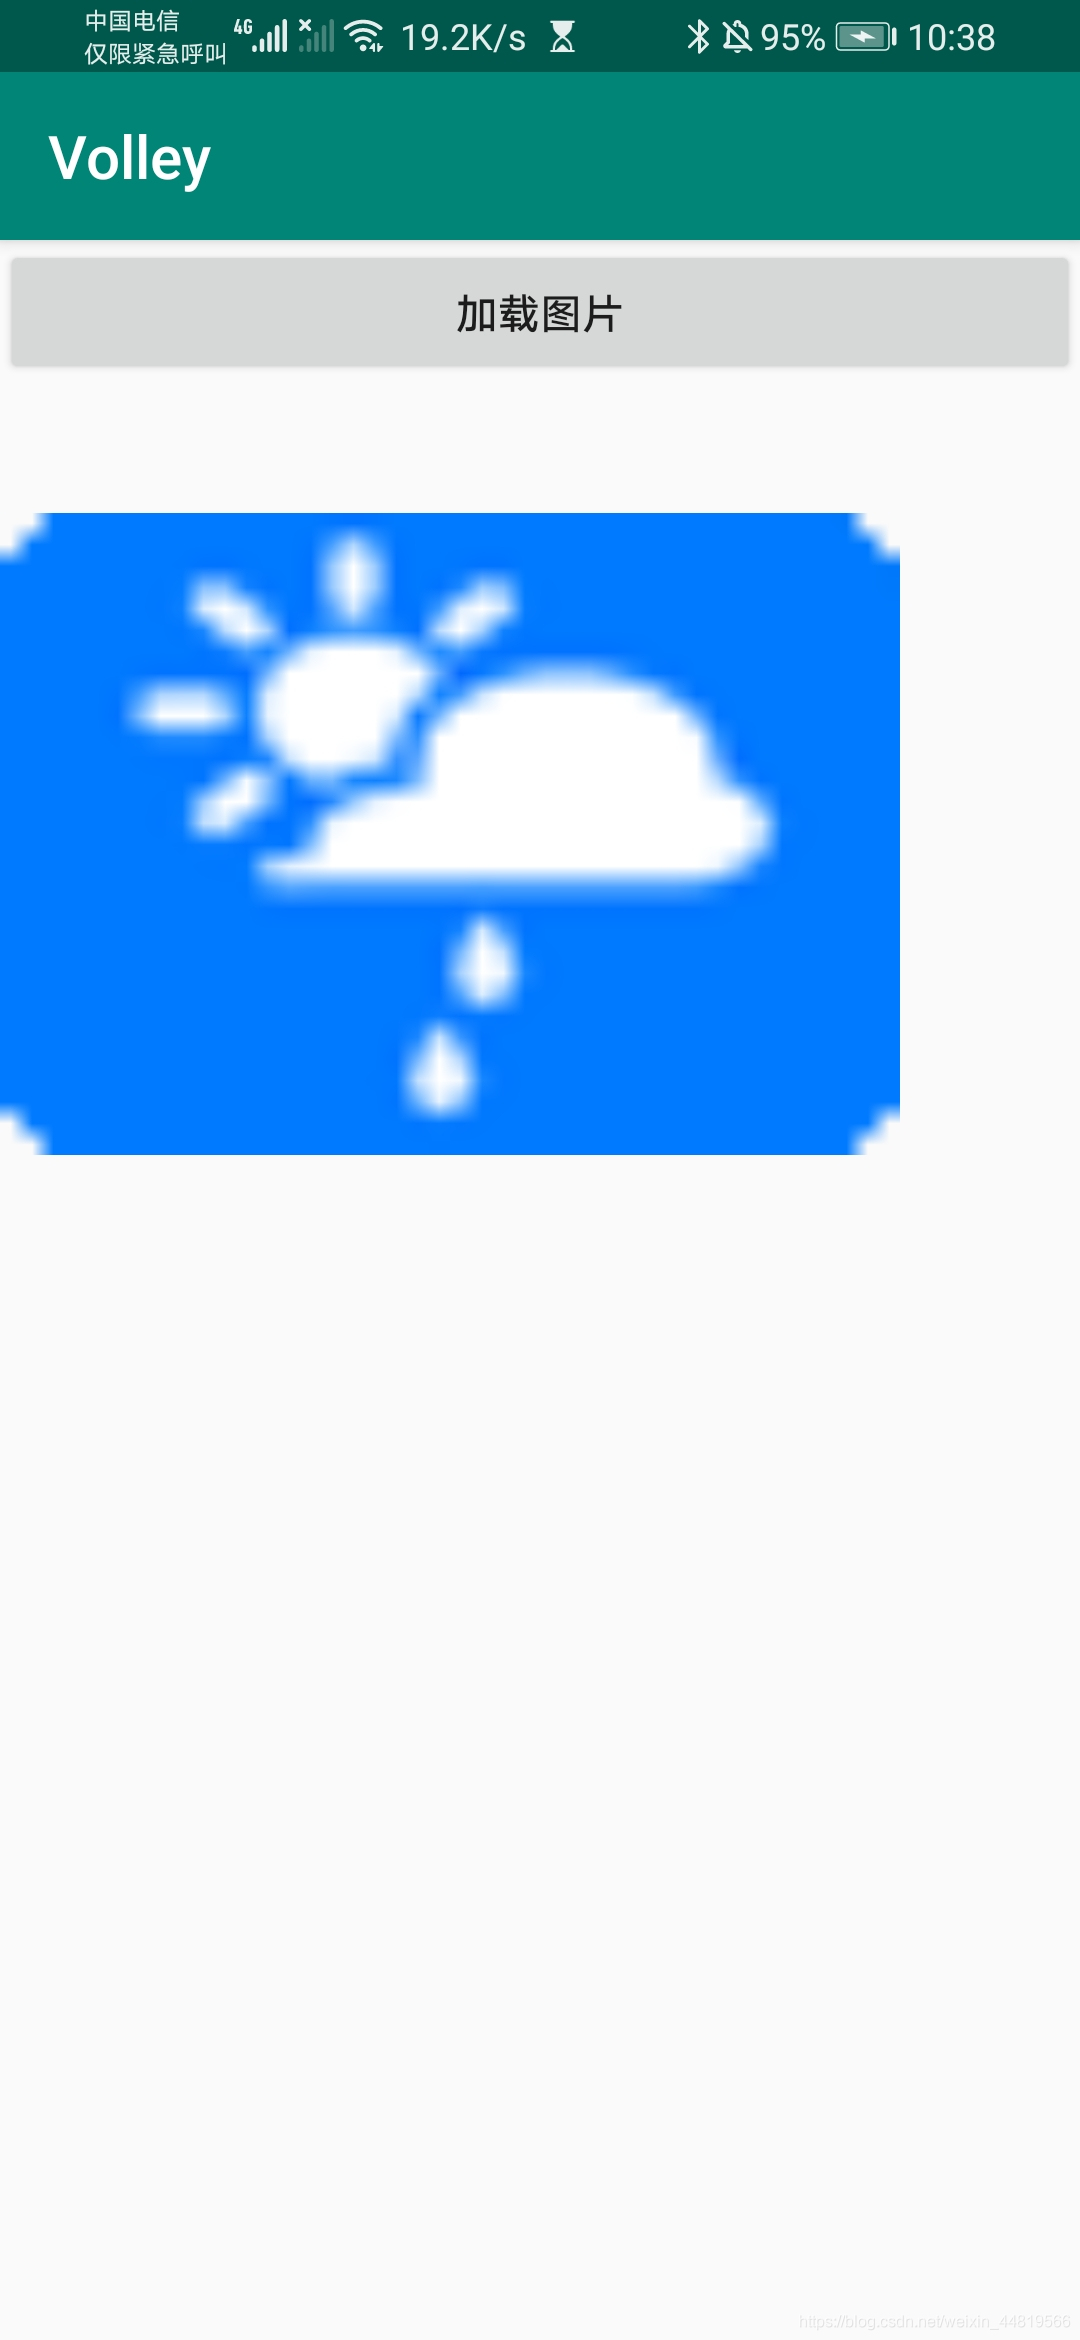
ImageRequest imageRequest = new ImageRequest("http://api.map.baidu.com/images/weather/day/zhenyu.png", new Response.Listener<Bitmap>() {
@Override
public void onResponse(Bitmap response) {
//设置bitmap图片
Log.i("ImageRequestResponse","1111");
mImage.setImageBitmap(response);
}
}, 0, 0, Bitmap.Config.ARGB_8888, new Response.ErrorListener() {
@Override
public void onErrorResponse(VolleyError error) {
Log.i("onErrorResponse111",error.getMessage()+"");
}
});
queue.add(imageRequest);
可以看到,image图片设置成功!
ImageLolder
ImageLoader可以用于加载网络上的图片,并且它的内部也是使用ImageRequest来实现的,不过ImageLoader明显要比ImageRequest更加高效,因为它不仅可以帮我们对图片进行缓存,还可以过滤掉重复的链接,避免重复发送请求;
- 创建一个RequestQueue对象。
- 创建一个ImageLoader对象。
- 获取一个ImageListener对象。
- 调用ImageLoader的get()方法加载网络上的图片。
//RequestQueue对象。
 RequestQueue requestQueue = Volley.newRequestQueue(this);
        /**
         * 参数一:RequestQueue对象
         * 参数二:ImageCache()对象
         */
        ImageLoader imageLoader = new ImageLoader(requestQueue, new ImageLoader.ImageCache() {
            @Override   //
            public Bitmap getBitmap(String url) {
                Log.i("ImageLoadergetBitmap",url+"");
                return null;
            }

            @Override
            public void putBitmap(String url, Bitmap bitmap) {
            //设置图片给image2
                image2.setImageBitmap(bitmap);
                Log.i("ImageLoaderputBitmap",url+"\t\t"+bitmap);
            }
        });

        /**
         *     参数一:需要设置的ImageView对象
         *     参数二:在图片加载过程中显示默认图片
         *     参数三:图片加载失败显示
         */
         //将图片设置给image
        ImageLoader.ImageListener imageListener = ImageLoader.getImageListener(mImage, R.drawable.ic_launcher_foreground, R.drawable.ic_launcher_background);

        /**
         *  参数一:图片接口
         *  参数二:  ImageLoader.ImageListener对象
         *  参数三:最大宽度
         *  参数四:最大高度
         */
        imageLoader.get("http://api.map.baidu.com/images/weather/night/duoyun.png",imageListener,200,200);
将图片同时设置给iamge,和image2,来康康效果吧:

使用非常的简单,但是重复代码比较多,看着很不美观,下一篇(点击查看).给大家写成一个工具类,方便大家以后使用:
Git链接: langyangyang.
欢迎各位大佬指出不足的地方!请在评论区留言吧~