1. 场景描述
elasticsearch只用过,没有部署或者维护过,从头完整走一遍,记录下,原创实战,有需要的朋友参考下。
2 . 解决方案
特别说下,以前win7下安装的3台虚拟机,没有联网,因为要安装elasticsearch-head需要安装前端报,调整为联网,安装yum、npm等,碰到了很多奇葩的问题,后续有时间发下。
2.1 下载
(1) 下载地址:https://www.elastic.co/cn/downloads/elasticsearch
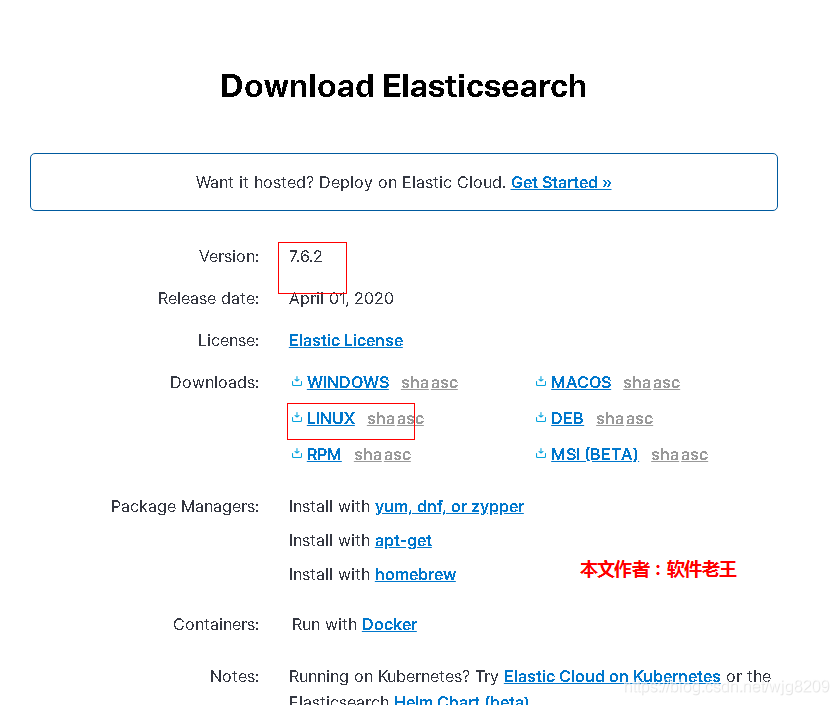
(2) 下载效果图,282兆,还挺大的

2.2 部署es及启动
(1)上传目录
/opt
(2)解压
[root@w158 ~]# cd /opt/
[root@w158 opt]# tar -zxvf elasticsearch-7.6.2-linux-x86_64.tar.gz
[root@w158 opt]# mv elasticsearch-7.6.2  elasticsearch
(3)新增es操作账户
[root@w158 opt]# useradd laowang
[root@w158 opt]# passwd laowang

设置密码:
laowang
laowang

[root@w158 opt]# chown -R laowang:laowang /opt/elasticsearch
(4)修改配置文件
[root@w158 opt]# su laowang
[laowang@w158 opt]$ cd elasticsearch

[laowang@w158 elasticsearch]$ mkdir data
[laowang@w158 elasticsearch]$ cd config/
[laowang@w158 elasticsearch]$ cp elasticsearch.yml elasticsearch.yml.0328

#其余全部注释,直接复制进去,ip根据本机进行修改
vi elasticsearch.yml
discovery.seed_hosts: ["192.168.85.158"]
cluster.initial_master_nodes: ["node-1"]
cluster.name: es
node.name: node-1
path.data: /opt/elasticsearch/data
path.logs: /opt/elasticsearch/logs
network.host: 0.0.0.0
http.port: 9200
#discovery.zen.ping.unicast.hosts: ["192.168.85.158"]
http.cors.enabled: true
http.cors.allow-origin: "*"
(5)启动
[laowang@w158 elasticsearch]$ cd /opt/elasticsearch/bin
[laowang@w158 bin]$./elasticsearch -d
启动可能报错:
(1)ERROR: bootstrap checks failed
max file descriptors [4096] for elasticsearch process likely too low, increase to at least [65536]
原因:无法创建本地文件问题,用户最大可创建文件数太小
解决方案:
切换到 root 用户,编辑 limits.conf 配置文件, 添加类似如下内容:
vi /etc/security/limits.conf
添加如下内容:
* soft nofile 65536
* hard nofile 131072
* soft nproc 2048
* hard nproc 4096
备注: * 代表 Linux 所有用户名称(比如 es)
保存、退出、重新登录才可生效
(2)max virtual memory areas vm.max_map_count [65530] likely too low, increase to at least
[262144]
原因:最大虚拟内存太小
大讲台科技
- 2 -
解决方案:切换到 root 用户下,修改配置文件 sysctl.conf
vi /etc/sysctl.conf
添加下面配置:
vm.max_map_count=655360
并执行命令(配置生效):
sysctl -p
然后重新启动 elasticsearch,即可启动成功。
(6)启动效果
地址:http://192.168.85.158:9200
进程图:

启动成功:

I’m 「软件老王」,如果觉得还可以的话,关注下呗,后续更新秒知!欢迎讨论区、同名公众号留言交流!