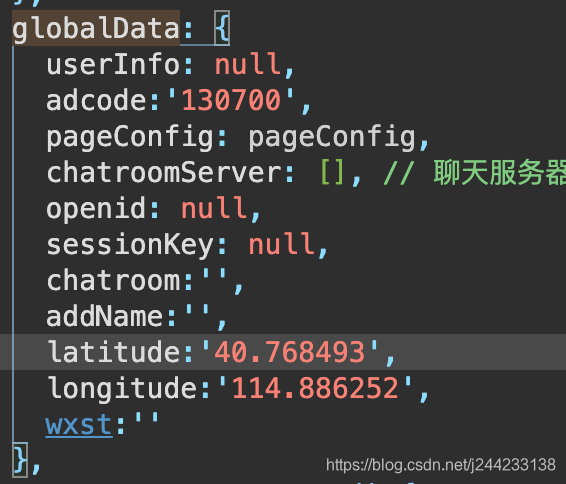
这里是 我在app.js里定义了wxst 全局的
let app = getApp()
Page({
 onReady: function () {
	app.globalData.wxst=wx.connectSocket({
      url: 'wss://********',//websocket地址
      method: 'GET',
      success: function (res) {
        console.log('WebSocket连接创建', res)
      },
    })
    app.globalData.wxst.onOpen((res)=>{
      console.log('WebSocket 已连接')
      that.sendMessage()
    })
    //断开时的动作
    app.globalData.wxst.onClose(() => {
      console.log('WebSocket 已断开')
    })
    app.globalData.wxst.onError(function(res){
      console.log('WebSocket连接打开失败,请检查!')
    })
    app.globalData.wxst.onMessage(function(res) {
      // console.log('wxst收到服务器内容:')
    })
  }
//心跳
  heartCheck:function(obj){
    let heartCheckTime=setInterval(()=>{
      if (app.globalData.wxst.readyState === 1) {
        app.globalData.wxst.send({
          data: '{"method":"server.ping","params":{},"id":2}'
        })
      }
    },5000)
    if(obj){
      clearInterval(heartCheckTime)
    }
  },
  //发送消息函数
  sendMessage() {
    if (app.globalData.wxst.readyState === 1) {
    //自定义的发给后台识别的参数 ,我这里发送的是name
    //readyState:
    //0: 请求未初始化
	//1: 服务器连接已建立
	//2: 请求已接收
	//3: 请求处理中
	//4: 请求已完成,且响应已就绪
    let that = this
    console.log(this.data.socketStatus)
      let data='{"method":"join.room","params":{"rid":"'+that.data.liveid+'", "uid":"'+that.data.user_id+'"},"id":1}'
      app.globalData.wxst.send({
        data:data,
        success:()=>{
          console.log('发送信息成功')
        }
      })
    that.heartCheck()

    }
  },
})