目录
1. 插件推荐
CMake
CMake tools
CMake Tools Helper
2. 文件准备
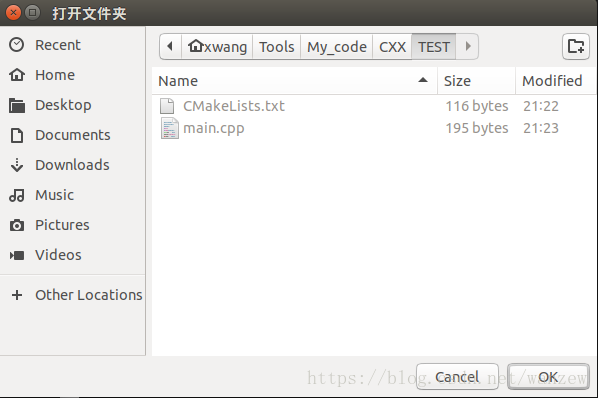
新建文件夹:TEST
新建文件:CMakeLists.txt
内容如下:
cmake_minimum_required(VERSION 2.6)

project(vscode_cmake)
set(SRC_LIST main.cpp)
add_executable(result ${SRC_LIST})
新建main.cpp文件
#include<iostream>
using namespace std;
int main(){
int a = 2+3;
int b = a+3;
for(int i = 0; i<10; i++){
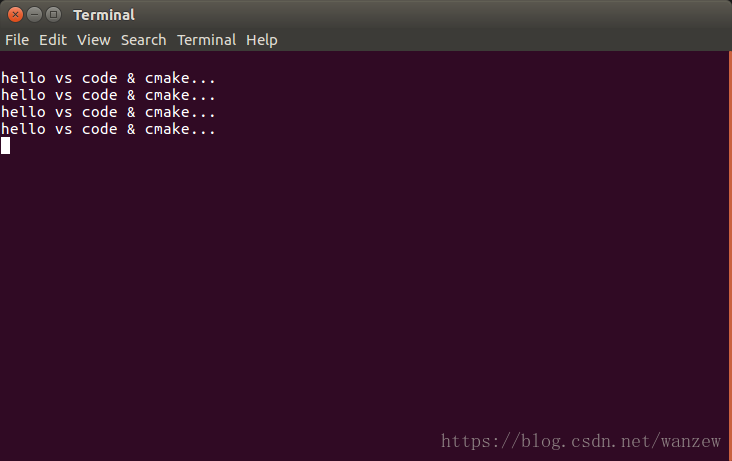
cout<<"hello vs code & cmake..."<<endl;
}
return 0;
}3. 开始调试
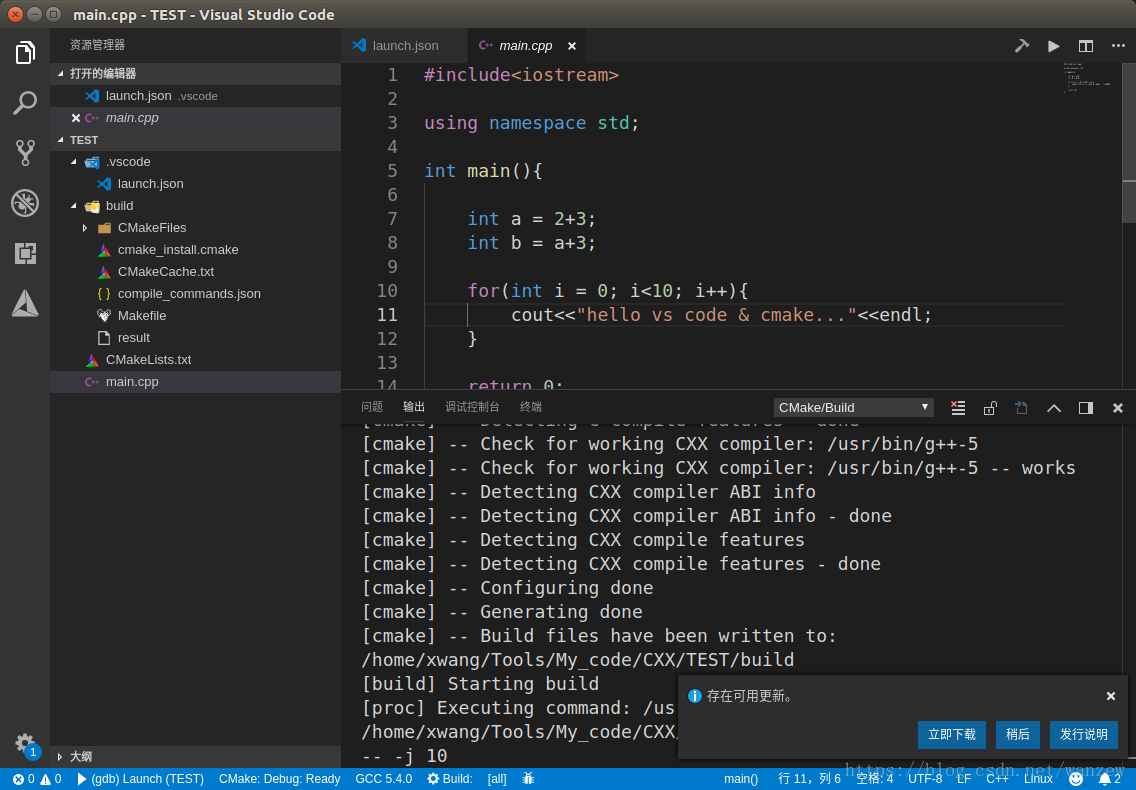
点击打开文件夹,找到TEST文件夹,打开
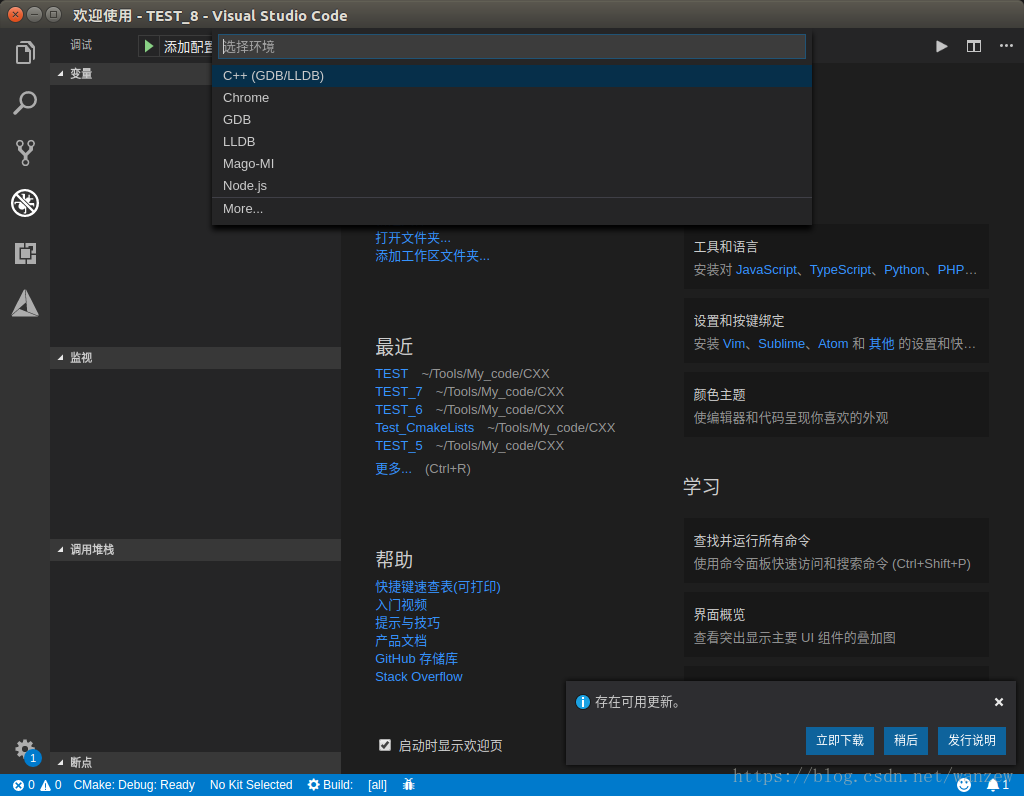
点击图中最左侧第四个小蜘蛛形状的图标(调试),点击左上方的小齿轮,添加配置(C++GDB/LLDB)

这个时候资源管理器下就会生成.vscode文件夹,下面有个launch.json文件,内容如下

{
    "version": "0.2.0",
    "configurations": [
        {
            "name": "(gdb) Launch",
            "type": "cppdbg",
            "request": "launch",
            "program": "enter program name, for example ${workspaceFolder}/a.out",
            "args": [],
            "stopAtEntry": false,
            "cwd": "${workspaceFolder}",
            "environment": [],
            "externalConsole": true,
            "MIMode": "gdb",
            "setupCommands": [
                {
                    "description": "Enable pretty-printing for gdb",
                    "text": "-enable-pretty-printing",
                    "ignoreFailures": true
                }
            ]
        }
    ]
}
把下面一句:
"program": "enter program name, for example ${workspaceFolder}/a.out",
改成:(根据CMakeLists.txt文件内容,将会在build文件夹下生成result可执行文件)
"program": "${workspaceFolder}/build/result"
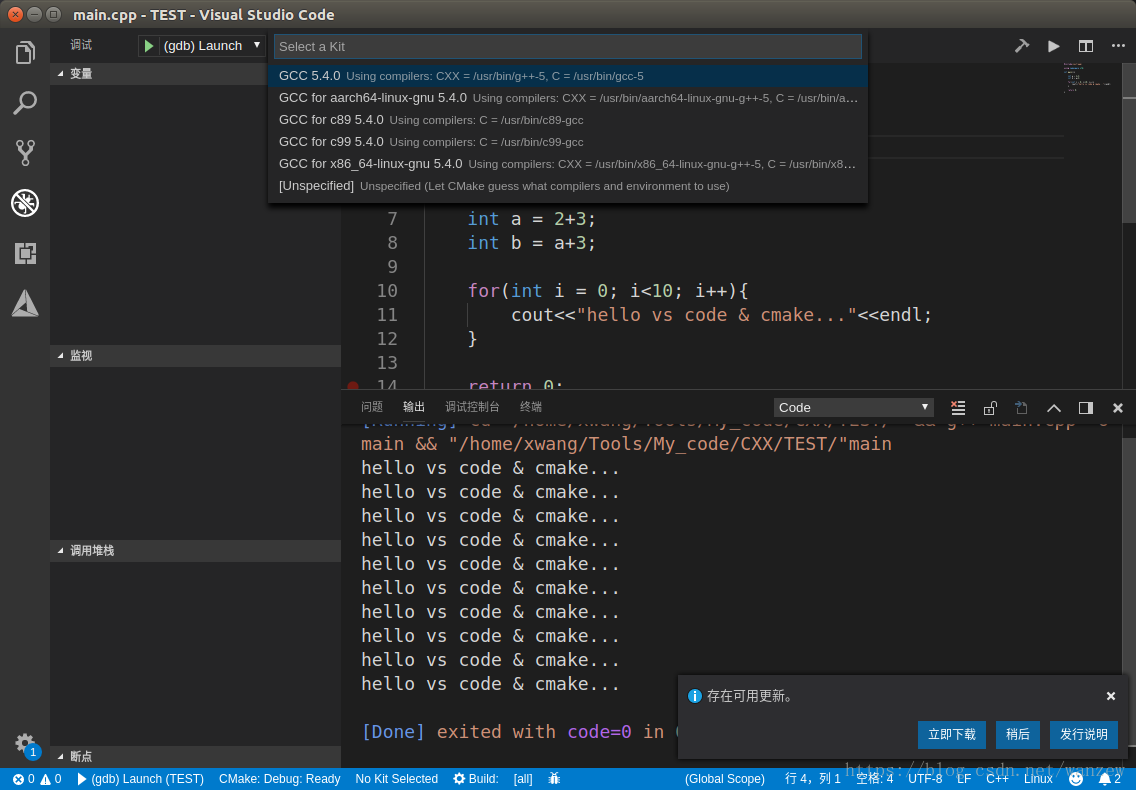
然后点击界面最下方的build, 选择GCC5.4... ,开始build...然后就在build问价夹下生成了result可执行文件,有了可执行文件才能进行debug操作。
打上断点,按F5程序就会在断点处停下来,在调试窗口就可以看到代码中的变量值,字符串会在弹出来的终端窗口中打印出来。