- 服务器部署
- 官网地址 https://lucene.apache.org/solr/ 从官网下载http:/ /mirror.bit.edu.cn/apache/lucene/solr/8.4.1/solr-8.4.1.tgz 文件
- 使用 tar zxvf solr-8.4.1.tgz 进行解压
- 执行目录下/bin/solr start 启动即可 默认端口为8983
- 启动有可能会出现以下提示
*** [WARN] *** Your open file limit is currently 1024.
 It should be set to 65000 to avoid operational disruption.
 If you no longer wish to see this warning, set SOLR_ULIMIT_CHECKS to false in your profile or solr.in.sh
WARNING: Starting Solr as the root user is a security risk and not considered best practice. Exiting.
         Please consult the Reference Guide. To override this check, start with argument '-force'
这里会涉及到liunx服务器中文件限制数、进程限制数,这两个值
- 修改文件限制数:以root身份修改文件/etc/security/limits.conf.文件 末尾追加
* hard nofile 65000
* soft nofile 65000
- 修改进程限制数:以root身份修改文件/etc/security/limits.d/20-nproc.conf 文件(centOS6为90-nproc.conf),注:修改后,需要重新登录后才能生效
修改为:
*          soft    nproc     65535
*          hard    nproc     65535
root       soft    nproc     unlimited
- 修改文件限制数:以root身份修改文件/etc/security/limits.conf.文件 末尾追加
- 添加自己的core库
- solr应用范例中的提供了多种类型的
- /opt/solr-8.4.1/example/example-DIH路径下都是自带的范例core,readme文档中有对应的说明介绍与启动方式
- 一般都是从数据库抓数据,搜索数据库。所以使用dih这个core
- 将/opt/solr-8.4.1/example/example-DIH/solr/db文件夹复制一份出来,命名为mycore
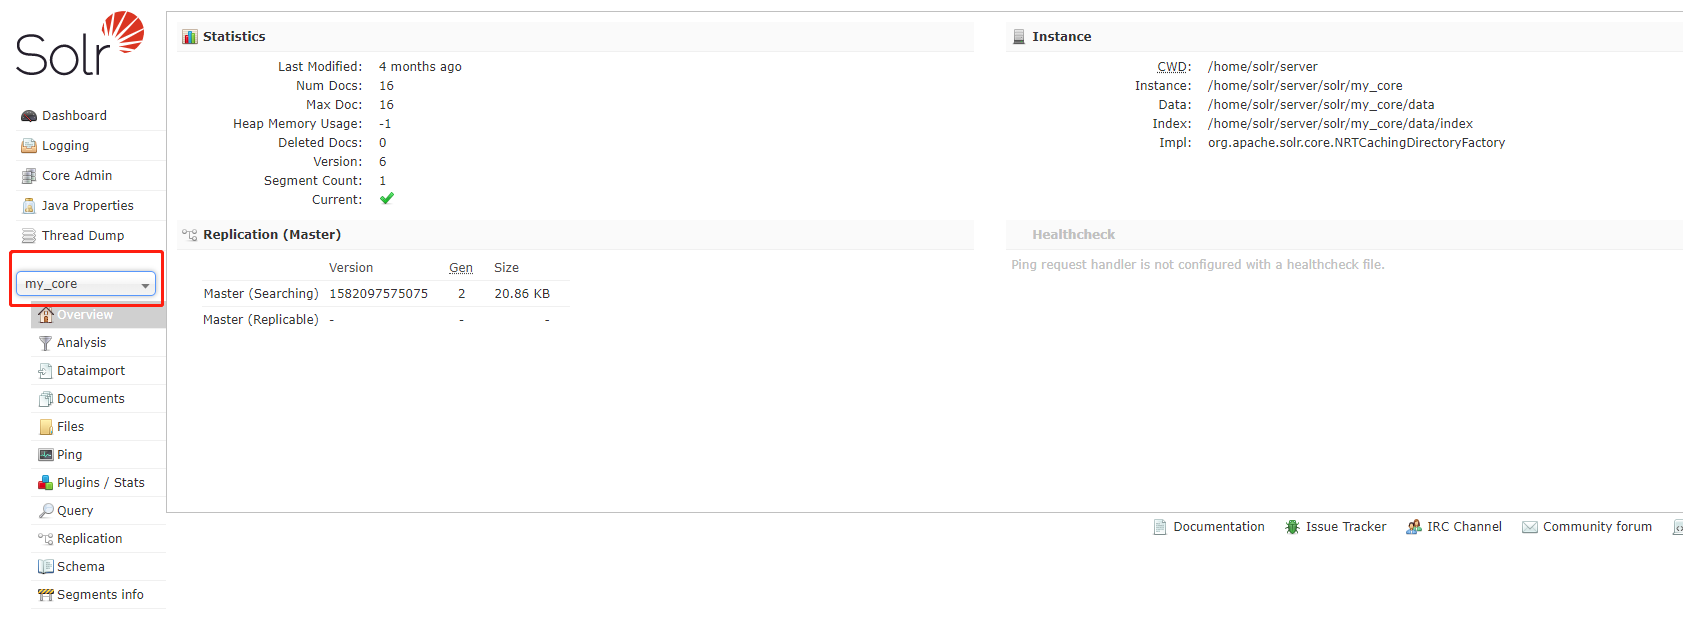
- 重启solr,打开控制台 http://192.168.90.233:8983/solr/ 地址,应该已经可以看到自己新建的mycore库了
- 接下来就是修改一些配置文件,配置一下数据库,sql语句就行了 conf下的db-data-config.xml文件,配置数据源,查询语句,字段映射
-
还有一个managed-schema文件 ,主要是solr字段的一下映射配置,基本上照着原来的,修改一下就ok啦
- 修改完成之后,需要重启服务才能生效噢 ,
-
都配置完成之后,在控制台手动dataimport一下,就能够通过关键字进行查询啦
-
springboot项目集成
-
pom中引入
<dependency>
  <groupId>org.springframework.boot</groupId>
  <artifactId>spring-boot-starter-data-solr</artifactId>
</dependency>
-
如有Caused by: org.apache.logging.log4j.LoggingException: log4j-slf4j-impl cannot be present with log4j-to-slf4j 异常 , 则需要排除loggerjar包
<exclusions>
     <exclusion>
           <groupId>org.springframework.boot</groupId>
           <artifactId>spring-boot-starter-logging</artifactId>
     </exclusion>
 </exclusions>
-
springboot application.properties配置文件
spring.data.solr.host=http://localhost:8983/solr/cms_core #需要指定具体的库
- 服务中注入 SolrClient接口 ,调用query方法即可查询
-

