1. 提前了解
Netty 的简单实例
https://blog.csdn.net/YKenan/article/details/106362104
2. 主方法类
package com.springCloud.netty.WebSocket;

import io.netty.bootstrap.ServerBootstrap;
import io.netty.channel.ChannelFuture;
import io.netty.channel.EventLoopGroup;
import io.netty.channel.nio.NioEventLoopGroup;
import io.netty.channel.socket.nio.NioServerSocketChannel;

public class WebSocketServer {

    public static void main(String[] args) {
        // 创建主从线程
        EventLoopGroup mainGroup = new NioEventLoopGroup();
        EventLoopGroup subGroup = new NioEventLoopGroup();
        try {
            // 创建服务器
            ServerBootstrap serverBootstrap = new ServerBootstrap();
            serverBootstrap.group(mainGroup, subGroup)
                    .channel(NioServerSocketChannel.class)
                    .childHandler(new WebSocketServerInitializer());
            ChannelFuture sync = serverBootstrap.bind(8009).sync();
            sync.channel().closeFuture().sync();
        } catch (InterruptedException e) {
            e.printStackTrace();
        } finally {
            mainGroup.shutdownGracefully();
            subGroup.shutdownGracefully();
        }


    }
}
3. 通道初始化器
package com.springCloud.netty.WebSocket;

import io.netty.channel.ChannelInitializer;
import io.netty.channel.ChannelPipeline;
import io.netty.channel.socket.SocketChannel;
import io.netty.handler.codec.http.HttpObjectAggregator;
import io.netty.handler.codec.http.HttpServerCodec;
import io.netty.handler.codec.http.websocketx.WebSocketServerProtocolHandler;
import io.netty.handler.stream.ChunkedWriteHandler;

public class WebSocketServerInitializer extends ChannelInitializer<SocketChannel> {

    @Override
    protected void initChannel(SocketChannel socketChannel) throws Exception {
        // 获取管道 (pipeline)
        ChannelPipeline pipeline = socketChannel.pipeline();
        // Websocket 基于 http 协议, 所需要的 http 编码器
        pipeline.addLast(new HttpServerCodec());
        // 在 http 上有一些数据流产生, 有大有小, 我们对其处理, 既然如此, 我们需要使用 netty 对下数据流读写提供支持, 这两个类叫:
        pipeline.addLast(new ChunkedWriteHandler());
        // 对 httpMessage 进行聚合处理, 聚合成 request和 response
        pipeline.addLast(new HttpObjectAggregator(1024 * 64));
        // 本 handler 会帮你处理一些繁重复杂的事请, 会帮你处理握手动作: handshaking (close, ping, pong) ping + pong = 心跳, 对于 websocket 来讲, 都是以 frame 进行传输的, 不同的数据类型对应的 frame 也不同.
        pipeline.addLast(new WebSocketServerProtocolHandler("/ws"));
        // 自定义的 handler
        pipeline.addLast(new ChatHandler());
    }

}
4. 消息处理器
package com.springCloud.netty.WebSocket;
import io.netty.channel.ChannelHandlerContext;
import io.netty.channel.SimpleChannelInboundHandler;
import io.netty.channel.group.ChannelGroup;
import io.netty.channel.group.DefaultChannelGroup;
import io.netty.handler.codec.http.websocketx.TextWebSocketFrame;
import io.netty.util.concurrent.GlobalEventExecutor;
import java.time.LocalDateTime;
/**
* 用于处理消息的 handler
* 由于它的传输数据的载体时 frame, 这个 frame 在 netty 中, 是用于 websocket 专门处理文本对象的, frame 是消息的载体, 此类叫做: TextWebSocketFrame
*/
public class ChatHandler extends SimpleChannelInboundHandler<TextWebSocketFrame> {
// 用于记录和管理所有客户端的 Channel
private static ChannelGroup clients = new DefaultChannelGroup(GlobalEventExecutor.INSTANCE);
@Override
protected void channelRead0(ChannelHandlerContext channelHandlerContext, TextWebSocketFrame textWebSocketFrame) throws Exception {
// 获取客户端所传输的信息
String text = textWebSocketFrame.text();
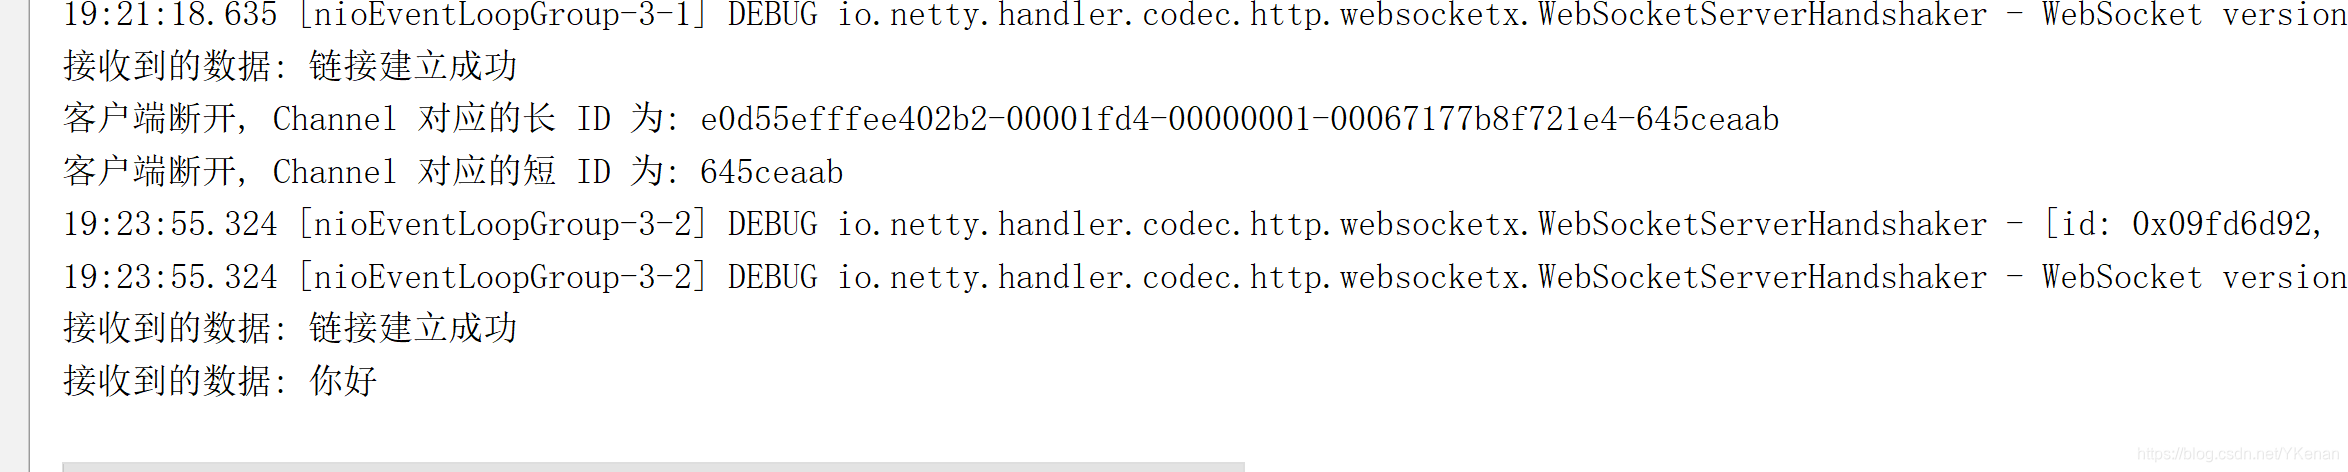
System.out.println("接收到的数据: " + text);
// 将数据刷新到客户端上
clients.writeAndFlush(
new TextWebSocketFrame(
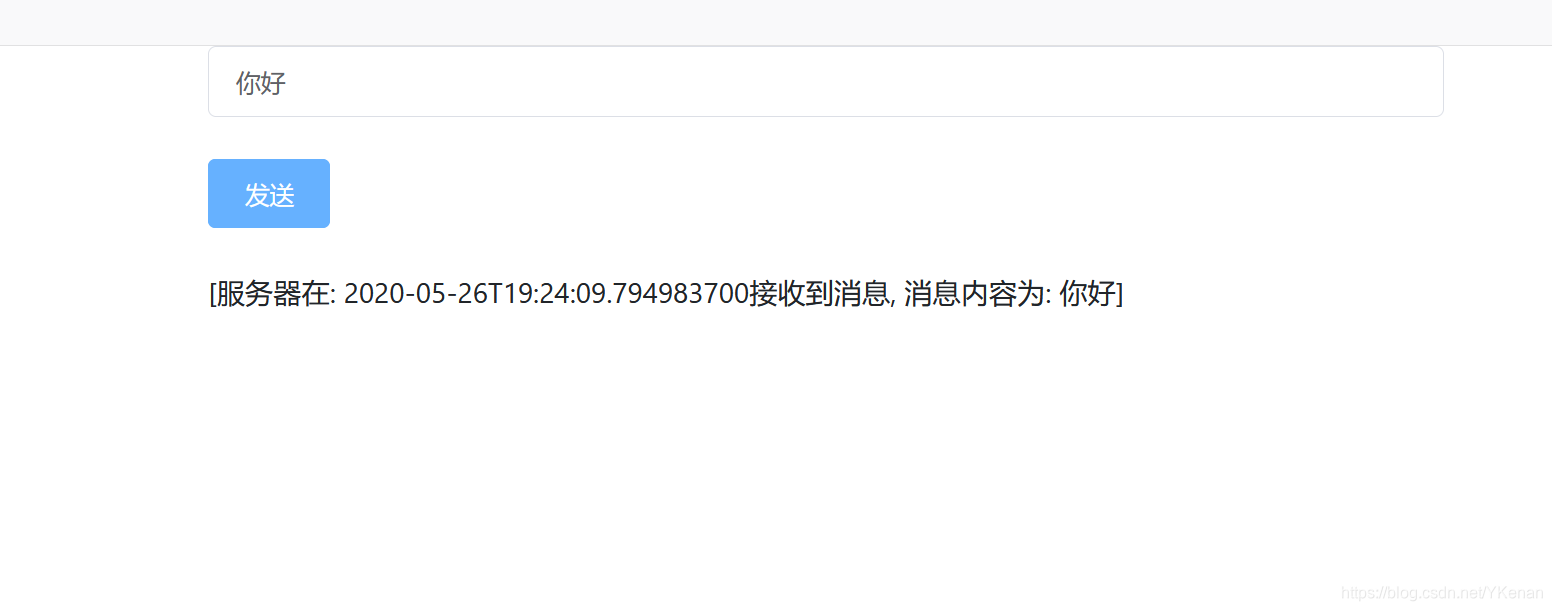
"[服务器在: "
+ LocalDateTime.now()
+ "接收到消息, 消息内容为: "
+ text
+ "]"
)
);
}
@Override
public void handlerAdded(ChannelHandlerContext ctx) throws Exception {
super.handlerAdded(ctx);
clients.add(ctx.channel());
}
@Override
public void handlerRemoved(ChannelHandlerContext ctx) throws Exception {
super.handlerRemoved(ctx);
clients.remove(ctx.channel()); // 这句话没有必要写
System.out.println("客户端断开, Channel 对应的长 ID 为: " + ctx.channel().id().asLongText());
System.out.println("客户端断开, Channel 对应的短 ID 为: " + ctx.channel().id().asShortText());
}
}
5. 前端
<template>
  <div id="style">
    <div class="message">
      <el-input
        placeholder="请输入内容"
        v-model="sendMessage"
        clearable>
      </el-input>
      <br />
      <br />
      <el-button type="primary" @click="sendWebSocket(sendMessage)">发送</el-button>
      <br />
      <br />
      <span>{{receiveMessage}}</span>
    </div>
  </div>
</template>

<script>
  import ElInput from '../../../node_modules/element-ui/packages/input/src/input.vue'
  import ElButton from '../../../node_modules/element-ui/packages/button/src/button.vue'

  export default {
    components: {
      ElButton,
      ElInput
    },
    props: {},
    data () {
      return {
        receiveMessage: '',
        sendMessage: '',
        webSocket: null
      }
    },
    mounted () {},
    watch: {},
    created () {
      this.initWebSocket()
    },
    destroyed () {
      // 离开路由之后断开 webSocket 连接
      this.webSocket.close()
    },
    methods: {
      // 初始化 webSocket
      initWebSocket () {
        // 创建 WebSocket 对象
        this.webSocket = new WebSocket('ws://127.0.0.1:8009/ws')
        this.webSocket.onopen = this.onOpenWebSocket
        this.webSocket.onmessage = this.onMessageWebSocket
        this.webSocket.onerror = this.onErrorWebSocket
        this.webSocket.onclose = this.closeWebSocket
      },
      // 连接建立之后执行 send 方法发送数据
      onOpenWebSocket () {
        console.log('链接建立成功!')
        this.sendWebSocket('链接建立成功')
      },
      // 连接建立失败重连
      onErrorWebSocket () {
        this.initWebSocket()
      },
      // 数据接收
      onMessageWebSocket (e) {
        this.receiveMessage = e.data
      },
      // 数据发送
      sendWebSocket (Data) {
        this.webSocket.send(Data)
      },
      // 关闭
      closeWebSocket (e) {
        console.log('断开连接', e)
      }
    }
  }
</script>

<style scoped>
  #style {
    width: 700px;
    margin: auto;
  }
</style>
6. 浏览效果
浏览器
控制台