1- 环境准备
| 节点 | OS | dns主机名 | IP | cpu | 内存 | 磁盘 | 组件 |
|---|---|---|---|---|---|---|---|
| dns|ntp | debian10 | dns.k8s.kcom | 192.168.1.103 | 1 | 1g | 64g | bind9 ntp |
| harbor | centos7.7 mini | harbor.k8s.kcom | 192.168.141.135(nat) | 2 | 4g | 80g | harbor docker-ce docker-compose |
2- 环境安装
2.1 dns主机安装
- dns服务安装
#安装dns服务
apt -y install bind9 dnsutils
mkdir -p /etc/bind/k8s.lcom/ #dns配置文件文件夹子
echo 'include "/etc/bind/k8s.lcom/k8s.lcom.zones";' >> /etc/bind/named.conf

##配置zones文件
cat << EOF > /etc/bind/k8s.lcom/k8s.lcom.zones
zone "k8s.lcom" IN {
    type master;
    file "/etc/bind/k8s.lcom/k8s.lcom";
    allow-update { localhost ;};
};
EOF

##配置正向查询文件
cat << EOF > /etc/bind/k8s.lcom/k8s.lcom;
\$TTL 8D
@ IN SOA @ k8s.lcom. (
        2020062101
        1D
        1H
        1W
        3H )

    NS @
    A   192.168.1.103
dns A   192.168.1.103
ntp A   192.168.1.103
harbor A 192.168.141.135
EOF
chgrp  -R bind /etc/bind/k8s.lcom
systemctl restart bind9
systemctl enable bind9
## 验证
nslookup ntp.k8s.lcom 127.0.0.1
Server:		127.0.0.1
Address:	127.0.0.1#53

Name:	ntp.k8s.lcom
Address: 192.168.1.103


##使用短dns名
echo -e "search k8s.lcom\nnameserver 192.168.1.103" > /etc/resolv.conf
##验证
nslookup ntp
Server:		192.168.1.103
Address:	192.168.1.103#53

Name:	ntp.k8s.lcom
Address: 192.168.1.103
- ntp服务安装
apt-get install ntp ntpdata -y
echo "restrict 192.168.0.0 mask 255.255.0.0 nomodify" >>/etc/ntp.conf #允许同步的网络地址
systemctl restart ntp #重启服务
systemctl enable ntp
2.2- 基本环境[所有节点]
#关闭防火墙和selinux
systemctl stop firewalld
systemctl disable firewalld
setenforce 0
sed -i.bak 's/SELINUX=enforcing/SELINUX=disabled/' /etc/selinux/config

#禁用虚拟内存
swapoff -a
sed -i.bak '/ swap / s/^\(.*\)$/#\1/g' /etc/fstab

#配置清华源
rm -rf /etc/yum.repos.d/*
curl -o /etc/yum.repos.d/CentOS-Base.repo https://files-cdn.cnblogs.com/files/lemanlai/CentOS-7.repo.sh
curl -o /etc/pki/rpm-gpg/RPM-GPG-KEY-7 https://mirror.tuna.tsinghua.edu.cn/centos/7/os/x86_64/RPM-GPG-KEY-CentOS-7
yum install epel-release -y
curl -o /etc/yum.repos.d/docker-ce.repo https://files-cdn.cnblogs.com/files/lemanlai/docker-ce.repo.sh
yum clean all
yum makecache fast
yum install nmap telnet curl wget vim lrzsz bind-utils -y #安装基本工具

echo -e "search k8s.lcom\nnameserver ntp" >> /etc/resolv.conf  #配置dns和短域名
yum install ntpdate ntp -y #时间同步
sed -i 's/server/\#server/g' /etc/ntp.conf #修改时间服务器
echo "server ntp iburst" >> /etc/ntp.conf
systemctl restart ntpd
systemctl enable ntpd
3- harbor节点安装
3.1- docker-ce安装
yum remove docker docker-common docker-selinux docker-engine -y  #如果你之前安装过 docker,请先删掉
yum install -y yum-utils device-mapper-persistent-data lvm2 #安装一些依赖
yum -y install docker-ce
systemctl enable docker
curl -sSL https://get.daocloud.io/daotools/set_mirror.sh | sh -s http://f1361db2.m.daocloud.io  #写入加速地址
systemctl daemon-reload
systemctl restart docker #重启服务
3.2- docker-compose安装
curl -L https://get.daocloud.io/docker/compose/releases/download/1.26.0/docker-compose-`uname -s`-`uname -m` > /usr/local/bin/docker-compose
chmod +x /usr/local/bin/docker-compose

yum install bash-completion  -y #安装命令补全功能
curl -L https://raw.githubusercontent.com/docker/compose/1.16.1/contrib/completion/bash/docker-compose -o /etc/bash_completion.d/docker-compose
# curl -L https://files-cdn.cnblogs.com/files/lemanlai/docker-compose.sh  -o /etc/bash_completion.d/docker-compose   #GIT hub上下载慢,我已经下载到国内,这个是1.26.0版本
source /etc/bash_completion.d/docker-compose #生效
3.3- harbor安装
cd /opt/
wget http://harbor.orientsoft.cn/harbor-v1.3.0-rc4/harbor-offline-installer-v1.3.0-rc4.tgz #下载离线安装软件 6
#国内镜像网址:http://harbor.orientsoft.cn/
wget http://harbor.orientsoft.cn/harbor-v1.3.0-rc4/harbor-offline-installer-v1.3.0-rc4.tgz ##建议 893MB
tar -xvf harbor-offline-installer-v1.3.0-rc4.tgz
##修改配置文件
cd harbor/
cat harbor.cfg -n
5 hostname = harbor.k8s.lcom #第五行该主机地址
12 db_password = root123 # mysql密码
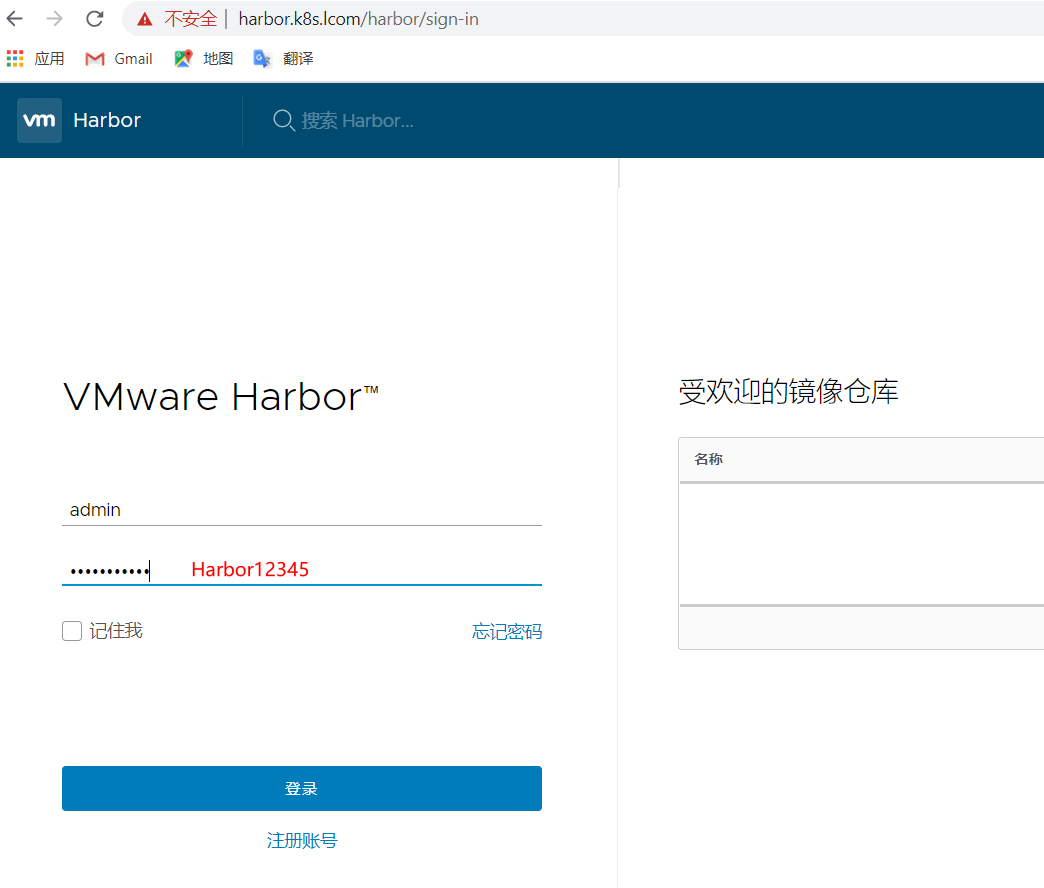
67 harbor_admin_password = Harbor12345 # harbor web登陆密码
##开始安装
./install.sh
[Step 0]: checking installation environment ...
Note: docker version: 19.03.11
Note: docker-compose version: 1.26.0
[Step 1]: loading Harbor images ...
***
[Step 4]: starting Harbor ...
Creating network "harbor_harbor" with the default driver
Creating harbor-log ... done
Creating harbor-db ... done
Creating harbor-adminserver ... done
Creating registry ... done
Creating harbor-ui ... done
Creating nginx ... done
Creating harbor-jobservice ... done
✔ ----Harbor has been installed and started successfully.---- ##安装完成
Now you should be able to visit the admin portal at http://harbor.k8s.lcom.
For more details, please visit https://github.com/vmware/harbor .
3.4- web登陆
浏览器打开 http://harbor.k8s.lcom/harbor/sign-in