目前做的配置还只是一个最最最基础的配置。
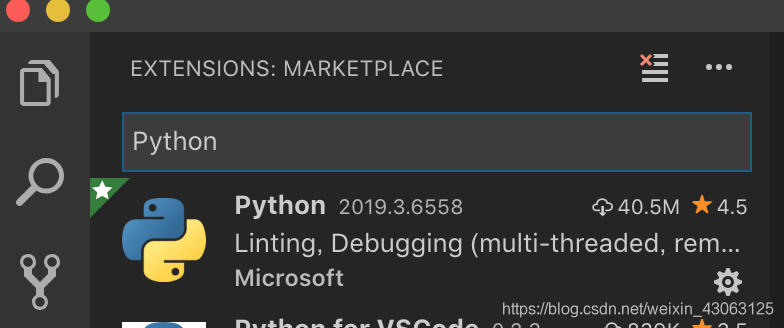
(一)安装必要的插件
插件搜索Python,第一个就是了。
(二)配置相关的文件
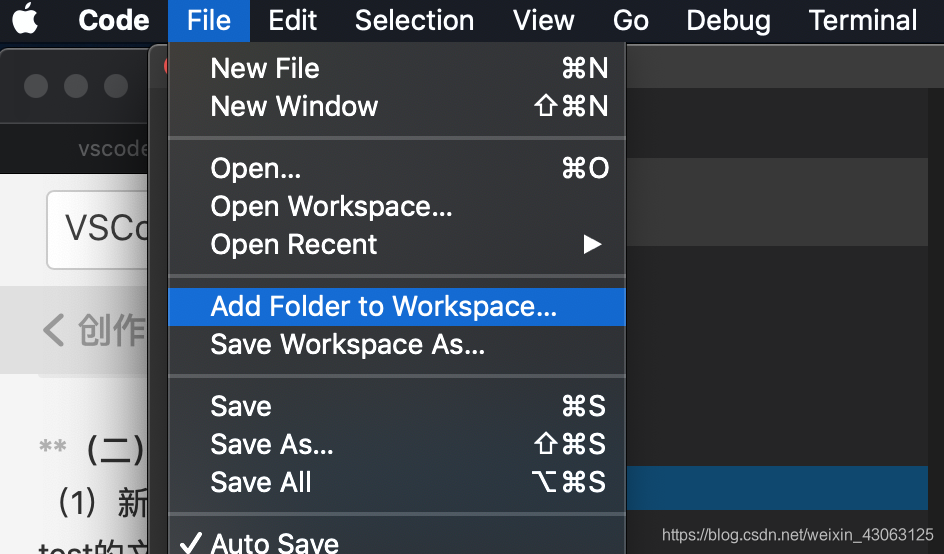
(1)新建一个文件夹,也就是你的工程文件所在的位置,如图我建的是一个test的文件夹,然后把这个文件夹添加到workspace。
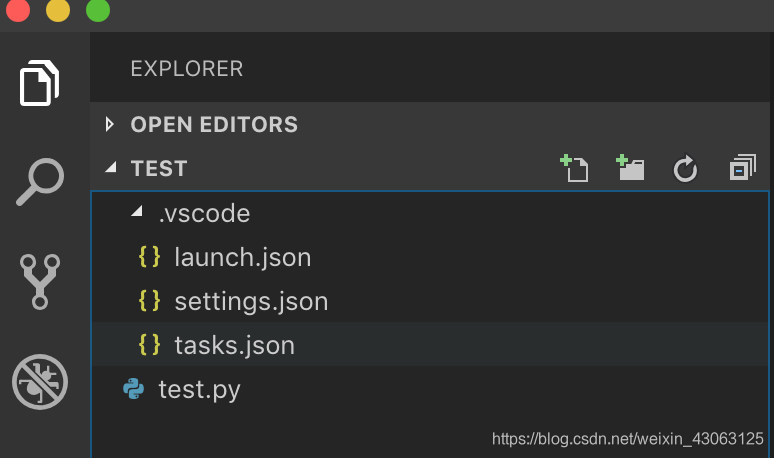
当然,这三个json文件就是一会要配置的文件了。
(2)在test下面新建一个文件,命名为xxx.py
写点简单的代码进去:
#!/usr/local/bin/python3

print ("你好, 世界!")
print ("Hello, world!")
注意:mac一般是自带安装了python2.7的貌似,如果要用到python3.x就需要去搜一下怎么安装了哈哈哈。
(3)快捷键fn+F5调试,此时出来的调试窗口,点击那个齿轮符号就可以配置launch.json了。
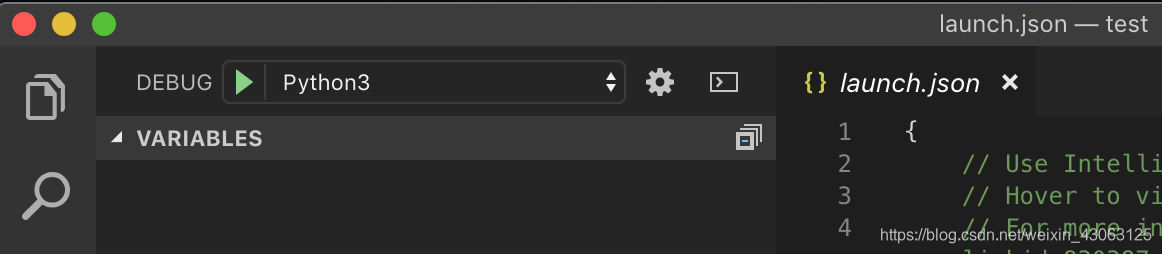
(4)配置launch.json
下面是我自己的配置文件,主要是把自己的路径加进去。
{
    "version": "0.2.0",
    "configurations": [

        {
            "name": "Python3",
            "type": "python",
            "request": "launch",
            "stopOnEntry": false,
            "pythonPath": "/usr/local/bin/python3",
            "program": "${file}",
            "cwd":"${workspaceFolder}",
            "env": {},
            "console": "externalTerminal",
            "envFile": "${workspaceFolder}/.env",
            "debugOptions":[
                "RedirectOutput"
            ]
        },
        {
            "name": "Python: Terminal (integrated)",
            "type": "python",
            "request": "launch",
            "stopOnEntry": false,
            "pythonPath": "/usr/local/bin/python3",
            "program": "${file}",
            "cwd": "",
            "console": "integratedTerminal",
            "env":{},
            "envFile": "${workspaceFolder}/.env",
            "debugOptions": []
        },
        {
            "name": "Python: Terminal (external)",
            "type": "python",
            "request": "launch",
            "stopOnEntry": false,
            "pythonPath": "/usr/local/bin/python3",
            "program": "${file}",
            "cwd": "",
            "console": "externalTerminal",
            "env": {},
            "envFile": "${workspaceFolder}/.env",
            "debugOptions": []
        },
        {
            "name": "Python: Django",
            "type": "python",
            "request": "launch",
            "stopOnEntry": true,
            "pythonPath": "/usr/local/bin/python3",
            "program": "${workspaceFolder}/manage.py",
            "cwd": "${workspaceFolder}",
            "args": [
                "runserver",
                "--noreload",
                "--nothreading"
            ],
            "env": {},
            "envFile": "${workspaceFolder}/.env",
            "debugOptions": [
                "RedirectOutput",
                "Django"
            ]
        },
        {
            "name": "Python: Flask",
            "type": "python",
            "request": "launch",
            "module": "flask",
            "env": {
                "FLASK_APP": "app.py"
            },
            "args": [
                "run",
                "--no-debugger",
                "--no-reload"
            ],
            "jinja": true
        },
        {
            "name": "Python: Current File",
            "type": "python",
            "request": "launch",
            "program": "${file}",
            "console": "externalTerminal",
            "pythonPath": "${config:python.pythonPath}"
        }
    ]
}
(5)配置settings.json
在左下角点击设置的那个小齿轮,进入设置界面后切到workspace settings,找到Edit in settings.json。修改成如下代码:
{
    "python.pythonPath": "/usr/local/bin/python3",
    "python.linting.flake8Enabled": true,
    "python.formatting.provider": "yapf",
    "python.linting.flake8Args": [
            "--max--line-length=248"
        ],
    "python.linting.pylintEnabled": false
}
说明:其实只要第一句就行了,后面的需要安装flake8(静态代码检查工具)和yapf(可以通过shift+alt+F来格式化代码),安装方法就是:先安装pip3,然后安装这两个插件执行:(第一句是安装pip3,并用于支持python3)
curl https://bootstrap.pypa.io/get-pip.py | python3
pip3 install flake8
pip3 install yapf
(6)配置tasks.json
同样的,改个路径就OK
{
    "version": "2.0.0",
    "tasks": [
        {
            "label": "python3",
            "type": "shell",
            "command": "/usr/local/bin/python3",
            "args": ["${file}"],
            "group": {
                "kind": "build",
                "isDefault": true,
            }
        }
    ]
}
(三)编译和调试
根据前面的配置,现在编译和调试都没问题了,如果发现调试调不出系统的终端,在launch.json里加上:
"console": "externalTerminal",
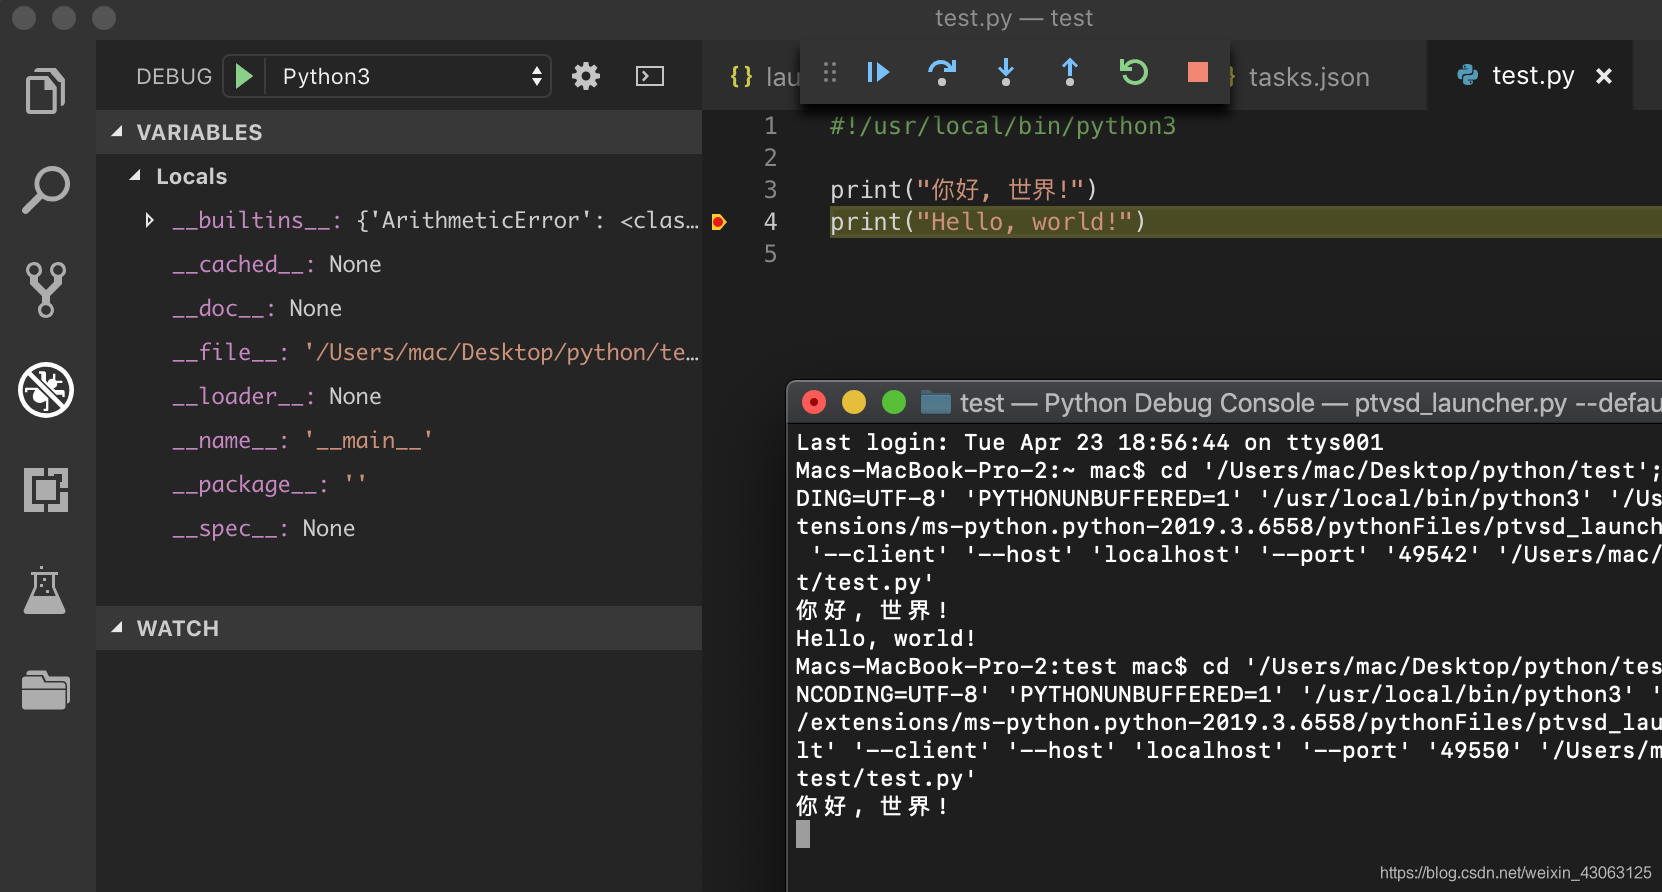
结果如图:

断点调试: