本篇文章主要用于简要记录Mac下IDEA + Java EE Web + Tomcat的环境配置的流程,因为环境我已经事先配置好了,这里只演示流程,就不再重新安装了。下面我们开始吧。
目录
IDEA + Java EE Web + Tomcat的环境配置
Java
下载Java
推荐大家使用Java 11,因为Java 11是Java最新的LTS(Long Term Support)版本,有着很多新特性,并且Oracle会对Java 11一直维护到2023年。
Java SE 11下载地址:Java 11 SE下载地址
这里我们使用macOS Installer对应的dmg安装包,能一键拖动完成安装,非常方便。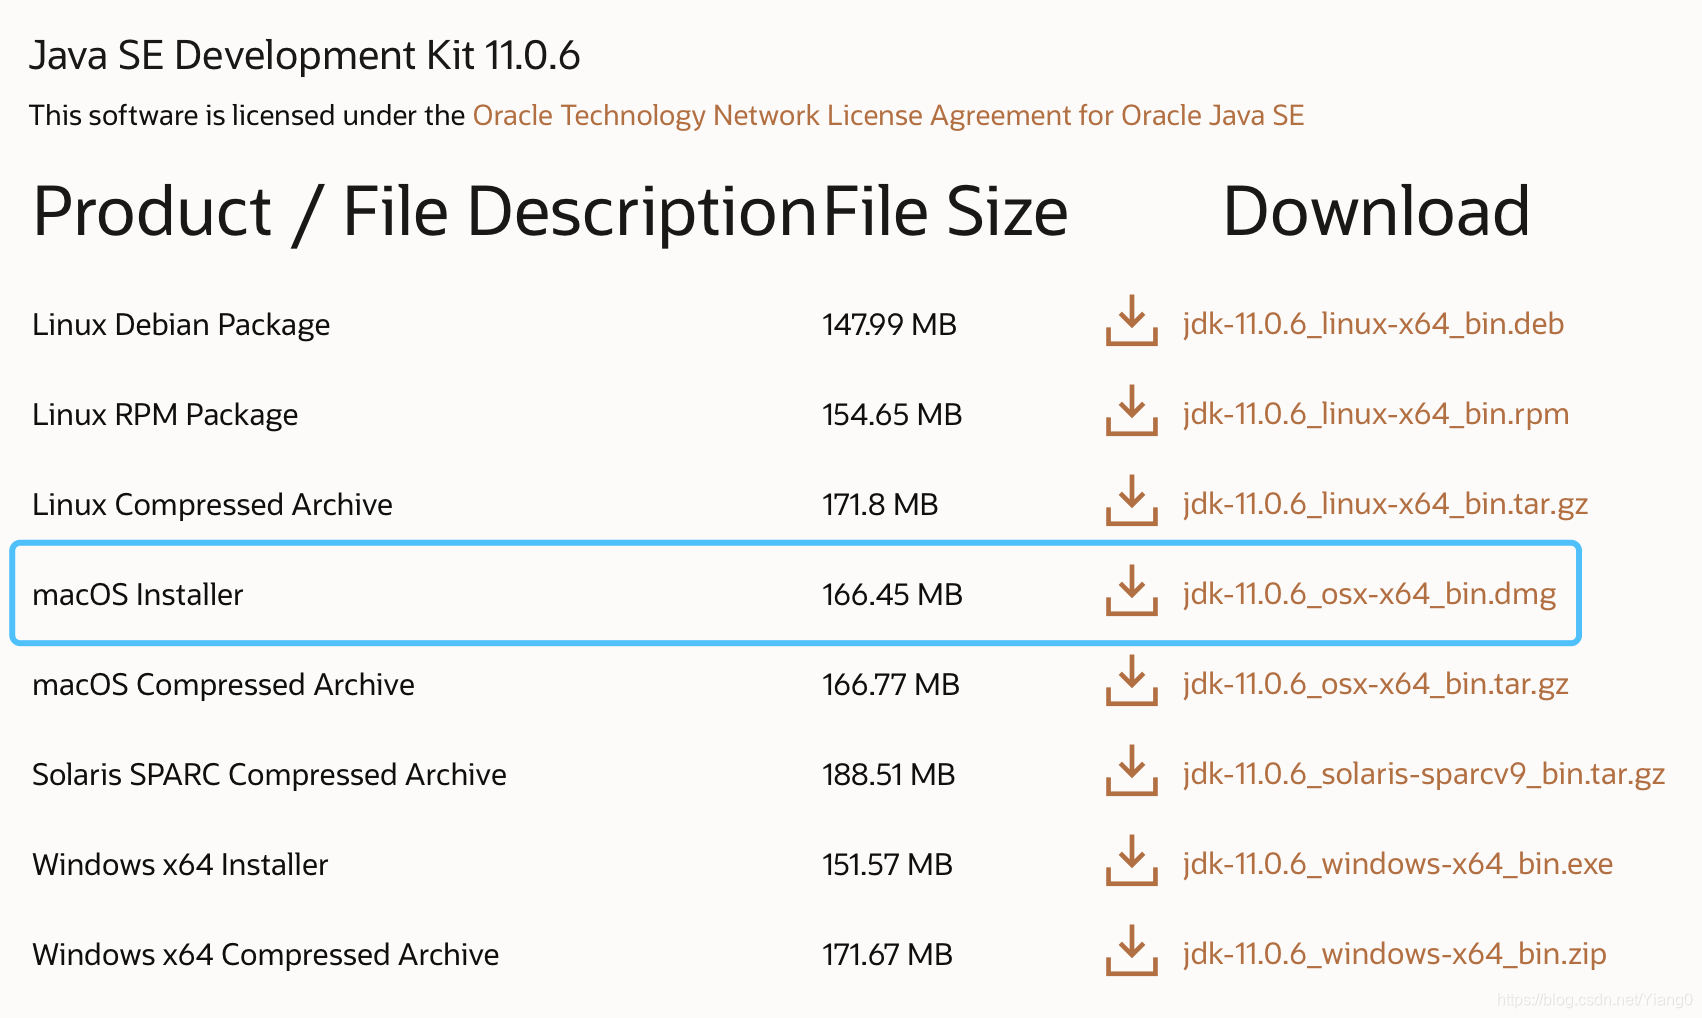
配置环境变量
根据提示安装完成后,编辑.bash_profile,输入以下内容
export JAVA_HOME=/Library/Java/JavaVirtualMachines/jdk你的版本号.jdk/Contents/Home
PATH=$JAVA_HOME/bin:$PATH:.
CLASSPATH=$JAVA_HOME/lib/tools.jar:$JAVA_HOME/lib/dt.jar:.
export JAVA_HOME
export PATH
export CLASSPATH
保存并退出后,执行以下命令使配置生效
source ~/.bash_profile
在终端输入java --version获得类似下面的输出就说明Java安装成功了。

IntelliJ IDEA Ultimate
IntelliJ IDEA Ultimate下载地址:IntelliJ IDEA Ultimate下载地址
在使用软件前,大家可以先去官网,使用学校提供给你的邮箱注册账号进行学生认证,获得JetBrains产品免费使用权限(一次认证有效期为一年)。
选择Mac版下载。根据提示一步步安装成功后,使用你认证的JetBrains账号登陆,即可使用软件了。

Tomcat
下载Tomcat
Tomcat下载地址:Tomcat下载地址
大家根据自己的需要选择一个版本下载即可。
解压压缩包,会得到如下文件夹,bin文件夹下为各种可执行文件,conf文件夹下则为Tomcat的配置文件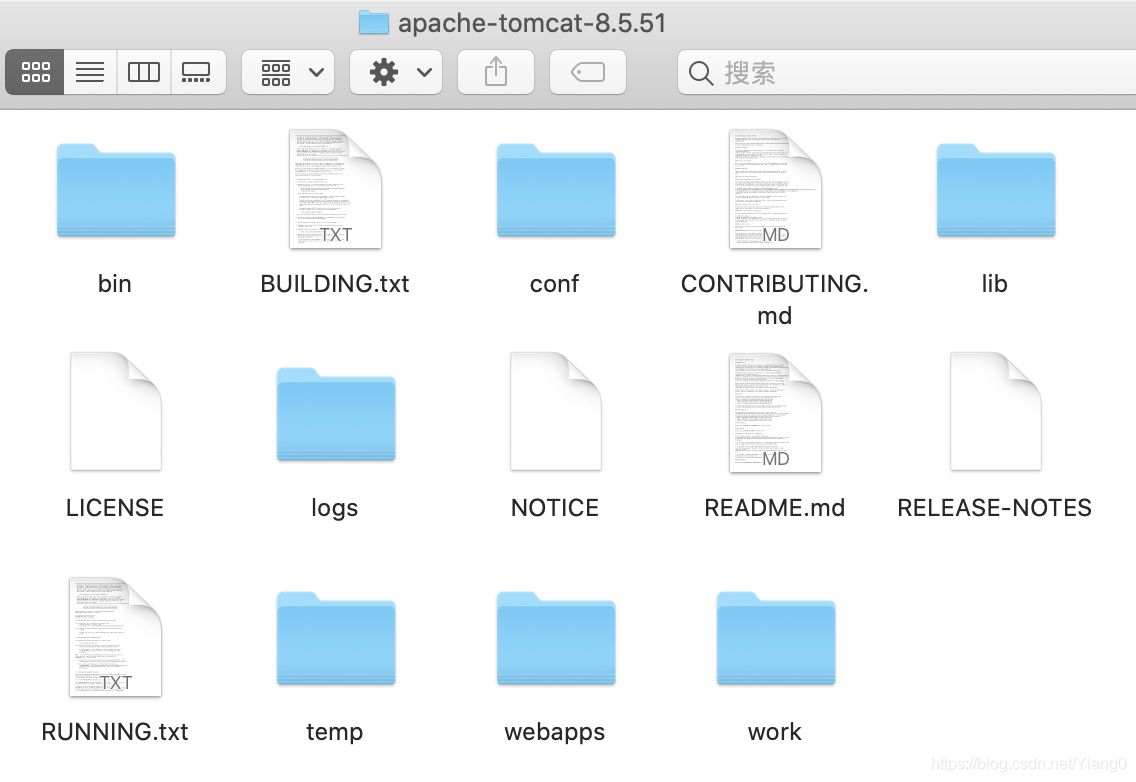
启动Tomcat
在终端中,修改.sh文件权限
cd 你的安装路径/apache-tomcat-版本号/bin
sudo chmod 755 *.sh
说明:
sudo为系统超级管理员权限
chmod 改变一个或多个文件的权限
755代表用户对该文件拥有读、写、执行的权限,同组的其他人员拥有执行和读的权限,没有写的权限,其它用户的权限和同组人员一样.
777代表user, group, others都有读写和可执行权限.
chmod -R 777 foldername 可以授予文件夹权限.
修改权限后,就可以运行Tomcat了
./startup.sh
会有如下输出

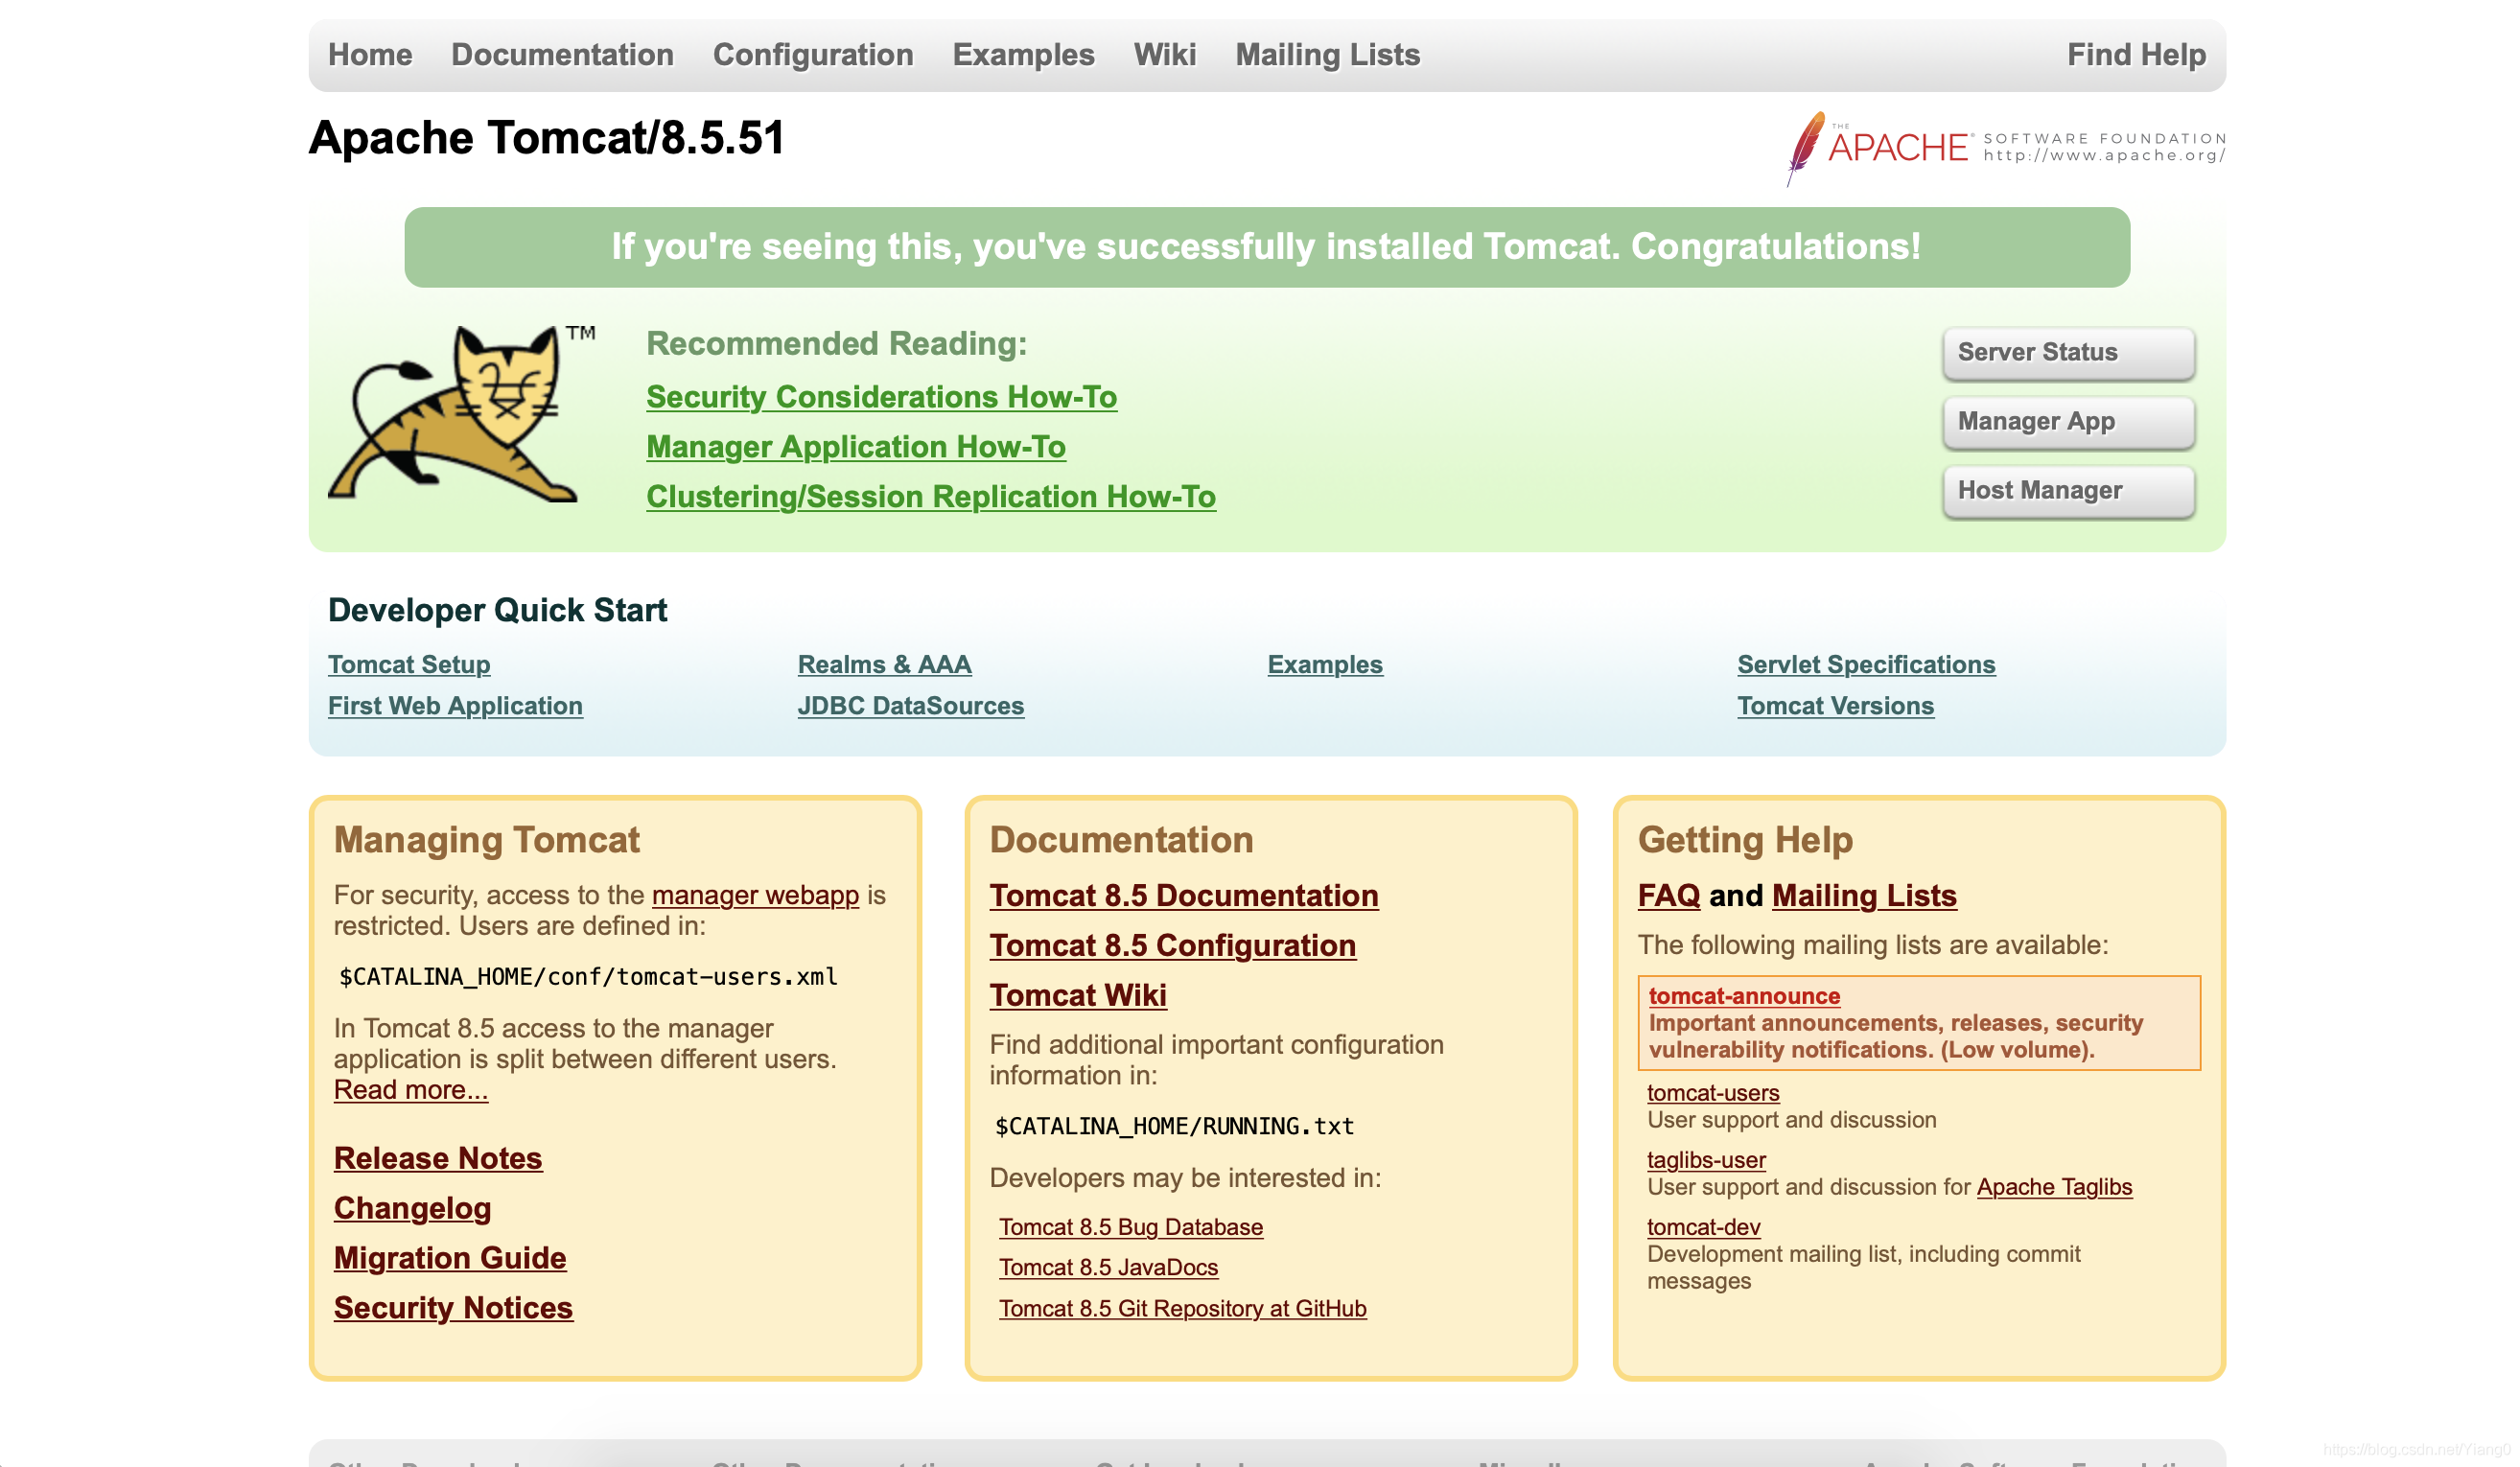
这时,如果能正常打开http://localhost:8080,则说明Tomcat已成功安装(一般出现问题多是端口已被占用,Tomcat的默认端口号为8080,可以根据自己的需要修改conf目录下的server.xml)。
终止Tomcat
测试完成后关闭Tomcat
./shutdown.sh
MySQL
下载MySQL
这里推荐大家直接使用Mac下的神器——HomeBrew。Homebrew是一款Mac OS平台下的软件包管理工具,拥有安装、卸载、更新、查看、搜索等很多实用的功能。简单的一条指令,就可以实现包管理,而不用你关心各种依赖和文件路径的情况,十分方便快捷。至于HomeBrew的安装方法本文就不赘述了。
安装MySQL只需一条命令即可
brew install mysql
启动MySQL
等待自动安装完成后,执行
mysql.server start
得到

在第一次使用时,需要对MySQL进行初始化
mysql_secure_installation
会得到
Securing the MySQL server deployment.

Connecting to MySQL using a blank password.

VALIDATE PASSWORD COMPONENT can be used to test passwords
and improve security. It checks the strength of password
and allows the users to set only those passwords which are
secure enough. Would you like to setup VALIDATE PASSWORD component?

Press y|Y for Yes, any other key for No: y   // 使用密码验证

There are three levels of password validation policy:

LOW    Length >= 8
MEDIUM Length >= 8, numeric, mixed case, and special characters
STRONG Length >= 8, numeric, mixed case, special characters and dictionary file

Please enter 0 = LOW, 1 = MEDIUM and 2 = STRONG: 0  // 选择密码验证等级
Please set the password for root here.

New password:    	// 输入新密码

Re-enter new password:

Estimated strength of the password: 50
Do you wish to continue with the password provided?(Press y|Y for Yes, any other key for No) : y
By default, a MySQL installation has an anonymous user,
allowing anyone to log into MySQL without having to have
a user account created for them. This is intended only for
testing, and to make the installation go a bit smoother.
You should remove them before moving into a production
environment.

Remove anonymous users? (Press y|Y for Yes, any other key for No) : y   	// 删除匿名用户
Success.


Normally, root should only be allowed to connect from
'localhost'. This ensures that someone cannot guess at
the root password from the network.

Disallow root login remotely? (Press y|Y for Yes, any other key for No) : n 	// 是否禁止远程登录

 ... skipping.
By default, MySQL comes with a database named 'test' that
anyone can access. This is also intended only for testing,
and should be removed before moving into a production
environment.


Remove test database and access to it? (Press y|Y for Yes, any other key for No) : y  	// 是否删除测试库
 - Dropping test database...
Success.

 - Removing privileges on test database...
Success.

Reloading the privilege tables will ensure that all changes
made so far will take effect immediately.

Reload privilege tables now? (Press y|Y for Yes, any other key for No) : y 	 // 刷新数据库权限
Success.

All done!   // 完成
完成配置后,输入
mysql -u 用户名 -p 端口号(可以省略,默认为本地连接)
正确输入账号密码后,即可连接MySQL
终止MySQL
mysql.server stop
创建IDEA Jave EE Web项目
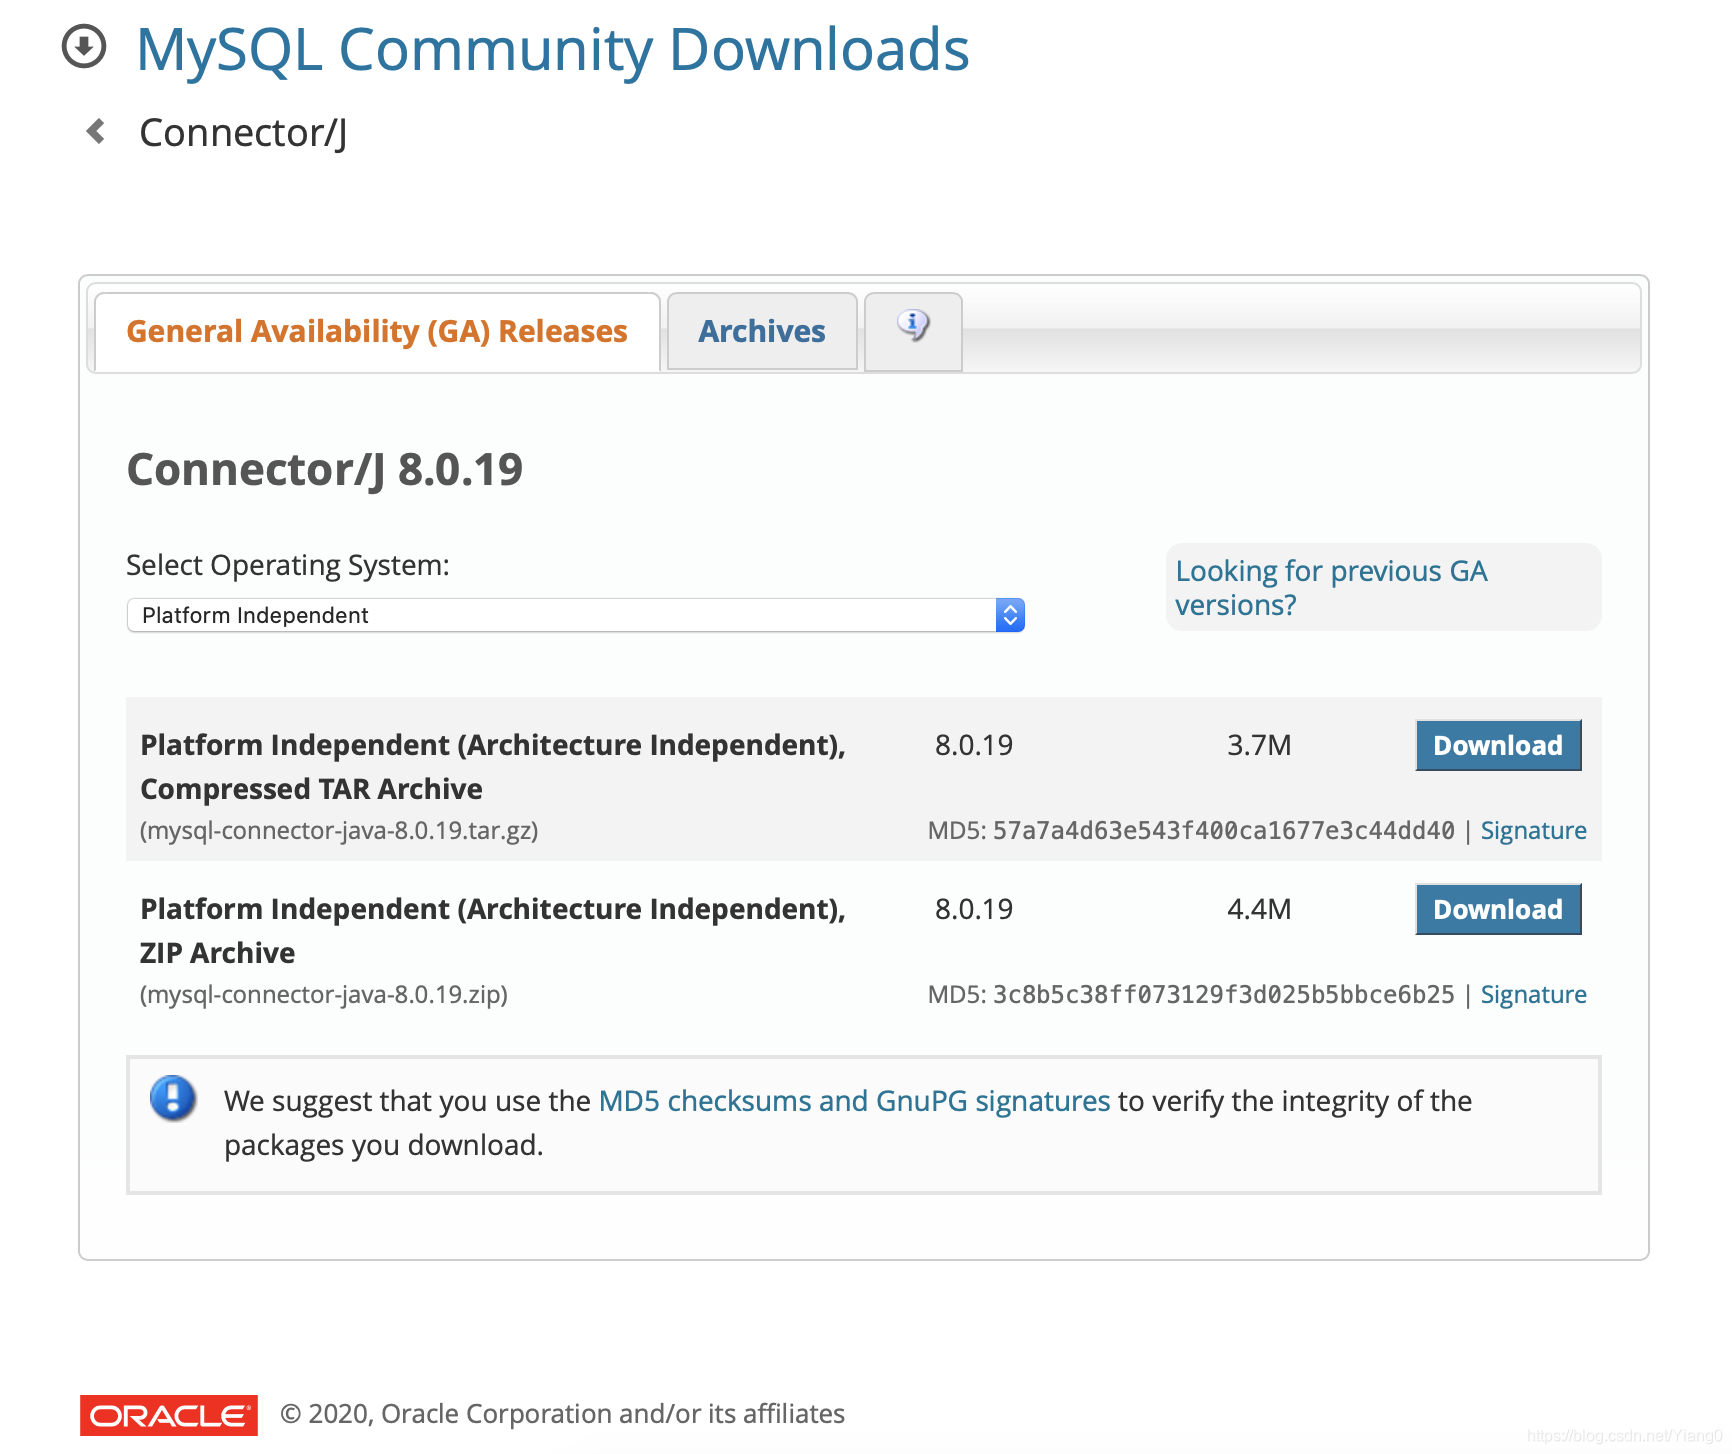
下载MySQL Connector/J
进入MySQL Connector/J,选择Platform Independent对应的版本下载
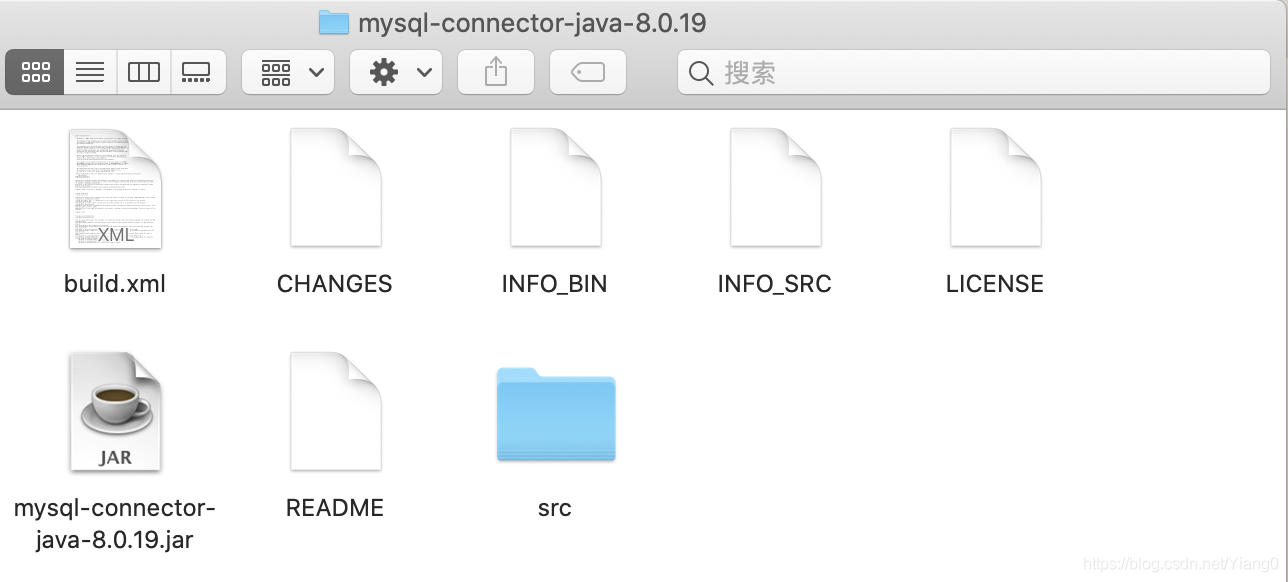
解压,得到文件夹,其中mysql-connector-java-8.0.19.jar就是我们需要的驱动
创建项目
在做完上述的准备工作后,可以开始创建项目了。
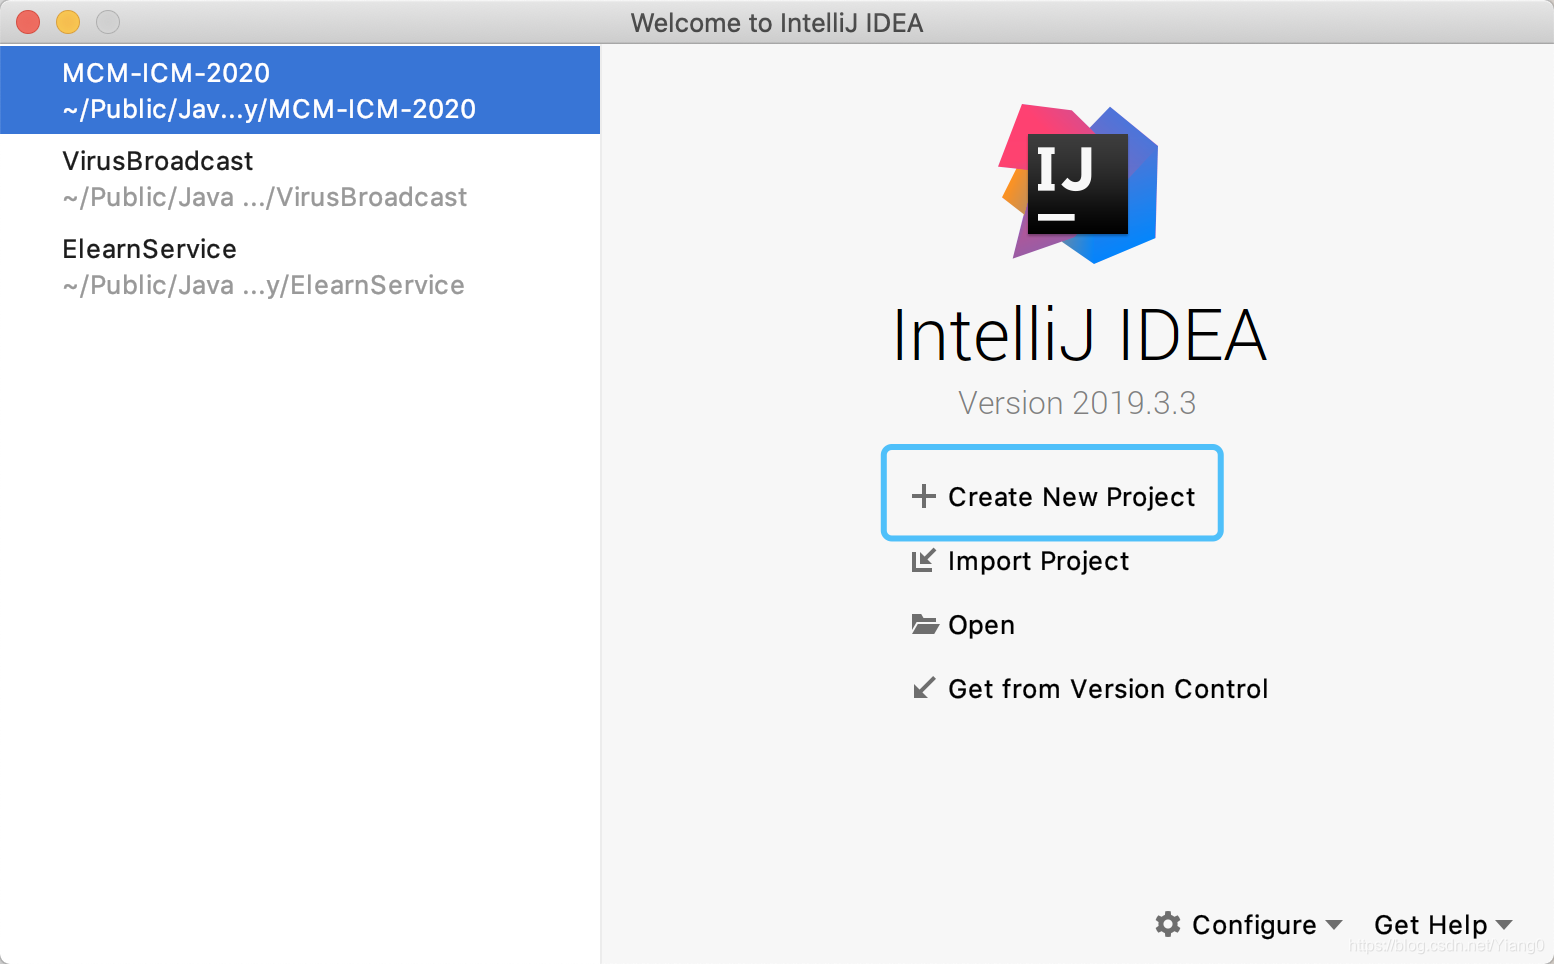
在IDEA启动页面点击Create New Project
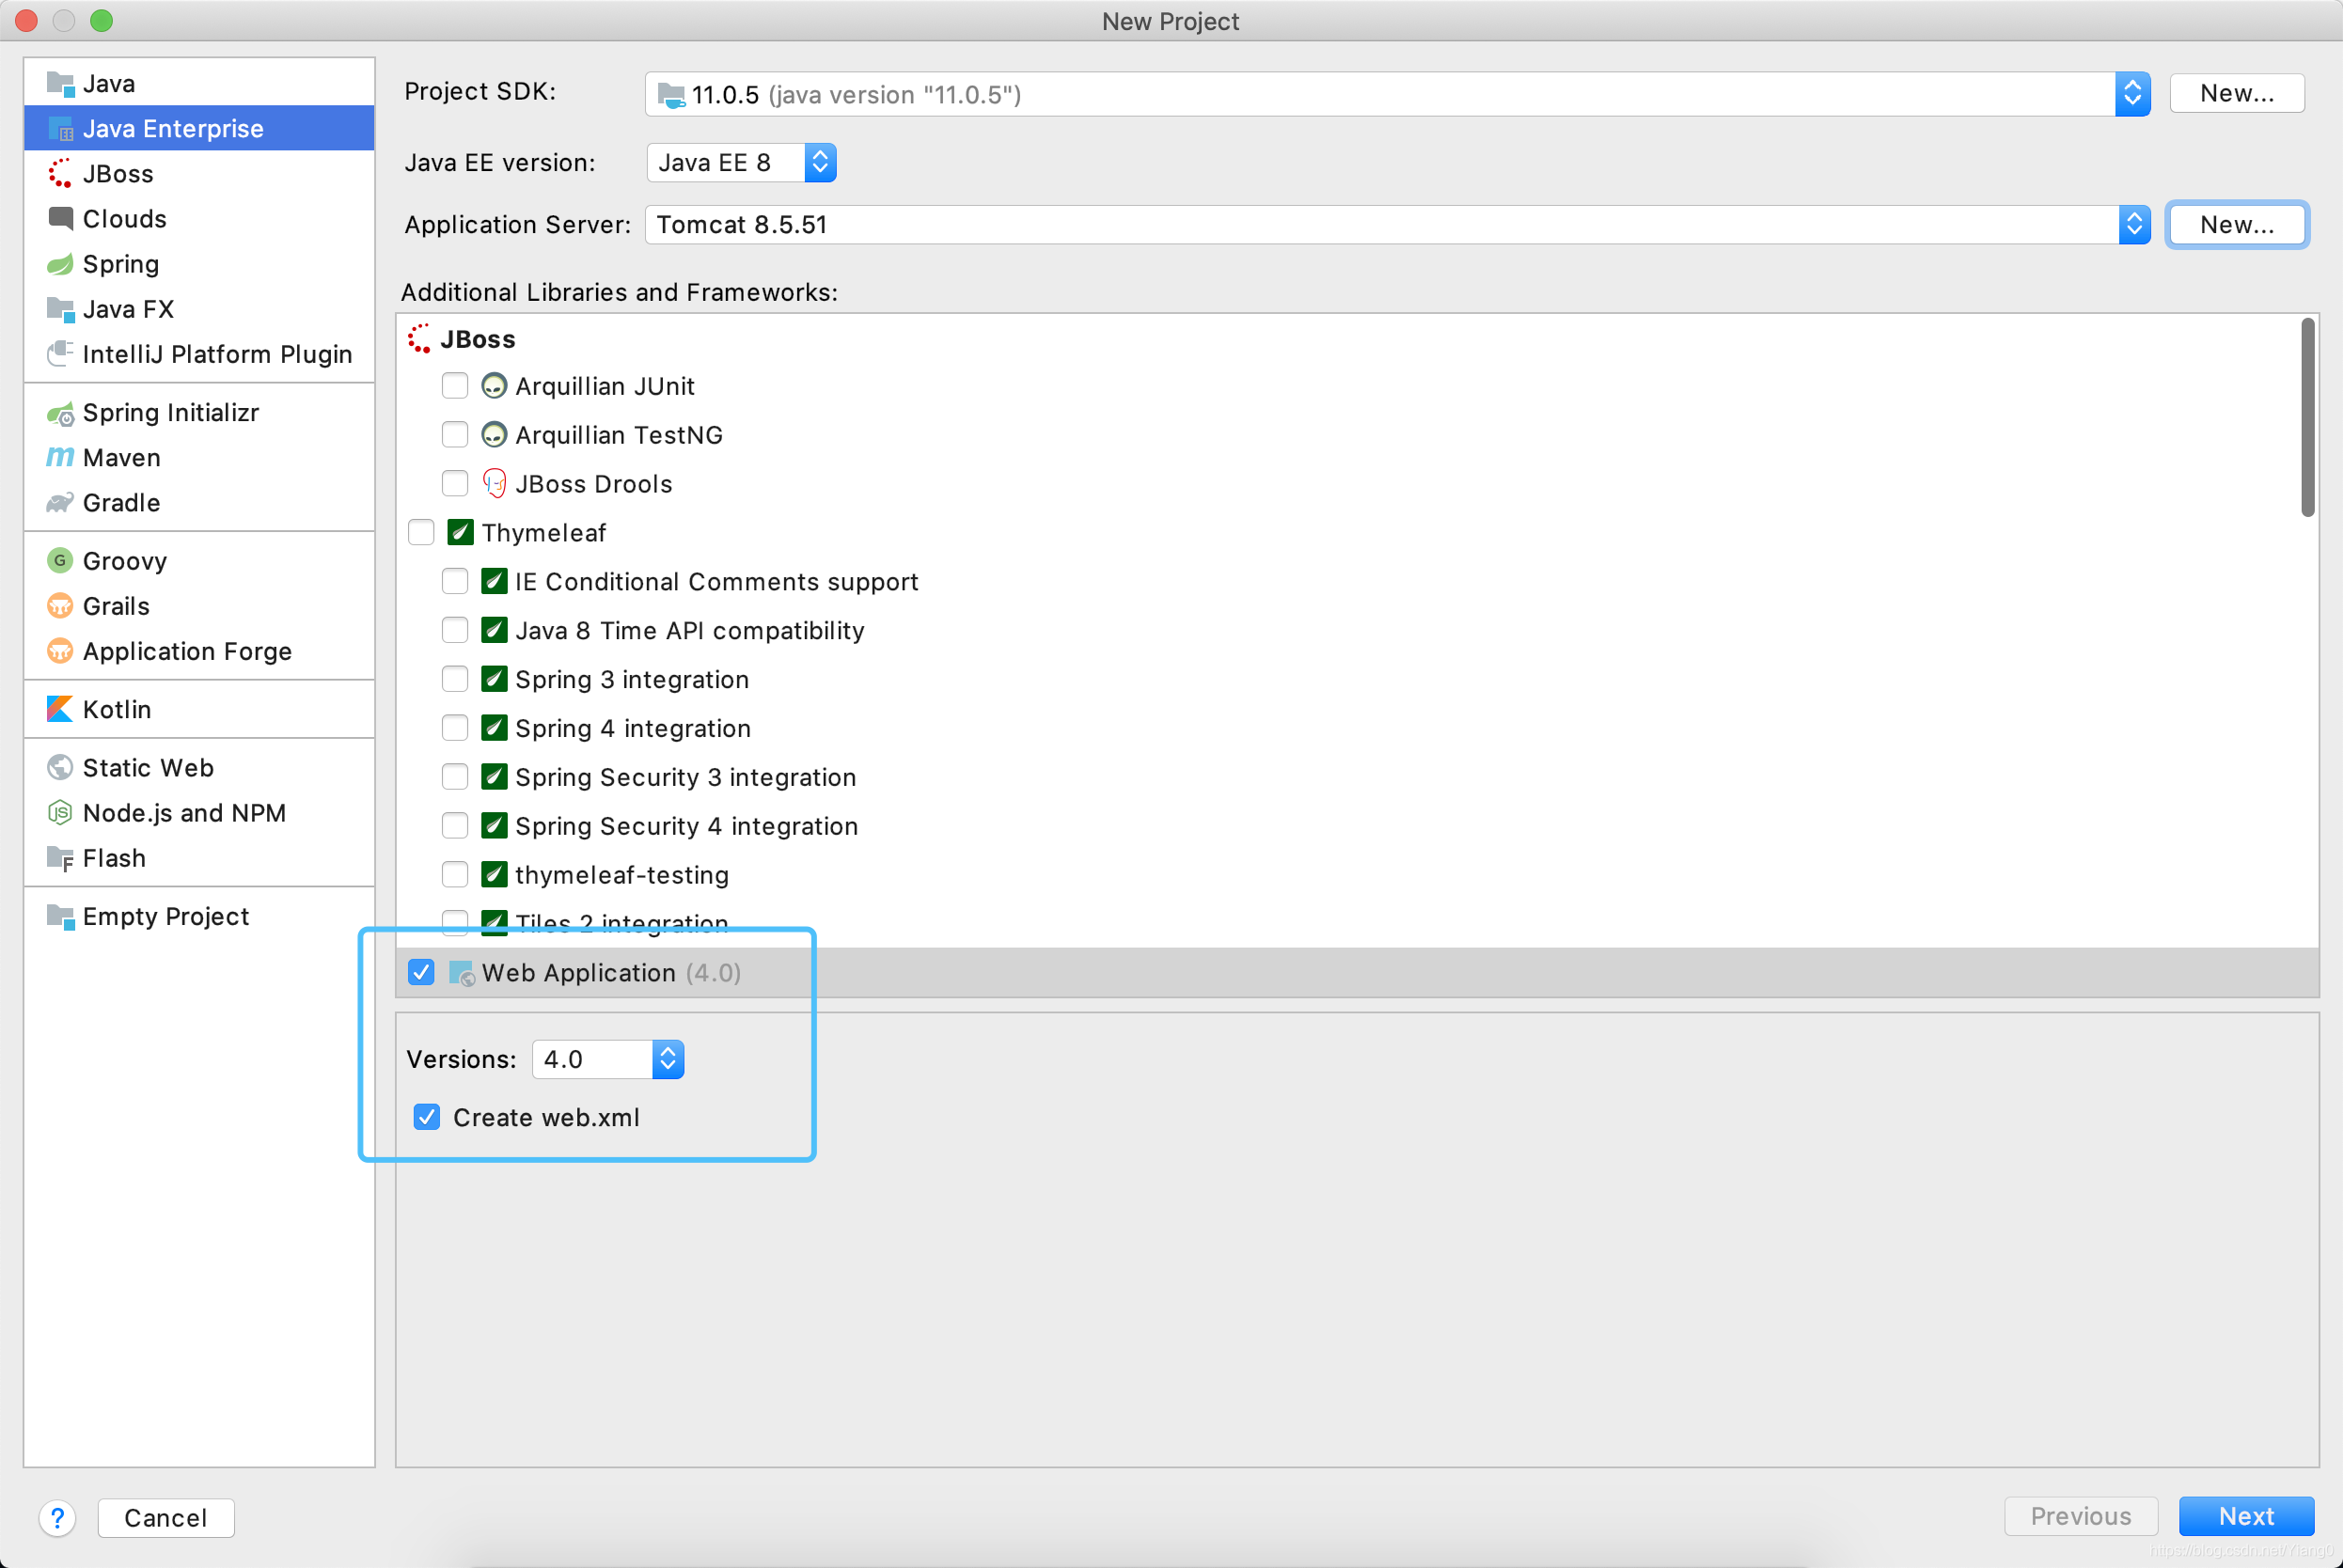
然后选择Java EE版本

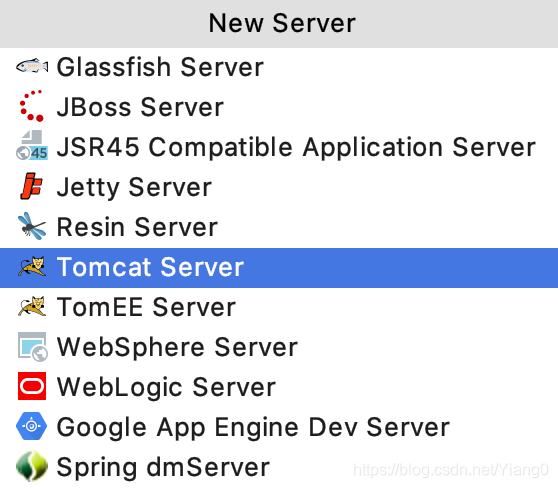
首次使用需要配置Tomcat服务器,选择New -> Tomcat Server
选择Tomcat的安装路径,IDEA会自动识别出版本信息

在下方的复选框中选中Web Application
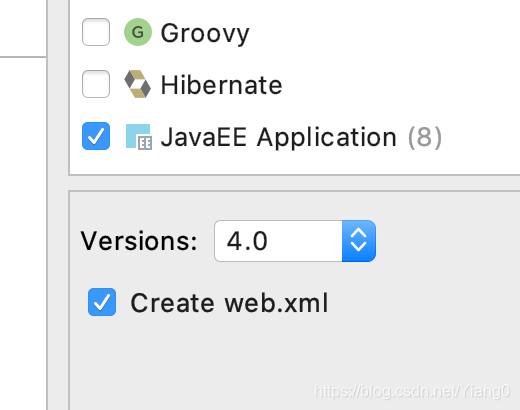
再选中 JavaEE Application
点击Next,选择项目路径
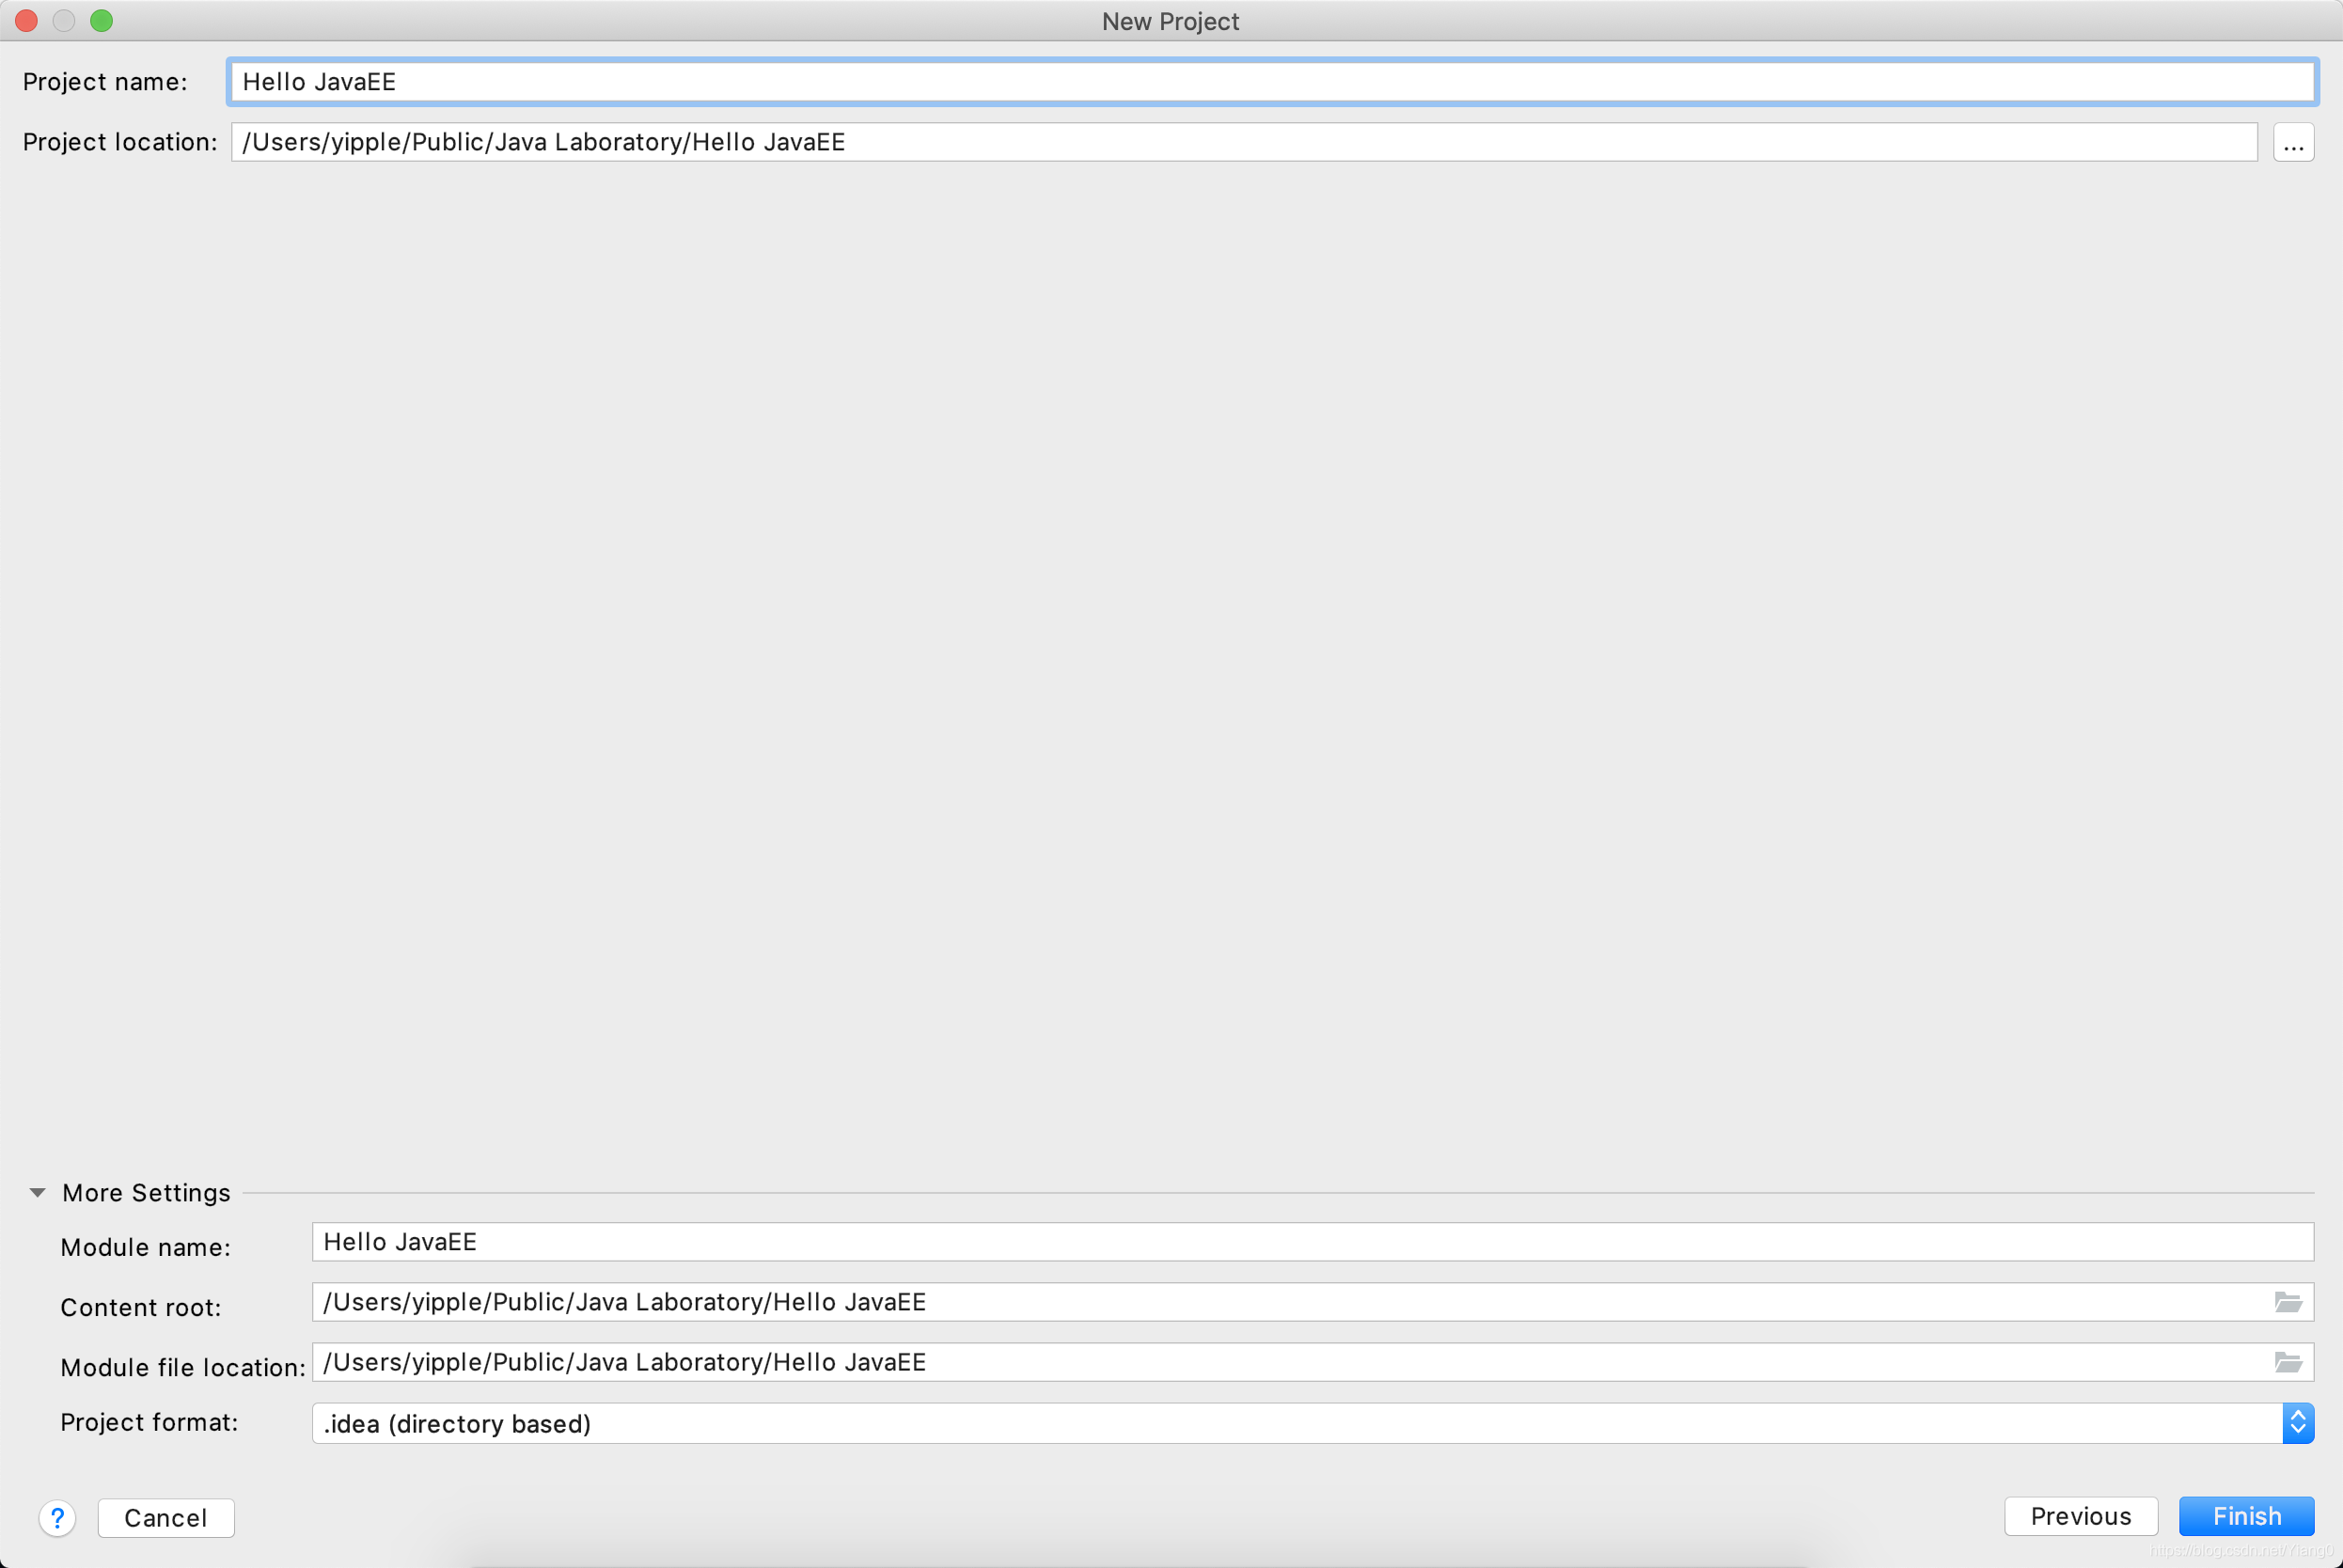
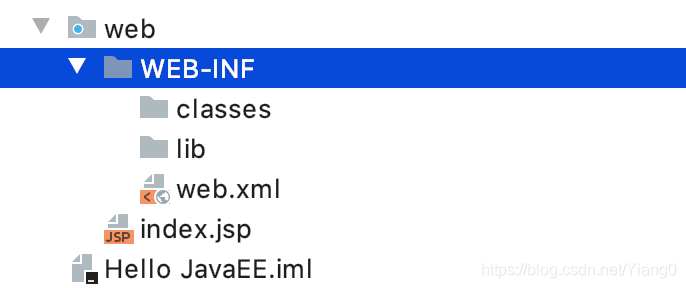
点击Finish,创建项目成功,项目结构如下

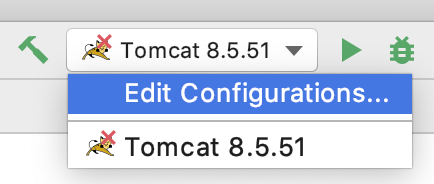
启动Tomcat
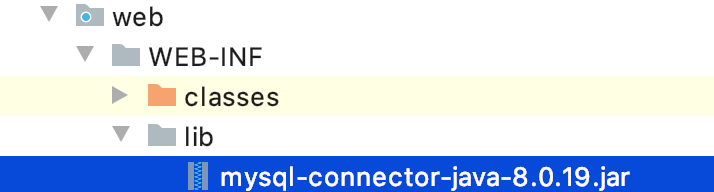
在web/WEB-INF下创建两个文件夹classes和lib,classes用来存放编译后输出的classes文件,lib用于存放第三方jar包
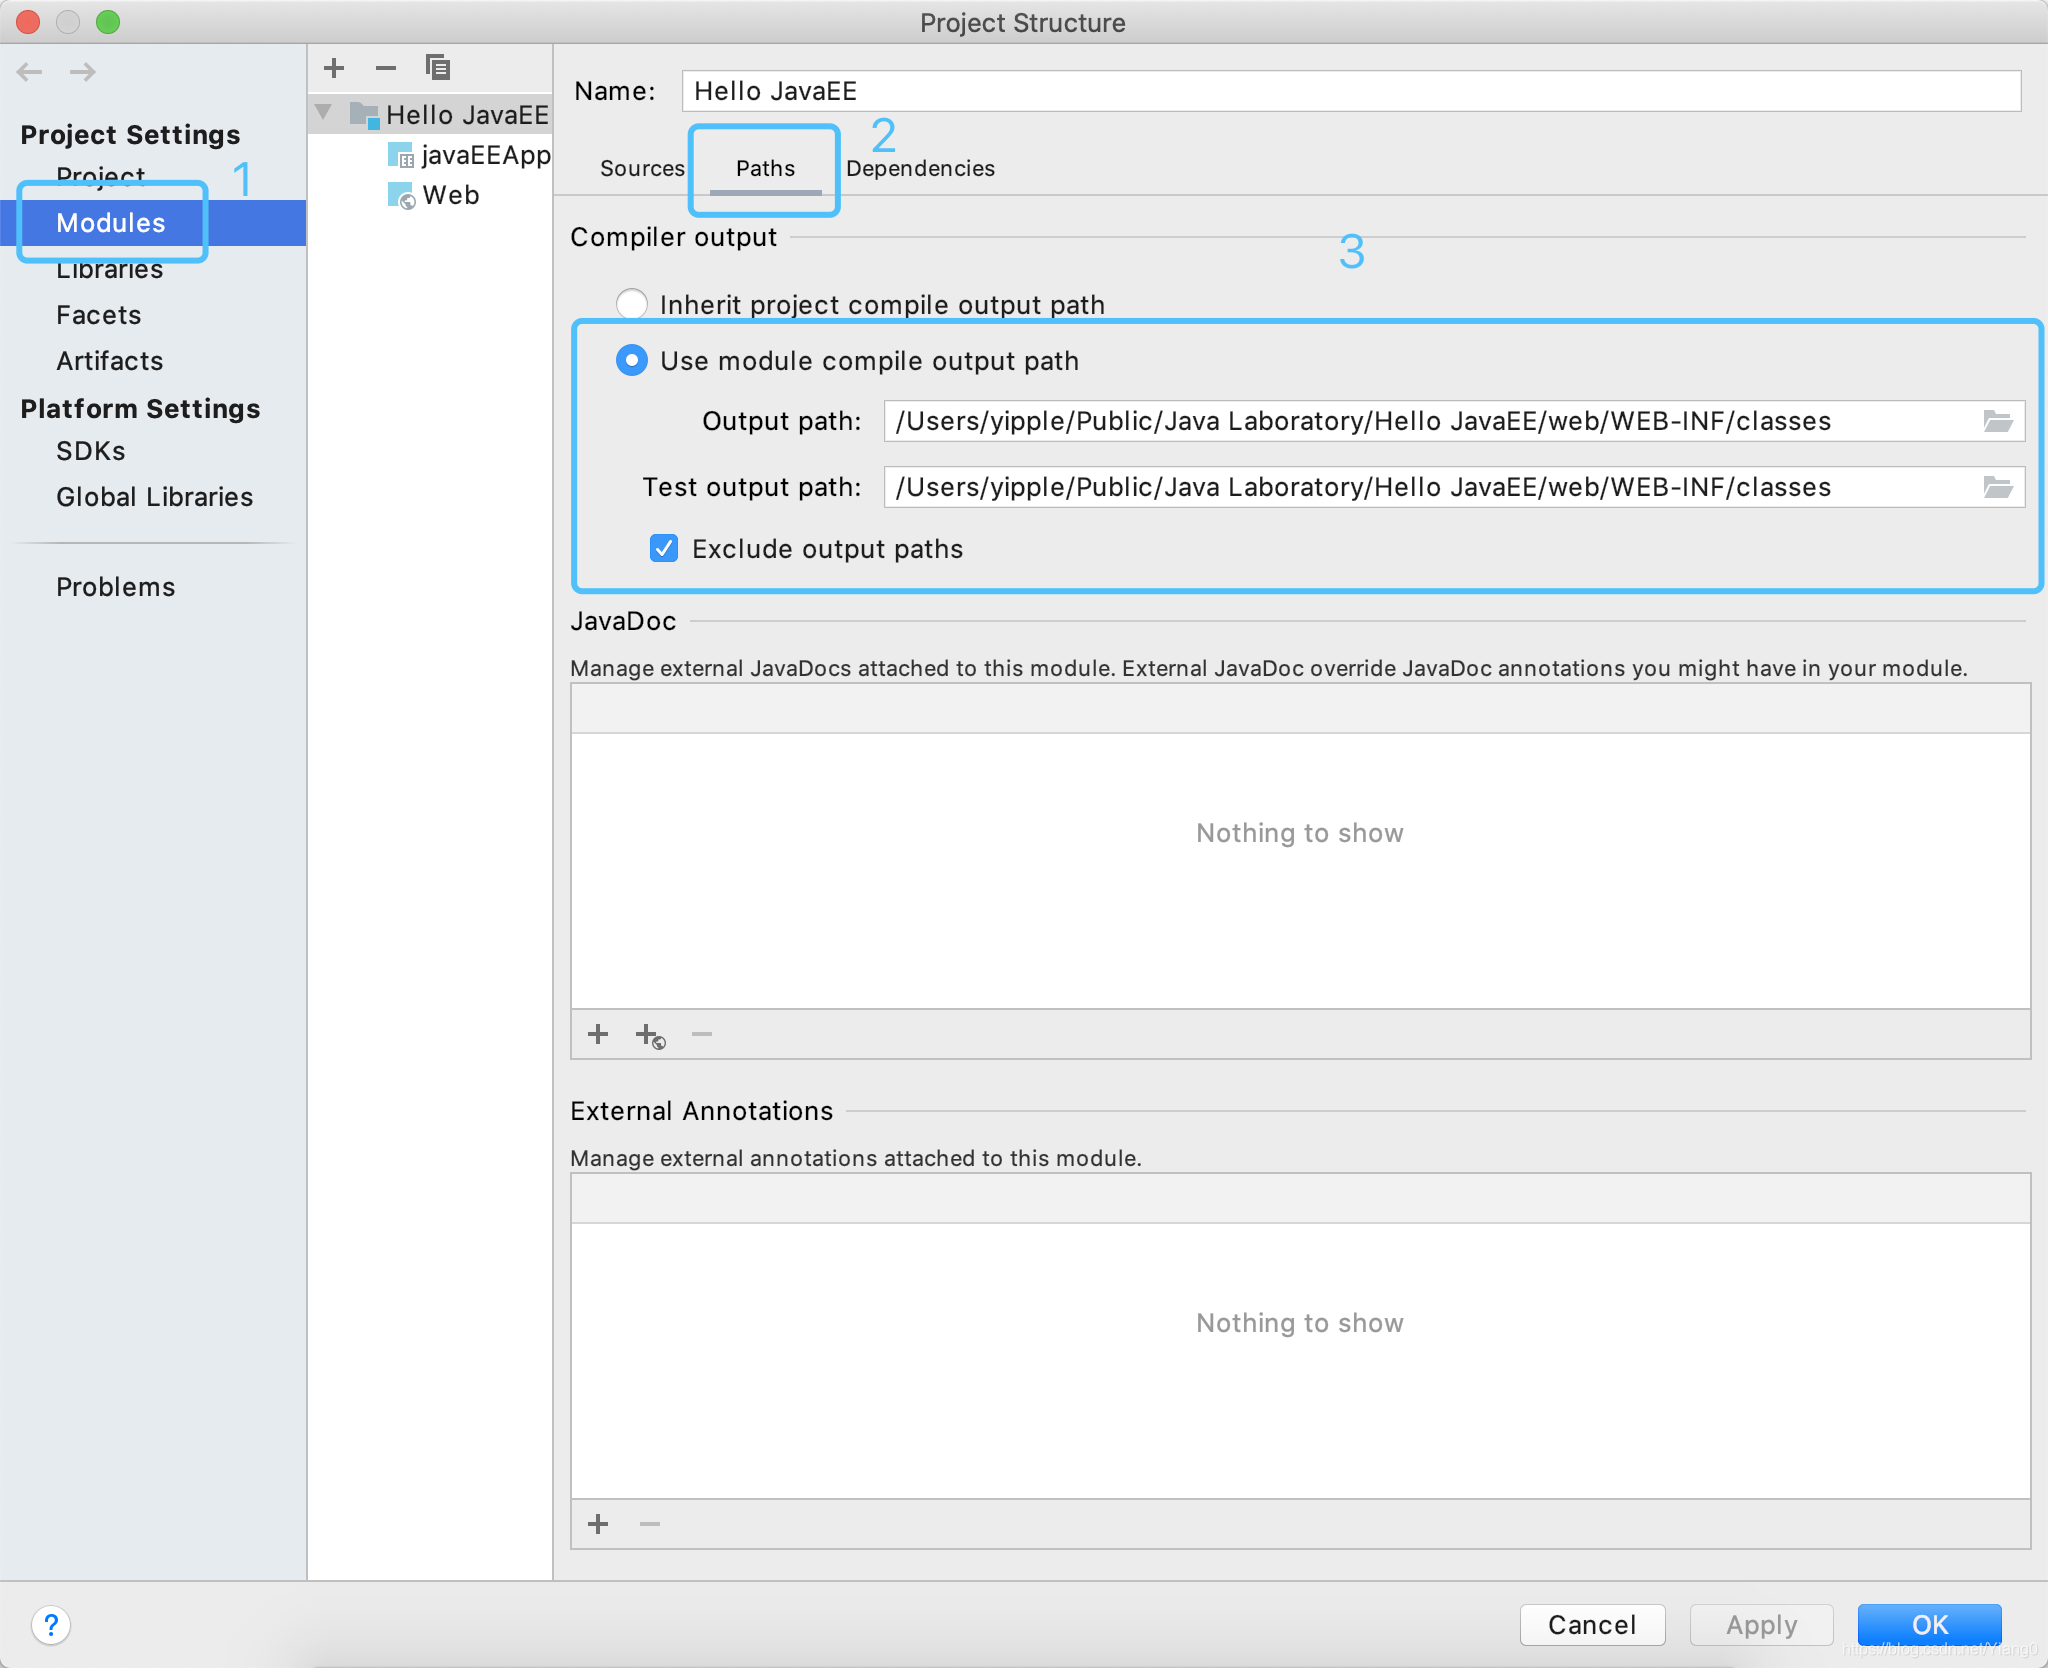
File -> Project Structure -> Modules -> Paths -> Use module compile output path,将Output path和Test output path都选择刚刚创建的classes文件夹
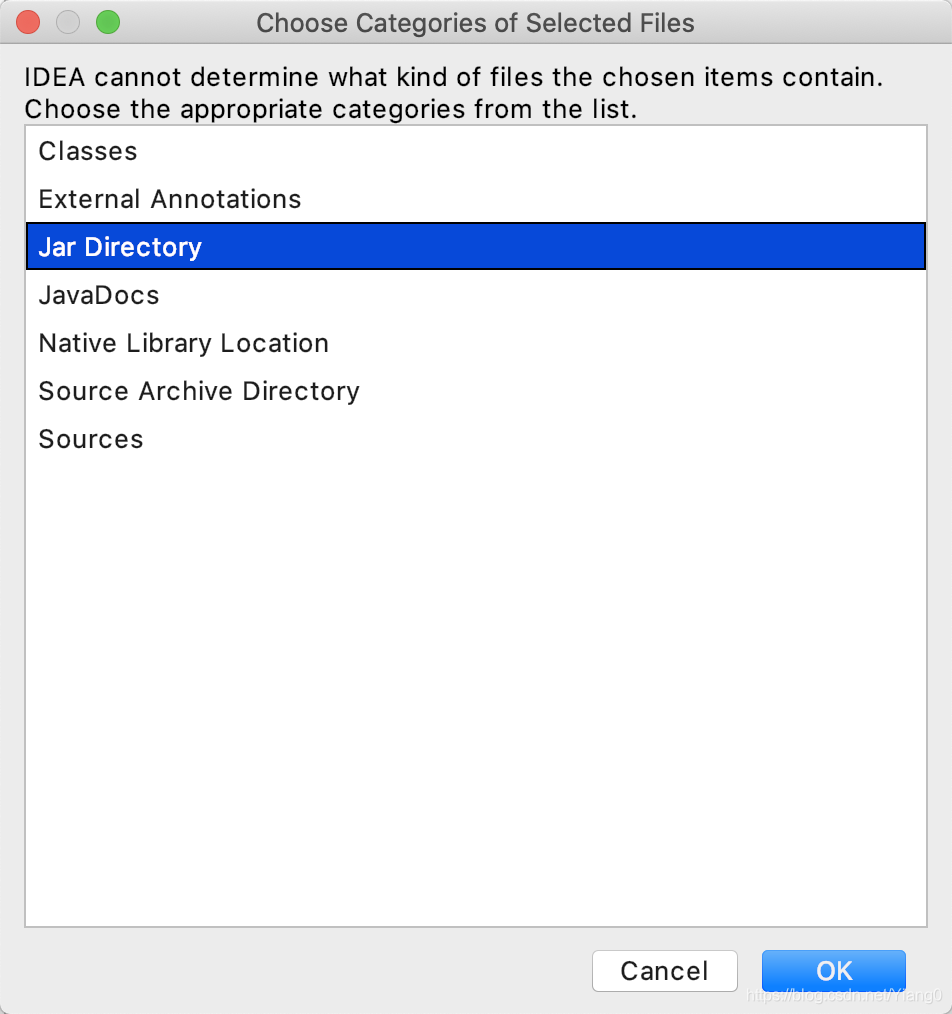
接着Dependencies -> 下方的“+”号 -> JARs or directories

选择刚刚创建的web/WEB-INF/lib文件夹后,再选择Jar Directory
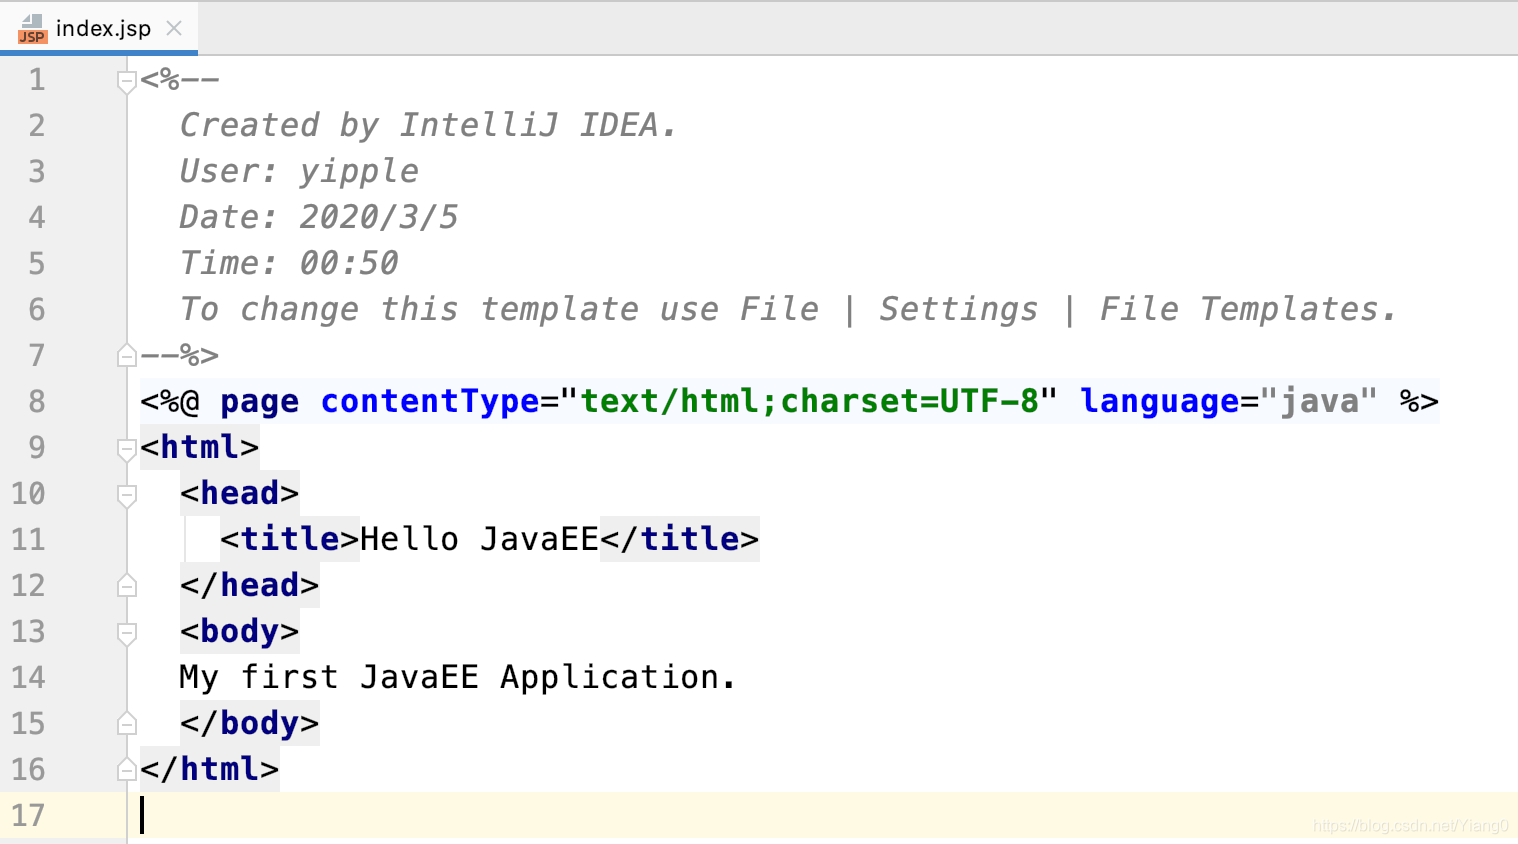
可以按照需要修改index.jsp文件
但完成这些配置后,我们的项目还无法运行,这时我们需要去修改部署配置

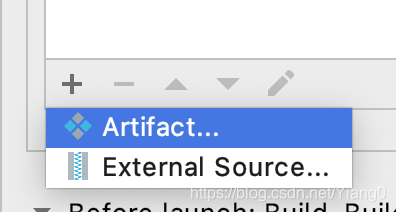
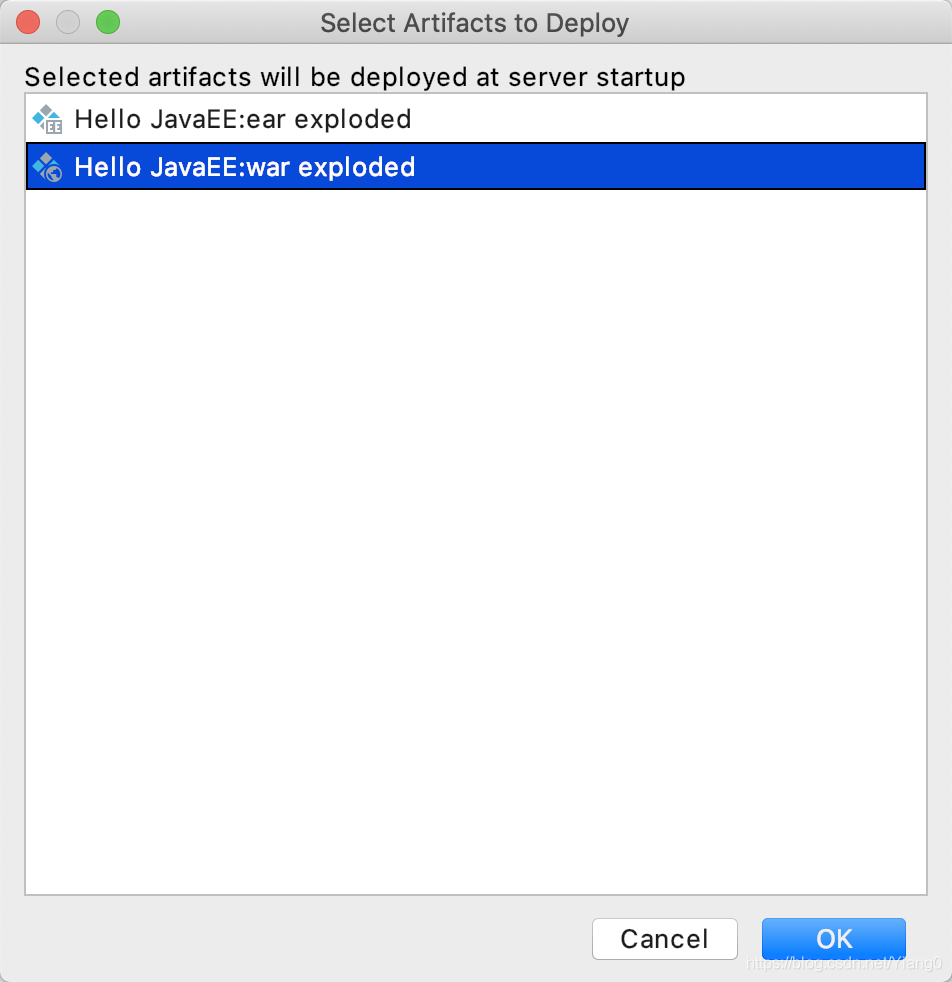
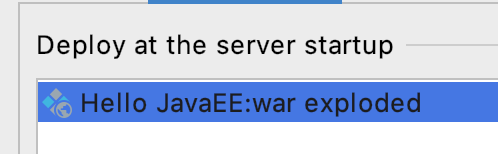
将原有的ear exploded删除,创建一个war exploded
修改完成后,运行项目,可以看到,我们的Tomcat已经部署成功了(如果没有成功,请确保你在终端中停止了Tomcat,不然会与IDEA启动的Tomcat产生冲突)
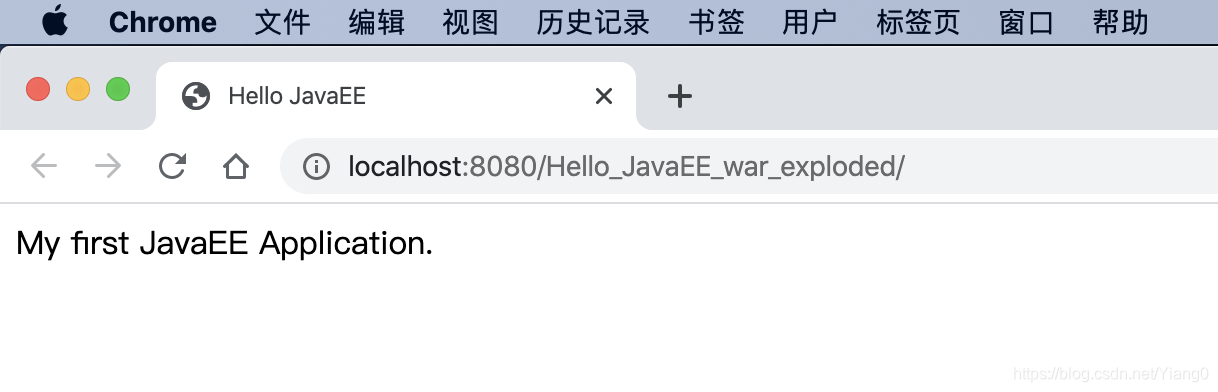
注:关于war和ear各自的用途,在后续的学习中你就会明白了。
连接MySQL
将MySQL Connector加入到项目web/WEB-INF/lib文件夹下
配置好后,我们新建一个测试用的类MySQLTest.java
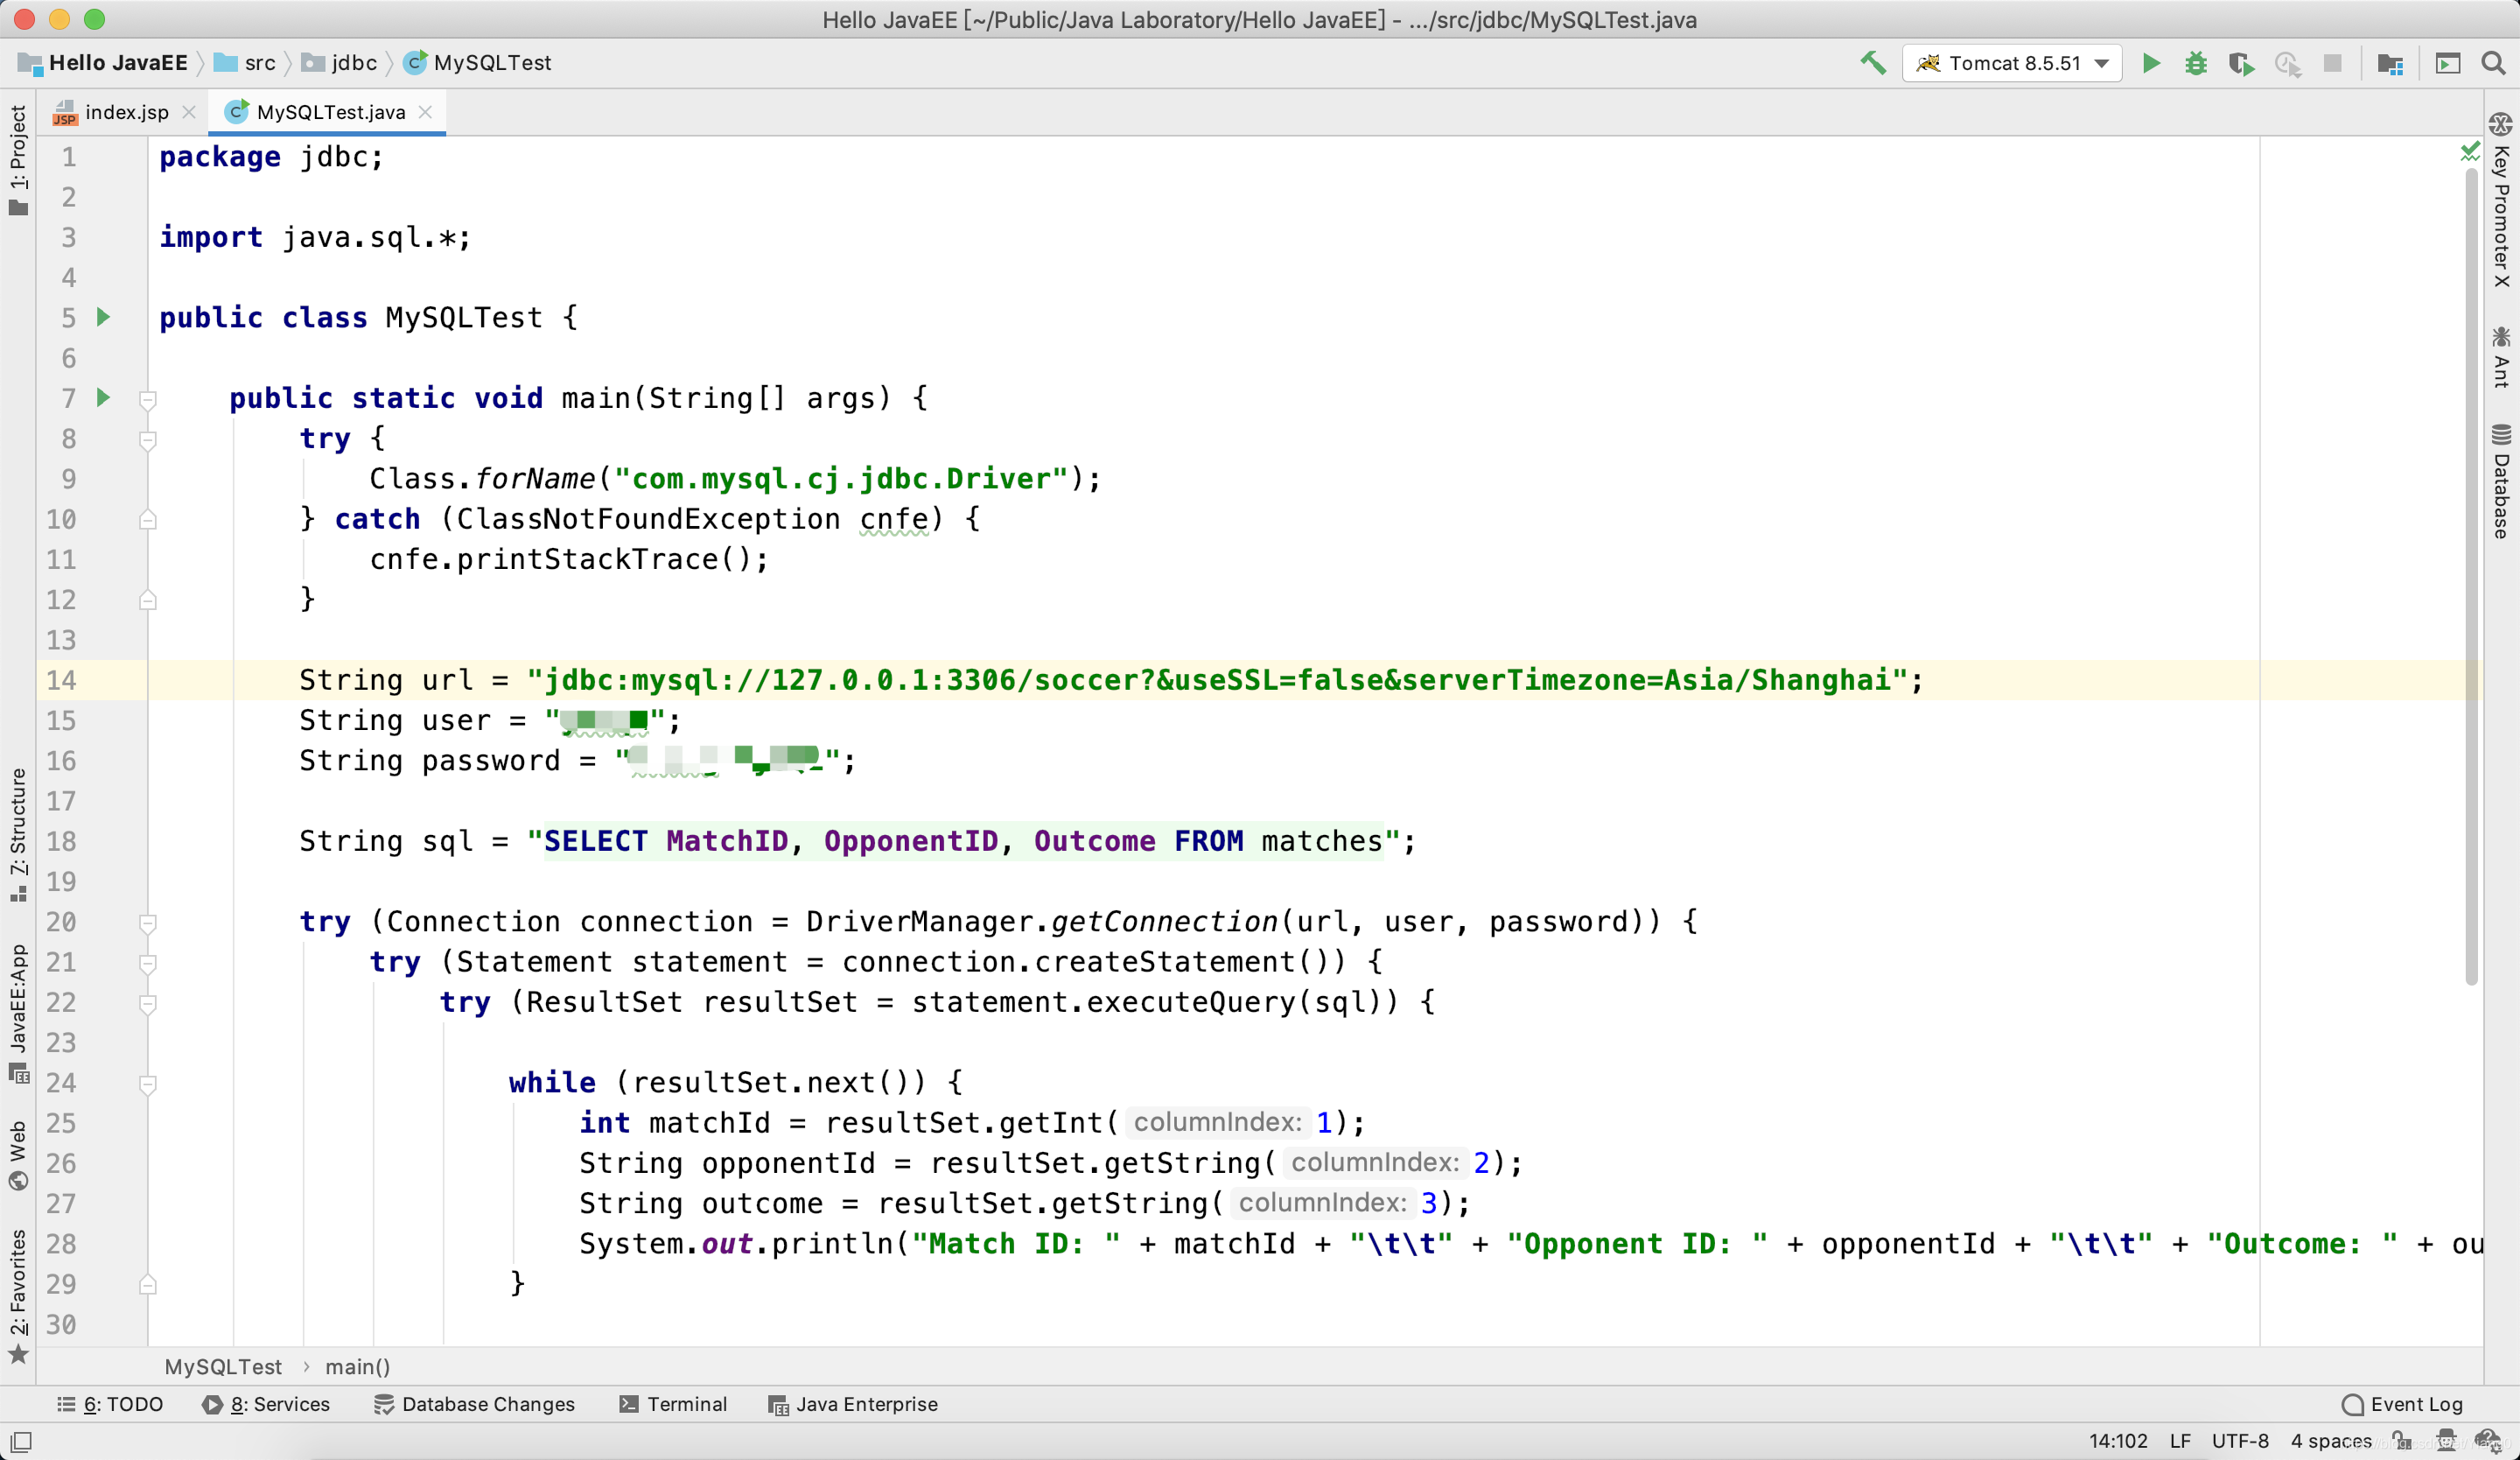
package jdbc;

import java.sql.*;

public class MySQLTest {

    public static void main(String[] args) {
        try {
            Class.forName("com.mysql.cj.jdbc.Driver");
        } catch (ClassNotFoundException cnfe) {
            cnfe.printStackTrace();
        }

        String url = "jdbc:mysql://127.0.0.1:3306/你的数据库?&useSSL=false&serverTimezone=Asia/Shanghai";
        String user = "你的帐号";
        String password = "你的密码";

        String sql = "SELECT MatchID, OpponentID, Outcome FROM matches";

        try (Connection connection = DriverManager.getConnection(url, user, password)) {
            try (Statement statement = connection.createStatement()) {
                try (ResultSet resultSet = statement.executeQuery(sql)) {

                    while (resultSet.next()) {
                        int matchId = resultSet.getInt(1);
                        String opponentId = resultSet.getString(2);
                        String outcome = resultSet.getString(3);
                        System.out.println("Match ID: " + matchId + "\t\t" + "Opponent ID: " + opponentId + "\t\t" + "Outcome: " + outcome);
                    }

                }
            }
        } catch (SQLException se) {
            se.printStackTrace();
        }
    }
}
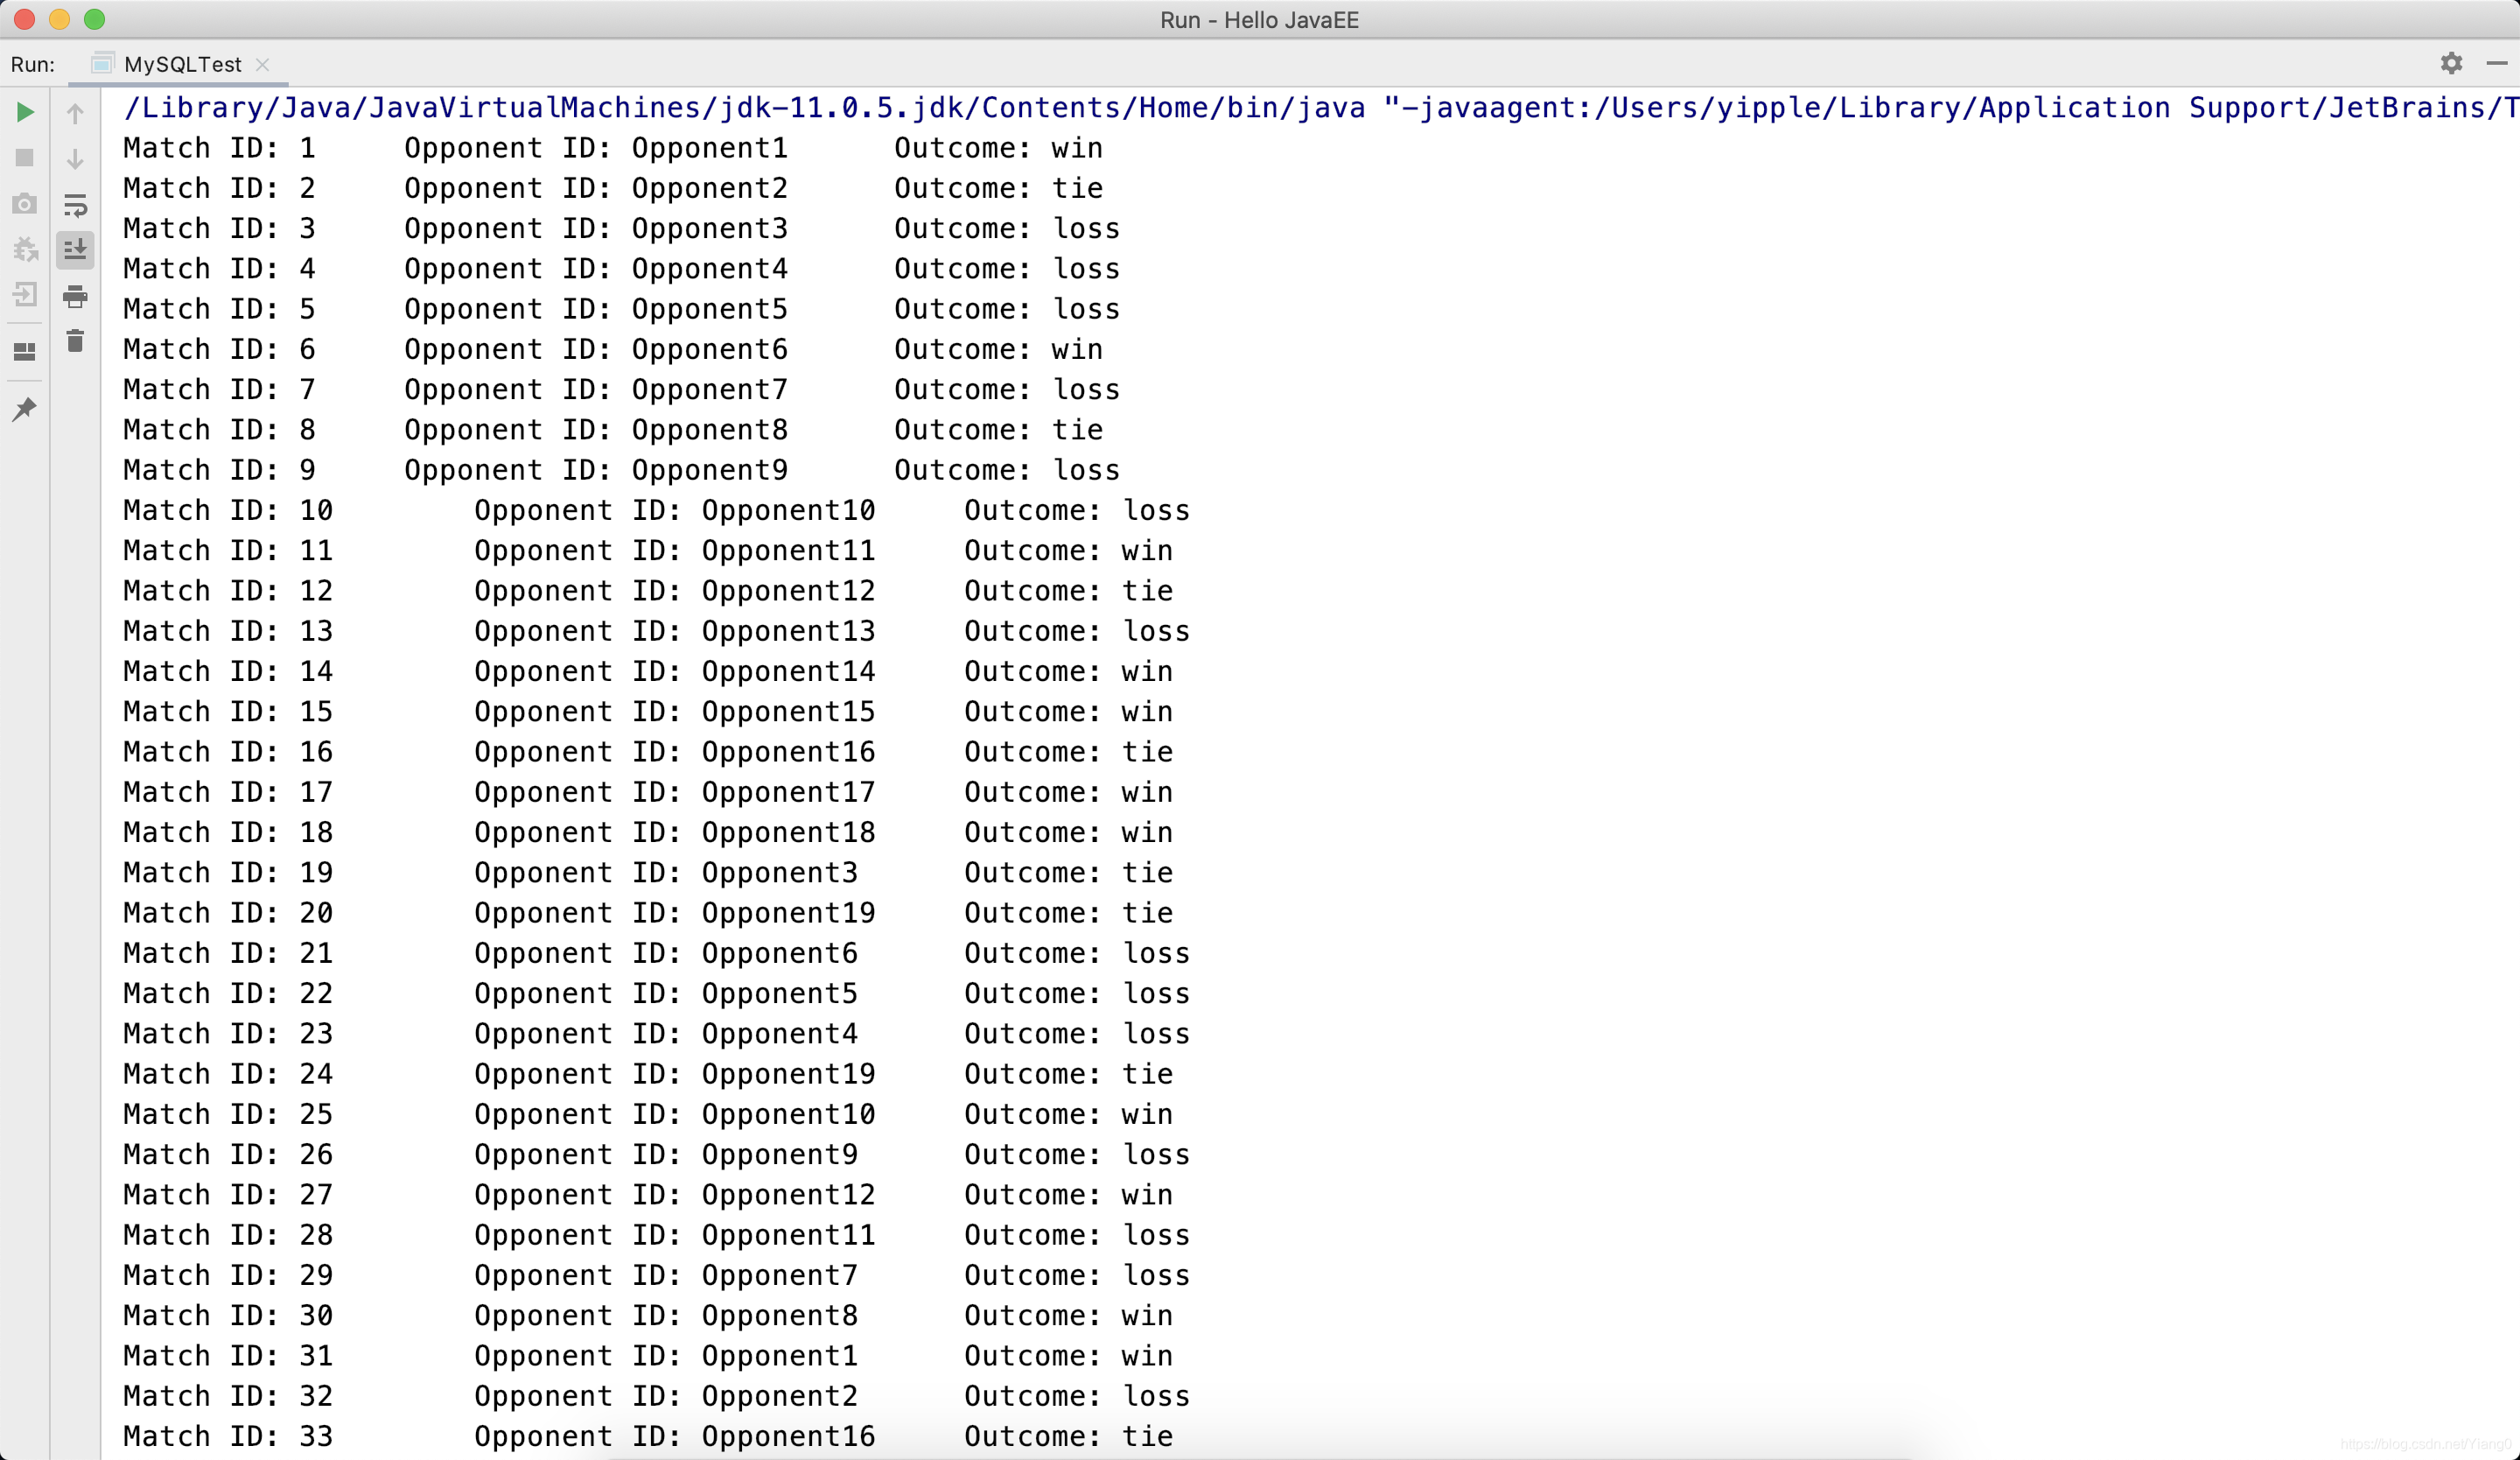
执行程序,可以得到如下查询结果。这里我已经提前建好表并插入数据了,注意要先开启MySQL服务器再运行