一、简介
来自Codecentric的Spring Boot Admin 是一个管理和监控SpringBoot应用的工具。Spring Boot应用程序可以使用Spring Boot Admin Client通过进行主动HTTP注册,或在服务端使用Spring Cloud(如Eureka,Consul)工具进行服务发现。
SpringBoot Admin前端使用AngularJS应用程序,可以监控:
- 应用健康状态
- JVM、内存等详细指标
- 构建信息
- 下载日志文件
- 环境变量
- 线程信息
- http信息
- 计划任务
- 状态信息
等。
本文运行环境:
- jdk1.8+
- maven
- spring boot 2.2.2
本文示例中,客户端通过http注册到服务端。
二、实践
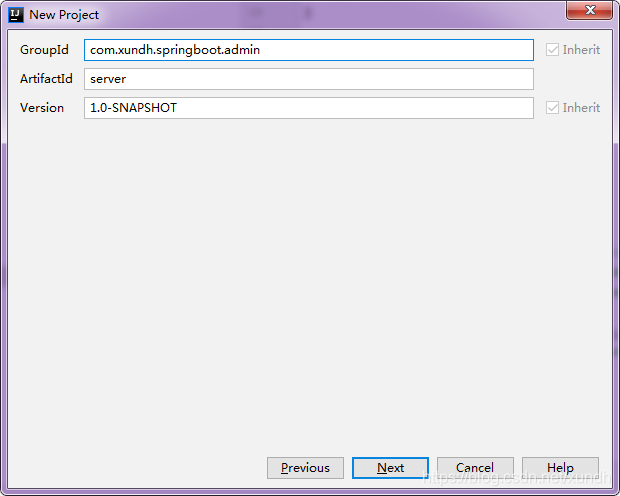
2.1 创建Spring Boot Admin Server
首先创建一个Spring Boot程序。
添加Maven引用
        <dependency>
            <groupId>de.codecentric</groupId>
            <artifactId>spring-boot-admin-starter-server</artifactId>
            <version>2.2.1</version>
        </dependency>

        <dependency>
            <groupId>org.springframework.boot</groupId>
            <artifactId>spring-boot-starter-web</artifactId>
            <version>2.1.8.RELEASE</version>
        </dependency>
        <dependency>
            <groupId>de.codecentric</groupId>
            <artifactId>spring-boot-admin-server-ui-login</artifactId>
            <version>1.5.7</version>
        </dependency>
创建启动类,加@EnableAdminServer注解
package com.xundh.springboot.server;

import de.codecentric.boot.admin.server.config.EnableAdminServer;
import org.springframework.boot.SpringApplication;
import org.springframework.boot.autoconfigure.EnableAutoConfiguration;
import org.springframework.boot.autoconfigure.SpringBootApplication;
import org.springframework.context.annotation.Configuration;

@Configuration
@EnableAutoConfiguration
@EnableAdminServer
@SpringBootApplication
public class SpringBootAdminApplication {
    public static void main(String[] args) {
        SpringApplication.run(SpringBootAdminApplication.class, args);
    }
}
配置端口
spring:
  application:
    name: admin-server
server:
  port: 8769
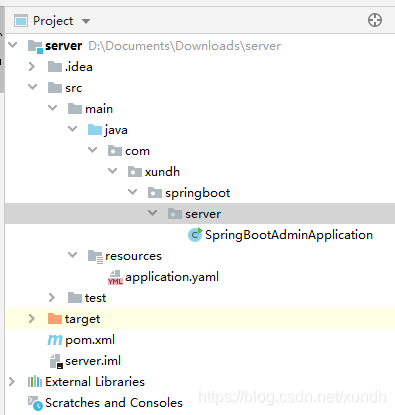
项目结构如下:
2.2 创建Client程序
再创建一个Spring boot 应用程序
添加Maven引用
        <dependency>
            <groupId>de.codecentric</groupId>
            <artifactId>spring-boot-admin-starter-client</artifactId>
            <version>2.2.1</version>
        </dependency>
        <!-- https://mvnrepository.com/artifact/org.springframework.boot/spring-boot-starter-web -->
        <dependency>
            <groupId>org.springframework.boot</groupId>
            <artifactId>spring-boot-starter-web</artifactId>
            <version>2.2.2.RELEASE</version>
        </dependency>
在配置文件里配置服务端地址,并暴露所有监控接口
spring:
  application:
    name: admin-client
  boot:
    admin:
      client:
        url: http://localhost:8769
server:
  port: 8768
management:
  endpoints:
    web:
      exposure:
        include: '*'
  endpoint:
    health:
      show-details: ALWAYS
创建启动类
package com.xundh.springboot.client;

import org.springframework.boot.SpringApplication;
import org.springframework.boot.autoconfigure.SpringBootApplication;

@SpringBootApplication
public class ClientApplication {
    public static void main(String[] args) {
        SpringApplication.run(ClientApplication.class, args);
    }
}
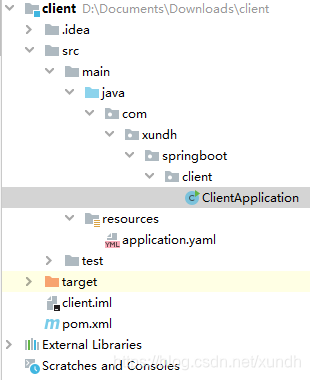
Client项目结构:
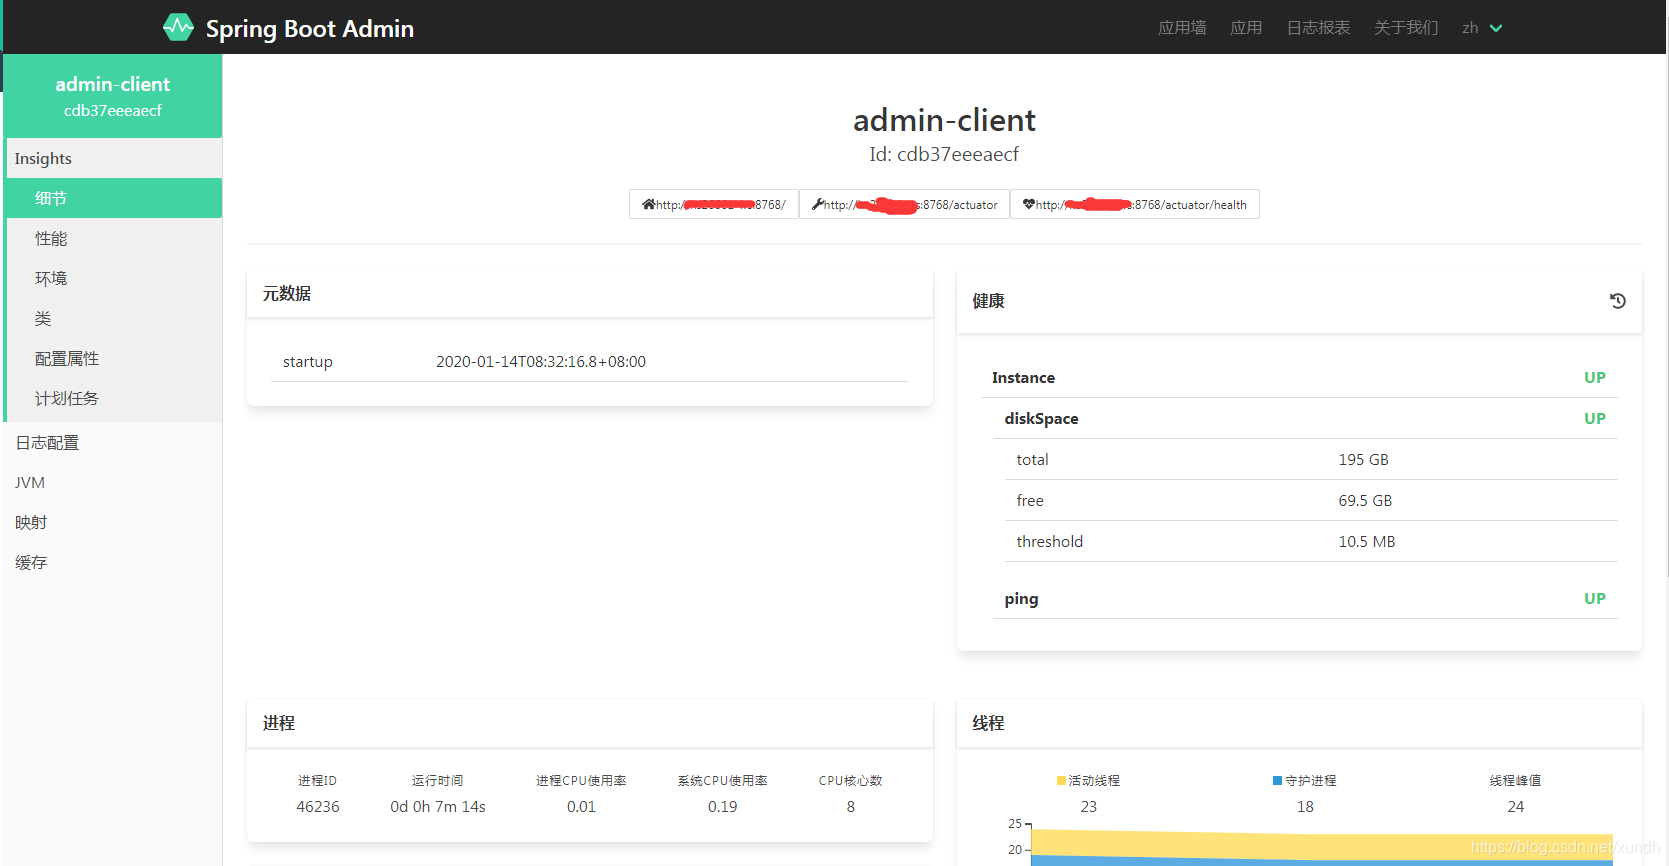
前台查看 到浏览器打开:http://localhost:8769/
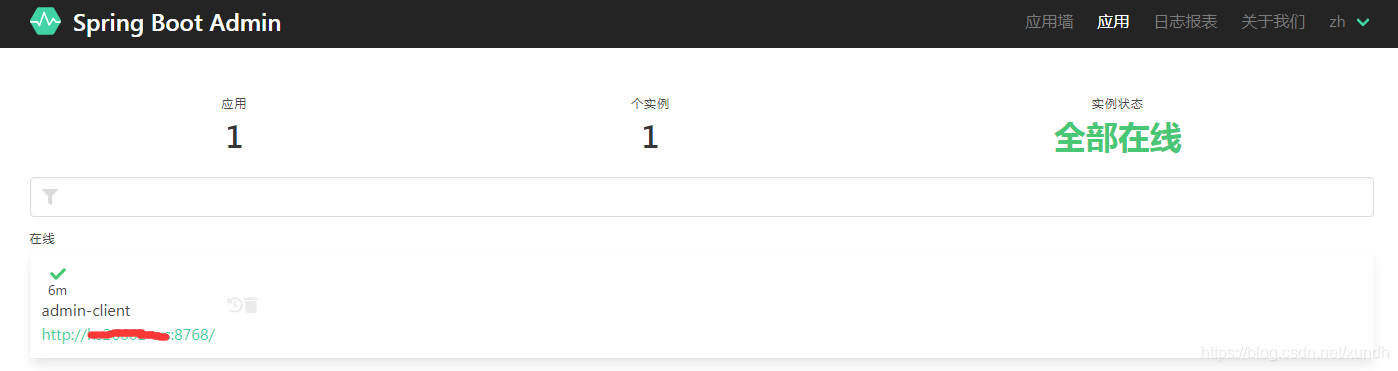
应用墙
2.3 安全配置
Spring Boot Admin需要进入应用程序的重要节点,最好在server和client都加上一些安全配置。
服务端配置
启用安全配置,给spring boot admin添加登陆接口
maven引用
<dependency>
    <groupId>de.codecentric</groupId>
    <artifactId>spring-boot-admin-server-ui-login</artifactId>
    <version>1.5.7</version>
</dependency>
<dependency>
    <groupId>org.springframework.boot</groupId>
    <artifactId>spring-boot-starter-security</artifactId>
    <version>2.1.8.RELEASE</version>
</dependency>
添加安全配置类
package com.xundh.springboot.server;

import de.codecentric.boot.admin.server.config.AdminServerProperties;
import org.springframework.context.annotation.Configuration;
import org.springframework.http.HttpMethod;
import org.springframework.security.config.annotation.web.builders.HttpSecurity;
import org.springframework.security.config.annotation.web.configuration.WebSecurityConfigurerAdapter;
import org.springframework.security.web.authentication.SavedRequestAwareAuthenticationSuccessHandler;
import org.springframework.security.web.csrf.CookieCsrfTokenRepository;
import org.springframework.security.web.util.matcher.AntPathRequestMatcher;

import java.util.UUID;

@Configuration
public class WebSecurityConfig extends WebSecurityConfigurerAdapter {
    private final AdminServerProperties adminServer;

    public WebSecurityConfig(AdminServerProperties adminServer) {
        this.adminServer = adminServer;
    }

    @Override
    protected void configure(HttpSecurity http) throws Exception {
        SavedRequestAwareAuthenticationSuccessHandler successHandler =
                new SavedRequestAwareAuthenticationSuccessHandler();
        successHandler.setTargetUrlParameter("redirectTo");
        successHandler.setDefaultTargetUrl(this.adminServer.getContextPath() + "/");

        http
                .authorizeRequests()
                .antMatchers(this.adminServer.getContextPath() + "/assets/**").permitAll()
                .antMatchers(this.adminServer.getContextPath() + "/login").permitAll()
                .anyRequest().authenticated()
                .and()
                .formLogin()
                .loginPage(this.adminServer.getContextPath() + "/login")
                .successHandler(successHandler)
                .and()
                .logout()
                .logoutUrl(this.adminServer.getContextPath() + "/logout")
                .and()
                .httpBasic()
                .and()
                .csrf()
                .csrfTokenRepository(CookieCsrfTokenRepository.withHttpOnlyFalse())
                .ignoringRequestMatchers(
                        new AntPathRequestMatcher(this.adminServer.getContextPath() +
                                "/instances", HttpMethod.POST.toString()),
                        new AntPathRequestMatcher(this.adminServer.getContextPath() +
                                "/instances/*", HttpMethod.DELETE.toString()),
                        new AntPathRequestMatcher(this.adminServer.getContextPath() + "/actuator/**"))
                .and()
                .rememberMe()
                .key(UUID.randomUUID().toString())
                .tokenValiditySeconds(1209600);
    }
}
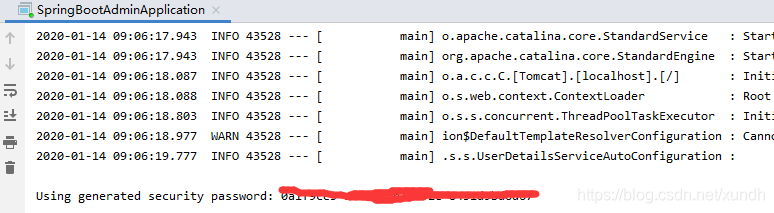
这时候重启server,再访问 http://localhost:8769 可以看到有登陆框。
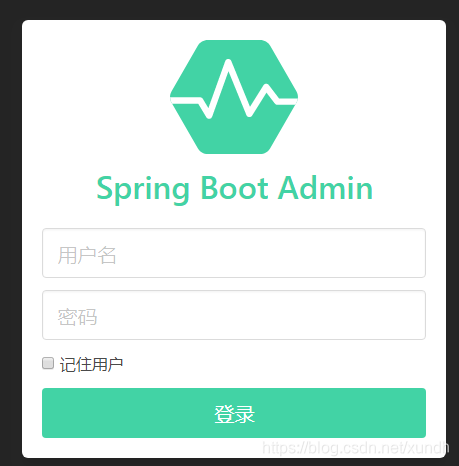
默认账号是 user,密码在控制台可以看到:
设置账号与密码
修改application.yaml如下:
spring:
  application:
    name: admin-server
  security:
    user:
      name: 'root'
      password: 'root'
  boot:
    admin:
      client:
        instance:
          metadata:
            user:
              name: ${spring.security.user.name}
              password: ${spring.security.user.password}
server:
  port: 8769
注意这时client也注册不到server上了。
在client端设置登陆server账号密码
spring:
  application:
    name: admin-client
  boot:
    admin:
      client:
        url: http://localhost:8769
        username: root
        password: root
server:
  port: 8768
management:
  endpoints:
    web:
      exposure:
        include: '*'
  endpoint:
    health:
      show-details: ALWAYS
这时再启动client,在server端可以看到注册的应用了。
2.4 通知
当客户端发生一些事件时,通知用户,以下是可选的通知方式:
- PagerDuty
- OpsGenie
- Hipchat
- Slack
- Let’s Chat
邮件通知
在server配置依赖:
<dependency>
    <groupId>org.springframework.boot</groupId>
    <artifactId>spring-boot-starter-mail</artifactId>
    <version>2.1.7.RELEASE</version>
</dependency>
配置文件里配置邮箱:
spring:
    mail:
        host: smtp.example.com
        username: smtp_user
        password: smtp_password
    boot:
        admin:
            notify:
                mail:
                    to: [email protected]
当有客户端上下线的时候就会发邮件通知。
自定义通知配置
一个通知过滤示例:
@Configuration
public class NotifierConfiguration {
    private final InstanceRepository repository;
    private final ObjectProvider<List<Notifier>> otherNotifiers;

    public NotifierConfiguration(InstanceRepository repository,
      ObjectProvider<List<Notifier>> otherNotifiers) {
        this.repository = repository;
        this.otherNotifiers = otherNotifiers;
    }

    @Bean
    public FilteringNotifier filteringNotifier() {
        CompositeNotifier delegate =
          new CompositeNotifier(this.otherNotifiers.getIfAvailable(Collections::emptyList));
        return new FilteringNotifier(delegate, this.repository);
    }

    @Bean
    public LoggingNotifier notifier() {
        return new LoggingNotifier(repository);
    }

    @Primary
    @Bean(initMethod = "start", destroyMethod = "stop")
    public RemindingNotifier remindingNotifier() {
        RemindingNotifier remindingNotifier = new RemindingNotifier(filteringNotifier(), repository);
        remindingNotifier.setReminderPeriod(Duration.ofMinutes(5));
        remindingNotifier.setCheckReminderInverval(Duration.ofSeconds(60));
        return remindingNotifier;
    }
}