一.每个人各自写出
-
1.说明你此前对于树莓派的认识程度,是闻所未闻还是只听其名不知其用途,亦或是已经了解熟悉。
- 林家伟: - 林鑫灿: - 陈珊珊: -
查找相关资料,写下你认为的树莓派可以用来做什么,如果你有需要打算用它来做什么。
-  林家伟:
-  林鑫灿:
-  陈珊珊:
二.系统烧录和备份
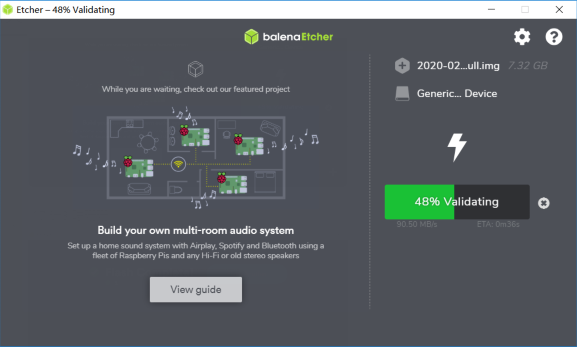
1.系统烧录
使用老师提供的balenaEtcher工具,选择好镜像文件,和要烧录的磁盘,点击flash即可

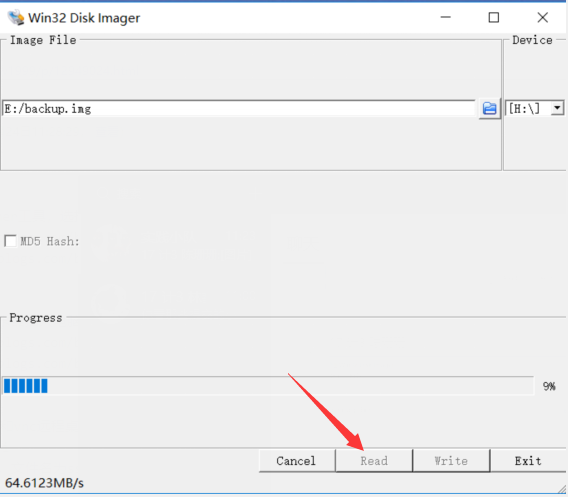
2.系统备份
将安装系统后的sk卡通过读卡器插入电脑,使用wind32diskimager,新建一个空白的img后缀的文件,选择磁盘,点击read即可从设备向映像文件传输数据

3.sd卡分区
进入配置界面,查看时发现已经是如下分区状态,不需要多余操作了

三.访问树莓派(通过ssh和vnc远程桌面完成树莓派的访问)
1.SSH登录Raspberry Pi
在自己的PC上新建两个文件,文件名为ssh(无后缀)和wpa_supplicant.conf;ssh文件就是一个空文件,不用添加内容;wpa_supplicant.conf用于无线连接,添加如下内容
country=CN
ctrl_interface=DIR=/var/run/wpa_supplicant GROUP=netdev
update_config=1

network={
	ssid="此处输入wifi接入点名称,保留引号"
	psk="此处输入wifi密码,保留引号"
	priority=1
}

network={
	ssid="此处输入wifi接入点名称,保留引号"
	psk="此处输入wifi密码,保留引号"
	priority=2
}
将文件拷贝至ROOT根目录下,打开树莓派,在路由后台即可看到树莓派成功连接
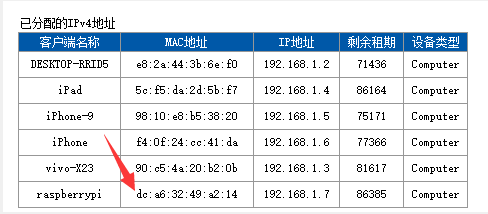
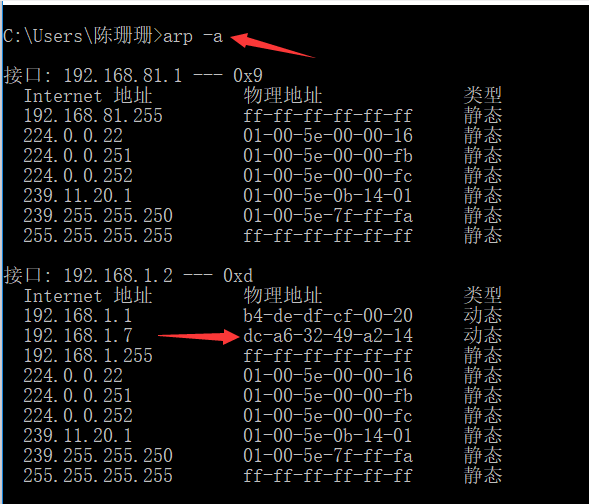
或者在Window命令行下
arp -a
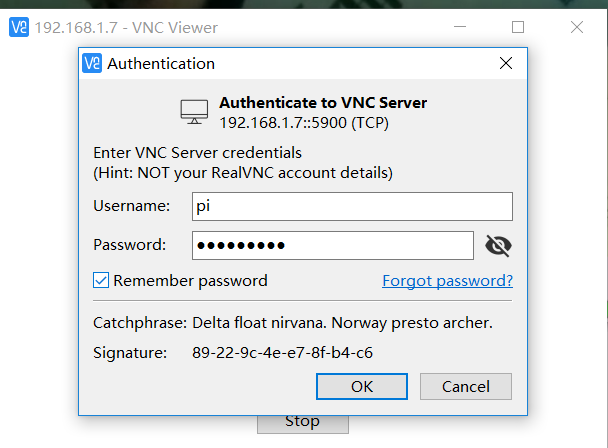
2.开启VNC服务
ssh [email protected]
raspberry

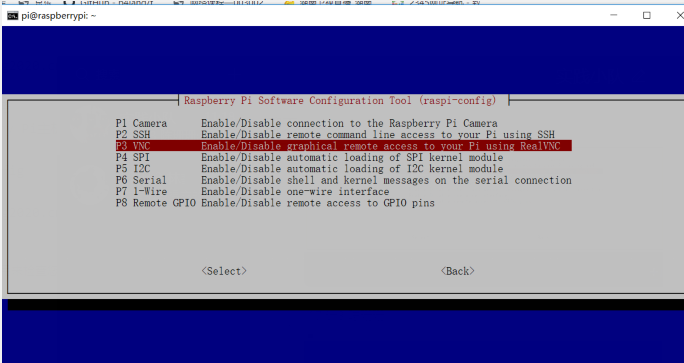
3.配置VNC服务
SSH登录Raspberry Pi主机后,使用命令进入配置界面
sudo raspi-config

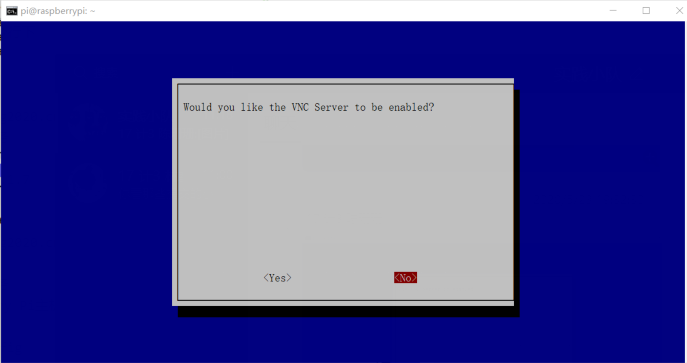
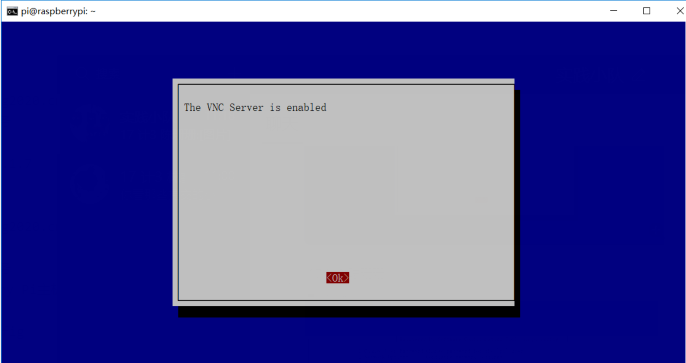
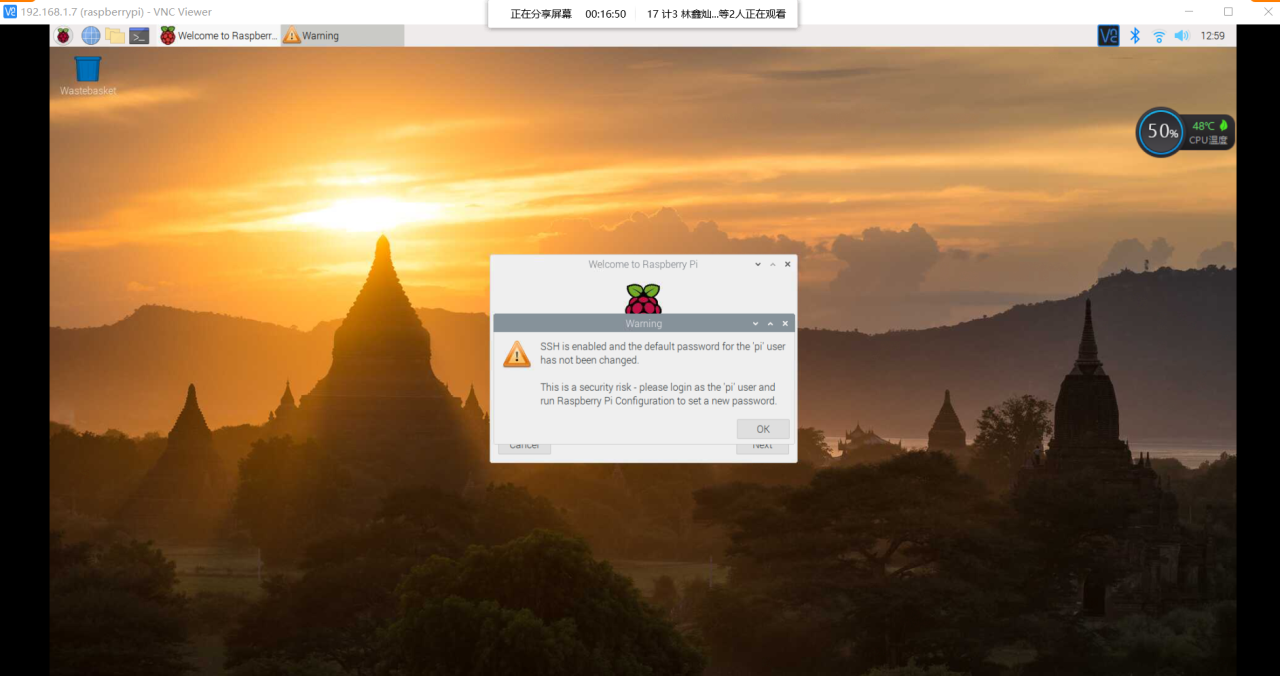
4.开启VNC服务
下载VNC软件后,使用账号密码登陆;登陆后可进行初始的地区、键盘风格、网络等设置,完成重启
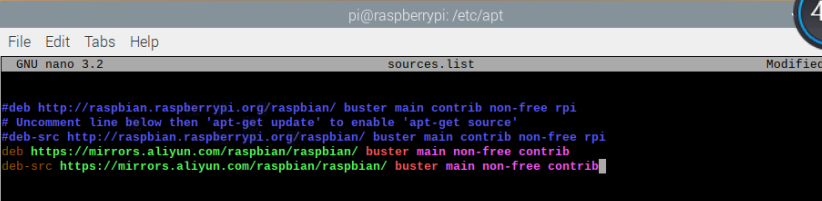
5.换源(注意需要更改两个配置文件)
sudo nano /etc/apt/sources.list # 软件更新源
#将原来的源注释掉,加入下面两句
deb https://mirrors.aliyun.com/raspbian/raspbian/ buster main non-free contrib
deb-src https://mirrors.aliyun.com/raspbian/raspbian/ buster main non-free contrib
# Ctrl+O保存,回车确定名称,Ctrl+X退出
sudo nano /etc/apt/sources.list.d/raspi.list # 系统更新源
#将原来的源注释掉,加入下面两句
deb https://mirrors.aliyun.com/raspbian/raspbian/ buster main non-free contrib
deb-src https://mirrors.aliyun.com/raspbian/raspbian/ buster main non-free contrib
#执行Update
sudo apt update

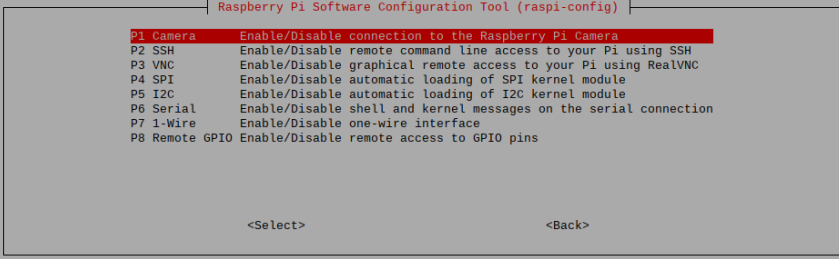
四.接入摄像头
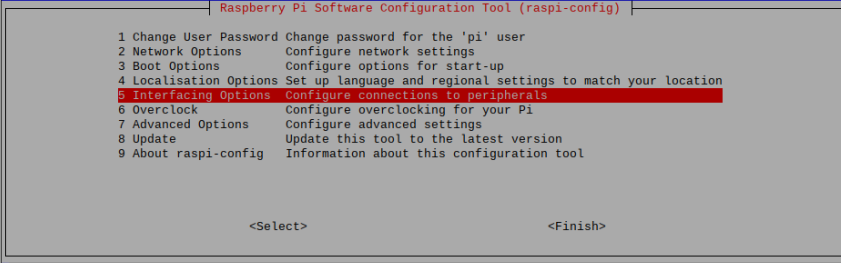
1.配置
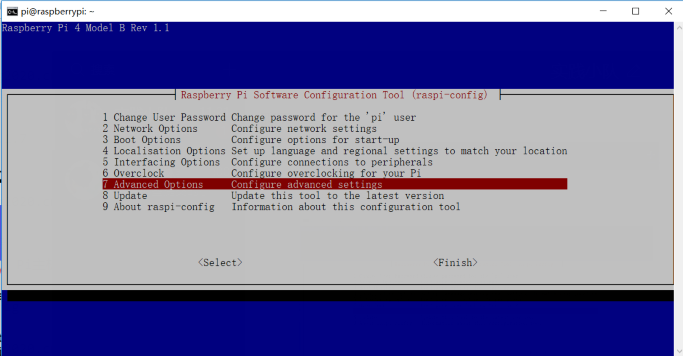
开机,使用sudo raspi-config,选择interfacing opinions,选择Camera,并Enable,Finish退出配置后重启
2.照相
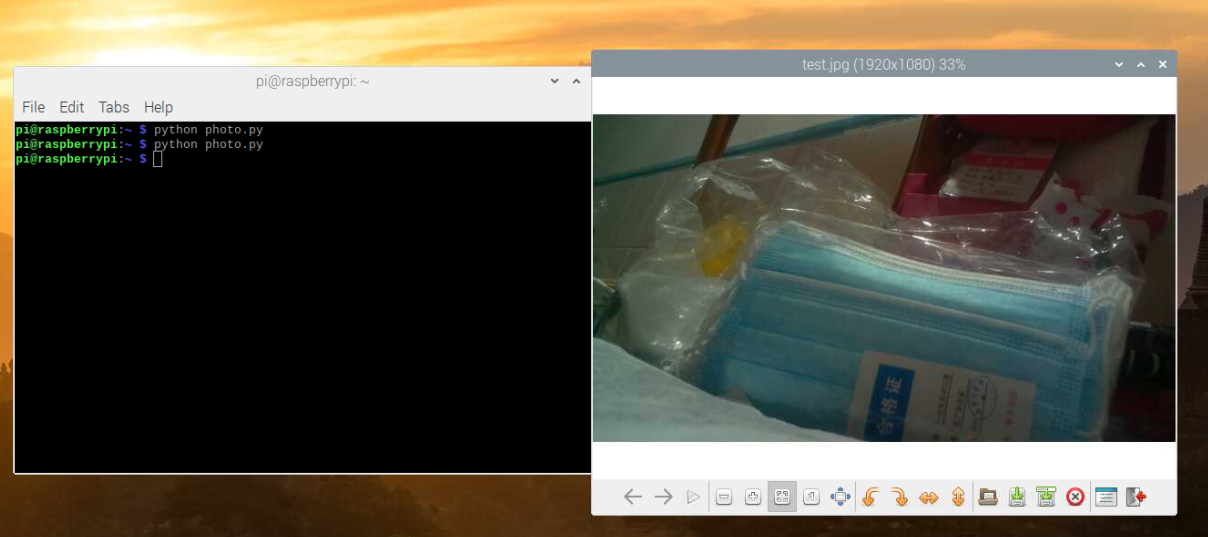
(1)使用python代码
from picamera.array import PiRGBArray
from picamera import PiCamera
import time
import cv2

# initialize the camera and grab a reference to the raw camera capture
camera = PiCamera()
rawCapture = PiRGBArray(camera)

# allow the camera to warmup
time.sleep(3) #此处把0.1改成了3

# grab an image from the camera
camera.capture(rawCapture, format="bgr")
image = rawCapture.array

# display the image on screen and wait for a keypress
cv2.imshow("Image", image)
cv2.waitKey(0)
(2)使用指令
raspistill -o Desktop/image1.jpg
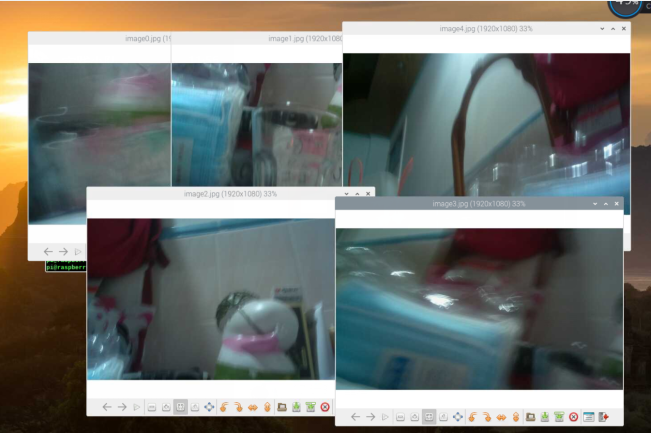
(3)连拍
from picamera import PiCamera
from time import sleep

camera = PiCamera()
# Rotate by 180 degrees when the camera is upside-down
camera.rotation = 180

camera.start_preview(alpha=200)  # Make the camera preview see-through by setting an alpha level from 0 to 255

sleep(5)
# Take a picture and save as /home/pi/Desktop/image.jpg'
camera.capture('/home/pi/Desktop/image.jpg')

# Take 5 pictures every 5 seconds and save as /home/pi/Desktop/image0.jpg' ... image4.jpg
for i in range(5):
    sleep(5)
    camera.capture('/home/pi/Desktop/image%s.jpg' % i)

camera.stop_preview()
3.摄像
安装VLC
sudo apt-get update
sudo apt-get install vlc
from picamera import PiCamera
from time import sleep
camera = PiCamera()
# Rotate by 180 degrees when the camera is upside-down
# Make the camera preview see-through by setting an alpha level from 0 to 255
sleep(5)
# Take a picture and save as /home/pi/Desktop/image.jpg'
camera.capture('/home/pi/Desktop/image.jpg')
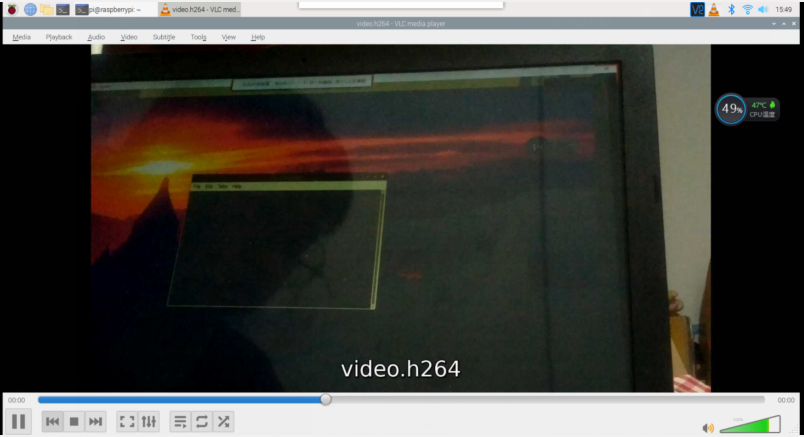
# 将capture()改成start_recording()和stop_recording()就可控制摄像头拍摄录像了
camera.start_recording('/home/pi/Desktop/test.h256')
for i in range(5):
sleep(2)
camera.stop_recording()
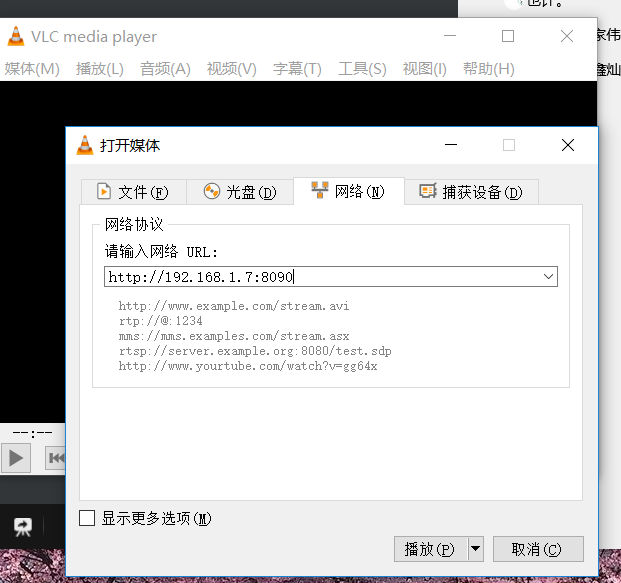
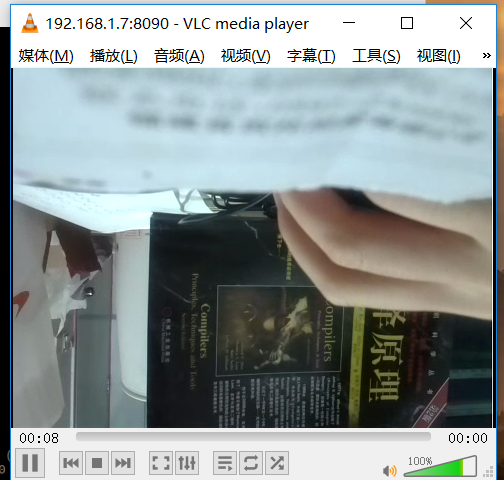
4.VLC实时预览
在树莓派上运行如下指令
sudo raspivid -o - -rot 180 -t 0 -w 480 -h 360 -fps 25|cvlc -vvv stream:///dev/stdin --sout '#standard{access=http,mux=ts,dst=:8090}' :demux=h264
在Window上下载VLC软件,通过网络串流实现实时预览
五.问题记录
-
问题①:
-
ssh配置后,在路由后台无法看到树莓派ip,连接失败
-
解决方法:不使用USB读卡器,直接将sd卡插入树莓派
-
-
问题②
-
sources.list换源后,
sudo apt update时,依旧发现使用原来的系统源 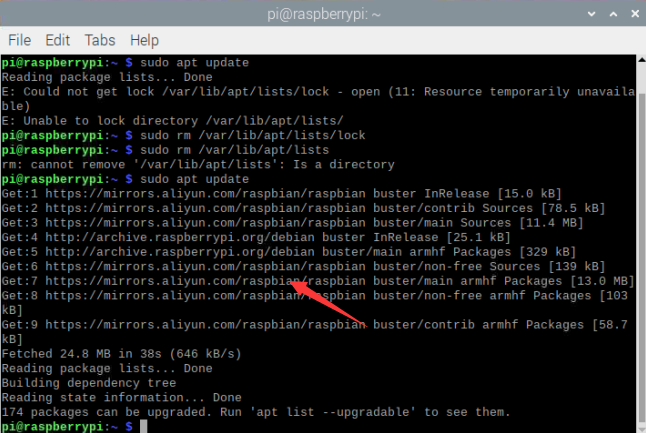
-
解决方法:两个配置文件都需要修改,博客上文已给出
-
-
问题③
-
摄像头开启时报错
Camera control callback cmd=0x4f525245mmal: No data received from sensor. Check all connections, including the Sunny one on the camera board -
解决方法:摄像头接触引起,断电后重新插好摄像头重启
-
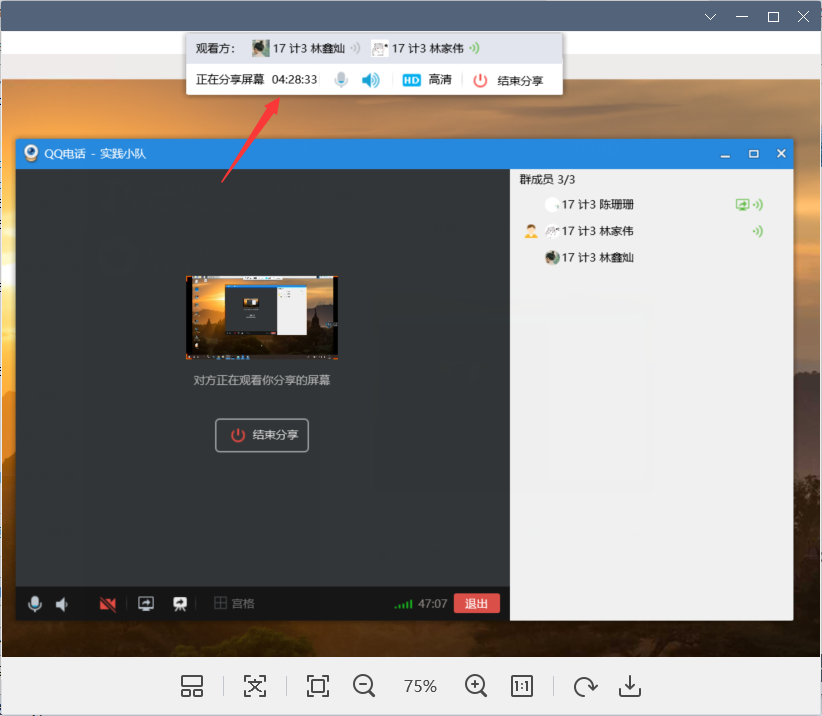
六.小组合作记录
小组通过QQ群屏幕分享的方式,进行长达四个多小时的实践,一起探讨与解决问题