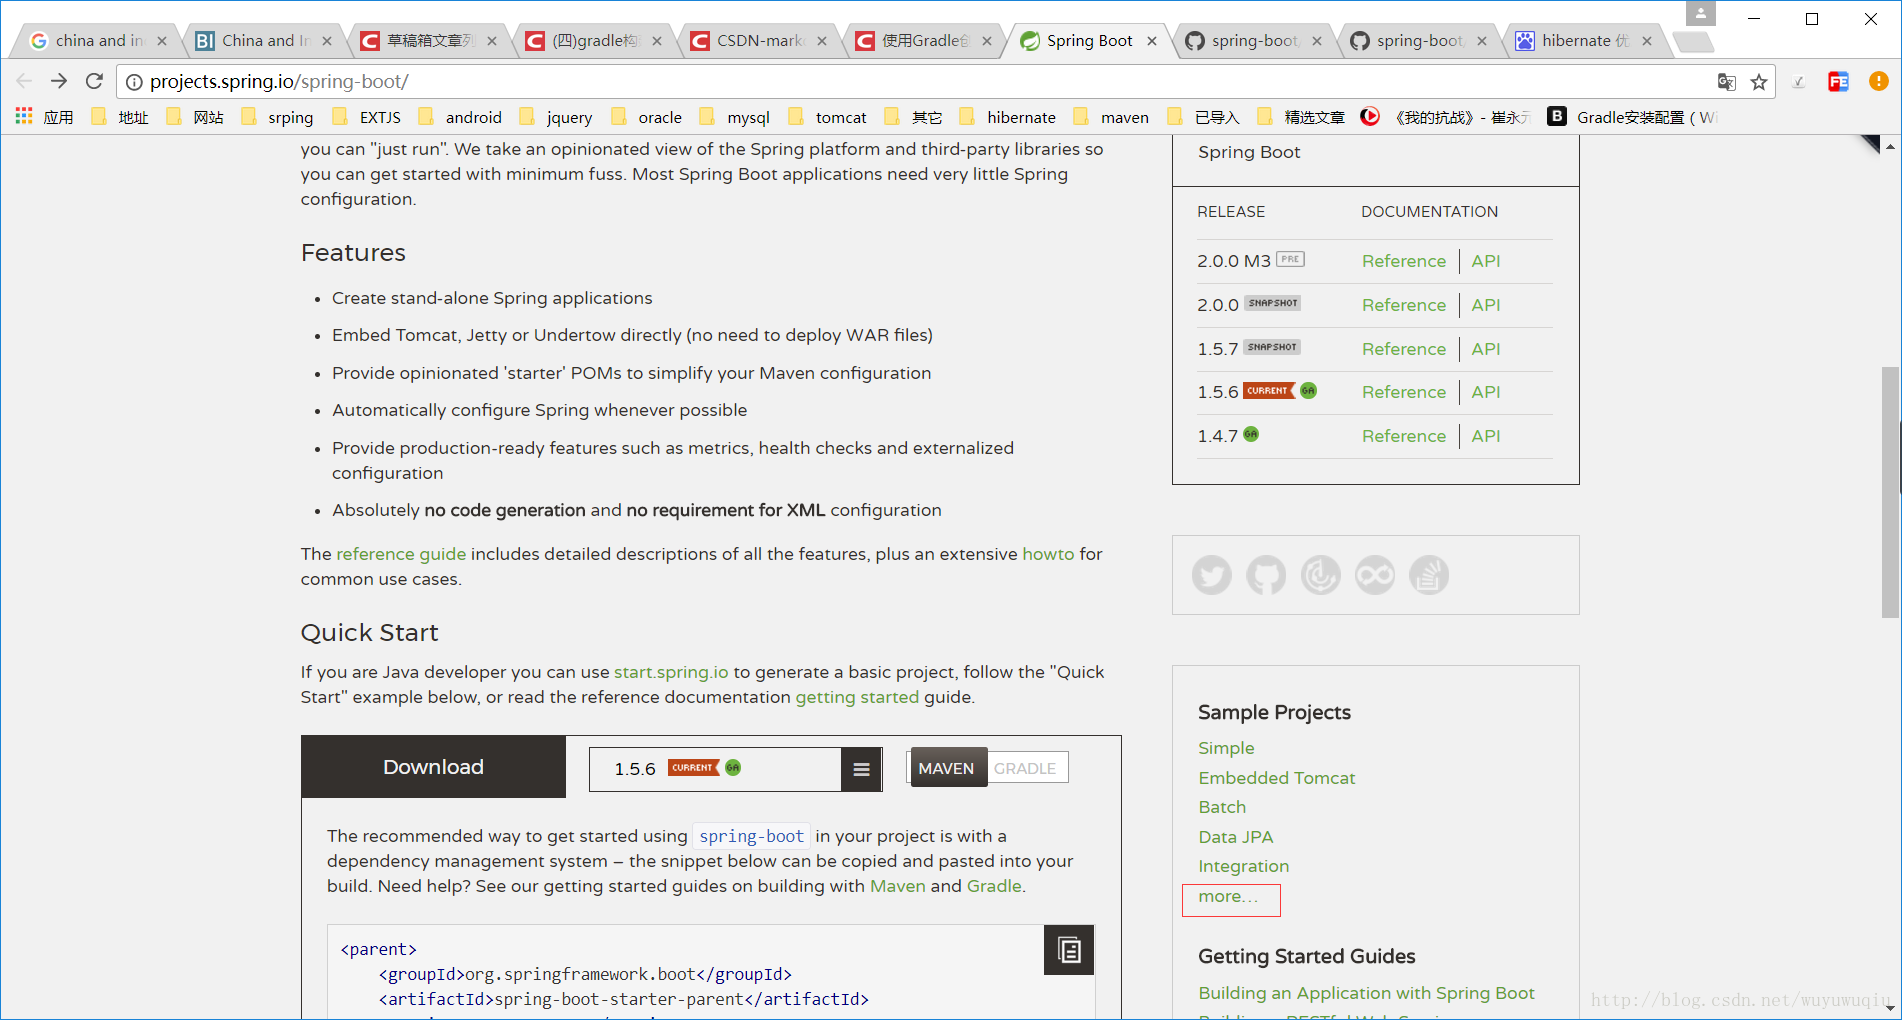
书接上文,接下来使用gradle构建spring-boot项目。其实很简单,可参考spring官网,http://projects.spring.io/spring-boot/。
在build.gradle文件中,引入spring-boot-starter-web,
dependencies {
    compile("org.springframework.boot:spring-boot-starter-web:1.5.6.RELEASE")
//    compile("com.bmuschko:gradle-tomcat-plugin:2.3")
}
增加一个controller类,SampleController.class,
package com.xkx.dafangzi.test.web;

import org.springframework.boot.SpringApplication;
import org.springframework.web.bind.annotation.RequestMapping;
import org.springframework.web.bind.annotation.ResponseBody;

/**
 * Created by pc on 2017/7/26.
 */
@Controller
@EnableAutoConfiguration
public class SampleController {

    @RequestMapping("/")
    @ResponseBody
    String home() {
        return "Hello World!";
    }

    public static void main(String[] args) throws Exception {
        SpringApplication.run(SampleController.class, args);
    }

}执行SampleController的main方法,在浏览器打开http://localhost:8080/,即可在页面看到Hello World!
这里简单说一下,数据库持久层框架中,接触最多就是hibernate和mybatis框架,尽管现在公司使用的是mybatis,但是本人仍旧喜欢hibernate多一些,很多人都在诟病hibernate的查询速度慢,这里我决定后续进行优化来试试,我主要看重hibernate的开发简单,可移植性好,并且是真正的面向对象。
对于到哪里去找spring-boot的服务,我是通过在官网上,查看示例项目进行查看的。打开pom后可以看到,使用hibernate可以依赖spring-boot-starter-data-jpa。
为了实现最初的构想,需要引入spring-boot-starter-activemq,spring-boot-starter-log4j2,spring-boot-starter-security,spring-boot-starter-data-redis,spring-boot-devtools等。
这里为了方便功能的拆分,采用多项目构建的方式,参考文档https://guides.gradle.org/creating-multi-project-builds/。
首先,通过idea创建dafangzi-hibernate和web两个gradle的module,可以看到最外层的setting.gradle已经包含了这两个module;
rootProject.name = 'dafangzi'
include 'dafangzi-hibernate'
include 'web'
接下来最外层的build.gradle中替换成如下配置,至于这里的含义,可以查看另一篇博客,
allprojects {
    repositories {
        mavenLocal()
        maven {
            url "http://uk.maven.org/maven2"
        }
    }
}

subprojects {
    version = '1.0-SNAPSHOT'
    ext {
        springBootVersion = '1.5.6.RELEASE'
    }
}
在dafangzi-hibernate中创建一个简单的HelloWorld.java,
package com.xkx.dafangzi.hibernate.domain;

/**
 * Created by pc on 2017/8/1.
 */
public class HelloWorld {

    private String greeting;

    public HelloWorld(){

    }

    public HelloWorld(String greeting){
        this.greeting = greeting;
    }

    public String getGreeting() {
        return greeting;
    }

    public void setGreeting(String greeting) {
        this.greeting = greeting;
    }
}
然后在web module中增加对spring-boot-starter-web的依赖,以及对dafangzi-hibernate的依赖。
web/build.gradle
apply plugin: 'java'

dependencies {
    compile("org.springframework.boot:spring-boot-starter-web:${springBootVersion}")
    compile project(':dafangzi-hibernate')
}
创建SampleController.java来调用dafangzi-hibernate的类,
package com.xkx.dafangzi.web.test.controller;

import com.xkx.dafangzi.hibernate.domain.HelloWorld;
import org.springframework.boot.SpringApplication;
import org.springframework.boot.autoconfigure.EnableAutoConfiguration;
import org.springframework.stereotype.Controller;
import org.springframework.web.bind.annotation.RequestMapping;
import org.springframework.web.bind.annotation.ResponseBody;

/**
 * Created by pc on 2017/7/26.
 */
@Controller
@EnableAutoConfiguration
public class SampleController {

    @RequestMapping("/")
    @ResponseBody
    String home() {
        HelloWorld helloWorld = new HelloWorld("Hello, xkx!");
        return helloWorld.getGreeting();
    }

    public static void main(String[] args) throws Exception {
        SpringApplication.run(SampleController.class, args);
    }

}这时,启动SampleController中的main方法,在浏览器访问http://localhost:8080/,即可看到Hello,xkx!
更多有趣,好玩的信息请关注我的微信公众号!