这是一个很简单的案例,方便初学者更好理解切面的概念和实现;
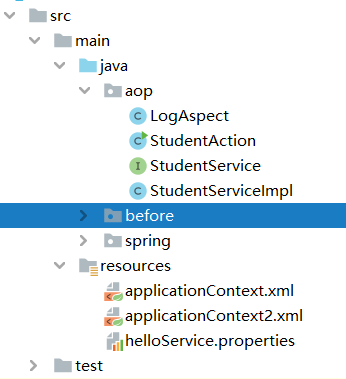
我的目录是这样的,仅供参考:
1、先创建一个接口,接口中有两个方法;
public interface StudentService {
    int insert();
    int delete();
}
2、写一个实现类去实现接口中的方法;
@Service
public class StudentServiceImpl  implements StudentService {
    @Override
    public int insert() {
        System.out.println("插入一条学生记录");
        //System.out.println("记录日志");//将操作记录保存数据库中
        return 0;
    }

    @Override
    public int delete() {
        System.out.println("删除一条学生记录");
        //System.out.println("记录日志");//将操作记录保存数据库中
        return 0;
    }
}
3、写一个切面文件;
//日志切面
@Component
public class LogAspect {

    //通知
    public void log(){
        System.out.println("切面统一记录日志!");
    }
}
4、写一个配置文件,配置相关需要的数据;
<?xml version="1.0" encoding="UTF-8"?>
<beans xmlns="http://www.springframework.org/schema/beans"
       xmlns:xsi="http://www.w3.org/2001/XMLSchema-instance"
       xmlns:context="http://www.springframework.org/schema/context"
       xmlns:aop="http://www.springframework.org/schema/aop"
       xsi:schemaLocation="http://www.springframework.org/schema/beans http://www.springframework.org/schema/beans/spring-beans.xsd http://www.springframework.org/schema/context http://www.springframework.org/schema/context/spring-context.xsd http://www.springframework.org/schema/aop http://www.springframework.org/schema/aop/spring-aop.xsd">
<!--开启注解,配置扫描包,spring会在对应的包下去扫描配置了注解的类-->
    <context:component-scan base-package="before,spring,aop"></context:component-scan>

<!--    aop切面配置-->
    <aop:config>
<!--        配置切入点   id:切入点唯一标识; execution(表达式)  第一个*:访问修饰符,表示任意的; *:匹配任意字符;  (..):任意的参数
            execution(表达式[访问修饰符 包.类.方法(参数)])
-->
        <aop:pointcut id="logPointcut" expression="execution(* aop.StudentServiceImpl.*(..))"/>
<!--        配置通知  ref:关联到切面-->
        <aop:aspect id="log" ref="logAspect">
<!--           before:前置通知; after:后置通知;  method:关联到切面中的方法; pointcut-ref:关联到切入点 -->
            <aop:before method="log" pointcut-ref="logPointcut"></aop:before>
        </aop:aspect>
    </aop:config>
</beans>
5、写一个测试类,检查是否成功;
@Controller
public class StudentAction {
    @Autowired
    private StudentService studentService;

    public void insert(){
        studentService.insert();
    }
    public void delete(){
        studentService.delete();
    }

    public static void main(String[] args) {
        ClassPathXmlApplicationContext applicationContext = new ClassPathXmlApplicationContext("/applicationContext2.xml");
        StudentAction studentAction = (StudentAction) applicationContext.getBean("studentAction");
        studentAction.delete();
        studentAction.insert();
    }
}
测试结果为:

看到这个结果说明我们就测试成功了;