文章目录
组件库
微信小程序现在非常火爆,可以关联公众号,把小程序嵌入到公众号中,而且微信提供了丰富的api节省了开发时间。小程序自带的云开发功能也节省了服务器的开销。微信还上线了页面收录,好物圈等功能,更有助于微信小程序的推广。现在很多人都加入到微信小程序开发中来,小程序的数量也急剧攀升,这个时候一个页面美观,有特色的微信小程序就会很容易的吸引别人的眼球。个人也开发过三四个功能基本完整的小程序,开发过程中用到的一些UI组件分享出来。
vant
下载查看
vant 是有赞移动端组件库 Vant 的小程序版本
文档:点击查看
github地址:github

使用方法
使用组件方法
方法一
# 通过 npm 安装
npm i @vant/weapp -S --production

# 通过 yarn 安装
yarn add @vant/weapp --production

# 安装 0.x 版本
npm i vant-weapp -S --production
方法二
通过github下载示例项目直接导入需要的组件即可,app.json内导入
"usingComponents": {
    "demo-block": "./components/demo-block/index",
    "van-action-sheet": "./dist/action-sheet/index",
    "van-area": "./dist/area/index",
    "van-button": "./dist/button/index",
    "van-card": "./dist/card/index",
    "van-cell": "./dist/cell/index",
    "van-cell-group": "./dist/cell-group/index",
    "van-checkbox": "./dist/checkbox/index",
    "van-checkbox-group": "./dist/checkbox-group/index",
    "van-col": "./dist/col/index",
    "van-count-down": "./dist/count-down/index",
    "van-dialog": "./dist/dialog/index",
    "van-divider": "./dist/divider/index",
    "van-field": "./dist/field/index",
    "van-goods-action": "./dist/goods-action/index",
    "van-goods-action-icon": "./dist/goods-action-icon/index",
    "van-goods-action-button": "./dist/goods-action-button/index",
    "van-icon": "./dist/icon/index",
    "van-image": "./dist/image/index",
    "van-loading": "./dist/loading/index",
    "van-nav-bar": "./dist/nav-bar/index",
    "van-notice-bar": "./dist/notice-bar/index",
    "van-notify": "./dist/notify/index",
    "van-panel": "./dist/panel/index",
    "van-popup": "./dist/popup/index",
    "van-progress": "./dist/progress/index",
    "van-radio": "./dist/radio/index",
    "van-radio-group": "./dist/radio-group/index",
    "van-row": "./dist/row/index",
    "van-search": "./dist/search/index",
    "van-sidebar": "./dist/sidebar/index",
    "van-sidebar-item": "./dist/sidebar-item/index",
    "van-slider": "./dist/slider/index",
    "van-stepper": "./dist/stepper/index",
    "van-steps": "./dist/steps/index",
    "van-sticky": "./dist/sticky/index",
    "van-submit-bar": "./dist/submit-bar/index",
    "van-swipe-cell": "./dist/swipe-cell/index",
    "van-uploader": "./dist/uploader/index",
    "van-switch": "./dist/switch/index",
    "van-tab": "./dist/tab/index",
    "van-tabs": "./dist/tabs/index",
    "van-tabbar": "./dist/tabbar/index",
    "van-tabbar-item": "./dist/tabbar-item/index",
    "van-tag": "./dist/tag/index",
    "van-toast": "./dist/toast/index",
    "van-transition": "./dist/transition/index",
    "van-tree-select": "./dist/tree-select/index",
    "van-datetime-picker": "./dist/datetime-picker/index",
    "van-rate": "./dist/rate/index",
    "van-collapse": "./dist/collapse/index",
    "van-collapse-item": "./dist/collapse-item/index",
    "van-picker": "./dist/picker/index",
    "van-overlay": "./dist/overlay/index",
    "van-circle": "./dist/circle/index",
    "van-index-bar": "./dist/index-bar/index",
    "van-index-anchor": "./dist/index-anchor/index",
    "van-grid": "./dist/grid/index",
    "van-grid-item": "./dist/grid-item/index",
    "van-dropdown-menu": "./dist/dropdown-menu/index",
    "van-dropdown-item": "./dist/dropdown-item/index",
    "van-skeleton": "./dist/skeleton/index",
    "van-calendar": "./dist/calendar/index"
  },
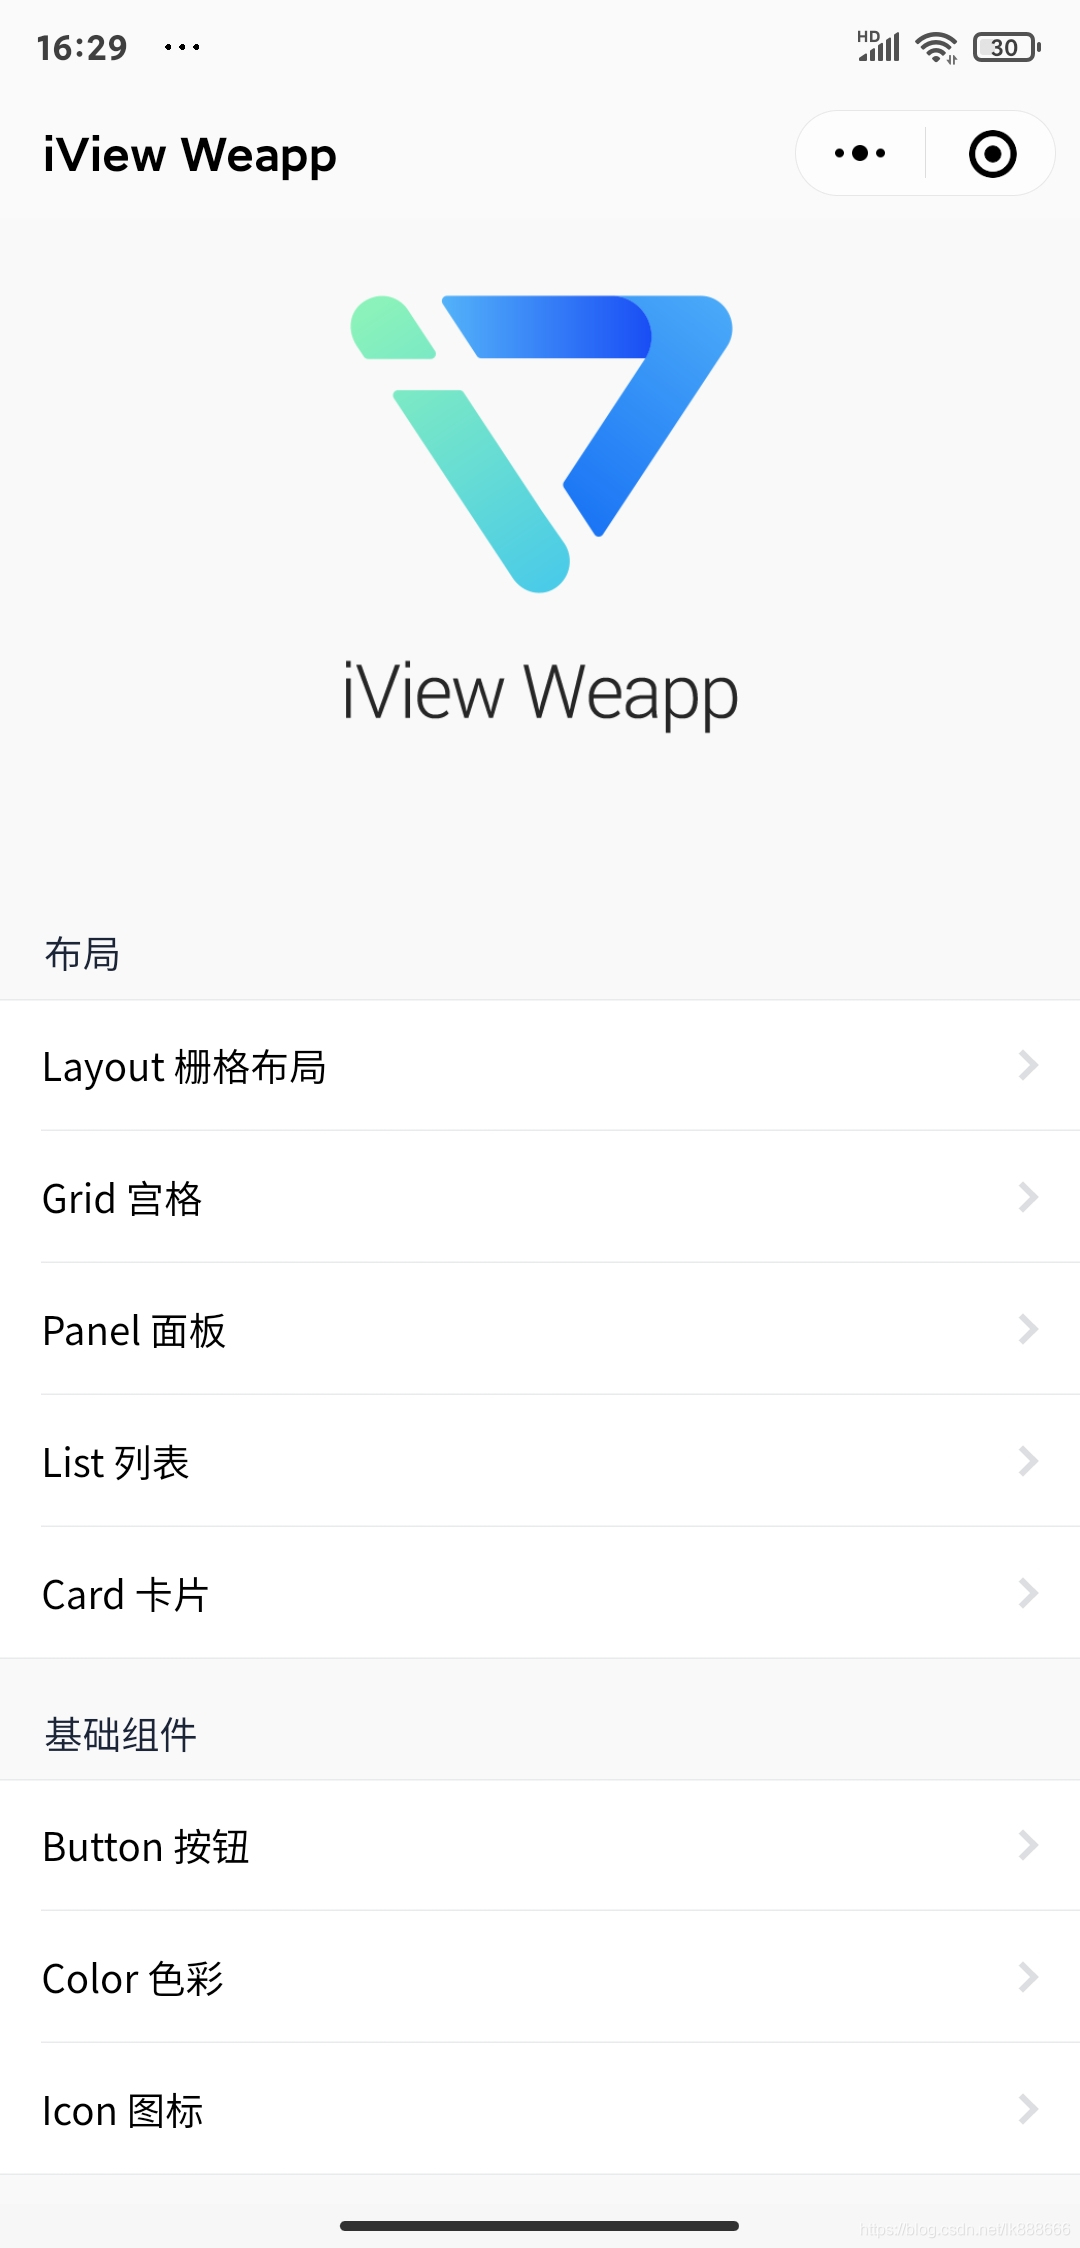
iView
下载查看
使用方法
方法一
# 从 GitHub 下载后,安装依赖
npm install

# 编译组件
npm run dev
方法二
从GitHub下载的项目代码,给出了示例项目
组件都放在dist目录下
使用时,在要使用的页面的json中添加如下代码
"usingComponents": {
    "i-button": "../../dist/button/index"//组件位置
}
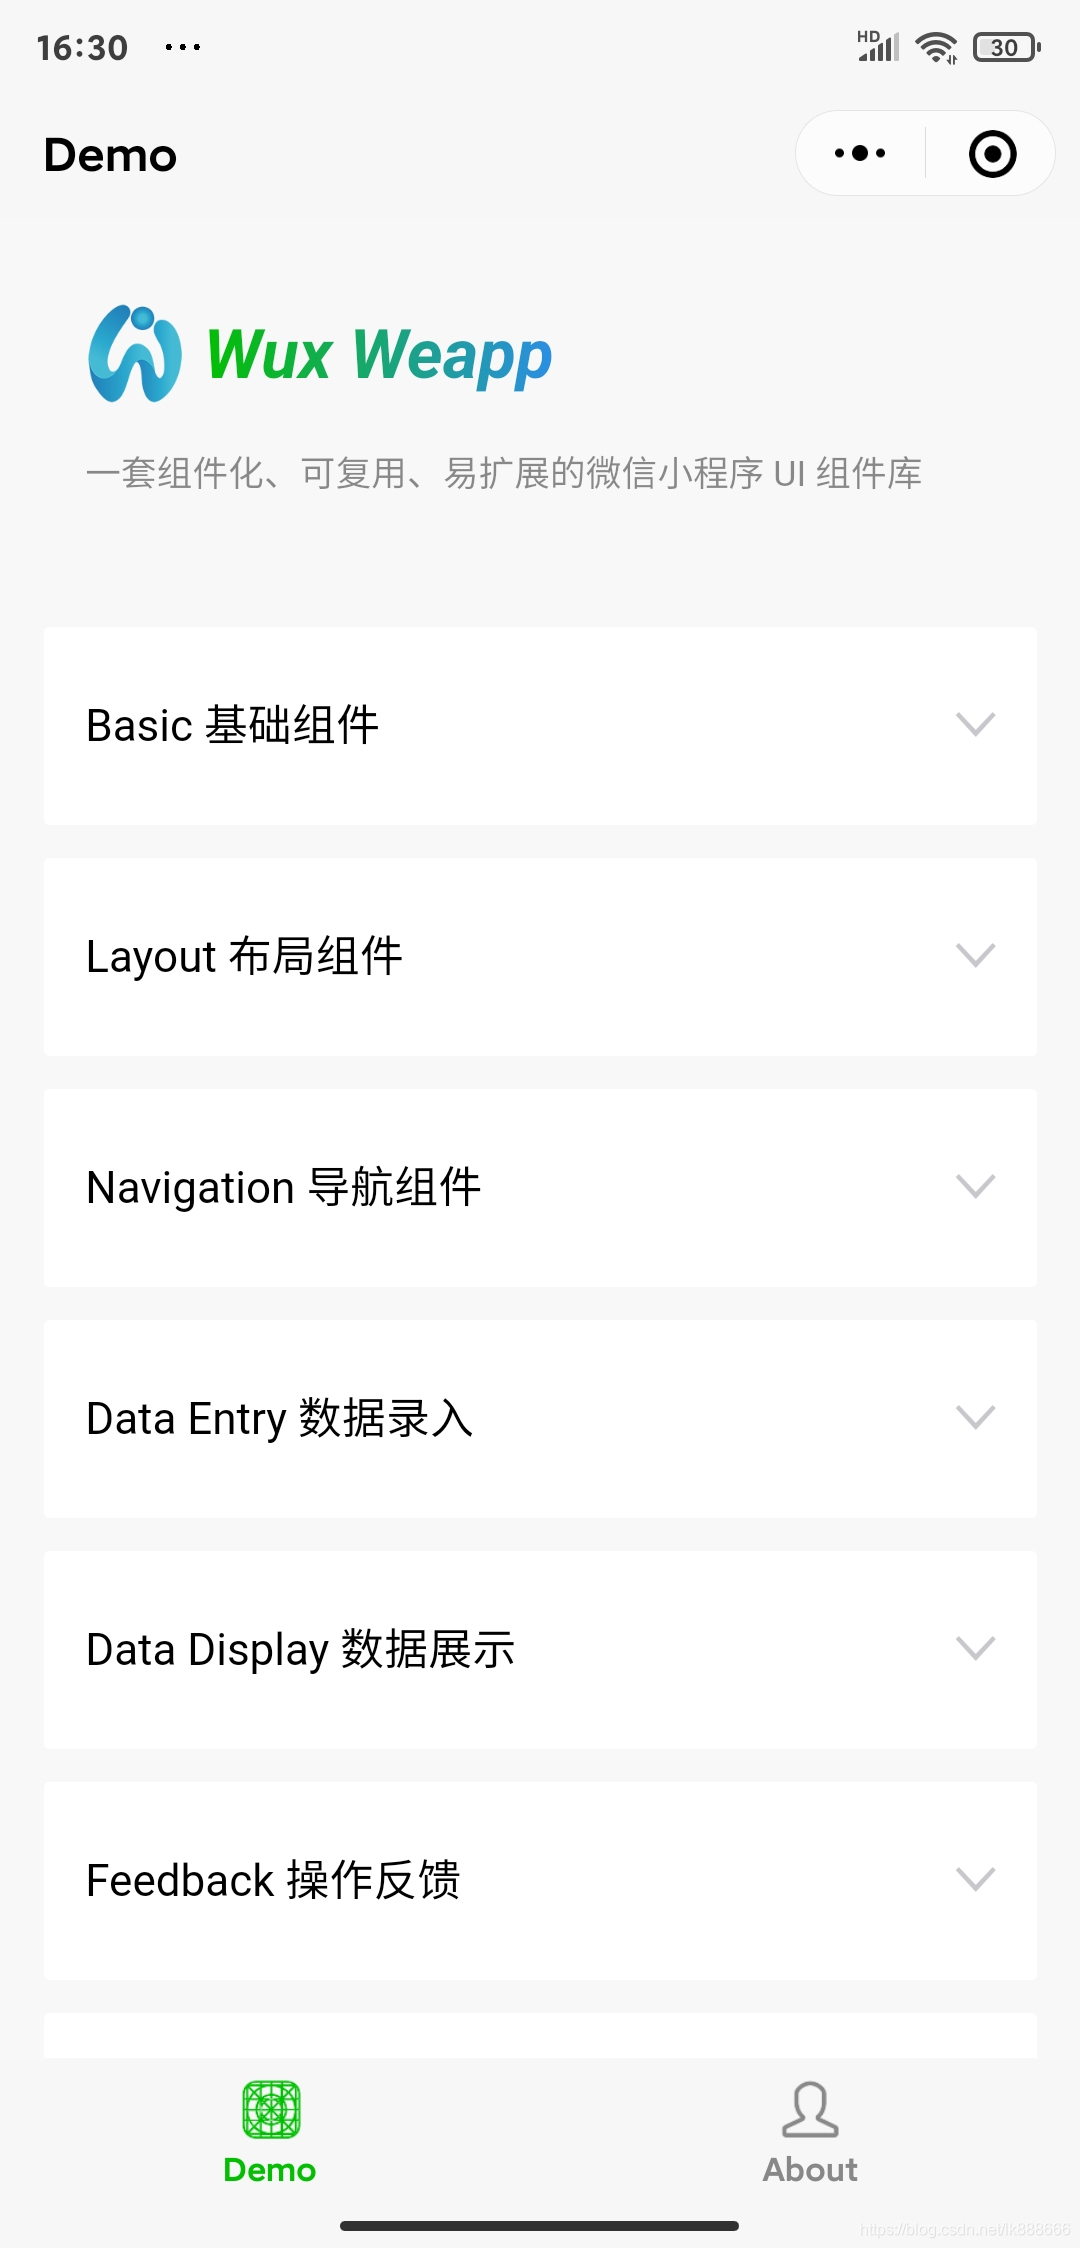
Wux
下载查看
使用方法
方法一:
# Using npm
npm i wux-weapp -S --production

# Using yarn
yarn add wux-weapp --production
方法二:
和上面的一样,自己定制需要组件加入什么组件
在 page.json 中引入组件
"usingComponents": {
    "wux-button": "../../dist/button/index"
}
Taro-ui
下载查看

使用方法
需要安装 Taro 开发工具 @tarojs/cli,Taro 版本需要在 1.0.0-beta.18 以上

npm install -g @tarojs/cli
然后在项目中安装 Taro UI

npm install taro-ui
使用
在代码中 import 需要的组件并按照文档说明使用

import { AtButton } from 'taro-ui'
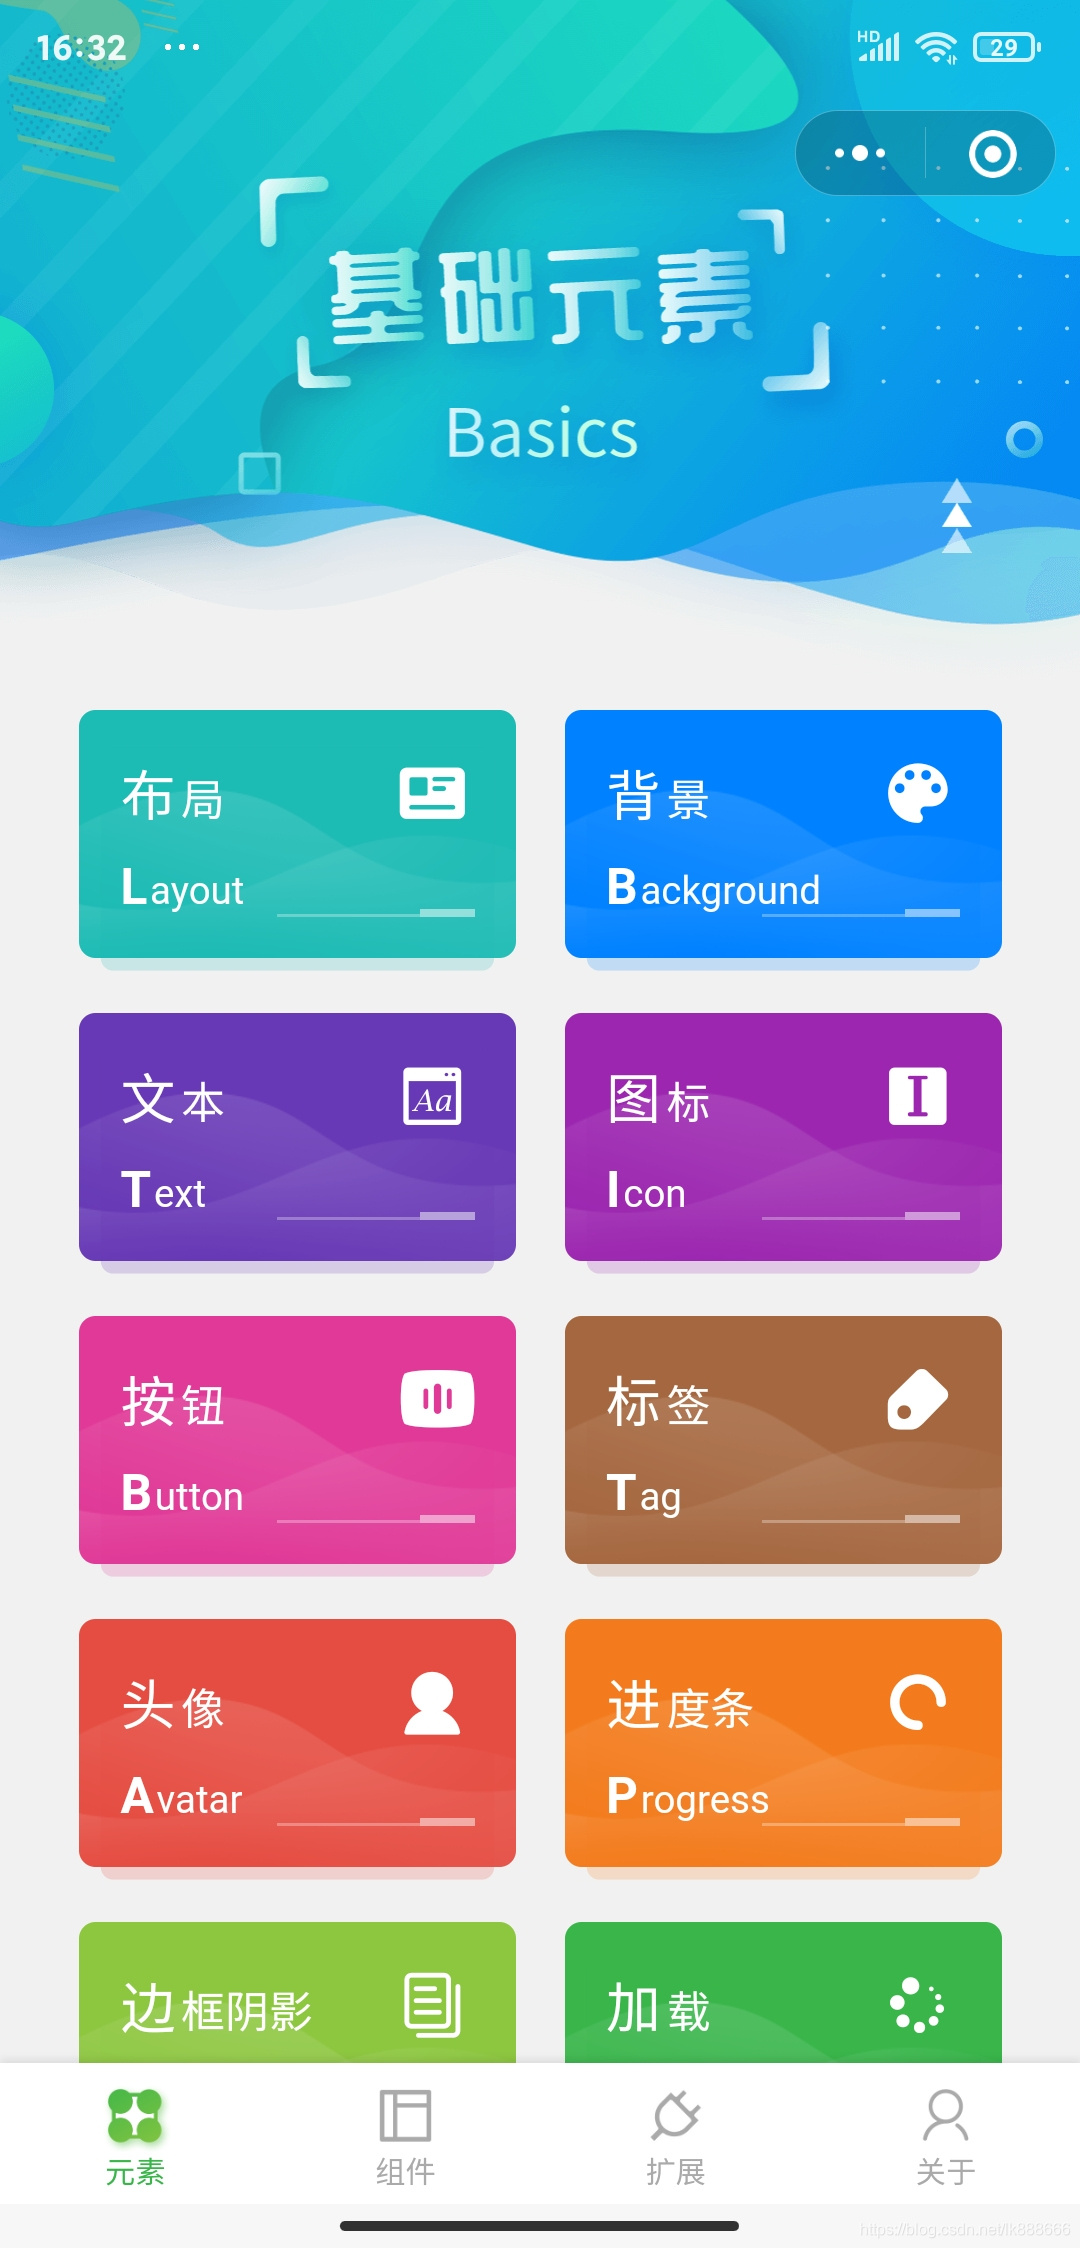
ColorUI
这是我最喜欢的一个ui组件,设计的非常的美观,然后我也在他的基础上做了一些优化和更新,总之就是很好看
下载查看
使用方法
此组件是高颜值的UI组件
最重要的是三个样式文件
main.wxss
icon.wxss
animation.wxss
main.wxss展示
page {
	/* Color 可以自定义相关配色 */
	/* var属性兼容性 --> https://www.caniuse.com/#feat=css-variables */
	/* 标准色 */
	--red: #e54d42;
	--orange: #f37b1d;
	--yellow: #fbbd08;
	--olive: #8dc63f;
	--green: #39b54a;
	--cyan: #1cbbb4;
	--blue: #0081ff;
	--purple: #6739b6;
	--mauve: #9c26b0;
	--pink: #e03997;
	--brown: #a5673f;
	--grey: #8799a3;
	--black: #333333;
	--darkGray: #666666;
	--gray: #aaaaaa;
	--ghostWhite: #f1f1f1;
	--white: #ffffff;
	/* 浅色 */
	--redLight: #fadbd9;
	--orangeLight: #fde6d2;
	--yellowLight: #fef2ce;
	--oliveLight: #e8f4d9;
	--greenLight: #d7f0db;
	--cyanLight: #d2f1f0;
	--blueLight: #cce6ff;
	--purpleLight: #e1d7f0;
	--mauveLight: #ebd4ef;
	--pinkLight: #f9d7ea;
	--brownLight: #ede1d9;
	--greyLight: #e7ebed;
	/* 渐变色 */
	--gradualRed: linear-gradient(45deg, #f43f3b, #ec008c);
	--gradualOrange: linear-gradient(45deg, #ff9700, #ed1c24);
	--gradualGreen: linear-gradient(45deg, #39b54a, #8dc63f);
	--gradualPurple: linear-gradient(45deg, #9000ff, #5e00ff);
	--gradualPink: linear-gradient(45deg, #ec008c, #6739b6);
	--gradualBlue: linear-gradient(45deg, #0081ff, #1cbbb4);
	/* 阴影透明色 */
	--ShadowSize: 6rpx 6rpx 8rpx;
	--redShadow: rgba(204, 69, 59, 0.2);
	--orangeShadow: rgba(217, 109, 26, 0.2);
	--yellowShadow: rgba(224, 170, 7, 0.2);
	--oliveShadow: rgba(124, 173, 55, 0.2);
	--greenShadow: rgba(48, 156, 63, 0.2);
	--cyanShadow: rgba(28, 187, 180, 0.2);
	--blueShadow: rgba(0, 102, 204, 0.2);
	--purpleShadow: rgba(88, 48, 156, 0.2);
	--mauveShadow: rgba(133, 33, 150, 0.2);
	--pinkShadow: rgba(199, 50, 134, 0.2);
	--brownShadow: rgba(140, 88, 53, 0.2);
	--greyShadow: rgba(114, 130, 138, 0.2);
	--grayShadow: rgba(114, 130, 138, 0.2);
	--blackShadow: rgba(26, 26, 26, 0.2);

	background-color: var(--ghostWhite);
	font-size: 28rpx;
	color: var(--black);
	font-family: Helvetica Neue, Helvetica, sans-serif;
}

view,
scroll-view,
swiper,
button,
input,
textarea,
label,
navigator,
.....三千多行
使用方式:
在app.wxss文件内导入所需的样式文件
app.wxss内的代码
@import "colorui/main.wxss";
@import "colorui/icon.wxss";

.scrollPage {
  height: 100vh;
}

.nav-list {
  display: flex;
  flex-wrap: wrap;
  padding: 0px 40rpx 0px;
  justify-content: space-between;
}

.nav-li {
  padding: 30rpx;
  border-radius: 12rpx;
  width: 45%;
  margin: 0 2.5% 40rpx;
  background-image: url(https://image.weilanwl.com/color2.0/cardBg.png);
  background-size: cover;
  background-position: center;
  position: relative;
  z-index: 1;
}

.nav-li::after {
  content: "";
  position: absolute;
  z-index: -1;
  background-color: inherit;
  width: 100%;
  height: 100%;
  left: 0;
  bottom: -10%;
  border-radius: 10rpx;
  opacity: 0.2;
  transform: scale(0.9, 0.9);
}

.nav-li.cur {
  color: #fff;
  background: rgb(94, 185, 94);
  box-shadow: 4rpx 4rpx 6rpx rgba(94, 185, 94, 0.4);
}

.nav-title {
  font-size: 32rpx;
  font-weight: 300;
}

.nav-title::first-letter {
  font-size: 40rpx;
  margin-right: 4rpx;
}

.nav-name {
  font-size: 28rpx;
  text-transform: Capitalize;
  margin-top: 20rpx;
  position: relative;
}

.nav-name::before {
  content: "";
  position: absolute;
  display: block;
  width: 40rpx;
  height: 6rpx;
  background: #fff;
  bottom: 0;
  right: 0;
  opacity: 0.5;
}

.nav-name::after {
  content: "";
  position: absolute;
  display: block;
  width: 100rpx;
  height: 1px;
  background: #fff;
  bottom: 0;
  right: 40rpx;
  opacity: 0.3;
}

.nav-name::first-letter {
  font-weight: bold;
  font-size: 36rpx;
  margin-right: 1px;
}

.nav-li text {
  position: absolute;
  right: 30rpx;
  top: 30rpx;
  font-size: 52rpx;
  width: 60rpx;
  height: 60rpx;
  text-align: center;
  line-height: 60rpx;
}

.text-light {
  font-weight: 300;
}
微信小程序请求封装
标准请求
wx.request({
        url: HTTP_BASE_URL+url,
        method: _methods,
        data: data,
        dataType: 'json',
        success: (res)=>{
        },
        fail: (res)=>{
        }
    });
请求封装
封装
一下是看了一个大佬的方法,确实很好用
比之前自己写的方便多了。
将四种请求分开,自己写的只传递post请求

创建一个请求的js文件
const wxrequest = (method, url, data, response, error) => {
  wx.showLoading({
    title: '加载中...',
    mask: true
  })
  wx.request({
    method: method,
    url: url,
    header: {
      'content-type': 'application/json'
      // 'token': wx.getStorageSync("token")可以选择是否添加toke
     },
    data:data,
    success: res => {
      return response(res)
    },
    fail: err => {
      return error(err)
    },
    complete: info => {
      wx.hideLoading();
    }
  })
}
module.exports = {
  _get: (url, data, response, error) => http('GET', url, data, response, error),
  _post: (url, data, response, error) => http('POST', url, data, response, error),
   _put: (url, data, response, error) => http('PUT', url, data, response, error),
  _delete: (url, data, response, error) => http('DELETE', url, data, response, error),
}
如何使用呢
import wxrequest from '../../wxrequest/wxrequestt.js'
request(){
  let data = {
    params1:params1, //参数1
    params2:params2, //参数2
  }
    wxrequest._get('http://www.lsuperkai.top/wxrequest', data , res => {
      console.log(res)
    },err => {
      console.log(err)
    })
},