1.安装tensorflow:
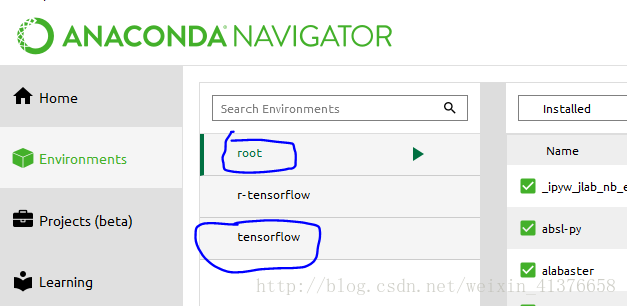
在网上找到很多,就是因为太多了,才出现各种错误。我用的是anconda进行安装的。一开始搜到的安装在 envs下,新建一个envs
conda install tensorflow ,最简单。
(ps:置于这两种区别目前不懂,希望懂的同志留言。)
这次不需要activate tensorflow了,在pycham (+ anaconda)里能正常导入了,但是在juypter里导入就出现问题了,cannot import name ‘dragon4_positional’,,难受啊!!!!搞了半天,就在pycham里写程序吧!
基础框架
1.session 控制会话
tf 与 别的不同,不是你写了两个矩阵乘就乘,需要在sess里run一下才会执行。直接代码:
import tensorflow as tf

matrix1 = tf.constant([[3,4]])  #constant是常量, 一行两列
matrix2 = tf.constant([[1],
                       [2]]) #两行一列

product = tf.matmul(matrix1,matrix2)
print(product)#打印不出结果

#method1
# sess = tf.Session()
# result = sess.run(product)
# print(result)#run之后才能执行,然后打印出结果
# sess.close()  #Ctrl+ / 就是批量注释

#method2  用with 能自动 close
with tf.Session() as sess:
    result2 = sess.run(product)
    print(result2)
method1 里的print 是没有结果输出的。
2.变量
tf 中只有定义他为变量才为变量,不像以前的。直接代码:
import tensorflow as tf

#tf 中只有定义他为变量才为变量
state = tf.Variable(0, name='counter')
#print(state.name)  #counter:0

one = tf.constant(1)

new_value = tf.add(state , one)
updata = tf.assign(state, new_value) #将new_value 加载到/更新 到state

init = tf.initialize_all_variables() #如果定义了变量,必须要

with tf.Session() as sess:
    sess.run(init)
    for _ in range(3):
        sess.run(updata)
        print(sess.run(state))
输出的结果为 1 2 3
3.placeholder
用的变量并未直接赋值,而是当用到的时候feed.
import tensorflow as tf

input1 = tf.placeholder(tf.float32) #需指定type
input2 = tf.placeholder(tf.float32)

output = tf.multiply(input1,input2)

with tf.Session() as sess:
    print(sess.run(output, feed_dict={input1:[7.], input2:[2.]}))
每一次出现了placeholder都要feed一下。feed_dict是字典形式。