基于上一篇在android studio 中已经布置好的环境进行开发。
这篇文章是基于手写识别的例子,在tensorflow中搭建一个简单的BP神经网络,在实现手写数字的识别,然后把这个网络生成文件,在android的tensorflow lite中运行。
一 在tensorflow 中生成tflite文件
我的python是3.6,tensorflow配置的是1.8.0,然后直接上代码。
import tensorflow as tf
from tensorflow.examples.tutorials.mnist import input_data

mnist = input_data.read_data_sets("mnist",one_hot=True)


# 定义批次大小
batch_size = 100
n_batch = mnist.train.num_examples

# 定义placeholder
x = tf.placeholder(tf.float32,[1,784],name='input_x')
y = tf.placeholder(tf.float32,[1,10],name='output_y')

# 定义 测试
x_test = tf.placeholder(tf.float32,[None,784],name='input_test_x')
y_test = tf.placeholder(tf.float32,[None,10],name='input_test_y')

# 创建一个简单的神经网络
W = tf.Variable(tf.zeros([784,10]),name="W")
b = tf.Variable(tf.zeros([1,10]),name="b")

prediction = tf.nn.softmax(tf.matmul(x,W)+b)


# 创建损失函数
train = tf.train.GradientDescentOptimizer(0.02).minimize(tf.reduce_mean(tf.square(y-prediction)))

# 名称转换
def canonical_name(x):
  return x.name.split(":")[0]

# 计算准确率
test_prediction = tf.nn.softmax(tf.matmul(x_test,W)+b)
accuarcy = tf.reduce_mean(tf.cast(tf.equal(tf.argmax(y_test,1),tf.argmax(test_prediction,1)),tf.float32))

init = tf.global_variables_initializer()
out = tf.identity(prediction, name="output")

with tf.Session() as sess:
    sess.run(init)
    for epoch in range(10):
        for batch in range(n_batch):
            batch_xs,batch_ys = mnist.train.next_batch(batch_size)
            for index in range(len(batch_xs)):
                xs = batch_xs[index].reshape(1,784)
                ys = batch_ys[index].reshape(1,10)
                sess.run(train, feed_dict={x: xs, y: ys})

        acc = sess.run(accuarcy,feed_dict={x_test:mnist.test.images,y_test:mnist.test.labels})
        print("over"+str(acc))

    frozen_tensors = [out]
    out_tensors = [out]

    frozen_graphdef = tf.graph_util.convert_variables_to_constants(sess, sess.graph_def, list(map(canonical_name, frozen_tensors)))
    tflite_model = tf.contrib.lite.toco_convert(frozen_graphdef, [x], out_tensors)

    open("writer_model.tflite", "wb").write(tflite_model)
运行之后就可以生文件,writer_model.tflite.
二 创建自己的分类器
在上一篇搭建好平台之后,最重要的是模型的输入和输出,模型的输入函数。
private ByteBuffer convertBitmapToByteBuffer(Bitmap bitmap) {
            // 获取图片的宽度
        int width = bitmap.getWidth();
        // 获取图片的高度
        int height = bitmap.getHeight();
        // 传入模型数据必须是ByteBuffer格式的,所以说必须把数据转入到
        ByteBuffer tempData = ByteBuffer.allocateDirect(width * height * 4);

        // 数组排列用nativeOrder
        tempData.order(ByteOrder.nativeOrder());

        // 获取图片的像素值
        int[] pixels = getPicturePixel(bitmap);
        for (int i = 0; i < pixels.length; i++) {
            byte[] bytes = float2byte((float)(pixels[i]));
            for (int k = 0; k < bytes.length; k++) {
                tempData.put(bytes[k]);
            }
        }
        return tempData;
    }
直接上完整的分类器代码
package com.fangt.classifer;

import android.content.Context;
import android.content.res.AssetFileDescriptor;
import android.graphics.Bitmap;

import org.tensorflow.lite.Interpreter;

import java.io.FileInputStream;
import java.io.IOException;
import java.nio.ByteBuffer;
import java.nio.ByteOrder;
import java.nio.MappedByteBuffer;
import java.nio.channels.FileChannel;

public class WriterIdentify {

    // 运行生成的文件,形成分类器
    private Interpreter tflite;
    // 输出的结构
    private float[][] labelProbArray = null;

    public static WriterIdentify newInstance(Context context) {
        WriterIdentify writerIdentify = new WriterIdentify(context);
        return writerIdentify;
    }

    private WriterIdentify(Context context) {
        try {
            tflite = new Interpreter(loadModelFile(context));
        } catch (Exception e) {

        }
        labelProbArray = new float[1][10];

    }

    public void run(Bitmap bitmap) {
        tflite.run(convertBitmapToByteBuffer(bitmap), labelProbArray);
        //convertBitmapToByteBuffer(bitmap,width,height);
    }

    // 返回输出的结果
    public int getResult() {
        int[] resultDict = new int[]{0, 1, 2, 3, 4, 5, 6, 7, 8, 9};
        for (int i = 0; i < labelProbArray[0].length; i++) {
            if (labelProbArray[0][i] == 1.0f) {
                return resultDict[i];
            }
        }
        return -1;
    }

    private ByteBuffer convertBitmapToByteBuffer(Bitmap bitmap) {
        int width = bitmap.getWidth();
        int height = bitmap.getHeight();
        ByteBuffer tempData = ByteBuffer.allocateDirect(width * height * 4);

        // 数组排列用nativeOrder
        tempData.order(ByteOrder.nativeOrder());
        int[] pixels = getPicturePixel(bitmap);
        for (int i = 0; i < pixels.length; i++) {
            byte[] bytes = float2byte((float)(pixels[i]));
            for (int k = 0; k < bytes.length; k++) {
                tempData.put(bytes[k]);
            }
        }
        return tempData;
    }
    // 读取图片像素
    private int[] getPicturePixel(Bitmap bitmap) {

        int width = bitmap.getWidth();
        int height = bitmap.getHeight();

        // 保存所有的像素的数组,图片宽×高
        int[] pixels = new int[width * height];

        bitmap.getPixels(pixels, 0, width, 0, 0, width, height);
        String str = "";
        for (int i = 0; i < pixels.length; i++) {
            pixels[i] = pixels[i] & 0x000000ff;
        }
        return pixels;
    }
    // 把float转bytes字节
    private byte[] float2byte(float f) {

        // 把float转换为byte[]
        int fbit = Float.floatToIntBits(f);

        byte[] b = new byte[4];
        for (int i = 0; i < 4; i++) {
            b[i] = (byte) (fbit >> (24 - i * 8));
        }

        // 翻转数组
        int len = b.length;
        // 建立一个与源数组元素类型相同的数组
        byte[] dest = new byte[len];
        // 为了防止修改源数组,将源数组拷贝一份副本
        System.arraycopy(b, 0, dest, 0, len);
        byte temp;
        // 将顺位第i个与倒数第i个交换
        for (int i = 0; i < len / 2; ++i) {
            temp = dest[i];
            dest[i] = dest[len - i - 1];
            dest[len - i - 1] = temp;
        }
        return dest;
    }

    // 获取文件
    private MappedByteBuffer loadModelFile(Context context) throws IOException {
        AssetFileDescriptor fileDescriptor = context.getAssets().openFd(getModelPath());
        FileInputStream inputStream = new FileInputStream(fileDescriptor.getFileDescriptor());
        FileChannel fileChannel = inputStream.getChannel();
        long startOffset = fileDescriptor.getStartOffset();
        long declaredLength = fileDescriptor.getDeclaredLength();
        return fileChannel.map(FileChannel.MapMode.READ_ONLY, startOffset, declaredLength);
    }

    private String getModelPath() {
        return "writer_model.tflite";
    }
}
三 读取MNIST数据集中的数据
由于我们测试数据,就需要把图片从MNIST中提取出来,这里写了一个小工具,先从MNIST官网下载文件。
http://yann.lecun.com/exdb/mnist/
下载之后解压,运行下下面的小工具就可以了。
import numpy as np
import struct
from PIL import Image
import os
data_file = 'MNIST_data/train-images.idx3-ubyte' # 需要修改的路径
# It's 47040016B, but we should set to 47040000B
data_file_size = 47040016
data_file_size = str(data_file_size - 16) + 'B'
data_buf = open(data_file, 'rb').read()
magic, numImages, numRows, numColumns = struct.unpack_from(
'>IIII', data_buf, 0)
datas = struct.unpack_from(
'>' + data_file_size, data_buf, struct.calcsize('>IIII'))
datas = np.array(datas).astype(np.uint8).reshape(
numImages, 1, numRows, numColumns)
datas_root = 'images/' # 需要修改的路径
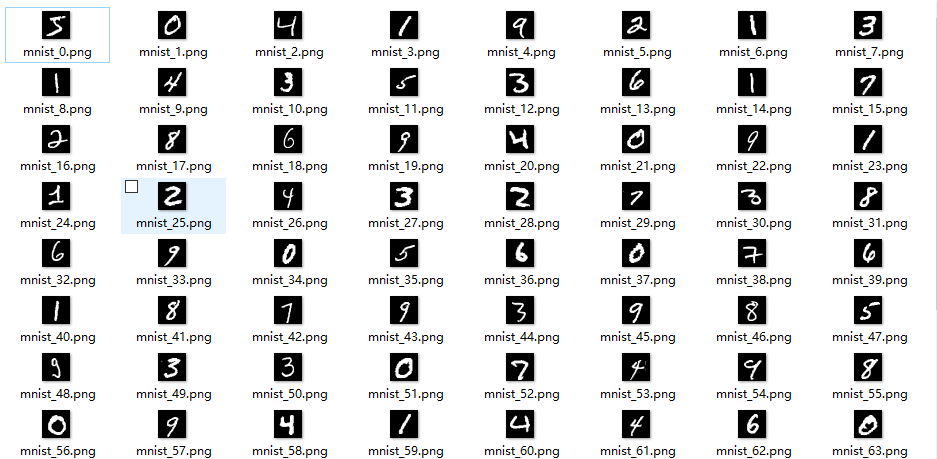
for ii in range(100):
print(ii)
img = Image.fromarray(datas[ii, 0, 0:28, 0:28])
file_name = datas_root + 'mnist_' + str(ii) + '.png'
img.save(file_name)
运行之后的图片展示:
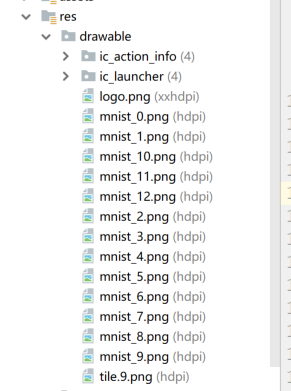
四 在android中运行自定的分类器
先需要把图片导入到文件中
先创建XML文件,页面布局
<FrameLayout xmlns:android="http://schemas.android.com/apk/res/android"
    xmlns:tools="http://schemas.android.com/tools"
    android:layout_width="match_parent"
    android:layout_height="match_parent"
    tools:context="com.fangt.fragment.WriterFragment">

    <!-- TODO: Update blank fragment layout -->
    <LinearLayout
        android:layout_width="match_parent"
        android:layout_height="match_parent"
        android:orientation="vertical"
        android:gravity="center">
        <ImageView
            android:id="@+id/ivNumber"
            android:layout_width="150dp"
            android:layout_height="150dp" />
        <TextView
            android:layout_width="match_parent"
            android:layout_height="30dp" />
        <TextView
            android:id="@+id/tvContent"
            android:layout_width="wrap_content"
            android:layout_height="wrap_content"
            android:textSize="24sp"
            android:text="@string/hello_blank_fragment" />
        <TextView
            android:layout_width="match_parent"
            android:layout_height="30dp" />
        <Button
            android:id="@+id/btnChange"
            android:layout_width="300dp"
            android:layout_height="wrap_content"
            android:text="@string/btnChange" />
        <Button
            android:id="@+id/btnStart"
            android:layout_width="300dp"
            android:layout_height="wrap_content"
            android:text="@string/btnClick" />
    </LinearLayout>


</FrameLayout>
之后是后台文件,也就是调用分类器。
package com.fangt.fragment;

import android.content.Context;
import android.graphics.Bitmap;
import android.graphics.BitmapFactory;
import android.net.Uri;
import android.os.Bundle;
import android.app.Fragment;
import android.view.LayoutInflater;
import android.view.View;
import android.view.ViewGroup;
import android.widget.Button;
import android.widget.ImageView;
import android.widget.TextView;
import android.widget.Toast;

import com.example.android.tflitecamerademo.R;
import com.fangt.classifer.WriterIdentify;

public class WriterFragment extends Fragment implements View.OnClickListener {


    private Button btnStart;
    private Button btnChange;
    private TextView tvContent;
    private ImageView ivNumber;

    private Context context;
    // 图片数据
    private int[] imageIds;
    private static int currentImageIds;
    public WriterFragment() {

    }
    // TODO: Rename and change types and number of parameters
    public static WriterFragment newInstance(String param1, String param2) {
        WriterFragment fragment = new WriterFragment();
        return fragment;
    }
    @Override
    public void onCreate(Bundle savedInstanceState) {
        super.onCreate(savedInstanceState);
    }
    @Override
    public View onCreateView(LayoutInflater inflater, ViewGroup container,
                             Bundle savedInstanceState) {
        View view = inflater.inflate(R.layout.fragment_writer, container, false);
        context = view.getContext();
        init(view);
        return view;
    }
    private void init(View view) {
        btnStart = (Button) view.findViewById(R.id.btnStart);
        tvContent = (TextView) view.findViewById(R.id.tvContent);
        ivNumber = (ImageView) view.findViewById(R.id.ivNumber);
        btnChange = (Button) view.findViewById(R.id.btnChange);
        btnStart.setOnClickListener(this);
        btnChange.setOnClickListener(this);
        imageIds = new int[]{R.drawable.mnist_0,R.drawable.mnist_1,R.drawable.mnist_2,
                R.drawable.mnist_3,R.drawable.mnist_4,R.drawable.mnist_5,
                R.drawable.mnist_6,R.drawable.mnist_7,R.drawable.mnist_8,
                R.drawable.mnist_9,R.drawable.mnist_10,R.drawable.mnist_11,
                R.drawable.mnist_12};
        currentImageIds = 0;
        ivNumber.setImageResource(imageIds[currentImageIds]);
    }
    @Override
    public void onClick(View v) {
        switch (v.getId()){
            case R.id.btnStart:
                WriterIdentify writerIdentify = WriterIdentify.newInstance(context);
                BitmapFactory.Options bfoOptions = new BitmapFactory.Options();
                bfoOptions.inScaled = false;
                Bitmap bitmap = BitmapFactory.decodeResource(getResources(), imageIds[currentImageIds],bfoOptions);
                writerIdentify.run(bitmap);
                tvContent.setText("Result:" + writerIdentify.getResult());
                break;
            case R.id.btnChange:
                currentImageIds = (++currentImageIds) % imageIds.length;
                ivNumber.setImageResource(imageIds[currentImageIds]);
                break;
        }
    }
}
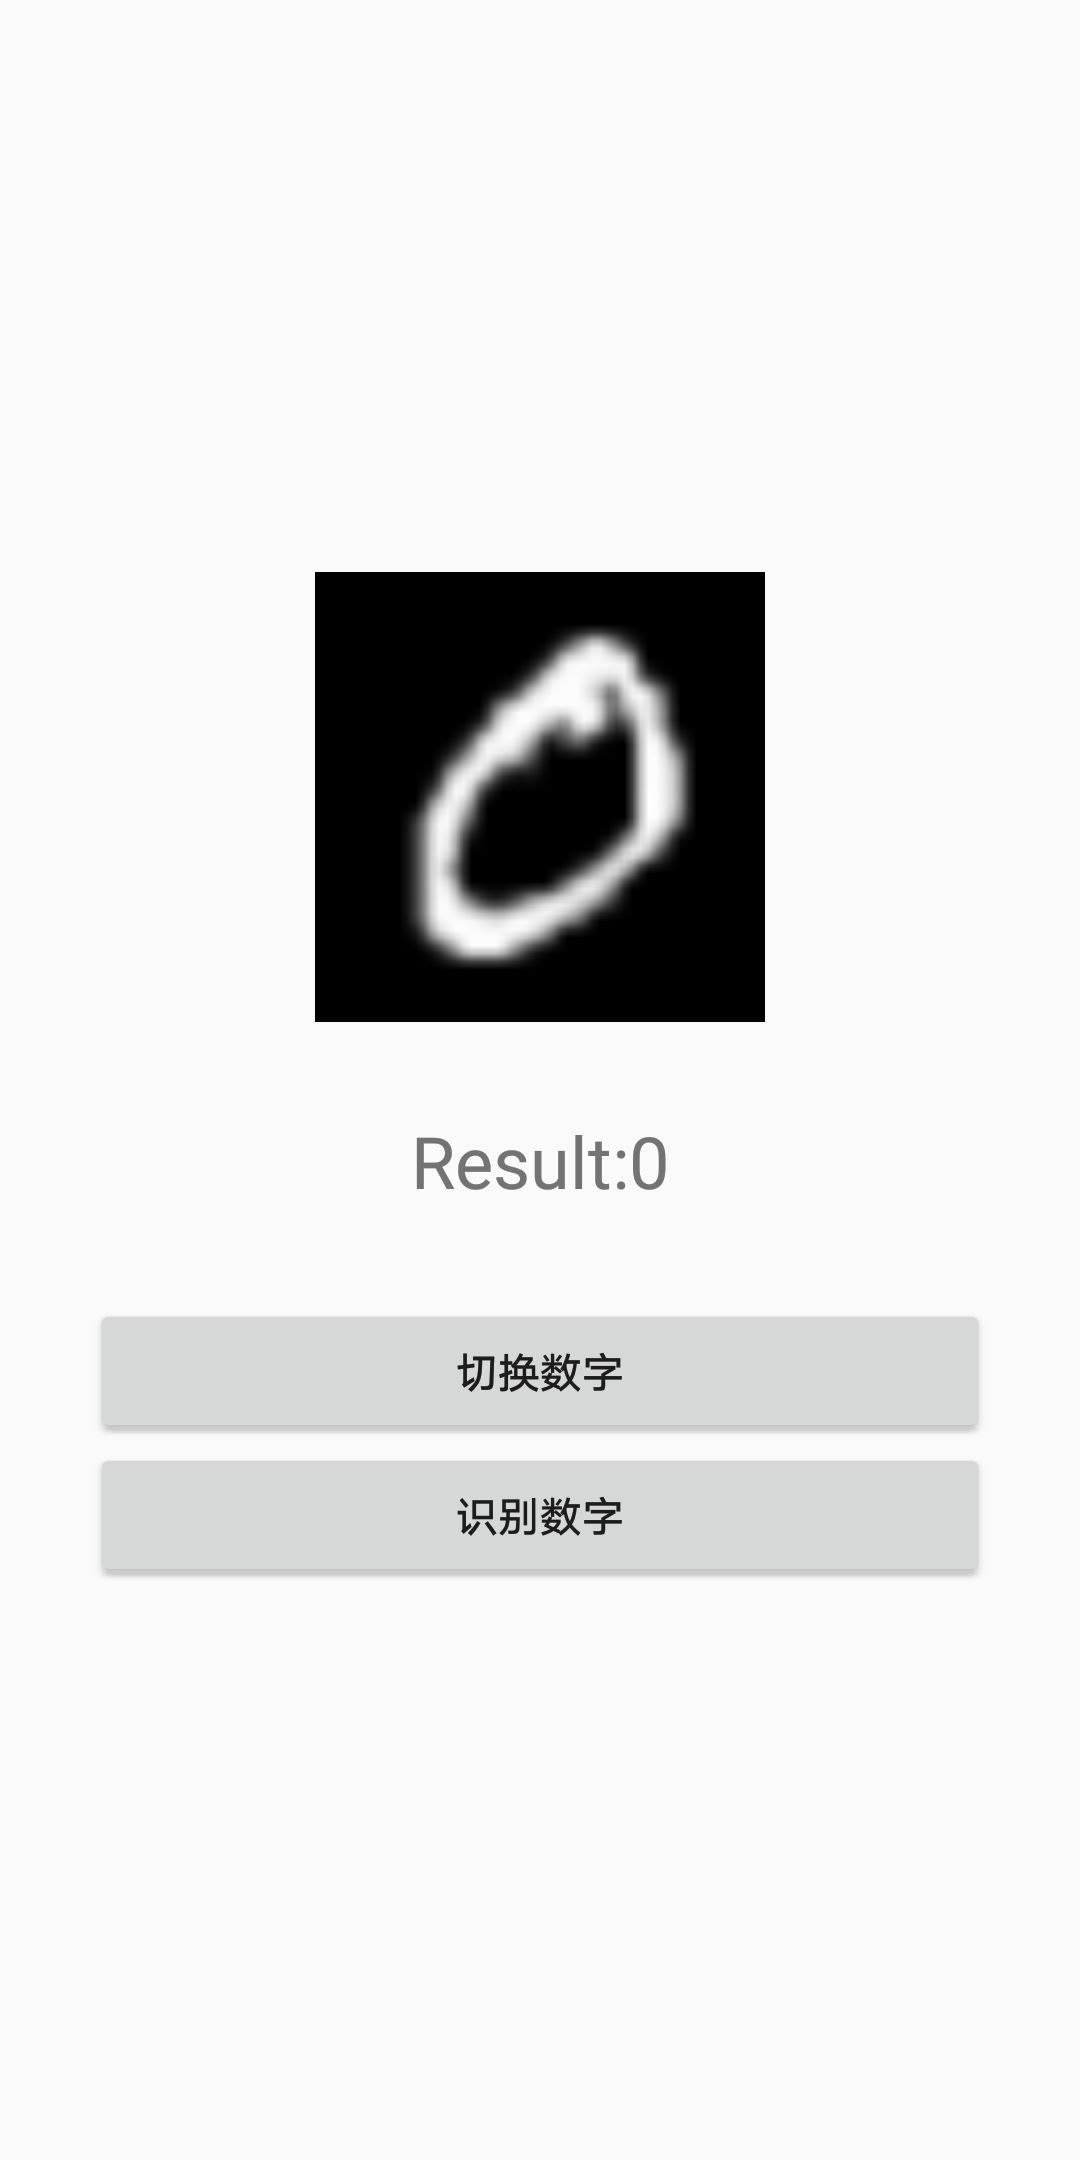
到这里基本内容就完成了。
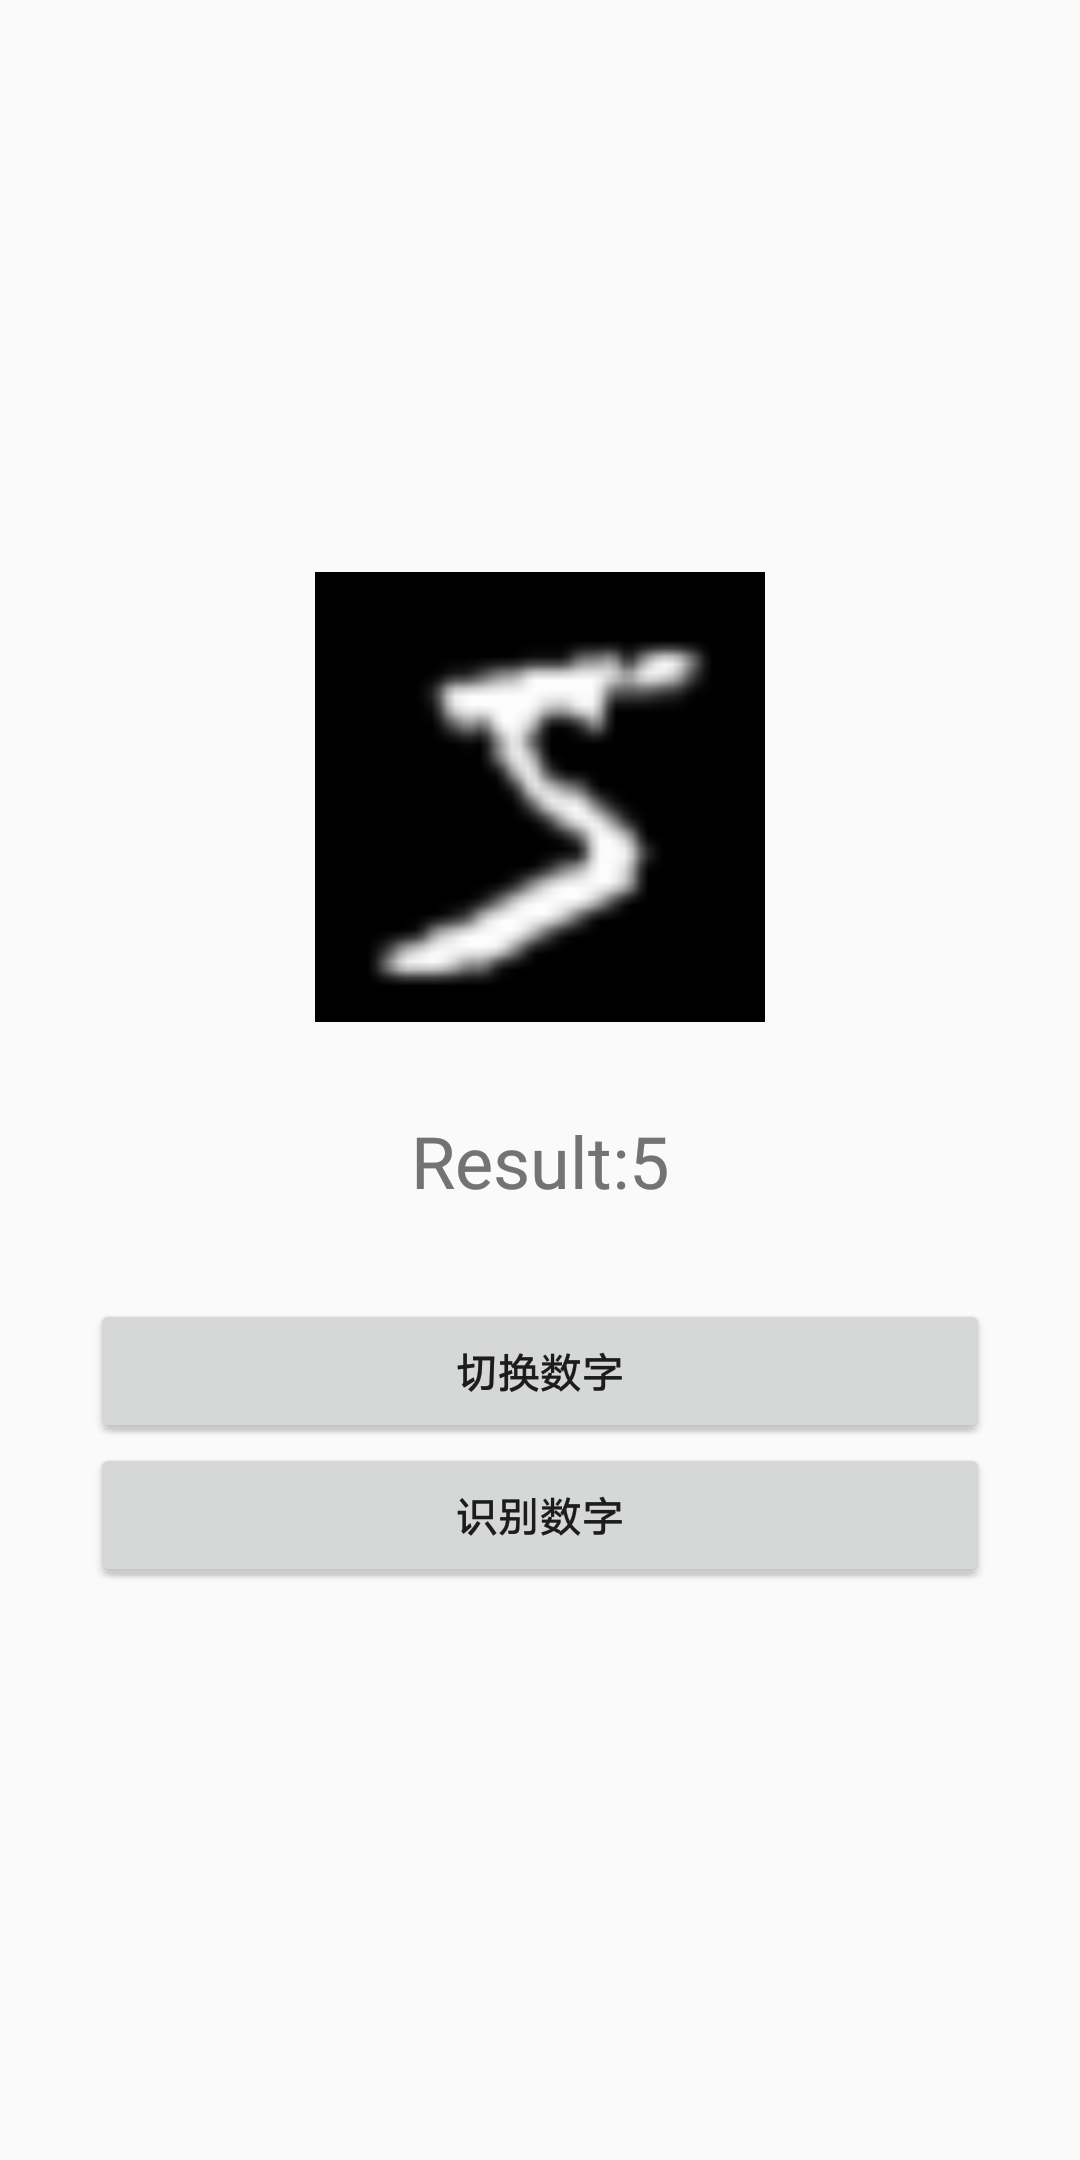
下面展示几张效果图:
对5进行分类
到这就结束了,喜欢的可以关注一下,有什么问题可以给我私信。谢谢。
我把APP上传到CSDN下载,地址
https://download.csdn.net/download/qq_22765745/10443505