原来使用普通的 PHP 代码,只需要一个文件,就可以完成功能。
而使用了 smarty后,会分成两个文件来完成,一个是模板文件,用于显示内容,一般后缀名为 *.tpl (但实际上任何后缀名都可以,建议不要使用直接通过路径打开的后缀名,如 .html等),
使用另一个 PHP 文件提供显示的数据。
因此 smarty 使用 assign() 方法来进行赋值;使用 display() 来显示最终页面。
例子如下:
模板文件 test.tpl
<html>
    <head>
        <title>{$title}</title>
    </head>
    <body>
        <h1>{$header}</h1>
        {$content}
    </body>
</html>
提供数据文件 test.php
<?php
    require_once 'libs/Smarty.class.php';

    $smarty = new Smarty();

    $title = 'this is a test';
    $header = 'look at me';
    $content = 'my first smarty test';

    $smarty->assign('title', $title);
    $smarty->assign('header', $header);
    $smarty->assign('content', $content);

    $smarty->display('templates/test.tpl');
最后通过路径访问 test.php,得到的结果如下: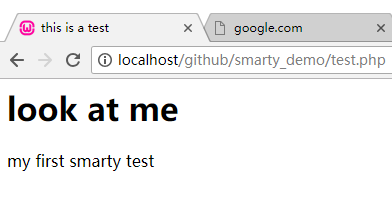
文件的结构如下:

其实 smarty 就是一个 MVC 的实践,模板文件 作为 view层,数据提供文件 作为 Control 层,其他的一些类 作为 Model 层。