1.用angular新建一个bmi2工程客户端
具体步骤:https://blog.csdn.net/hyh17808770899/article/details/105641632
2.用JetBrains WebStorm打开该项目
具体步骤:https://blog.csdn.net/hyh17808770899/article/details/105645198
3.替换tslint.json文件
将tslint.json文件里面的代码全部换成如下代码:
{
  "parserOptions": {
    "ecmaVersion": 6,
    "sourceType": "module",
    "ecmaFeatures": {
      "jsx": true
    }
  },
  "env": {
    "browser": true,
    "node": true,
    "commonjs": true,
    "meteor": true,
    "mongo": true,
    "jquery": true,
    "amd": true
  },
  "globals": {},
  "rules": {
    "comma-dangle": [2, "never"],
    "no-cond-assign": [2],
    "no-constant-condition": [2],
    "no-control-regex": [2],
    "no-debugger": [2],
    "no-dupe-args": [2],
    "no-dupe-keys": [2],
    "no-duplicate-case": [2],
    "no-empty-character-class": [2],
    "no-empty": [2],
    "no-ex-assign": [2],
    "no-extra-boolean-cast": [2],
    "no-func-assign": [2],
    "no-inner-declarations": [2],
    "no-invalid-regexp": [2],
    "no-irregular-whitespace": [2],
    "no-negated-in-lhs": [2],
    "no-obj-calls": [2],
    "no-regex-spaces": [2],
    "no-sparse-arrays": [2],
    "no-unexpected-multiline": [2],
    "no-unreachable": [2],
    "use-isnan": [2],
    "no-octal": [2],
    "no-empty-pattern": [2],
    "no-multi-spaces": [2],
    "no-unused-labels": [1],
    "no-void": [2],
    "semi": [2, "always"],
    "quotes": [2, "single"],
    "strict": [2, "safe"],
    "dot-location": [2, "property"],
    "no-label-var": [2],
    "no-shadow-restricted-names": [2],
    "no-undef": [2],
    "init-declarations": [2, "always"],
    "no-catch-shadow": [2],
    "no-delete-var": [2],
    "constructor-super": [1],
    "no-const-assign": [2],
    "no-dupe-class-members": [2],
    "no-new-symbol": [2],
    "no-this-before-super": [2],
    "no-class-assign": [2]
  }
}
4.现在才正式开始
打开IDEA,运行BMI的服务端

用Postman测试:

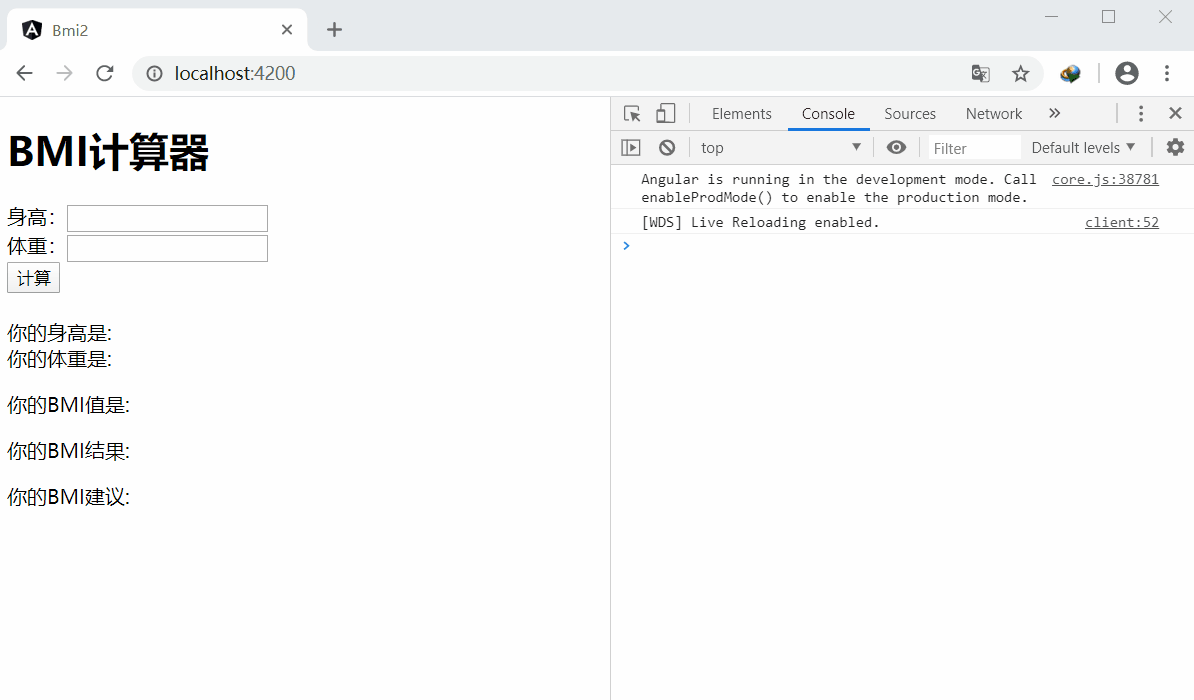
一切正常的话,开始在WebStorm里面的src/app目录里的app.component.html文件内添加代码:
<h1>BMI计算器</h1>

<label>身高:</label>
<input type="text">

<br><label>体重:</label>
<input type="text">

<br><button>计算</button>
Terminal终端运行:ng serve
浏览器查看效果:

(1)app.module.ts文件中的imports: []添加路由FormsModule
(2)src/app目录中添加文件夹vo,vo中新建TypeScript file文件,命名BMIForm

添加代码:
export class BMIForm{
  public sg:number;
  public tz:number;
}
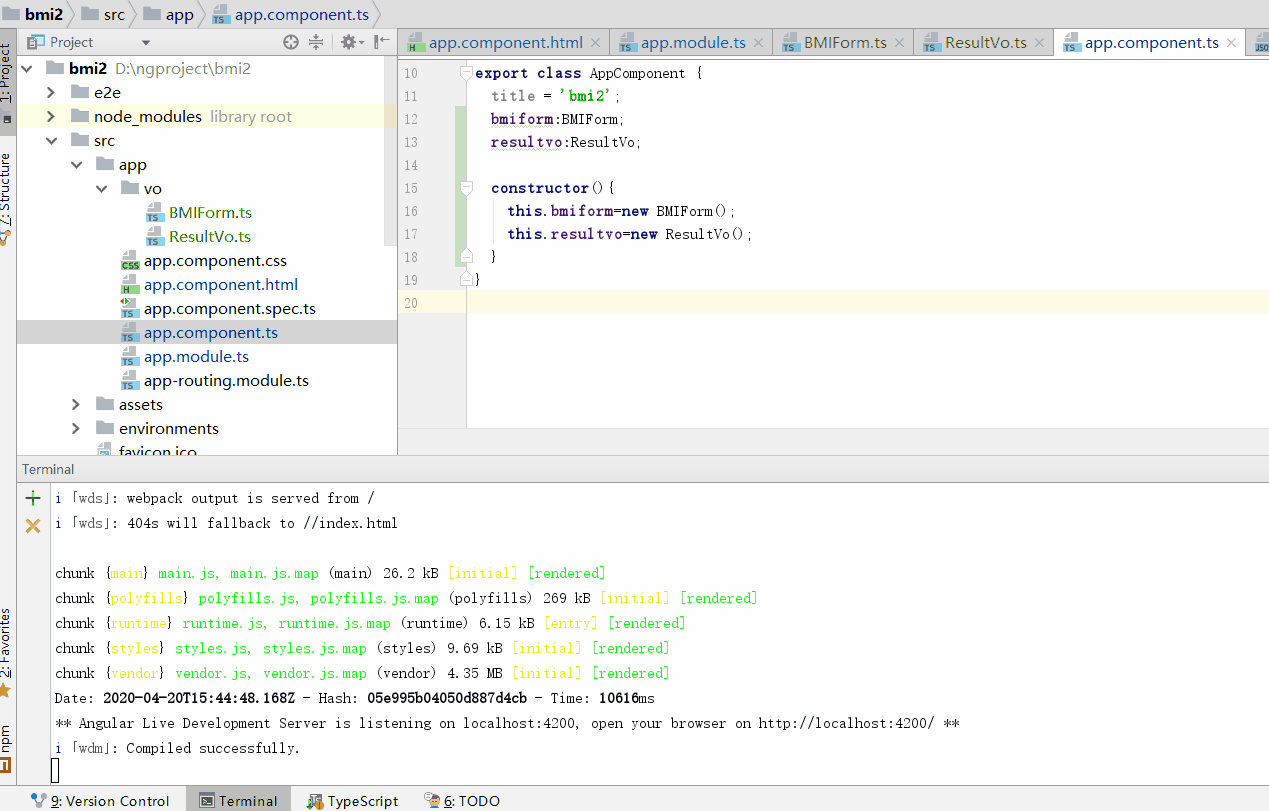
(3)app.component.ts文件中的export class AppComponent {}添加:
bmiform:BMIForm;
  constructor(){
    this.bmiform=new BMIForm();
  }
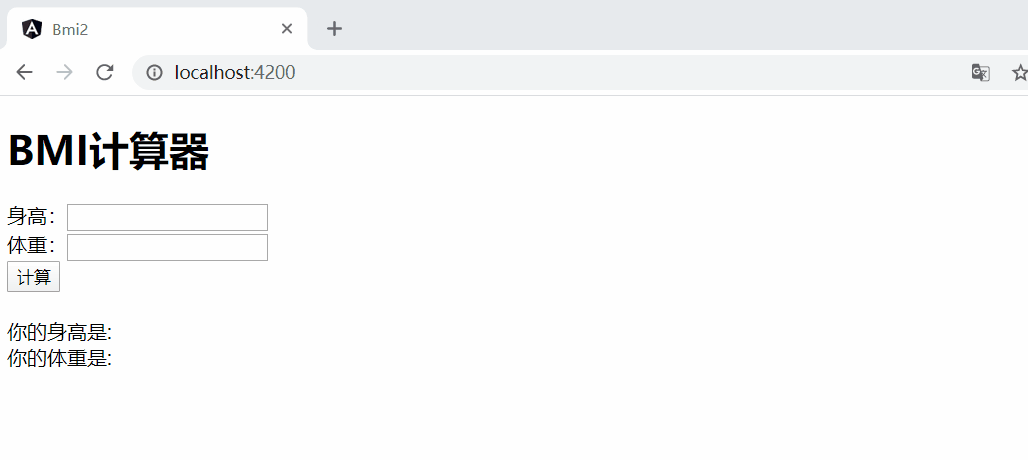
(4)修改app.component.html文件
<h1>BMI计算器</h1>

<label>身高:</label>
<input type="text" [(ngModel)]="bmiform.sg">

<br><label>体重:</label>
<input type="text" [(ngModel)]="bmiform.tz">

<br><button>计算</button>

<div>
  <br>你的身高是: {{ bmiform.sg }}
  <br>你的体重是: {{ bmiform.tz }}
</div>
(5)浏览器刷新一下看看效果
(6)vo目录下新建TypeScript file文件,命名ResultVo
添加代码:
export class ResultVo{
  public value:number;
  public state:string;
  public suggest:string;
}
(7)app.component.ts文件中的export class AppComponent {}添加:
resultvo:ResultVo;
constructor(){}中添加:
this.resultvo=new ResultVo();
5.连接客户端
(1)创建service
Terminal终端Ctrl+C终止运行,使用命令创建service
ng g service service/bmi
(2)app.module.ts文件中的imports: []添加路由HttpClientModule
(3)新建的service服务中bmi.service.ts文件中添加代码,使其访问服务端:
import { Injectable } from '@angular/core';
import {BMIForm} from '../vo/BMIForm';
import {HttpClient} from '@angular/common/http';

@Injectable({
  providedIn: 'root'
})
export class BmiService {

  constructor(private http:HttpClient) { }

  private getBMIValueUrl="http://localhost:8080/getBMIValue";

  getBMIValue(bmiform:BMIForm){
    return this.http.post(this.getBMIValueUrl,bmiform).toPromise();

  }
}
6.添加计算结果
(1)app.component.ts添加代码:
getBMIValue(){
    console.log("身高"+this.bmiform.sg+"体重"+this.bmiform.tz);
  }
(2)app.component.html中为Button添加点击事件(click)="getBMIValue()"
<button (click)="getBMIValue()" >计算</button>
(3)ng serve命令运行,打开浏览器的开发者工具查看
(4)app.component.ts的constructor()中添加代码:private bmiservice:BmiService
constructor(private bmiservice:BmiService){
    this.bmiform=new BMIForm();
    this.resultvo=new ResultVo();
  }
getBMIValue(){}中添加代码
this.bmiservice.getBMIValue(this.bmiform)
      .then((data:any)=>{
      console.dir(data);
      })
(5)在服务端(IDEA)中的PublicAction.java文件中开头的@RestController下一行添加代码@CrossOrigin,然后重新运行Main

(6)浏览器刷新一下,测试结果
(7)app.component.ts文件里面getBMIValue(){}中的console.dir(data);改为this.resultvo=data;
(8)app.component.html文件添加代码
<div>
<p>你的BMI值是: {{resultvo.value}}</p>
<p>你的BMI结果: {{resultvo.state}}</p>
<p>你的BMI建议: {{resultvo.suggest}}</p>
</div>
(9)再次刷新浏览器,查看结果
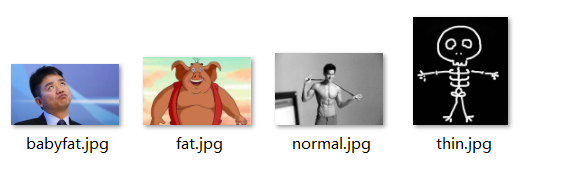
7.添加图片
(1)src/assets目录下新建images文件夹,将需要的图片放入其中

(2)app.component.ts文件中的export class AppComponent {}添加:
imgeurl:string;
(3)app.component.ts文件中添加:
getPic(){
    switch (this.resultvo.state){
      case "偏瘦":
        this.imgeurl="/assets/images/thin.jpg";
        break;
      case "正常":
        this.imgeurl="/assets/images/normal.jpg";
        break;
      case "微胖":
        this.imgeurl="/assets/images/babyfat.jpg";
        break;
      case "肥胖":
        this.imgeurl="/assets/images/fat.jpg";
        break;
    }
  }
(4)app.component.ts文件里面getBMIValue(){}中添加调用
this.getPic();
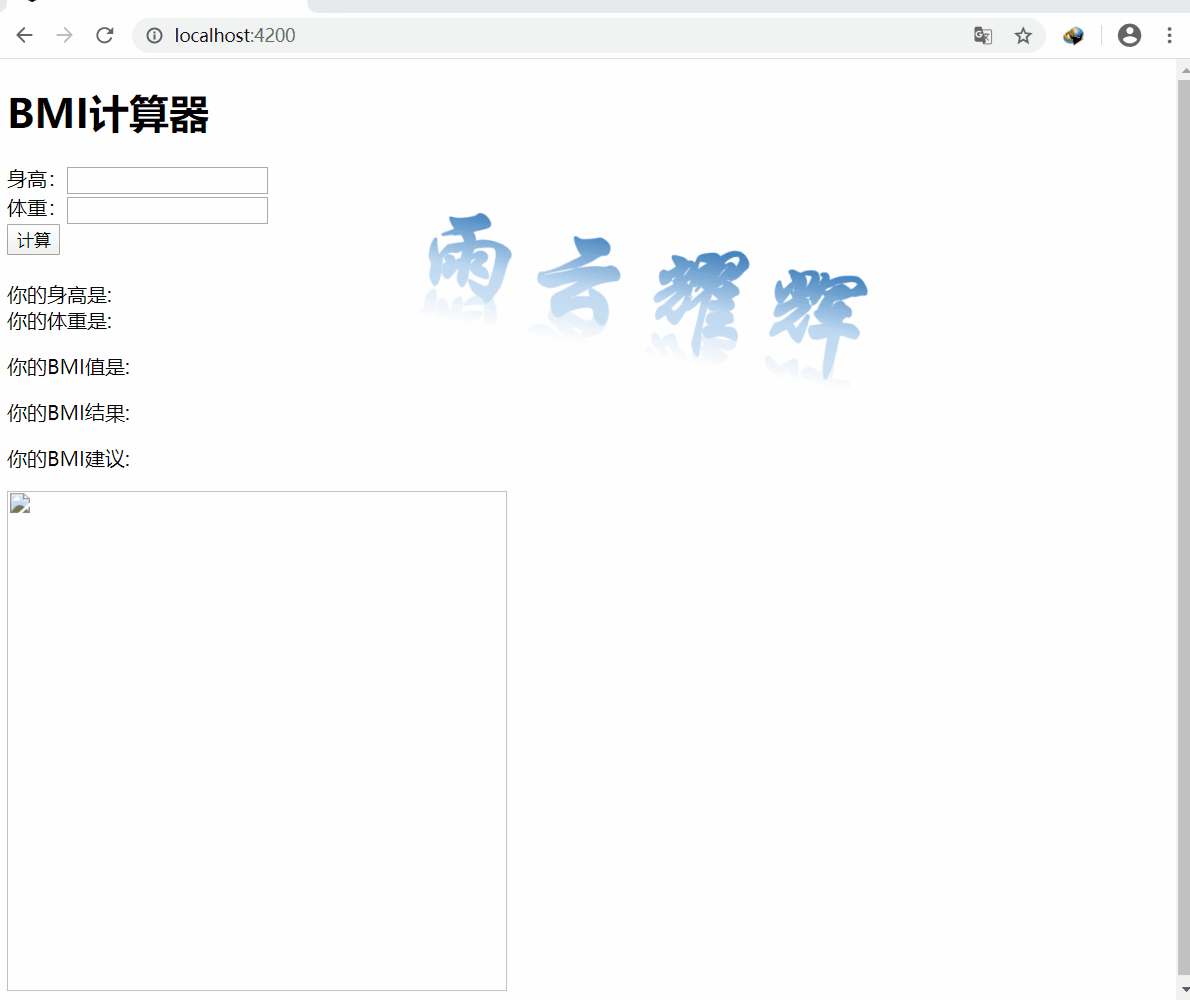
(5)app.component.html文件添加代码用于显示图片
<img src="{{imgeurl}}" width="400px" height="400px"/>
(6)刷新浏览器查看效果
完成了,哇哈哈
