前言
寒假在家玩的都不想玩了,想着还是应该做些有意思的事情。本来想着过年换台新电脑,由于疫情原因,还是没有换。但是旧电脑上的数据还是得整理一下,毕竟C盘已经出现红色警告了。┭┮﹏┭┮
学习编程快两年了,写了还是比较多的源代码(大部分都是作业)想着自己做课设,百度,一个类似的源码都没有,只有靠自己慢慢查找资料,一步一步写。那种心酸历程真的很痛苦(当然最后看着自己的小作品也是很开心的) 这时海轰心想:如果我搭建一个平台,把自己写过的一些源代码都放在上面,有需要的小伙伴直接就可以拿过来借鉴,省去了很多不必要的时间开销(编程这一块 如果有朋友指导 可以少踩很多的坑)恰好自己会一点点的微信小程序,而且微信官方是允许个人开发者上线个人小程序的。(刚好海轰很久以前申请了一个账号 O(∩_∩)O哈哈~)
成果展示
小程序第一个版本代码差不多写了3天【2月13日上线】,后面又不断修修补补,开发之路非常坎坷啊(主要还是技术太菜 太多bug)【小程序名:海轰Pro】
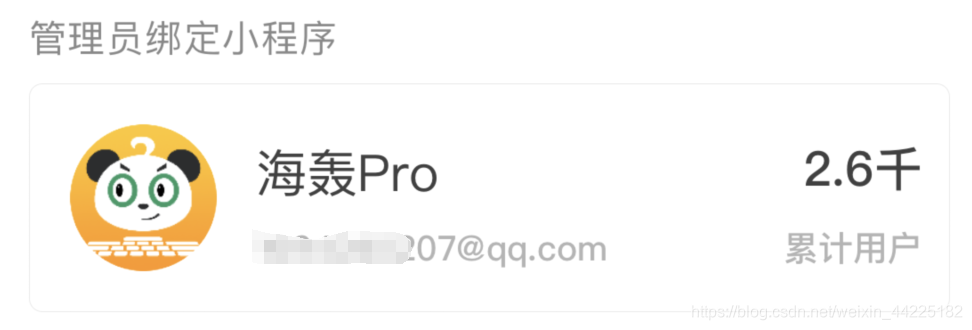
小程序上线一小时的后台数据:

截止目前为止的用户总数:
小程序演示视频【H33版本】
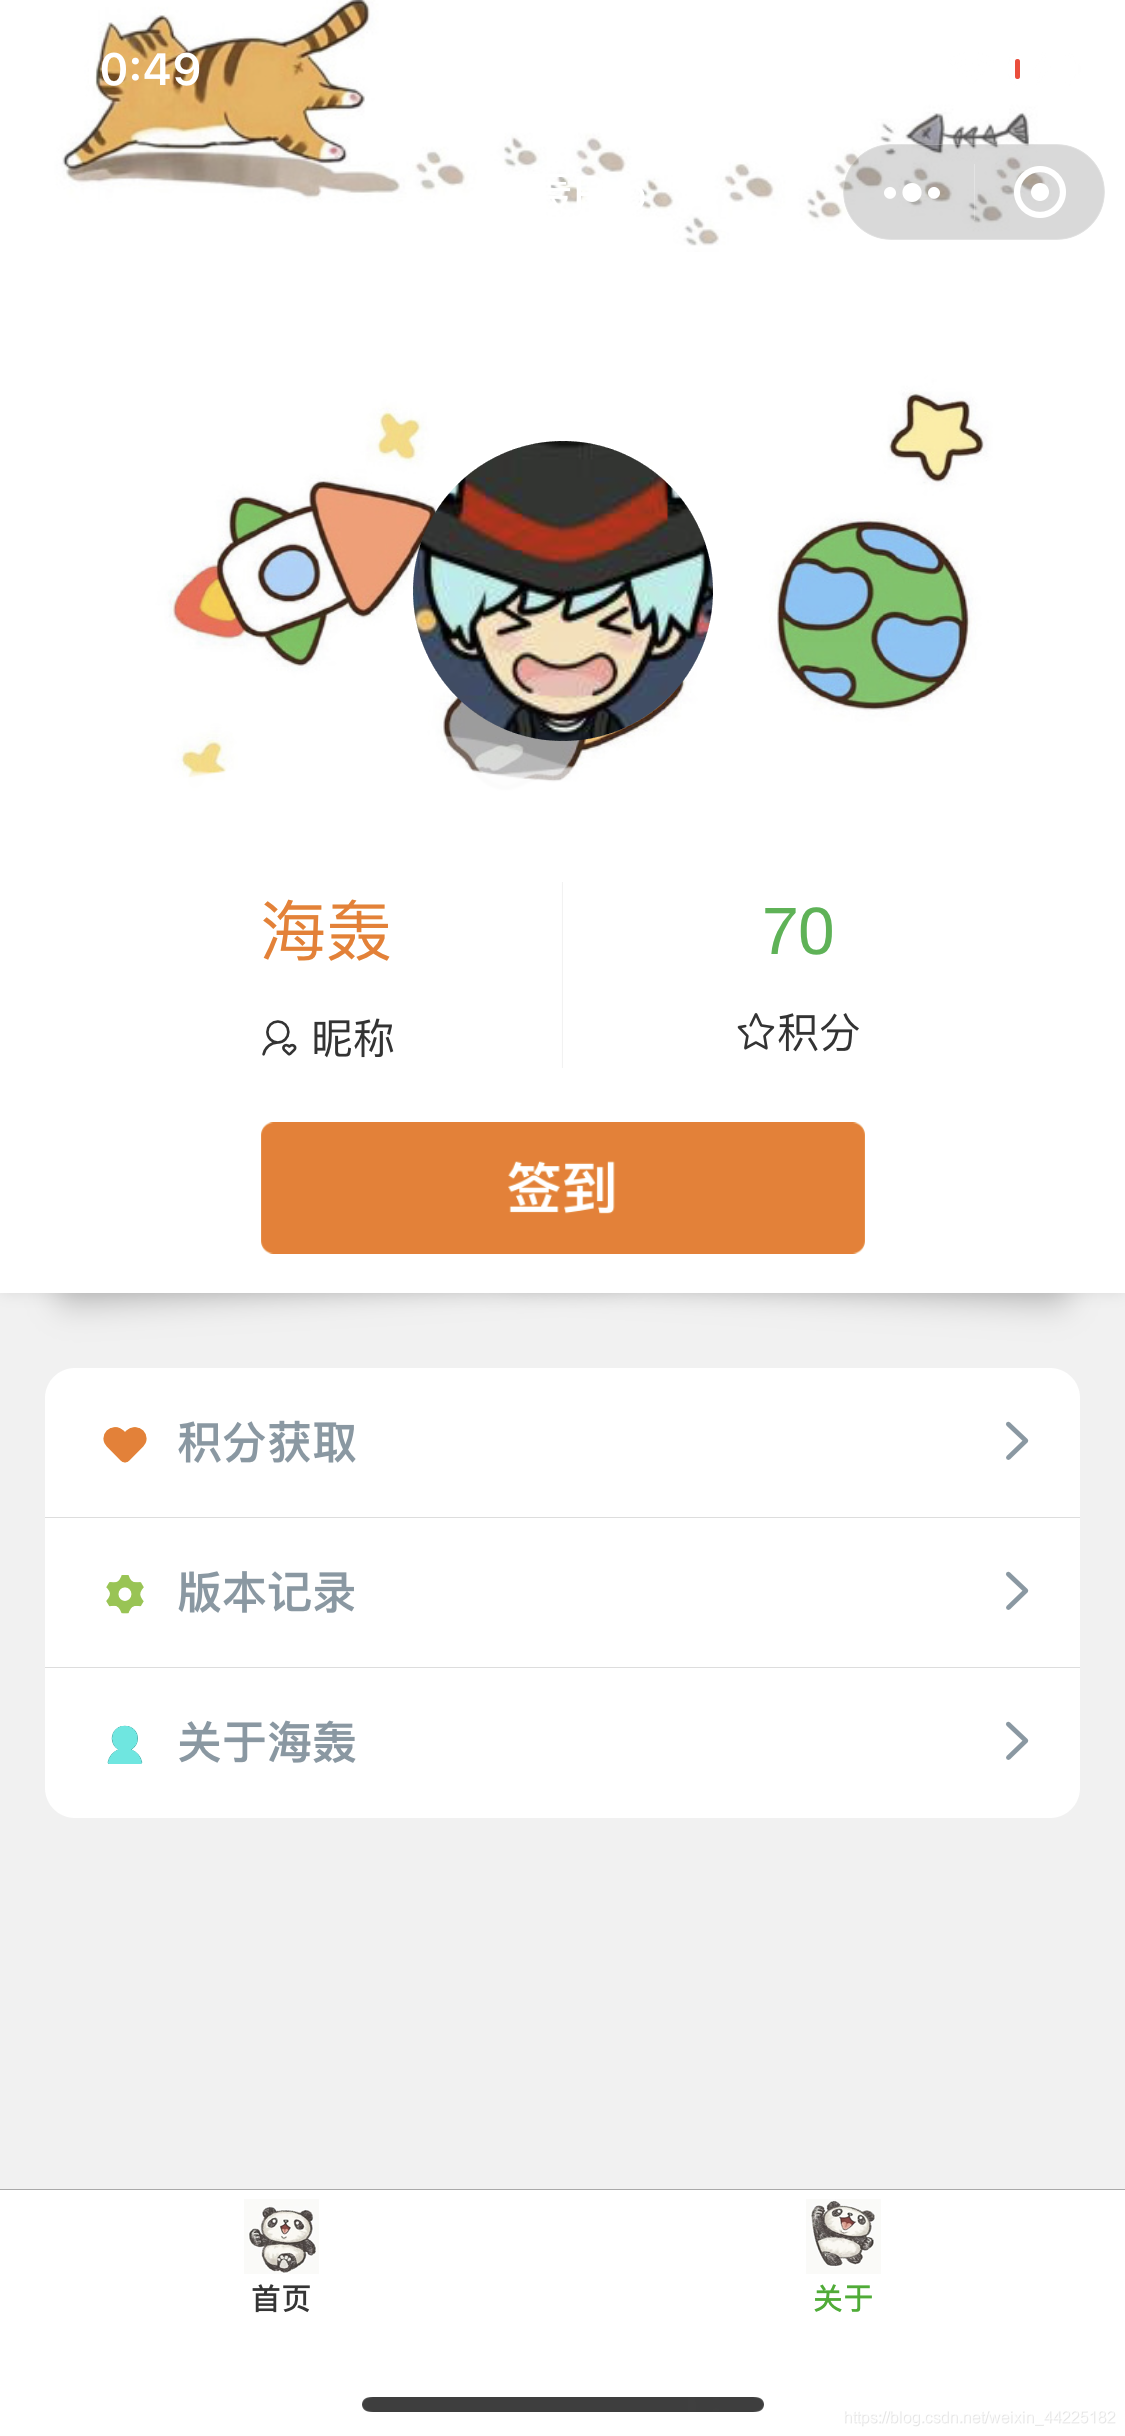
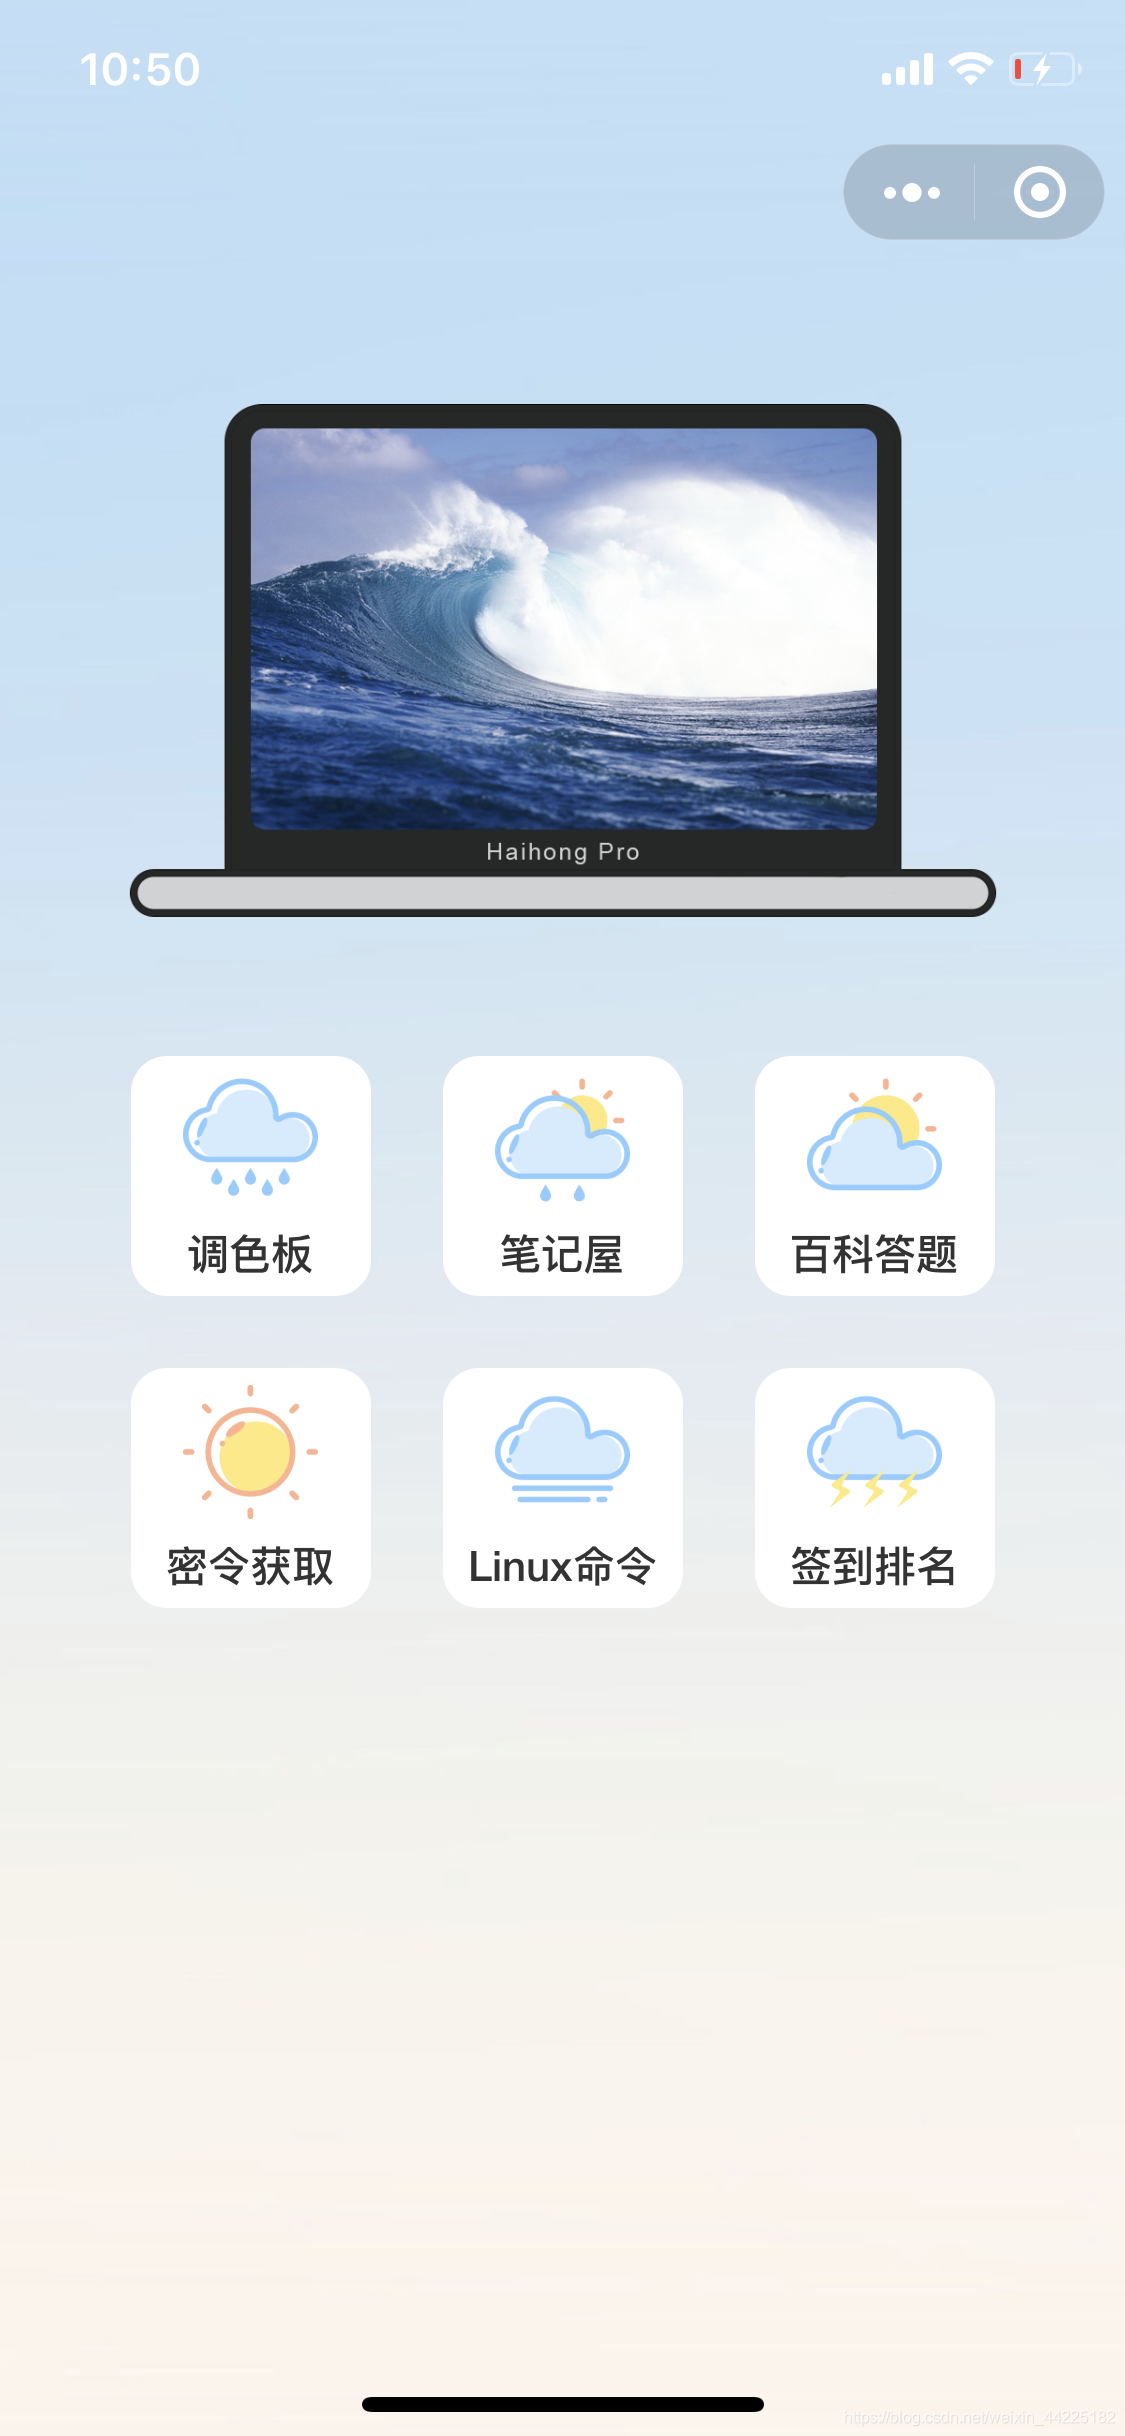
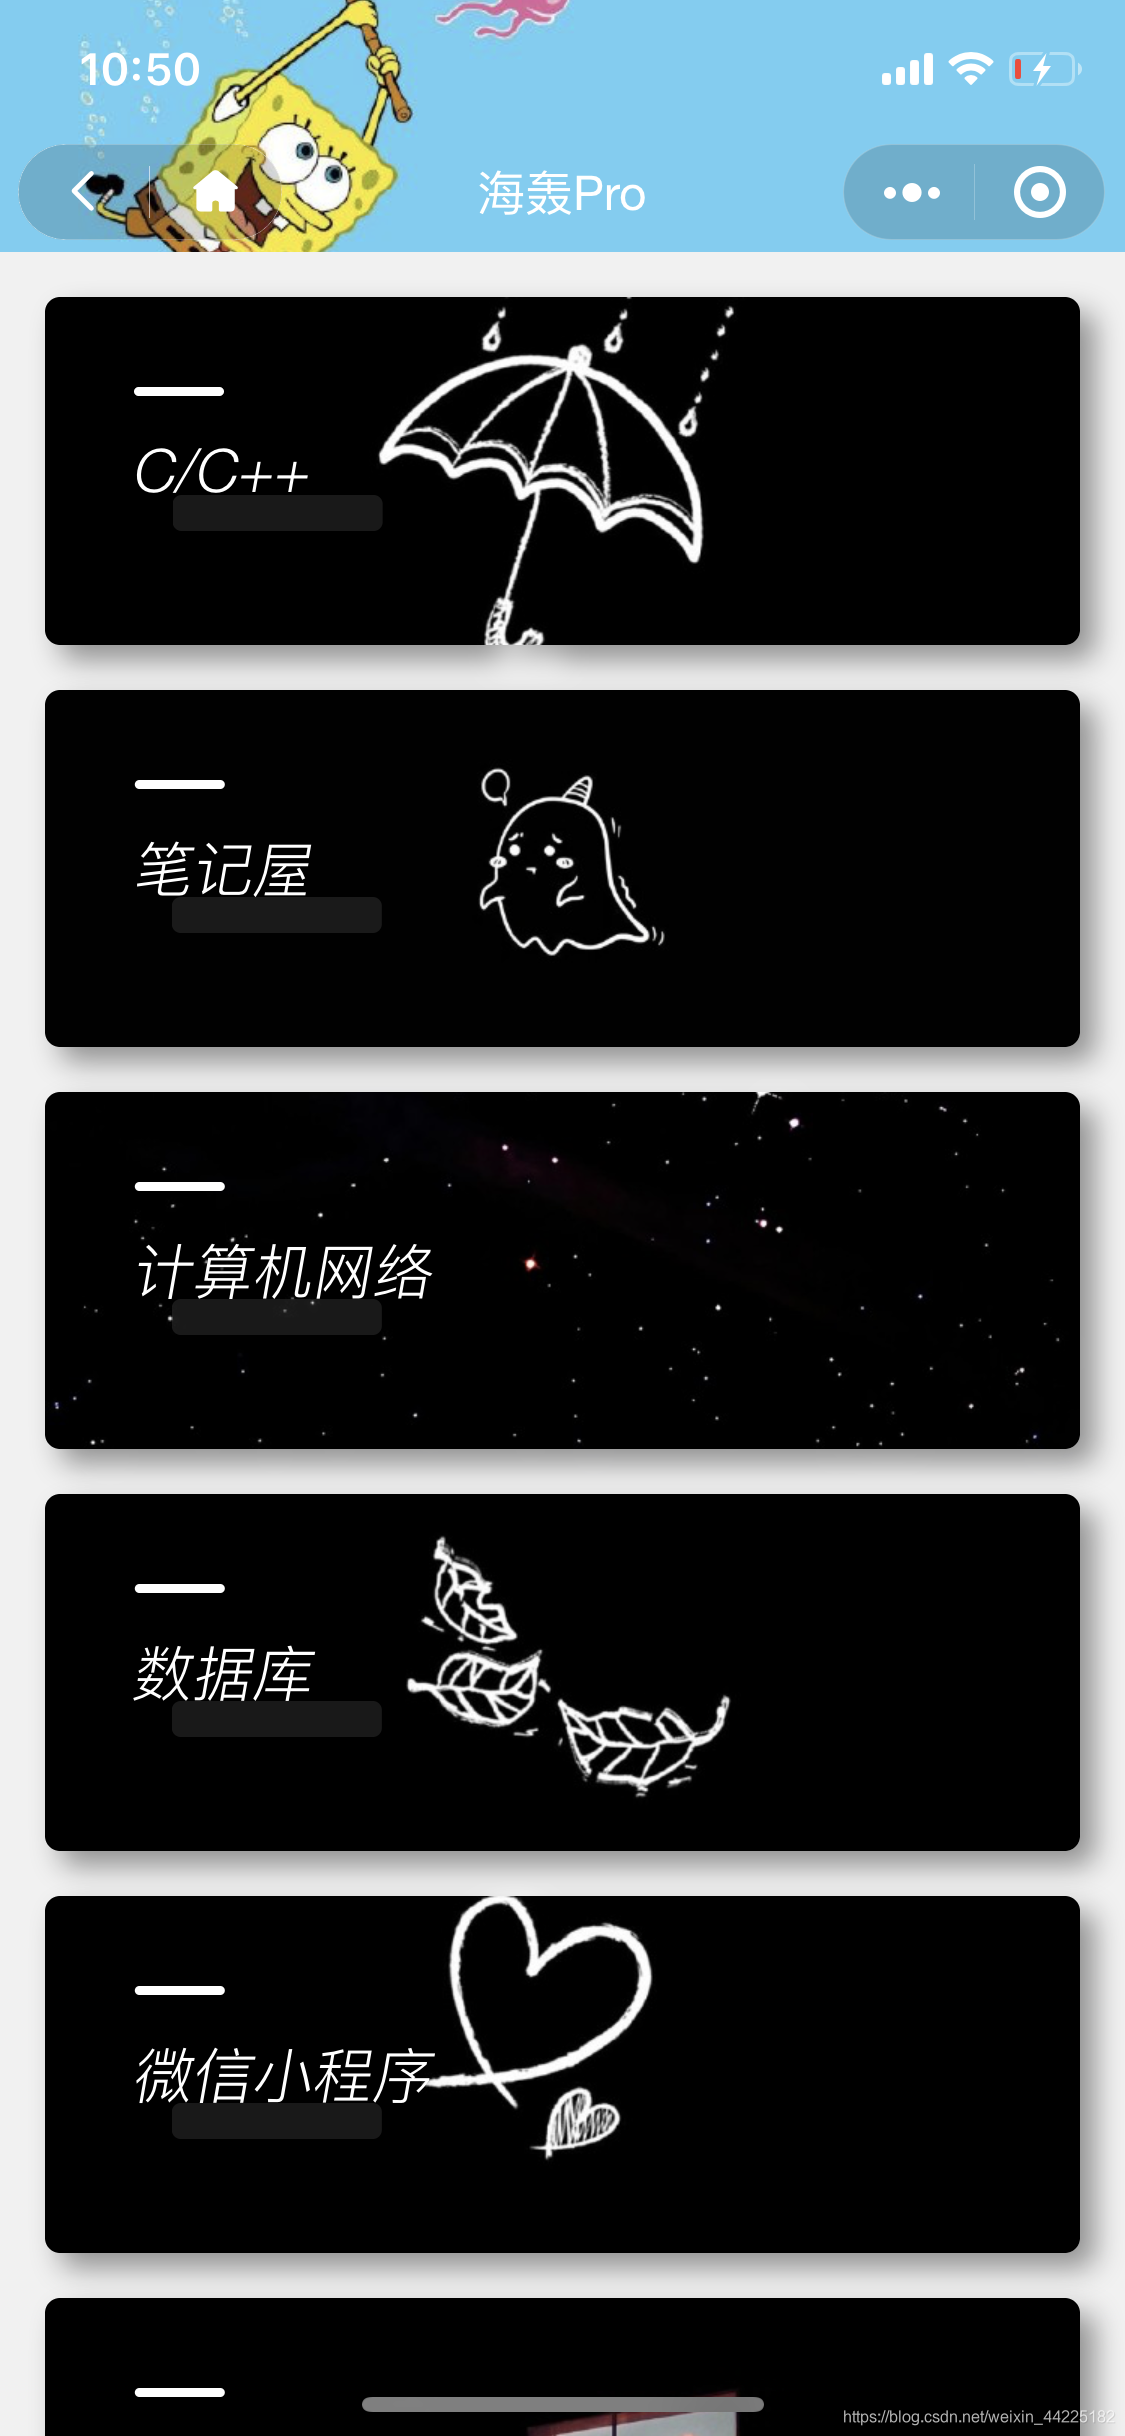
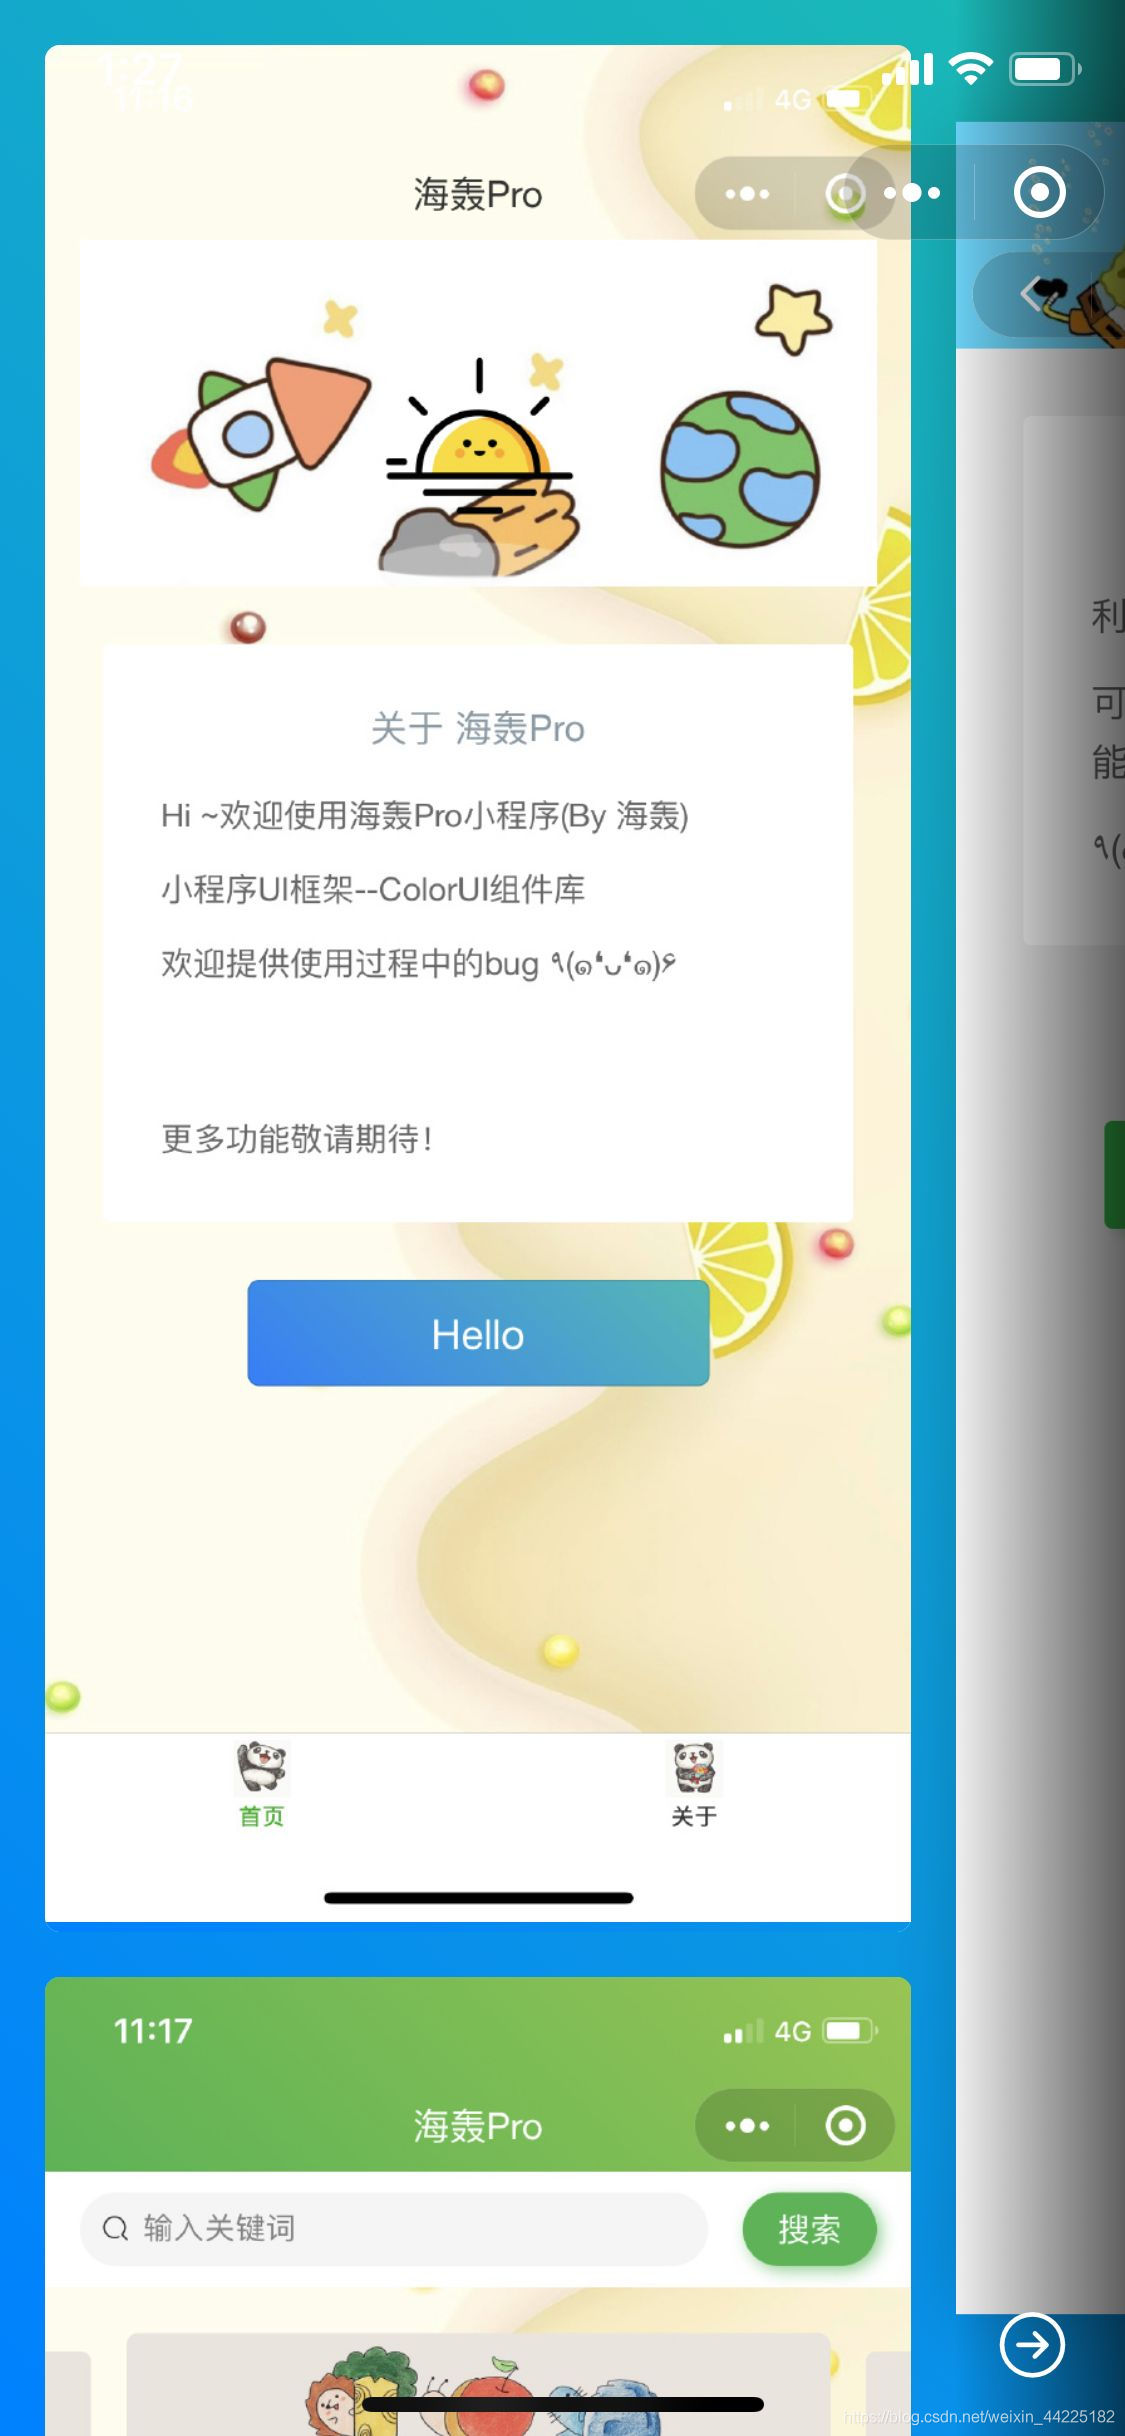
小程序测试图

小程序开发之需求
- 由于海轰的账号类型属于个人账号,基本上社交类型的小程序的不支持发布上线。而且使用的用户应该不是很多,所以用云开发就可以了(主要是免费啊)
- 使用的免费版的云数据库,存储容量十分有限,所以海轰觉得将所有的源码放在云盘,小程序只是作为一个提供下载链接和下载密令的中介平台。(减轻服务器负担)
- 对于存放在云盘的代码,如果同一个链接下载次数过多,会造成封号,所以采用一定的措施限制流量。这里海轰给出的方案是:积分制度。用户每天登陆小程序可以获得相应的积分,采用积分兑换的方法获取源码下载链接。
- 界面简洁美观,用户易于操作
小程序开发之模块设计
1.首页轮播图
不知道怎么的,海轰十分喜欢轮播图这个风格,觉得没有轮播图,小程序感觉不是很好看。官方开发文档给出的swiper组件有点不是很好看,这里海轰使用的是重新设计后的一个轮播图组件【借鉴前端大佬的】
JS
// components/theSwiper.js
const db = wx.cloud.database()

Component({
  /**
   * 组件的属性列表
   */
  properties: {
    imgUrls: Array,
  },

  /**
   * 组件的初始数据
   */
  data: {
    currentIndex: 0
  },
  /**
   * 组件的方法列表
   */
  methods: {
    swiperChange(e) {
      this.setData({
        currentIndex: e.detail.current
      });
    },

  }
});
WXML
<swiper indicator-dots="true"
        autoplay="{{true}}"
        interval="5000"
        indicator-dots="{{false}}"
        indicator-color='#8a8a8a'
        indicator-active-color='#333'
        circular="true"
        class="swiper-block"
        bindchange="swiperChange"
        previous-margin="100rpx"
        next-margin="100rpx"
        current="{{0}}">
  <block wx:for="{{imgUrls}}"  wx:key="{{index}}">
    <swiper-item class="swiper-item ">
      <image mode="aspectFill" src="{{item}}"  wx:key   class="slide-image {{currentIndex == index ? 'active' : 'common'}}" />
    </swiper-item>
  </block>
</swiper>
WXSS
page{
  background-color: #fff;
}
.swiper-block {
  background: #fff;
  height: 500rpx;
  width: 100%;
}

.swiper-item{
  display: flex;
  flex-direction: column;
  justify-content: start;
  align-items: flex-start;
  overflow: unset;
  width: 550rpx;
  height: 450rpx;
  padding-top: 70rpx;
  padding-bottom: 20rpx;
  box-sizing: border-box;
}

.slide-image{
  height: 300rpx;
  width: 450rpx;
  border-radius: 10rpx;
  margin: 0rpx 50rpx ;
  z-index: 1;
  box-shadow: 10rpx 5px 40rpx rgba(0, 0, 0,0.5);
}
.active{
  transform: scale(1.3);
  transition: all .5s ease-in 0s;
  z-index: 20;
  opacity: 1;
}
.common{
  transform: scale(1);
  transition: all .5s ease-in 0s;
  z-index: 0;
  opacity: 0.4;
}

.dots-box{
  display: flex;
  justify-content: center;
  align-items: center;
}

.dots{
  width: 30rpx;
  height: 6rpx;
  margin: 0 4rpx;
  background-color: #aaa;
  margin-top: -80rpx;
}
.bg-333{
  background-color: #333;
}
2.首页功能选择
这个样式应该是海轰在初学小程序的时候写了一个小demo吧,感觉还行,这里就直接拿来用了
WXML
<view class="middle">
<view class="middle_box shadow-blur light shadow-blur animation-scale-up bg-{{item.color}}" wx:for="{{functions}}" bindtap="tofunction" data-id="{{index}}"   >
<view class="box_right">
<view class="box_righttop">{{item.name}}</view>
<view class="box_rightlow"><text style="font-size:50rpx;margin:3rpx;color:red;">{{item.numbers}}</text>{{item.classifier}}</view>
</view>
<view class="box_left">
<image  class="box_img" src="{{item.iconpath}}"></image>
</view>
</view>
</view>
WXSS
.middle{

  display: flex;
  flex-direction: row;
  flex-wrap: wrap;
  justify-content: space-between;
  width: 90%;
  margin: 0 auto;
}
.middle_box{
  width:48%;
  margin-top: 10rpx;
  margin-bottom: 10rpx;
  height: 200rpx;
  background: yellowgreen;
  border-radius: 16rpx;
  display: flex;
  flex-direction: row;
  justify-content: space-between;
}
.box_right{
width: 50%;
display: flex;
flex-direction: column;
align-items: center; /**子view垂直居中*/
vertical-align: center; /**垂直居中*/
justify-content: center; /**内容居中*/
}
.box_righttop{
padding-top: 40rpx;
padding-left: 30rpx;
width: 100%;
height: 100rpx;
font-size:30rpx;
}
.box_rightlow{
width: 110%;
height: 100rpx;
padding-top: 00rpx;
padding-left: 40rpx;
}
.box_left{
width: 50%;
}
.box_img{
  margin-top:50rpx;
  margin-left: 20rpx;
  width: 120rpx;
  height: 120rpx;
}

.bg{
  width: 100%;
  height: 2400px;
}
3.签到模块
签到模块是小程序中最复杂的一个模块,涉及的逻辑比较多。
- 用户输入签到口令,系统验证是否正确?若正确,调用签到函数,用户积分+1;错误,则提示用户口令错误
- 签到函数中需要判断是否是新用户?是否授权?
- 首先判断用户是否授权。若没有授权,则显示button,提示用户进行授权。
- 再判断是否是新用户。如果是新用户,则需要在数据库中添加用户记录;反之,则只需要更加用户的openid更新对应的积分即可
- 对于所涉及的所有操作,可以封装在一个云函数中。方便调用(云函数数量好像最多20个)
签到函数:
// 签到
  signed(e){
    var k=this
    var openid=k.data.openid
    var name=k.data.name
    var img=k.data.img
    var time=k.data.time

    wx.showLoading({
      title: '签到中...',
      mask: true,
    })

    // 防止老用户 已经授权 但users记录中没有该用户信息
    db.collection('users').where({
      _openid: openid // 填入当前用户 openid
    }).count().then(res => {
      console.log(res.total)
      // 没有该用户
      if(res.total==0)
      {
        // 昵称为空 可能发生
        if(name.length==0)
        {
           wx.showToast({
             title: '签到失败,请重新签到',
             icon:"none"
           })
        }
        else{
          db.collection('users').add({
            // data 字段表示需新增的 JSON 数据
            data: {
              user_openid: openid,
              user_name: name,
              user_img: img,
              time: time
            }
          })
            .then(res => {
              console.log("上传用户成功,下一步进行积分更新")
              wx.cloud.callFunction({
                // 要调用的云函数名称
                name: 'HHPro_functions',
                // 传递给云函数的event参数
                data: {
                  function_name: "update_nums",
                  time: time,
                  openid: openid
                }
              }).then(res => {
                console.log("积分+1")
                k.onLoad()
              }).catch(err => {
              })
            })
            .catch(console.error)
        }
      }
      // 有该用户 则更新积分 +1
      else{
        wx.cloud.callFunction({
          // 要调用的云函数名称
          name: 'HHPro_functions',
          // 传递给云函数的event参数
          data: {
            function_name:"update_nums",
            time:time,
            openid: openid
          }
        }).then(res => {
         console.log("积分+1")
          k.onLoad()
        }).catch(err => {
        })
      }
    })
  },
4.下载模块
- 下载模块相对来说就比较简单了,本质就是在获取数据库中的下载链接,同时用户减去相应的积分即可(注意判断多种情况)
// 确定 用户同意消耗1积分 得到下载链接
  hideModal_sure(e) {
    var k=this
    var openid=k.data.openid
    var num=k.data.num
    k.setData({
      modalName: null
    })
    wx.showLoading({
      title: '加载中...',
      mask: true
    })
    db.collection('users').where({
      _openid:openid // 填入当前用户 openid
    }).get().then(res => {
      // 用户存在 且 积分最少为1的时候
      if (res.data[0].nums-num>=0)
      {
        // 调用云函数 积分减一
        wx.cloud.callFunction({
          // 要调用的云函数名称
          name: 'HHPro_functions',
          // 传递给云函数的event参数
          data: {
            function_name: "update_nums_dec",
            openid: openid,
            num:num
          }
        }).then(res => {
          console.log("积分-1")
          wx.hideLoading()
          // 显示下载链接
          k.setData({
            modalName_x: "modal",
          })
        }).catch(err => {
        })
      }
      else{
        console.log("无法下载")
        wx.showToast({
          title: '下载失败!!积分不足or未登录',
          icon:"none"
        })
      }
    })
  },
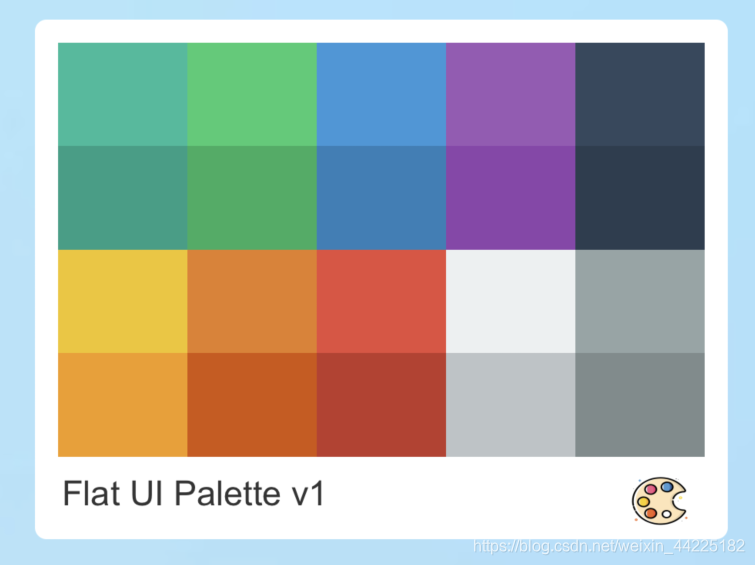
5.调色板
wxml
<view class="x"></view>
<view class="card" wx:for="{{color_card}}" bindtap="choice_color" data-color="{{item}}" >
<view class="card_top" >
<view class="cardtop_item"  wx:for="{{item.colors}}"  style="background-color:{{item}}"></view>
</view>
<view class="card_bottom">
<view class="cardbottom_name">{{item.name}}</view>
<view class="cardbottom_img">
<image src="/images/tsb.png"></image>
</view>
</view>
</view>
CSS
page{
    background-image: url(https://wx3.sinaimg.cn/mw690/006cV2kkgy1gd2q32ifwcj30yi22owfv.jpg);
 background-attachment: fixed;
  background-repeat: no-repeat;
  background-size: cover;
}
.card{
  width: 80%;
  height: 450rpx;
  margin: 50rpx auto;
  background-color:white;
  border-radius: 10rpx;
}
.card_top{

width: 100%;
height: 85%;
padding-top: 20rpx;
padding-right: 20rpx;
padding-left: 20rpx;
padding-bottom: 5rpx;
border-radius: 10rpx;
display: flex;
flex-direction: row;
flex-wrap: wrap;
align-items: flex-start;
}
.cardtop_item{
  width: 20%;
  height: 25%;
}
.card_bottom{
width: 100%;
height: 15%;
display: flex;
flex-direction: row;
}
.cardbottom_name{
width: 85%;
height: 100%;
padding-left: 4%;
padding-top: 10rpx;
font-weight: 500;
font-size: 30rpx;
font-family:'Franklin Gothic Medium', 'Arial Narrow', Arial, sans-serif;
}
.cardbottom_img{
width: 10%;
height: 95%;
margin-bottom: 100px;
padding-top:10rpx;
}
.cardbottom_img image{
  width: 100%;
  height: 100%;
  padding-bottom: 5rpx;
}
.x{
  width: 100%;
  height: 200rpx;
}
.xx{
  width: 100%;
  height: 50rpx;
}
6.作品展示
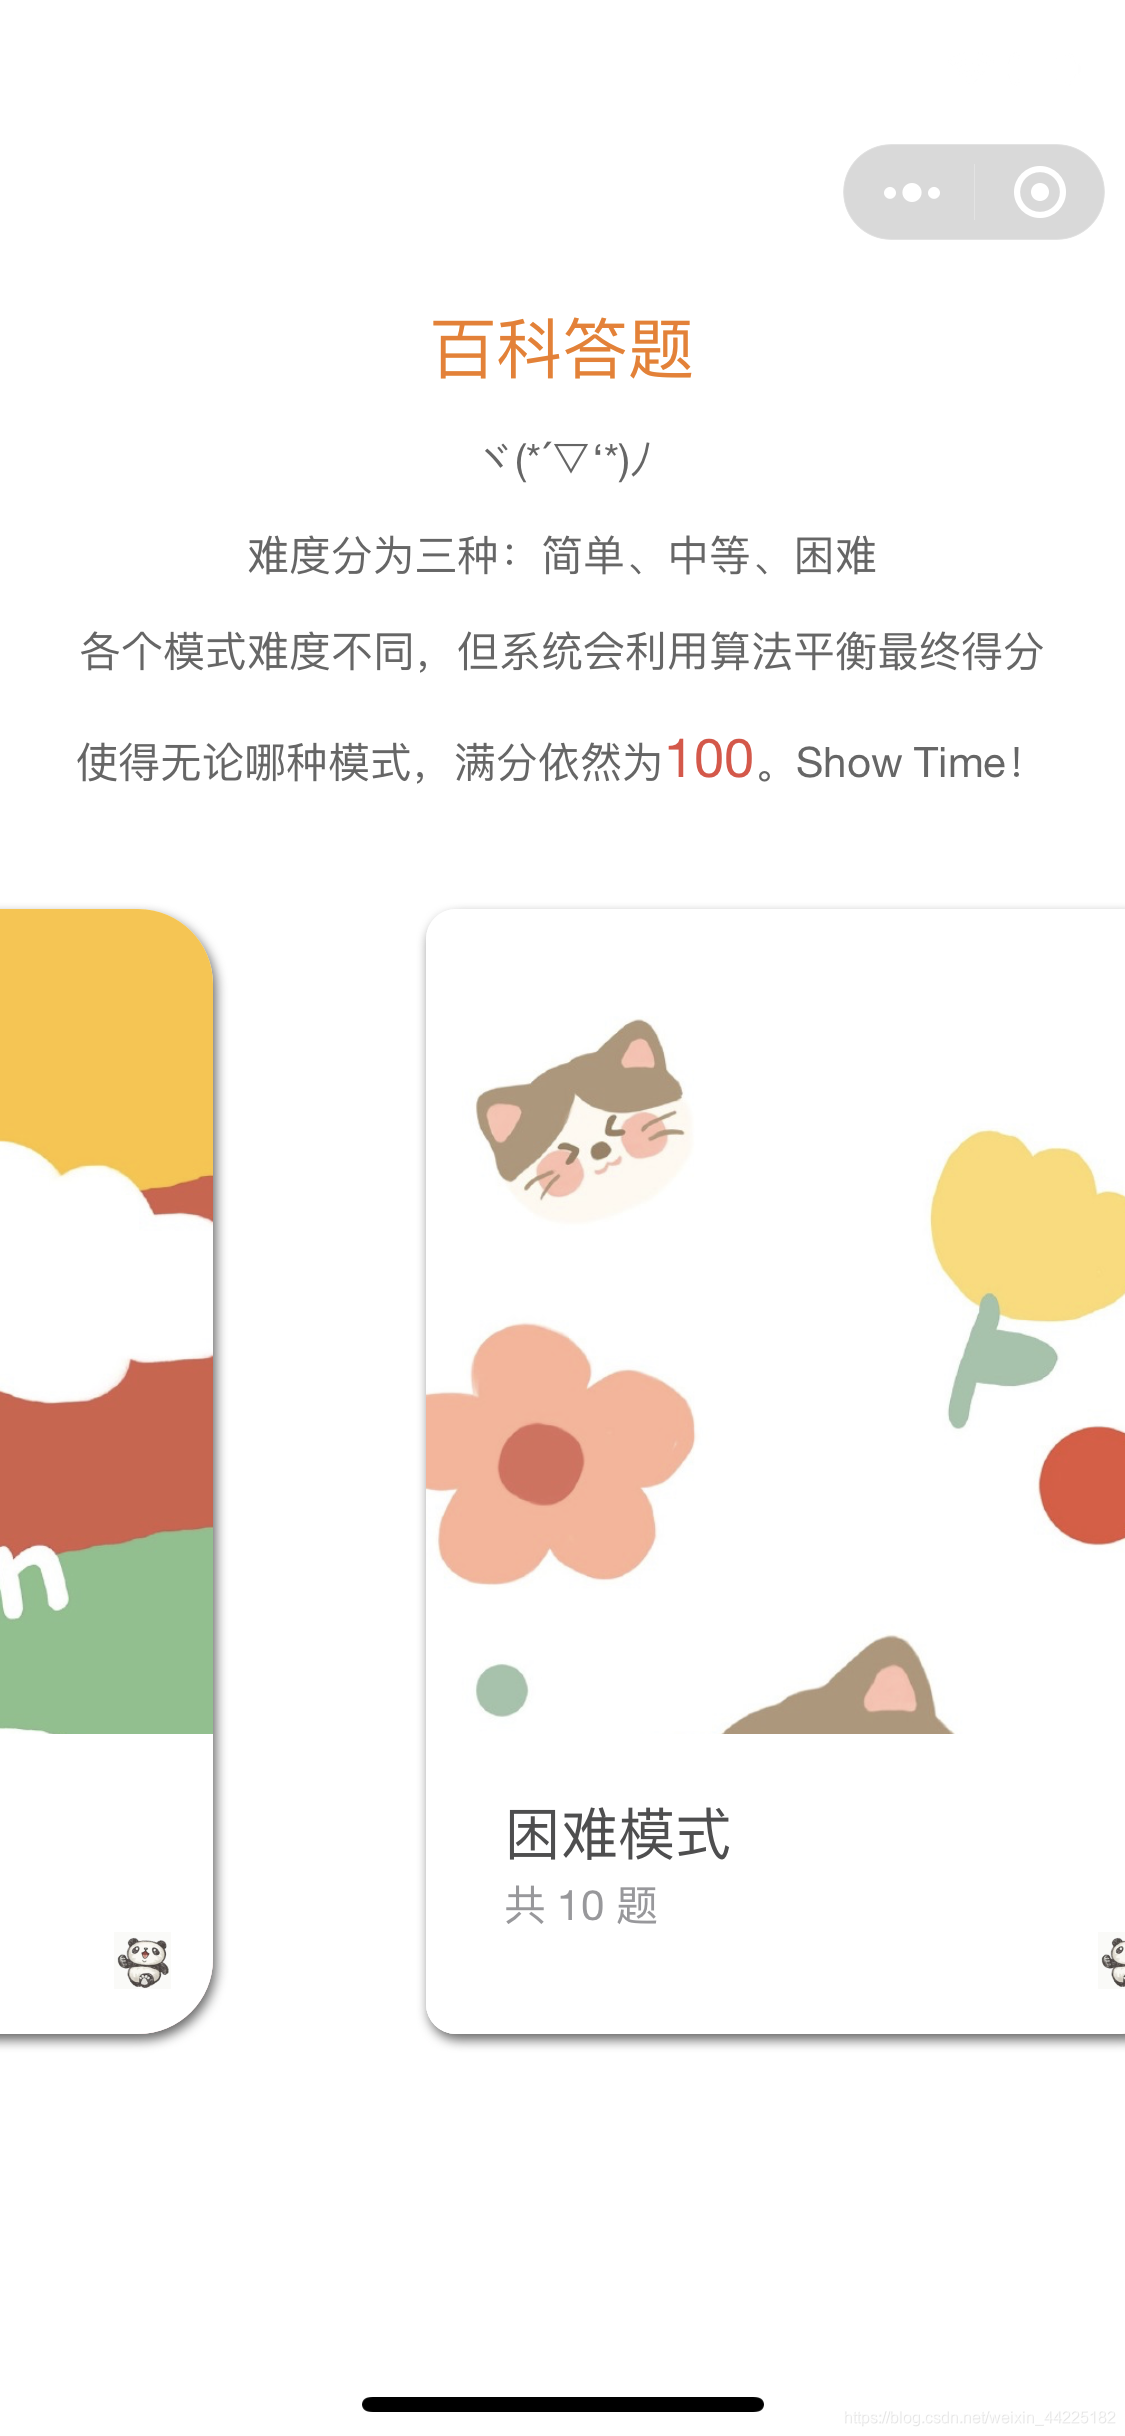
7.百科答题
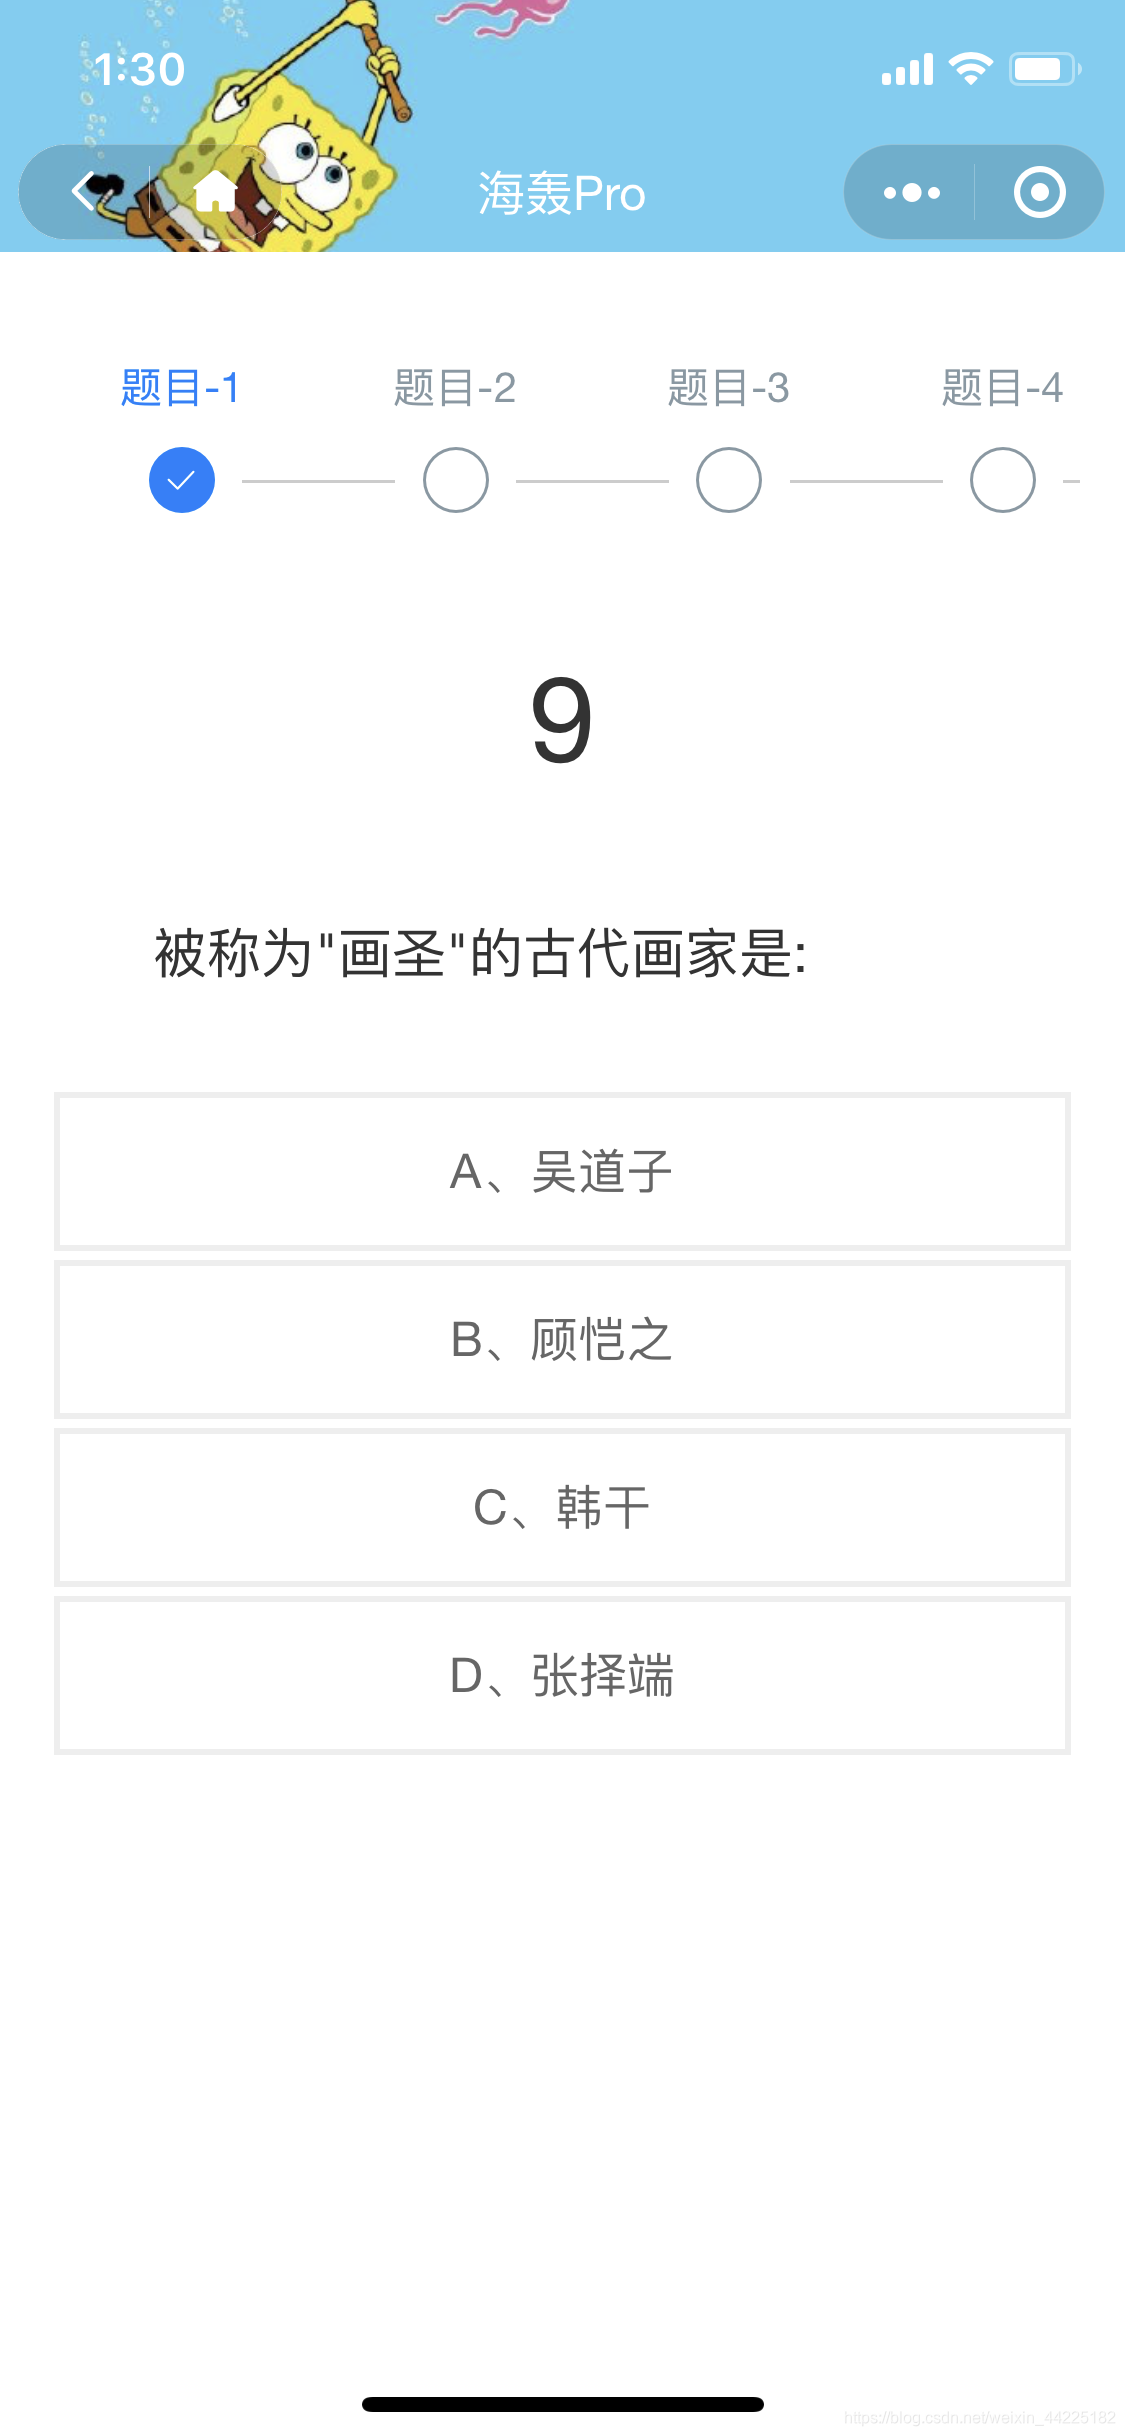
代码(这个比较多 而且很多功能还没有实现)
toggle(e) {
    var k=this
    k.scrollSteps()
    var time = k.data.nowtime
    var num=k.data.scroll//当前题数 第几题
    console.log("这是第:"+num+"道题")
    var nums=k.data.titles_nums// 总的题目数量
    console.log("一共有"+nums+"道题")
    if(num==nums)
    {
      k.setData({
        score:k.data.score+1
      })
     console.log("答题完成,跳转分享界面")
     k.toshare()//跳转至分享界面
    }
    else{

      var key_1 = k.data.titles[k.data.scroll-1].key// 本题正确选项
      var key_2 = e.currentTarget.dataset.id// 选的第几个选择
      console.log("本题正确选项是"+key_1)
      var x = "am_" + e.currentTarget.dataset.id
      if (x == "am_1") {
        // 二者相等 则正确
        if (key_1 == key_2) {
          k.setData({
            am_1: "slide-bottom",
            score:k.data.score+1,
            color_1: "green",
            time:time,
            color:"black",
          })
          setTimeout(function () {
            k.setData({
              am_1: '',
              color_1:"",
            })
          }, 500)
        }
        // 错误
        else {
          console.log("答错了,跳转分享界面")
          k.toshare()//跳转至分享界面
          k.setData({
            am_1: "shake",
            color_1: "red"
          })
          setTimeout(function () {
            k.setData({
              am_1: '',
              color_1: "",
            })
          }, 500)
        }

      }
      else if (x == "am_2") {
        // 二者相等 则正确
        if (key_1 == key_2) {
          k.setData({
            am_2: "slide-bottom",
            score: k.data.score + 1,
            color_2:"green",
            time: time,
            color: "black",
          })
          setTimeout(function () {
            k.setData({
              am_2: '',
              color_2:""
            })
          }, 500)
        }
        // 错误
        else {
          console.log("答错了,跳转分享界面")
          k.toshare()//跳转至分享界面
          k.setData({
            am_2: "shake",
            color_2:"red"
          })
          setTimeout(function () {
            k.setData({
              am_2: '',
              color_2: ""
            })
          }, 500)
        }
      }
      else if (x == "am_3") {
        // 二者相等 则正确
        if (key_1 == key_2) {
          k.setData({
            am_3: "slide-bottom",
            score: k.data.score + 1,
            color_3:"green",
            time: time,
            color: "black",
          })
          setTimeout(function () {
            k.setData({
              am_3: '',
              color_3:""
            })
          }, 500)
        }
        // 错误
        else {
          console.log("答错了,跳转分享界面")
          k.toshare()//跳转至分享界面
          k.setData({
            am_3: "shake",
            color_3:"red"
          })
          setTimeout(function () {
            k.setData({
              am_3: '',
              color_3: ""
            })
          }, 500)
        }
      }
      else {
        // 二者相等 则正确
        if (key_1 == key_2) {
          k.setData({
            am_4: "slide-bottom",
            score: k.data.score + 1,
            color_4:"green",
            time: time,
            color: "black",
          })
          setTimeout(function () {
            k.setData({
              am_4: '',
              color_4:""
            })
          }, 500)
        }
        // 错误
        else {
          console.log("答错了,跳转分享界面")
          k.toshare()//跳转至分享界面
          k.setData({
            am_4: "shake",
            color_4:"red"
          })
          setTimeout(function () {
            k.setData({
              am_4: '',
              color_4: ""
            })
          }, 500)
        }
      }
    }


  },
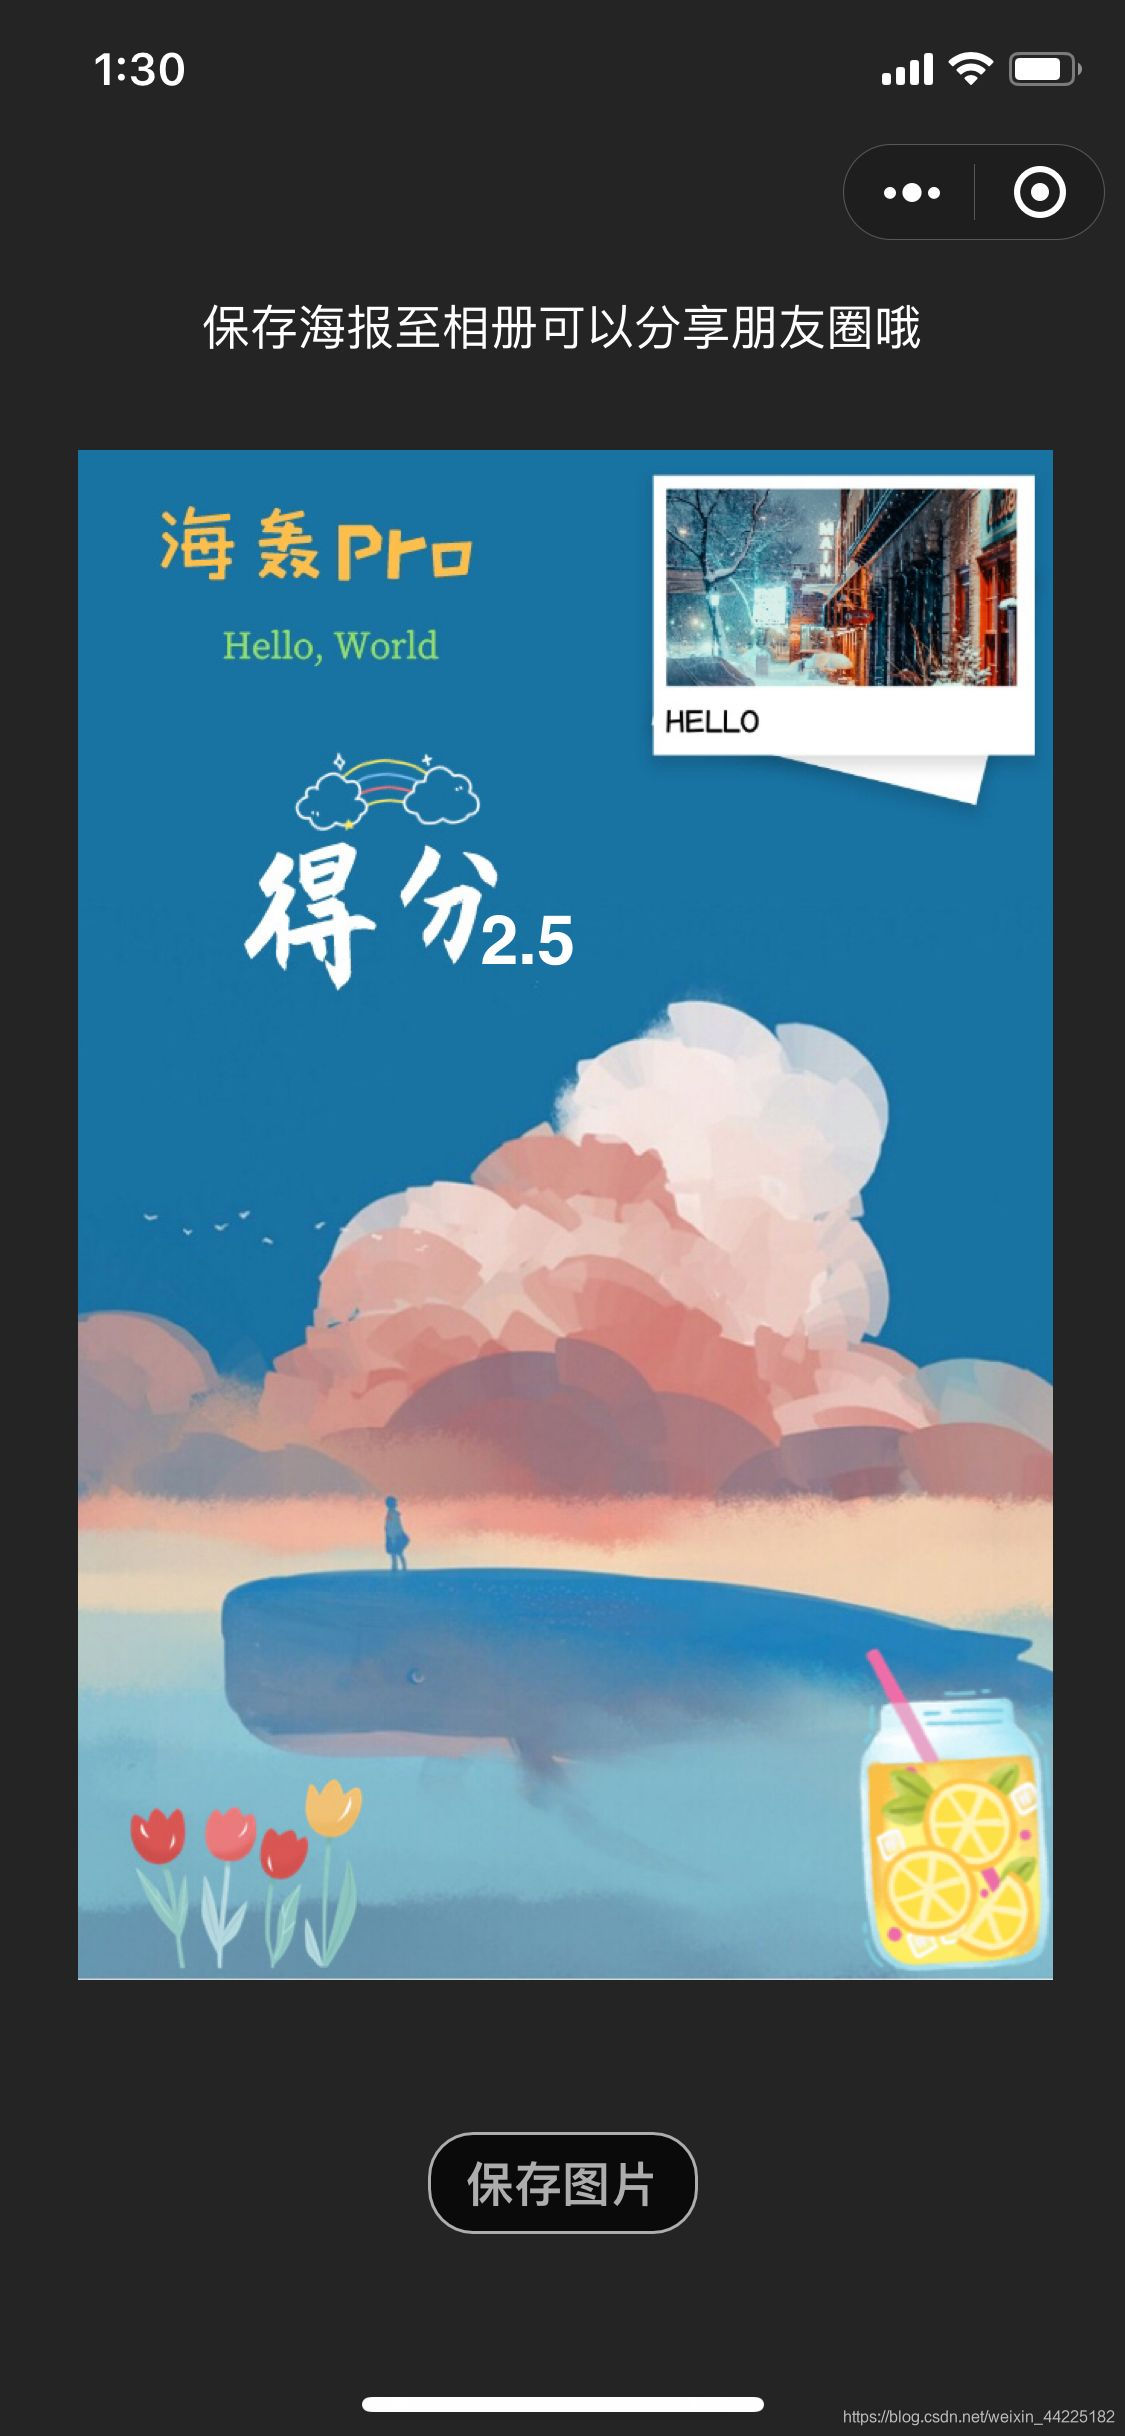
8.分享海报
总结
虽然用了三天时间,但是看到自己写的小程序有那么多人使用。自己也是很开心的O(∩_∩)O哈哈~ 自己的UI写的不好,这里就借用了大佬的框架,有一些功能也是看到大神的成果,自己再模仿的。小程序中的一些代码有海轰自己写的,也有一些是别人分享的,资料大部分来自于网络和分享。
有兴趣的小伙伴可以体验体验海轰的小程序哦 【小程序名:海轰Pro】
