使用nacos作为配置中心
为了能让所有服务都使用统一的配置,在这里我们学习如何使用nacos作为统一的配置,当有配置被改动时,所有服务都能立刻感知到,在这过程中不需要安装其他任何依赖,为了测试,照旧新建一个服务,服务名:server-config,
pom.xml如下:
<?xml version="1.0" encoding="UTF-8"?>
<project xmlns="http://maven.apache.org/POM/4.0.0"
         xmlns:xsi="http://www.w3.org/2001/XMLSchema-instance"
         xsi:schemaLocation="http://maven.apache.org/POM/4.0.0 http://maven.apache.org/xsd/maven-4.0.0.xsd">
    <parent>
        <artifactId>spring-cloud-alibaba-demo2</artifactId>
        <groupId>com.myc</groupId>
        <version>0.0.1-SNAPSHOT</version>
    </parent>
    <modelVersion>4.0.0</modelVersion>

    <artifactId>server_config</artifactId>

    <dependencies>
        <dependency>
            <groupId>org.springframework.boot</groupId>
            <artifactId>spring-boot-starter-web</artifactId>
        </dependency>
        <dependency>
            <groupId>com.alibaba.cloud</groupId>
            <artifactId>spring-cloud-starter-alibaba-nacos-config</artifactId>
        </dependency>
        <dependency>
            <groupId>org.springframework.boot</groupId>
            <artifactId>spring-boot-starter-actuator</artifactId>
        </dependency>
    </dependencies>

</project>
application.yml:
server:
  port: 9003
management:
  endpoint:
    web:
      exposure:
        include: "*"
这个服务要特殊一点的地方是,要新建一个bootstrap.properties文件,和application.yml同级,bootstrap.properties内容如下:
spring.application.name=server-config #服务名
spring.cloud.nacos.config.server-addr=127.0.0.1:8848 #nacos配置中心
新建启动类ServerConfigApp.java,新建HelloController.java,内容如下:
ServerConfigApp.java
package com.myc;

import org.springframework.boot.SpringApplication;
import org.springframework.boot.autoconfigure.SpringBootApplication;
import org.springframework.cloud.client.discovery.EnableDiscoveryClient;

/**
 * @author mayc
 * @description:
 * @date 2019/8/15 0015 下午 1:58
 */
@SpringBootApplication
@EnableDiscoveryClient
public class ServerConfigApp {
    public static void main(String[] args) {
        SpringApplication.run(ServerConfigApp.class, args);
    }
}
HelloController.java
package com.myc.controller;

import org.springframework.beans.factory.annotation.Value;
import org.springframework.cloud.context.config.annotation.RefreshScope;
import org.springframework.web.bind.annotation.RequestMapping;
import org.springframework.web.bind.annotation.RestController;

/**
 * @author mayc
 * @description:
 * @date 2019/8/15 0015 下午 1:59
 */
@RestController
@RefreshScope
public class HelloController {

    @Value("${name}")
    private String name;
    @Value("${age}")
    private String age;
    @Value("${gender}")
    private String gender;

    @RequestMapping("hello")
    public String hello() {
        return "我叫" +name + ",今年" + age + "岁了,性别:" + gender;
    }
}
重点在于这个HelloController中的三个属性(name,age,gender)了,按照常规SpringBoot项目,这三个属性我们必须在application.yaml中定义才能在这里用@Value()来使用,但今天我们没有定义,如果这时候直接启动,肯定会报错。
所以,先登录nacos控制台,然后在【配置管理】-【配置列表】菜单中,右上角有+号,新建一个份配置,如下图:
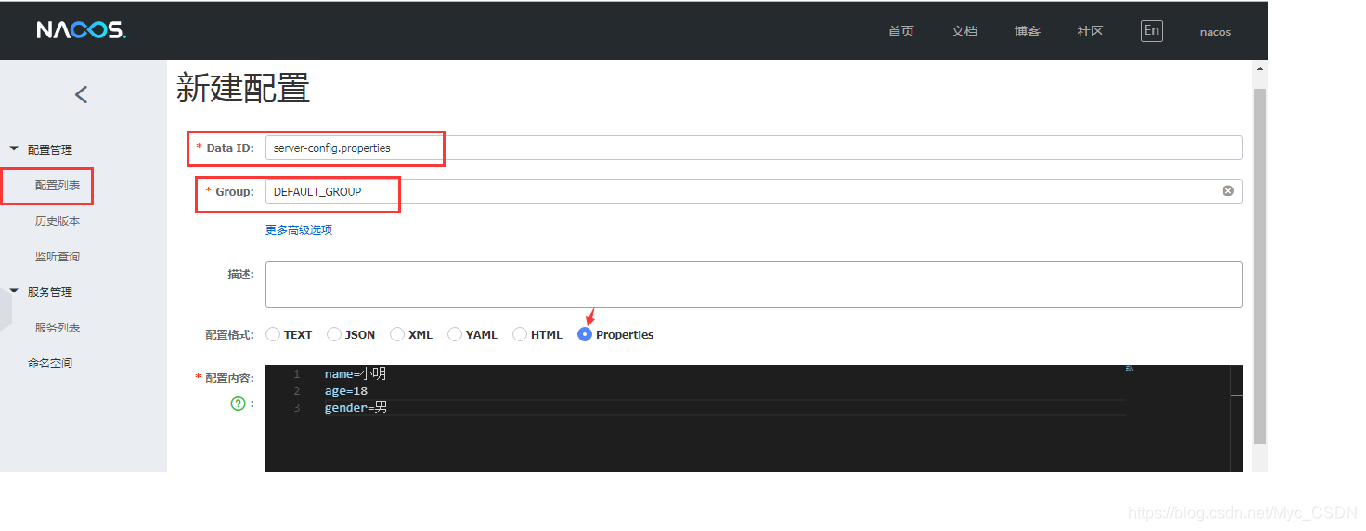
Data ID:要和在bootstrap.properties中配置的spring.application.name要一致,加个.properties后缀。
Group:就用默认的就行
配置格式:选择.properties
然后添加几项内容,这里我写了三个属性:name、age、gender,然后往下拉,点发布,发布后,在列表页:
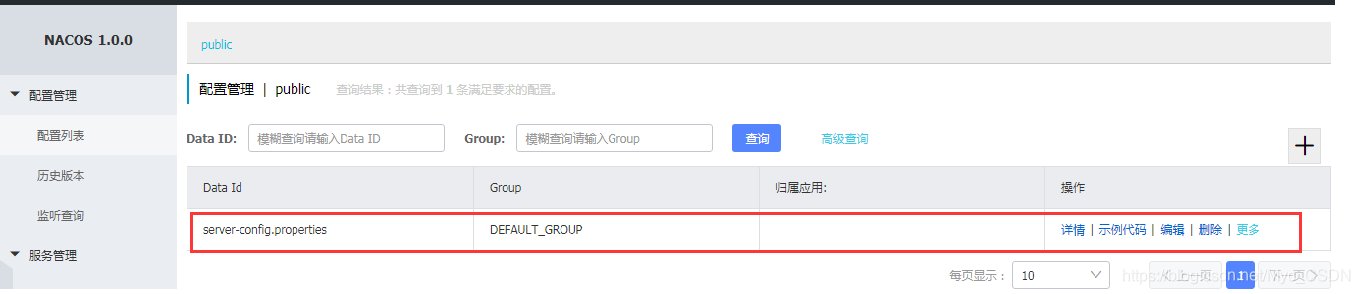
点击编辑,可修改配置文件的值。
然后回到项目,启动server-config服务。在浏览器访问:localhost:9003/hello,就能看到如下所示:
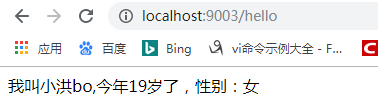
然后在nacos中的配置文件中直接修改属性值,不用重启服务,刷新页面,就能看到新更改的值。
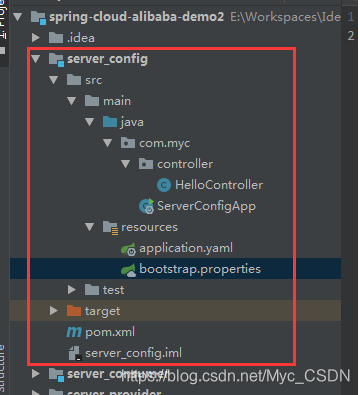
项目目录结构如下: