原文地址:http://www.codingsoho.com/zh/blog/pythonsheng-cheng-yi-wei-ma-er-wei-ma/
前言
我们的生活已完全离不开一维码和二维码,本文会简单的介绍如果通过python的方法来生成它们
本文环境:
Python 2.7.10
pyBarcode==0.7
Pillow==5.1.0
一维码
安装
pip install pyBarcode
pip install Pillow
生成到文件中
(env) python manage.py shell
Python 2.7.10 (default, May 23 2015, 09:40:32) [MSC v.1500 32 bit (Intel)] on win32
Type "help", "copyright", "credits" or "license" for more information.
(InteractiveConsole)
>>> from barcode.writer import ImageWriter
>>> from barcode.codex import Code39
>>> from PIL import Image, ImageDraw, ImageFont, ImageWin
>>> imagewriter = ImageWriter()
>>> ean = Code39("1234567890", writer=imagewriter, add_checksum=False)
>>> fullname = ean.save('image')
>>> img = Image.open(fullname)
>>> img.show()
首先我们导入Code39,pyBarcode支持多种方式,可用下面命令获取
>>> import barcode
>>> barcode.PROVIDED_BARCODES
['code39', 'ean', 'ean13', 'ean8', 'gs1', 'gtin', 'isbn', 'isbn10', 'isbn13', 'issn', 'jan', 'pzn', 'upc', 'upca']
add_checksum 表示是否将checksum添加到code中
ean.save()参数为文件名,这个文件名可以是绝对路径或者相对路径。
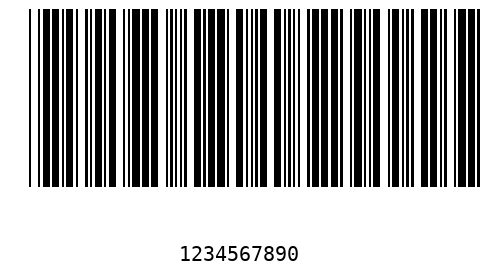
最后,调用了PIL的Image来显示这个生成的图片,如下:
生成到StringIO中
>>> from StringIO import StringIO
>>> i = StringIO()
>>> ean = Code39("0987654321", writer=imagewriter, add_checksum=False)
>>> ean.write(i)
>>> f = StringIO(i.getvalue())
>>> img1 = Image.open(f)
>>> print 'save to StringIO and show with image format'
save to StringIO and show with image format
>>> img1.show()
图片打开时是从StringIO中把内容读出来。

参数配置
从上面图片效果看,文字离一维码距离实在太远了,需要调整一下。差了一下,基本的Writer有下面选项,还有继承类的SVGWritr和ImageWriter等,对我的需要来说,基本的就够了,可以通过调整text_distance和font_size来调整效果
| module_width: |
The width of one barcode module in mm as float. Defaults to 0.2. |
| module_height: |
The height of the barcode modules in mm as float. Defaults to 15.0. |
| quiet_zone: |
Distance on the left and on the right from the border to the first (last) barcode module in mm as float. Defaults to 6.5. |
| font_size: |
Font size of the text under the barcode in pt as integer. Defaults to 10. |
| text_distance: |
Distance between the barcode and the text under it in mm as float. Defaults to 5.0. |
| background: |
The background color of the created barcode as string. Defaults to white. |
| foreground: |
The foreground and text color of the created barcode as string. Defaults to black. |
| center_text: |
If true (the default) the text is centered under the barcode else left aligned. |
有两种方法可以将这个选项参数传递给Writer
All writer take the following options (specified as keyword arguments to Barcode.save(filename, option=value) or set via Writer.set_options(option=value)).
实际使用中,Writer.set_options并没有生效,不确定是否我的方法用错了。
options = {"text_distance":1, "font_size":12}
imagewriter = ImageWriter()
imagewriter.set_options(options=options)
改用Barcode.save方法
options = {"text_distance":1, "font_size":12}
ean = Code39(filename, writer=imagewriter, add_checksum=False)
ean.save(fullpath,options=options)
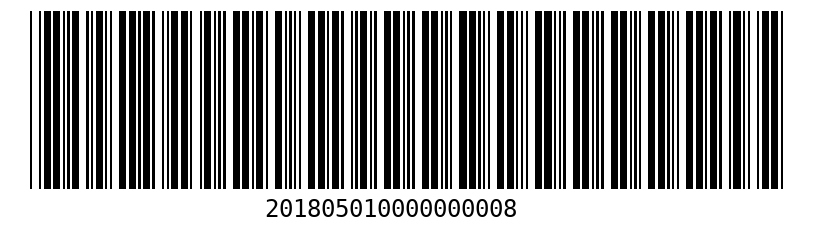
图片效果如下
详细内容可查看https://pythonhosted.org/pyBarcode/writers/index.html
二维码
安装
pip install qrcode
生成二维码
定义二维码生成函数,将网址放入二维码是常用场景,我们就以这个为例
在qrcode.QRCode初始化函数里,可以定义相应参数,官方资料非常吝啬,下面是网上找到的一些用法
def gen_qrcode(link):
    qr=qrcode.QRCode(
         version = 2,
         error_correction = qrcode.constants.ERROR_CORRECT_L,
         box_size=10,
         border=10,)
    qr.add_data(link)
    qr.make(fit=True)
    img = qr.make_image()
    img.show()

    photopath = os.path.join(settings.MEDIA_ROOT, "test")
    if not os.path.exists(photopath):
        os.makedirs(photopath)
    path = os.path.join(photopath, 'create.jpg')
    img.save(path)
    return path
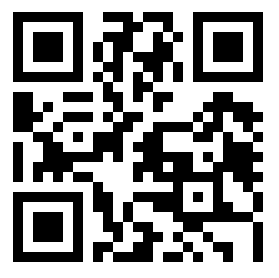
生成的图片如下
三维码
暂时不会,哈哈
关注下方公众号获取更多文章
参考文档
pyBarcode 0.7 https://pypi.python.org/pypi/pyBarcode
Pillow-4.2.1 https://pypi.python.org/pypi/Pillow
pywin32 https://pypi.python.org/pypi/pywin32/
https://pycode.readthedocs.io/en/latest/
https://pythonhosted.org/pyBarcode/index.html
python 生成一维码