1. 下载解压
$ sudo tar -zxvf apache-flume-1.8.0-bin.tar.gz -C /usr/local/
$ sudo mv apache-flume-1.8.0-bin flume
2. 添加环境变量
$ sudo vim ~/.bashrcexport FLUME_HOME=/usr/local/flume
export FLUME_CONF_DIR=$FLUME_HOME/conf
export PATH=$PATH:$FLUME_HOME/bin$ source ~/.bashrc3. 修改配置文件
cd /usr/local/flume/conf
cp flume-env.sh.template flume-env.sh
sudo vim flume-env.sh
添加Java的环境变量
export JAVA_HOME=/usr/local/java-8-openjdk-amd644. flume版本
./flume/bin/flume-ng version
错误: 找不到或无法加载主类 org.apache.flume.tools.GetJavaProperty
如果系统里安装了hbase,会出现错误: 找不到或无法加载主类 org.apache.flume.tools.GetJavaProperty。如果没有安装hbase,这一步可以略过。
- #1、将hbase的hbase.env.sh的这一行配置注释掉,即在export前加一个#
- #export HBASE_CLASSPATH=/home/hadoop/hbase/conf
- #2、或者将HBASE_CLASSPATH改为JAVA_CLASSPATH,配置如下
- export JAVA_CLASSPATH=.:$JAVA_HOME/lib/dt.jar:$JAVA_HOME/lib/tools.jar
5. 测试flume
(1)Avro
1. 创建agent配置文件
sudo vim ./flume/conf/avro.confa1.sources = r1
a1.sinks = k1
a1.channels = c1
# Describe/configure the source
a1.sources.r1.type = avro
a1.sources.r1.channels = c1
a1.sources.r1.bind = 0.0.0.0
a1.sources.r1.port = 4141
#注意这个端口名,在后面的教程中会用得到
# Describe the sink
a1.sinks.k1.type = logger
# Use a channel which buffers events in memory
a1.channels.c1.type = memory
a1.channels.c1.capacity = 1000
a1.channels.c1.transactionCapacity = 100
# Bind the source and sink to the channel
a1.sources.r1.channels = c1
a1.sinks.k1.channel = c1
2. 启动flume agent a1 启动日志窗口
/usr/local/flume/bin/flume-ng agent -c . -f /usr/local/flume/conf/avro.conf -n a1 -Dflume.root.logger=INFO,console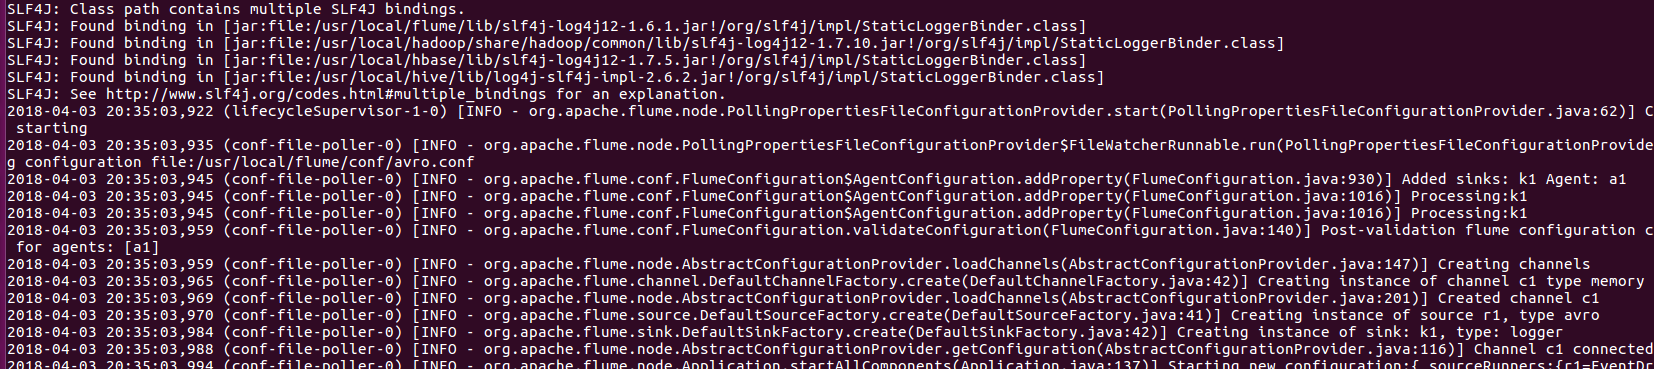
3. 创建指定文件
cd /usr/local/flume/conf/
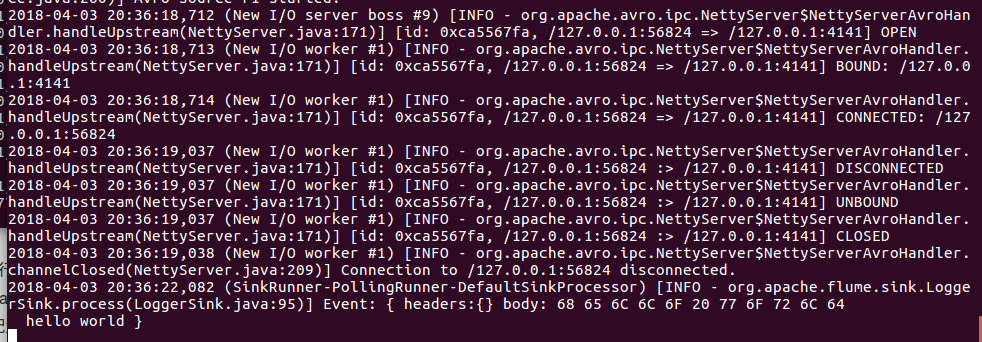
sudo sh -c 'echo "hello world" > /usr/local/flume/log.00'4. 打开另一个窗口打印日志
./flume/bin/flume-ng avro-client --conf conf -H localhost -p 4141 -F /usr/local/flume/log.00
查看日志窗口
(2)telnet
1. 创建agent配置文件
sudo vim ./flume/conf/example.conf# Name the components on this agent
a1.sources = r1
a1.sinks = k1
a1.channels = c1
# Describe/configure the source
a1.sources.r1.type = netcat
a1.sources.r1.bind = localhost
a1.sources.r1.port = 44444
#同上,记住该端口名
# Describe the sink
a1.sinks.k1.type = logger
# Use a channel which buffers events in memory
a1.channels.c1.type = memory
a1.channels.c1.capacity = 1000
a1.channels.c1.transactionCapacity = 100
# Bind the source and sink to the channel
a1.sources.r1.channels = c1
a1.sinks.k1.channel = c1
2. 启动agent日志窗口
/usr/local/flume/bin/flume-ng agent -c . -f /usr/local/flume/conf/example.conf -n a1 -Dflume.root.logger=INFO,console
3. 打开另一个窗口
telnet localhost 44444
输入一些字符(不能输入中文)

4. 日志窗口显示
