- 创建springboot工程,引入依赖
-
1       <dependency>
2             <groupId>org.springframework.boot</groupId>
3             <artifactId>spring-boot-starter-security</artifactId>
4         </dependency>
5         <dependency>
6             <groupId>org.springframework.boot</groupId>
7             <artifactId>spring-boot-starter-web</artifactId>
8         </dependency>
- 写一个测试controller
@RestController
public class HelloController {

    @GetMapping("/hello")
    public String hello() {
        return "hello world";
    }
}
- 浏览器直接访问该地址,http://localhost:8080/hello,会发现浏览器会重定向到 http://localhost:8080/login
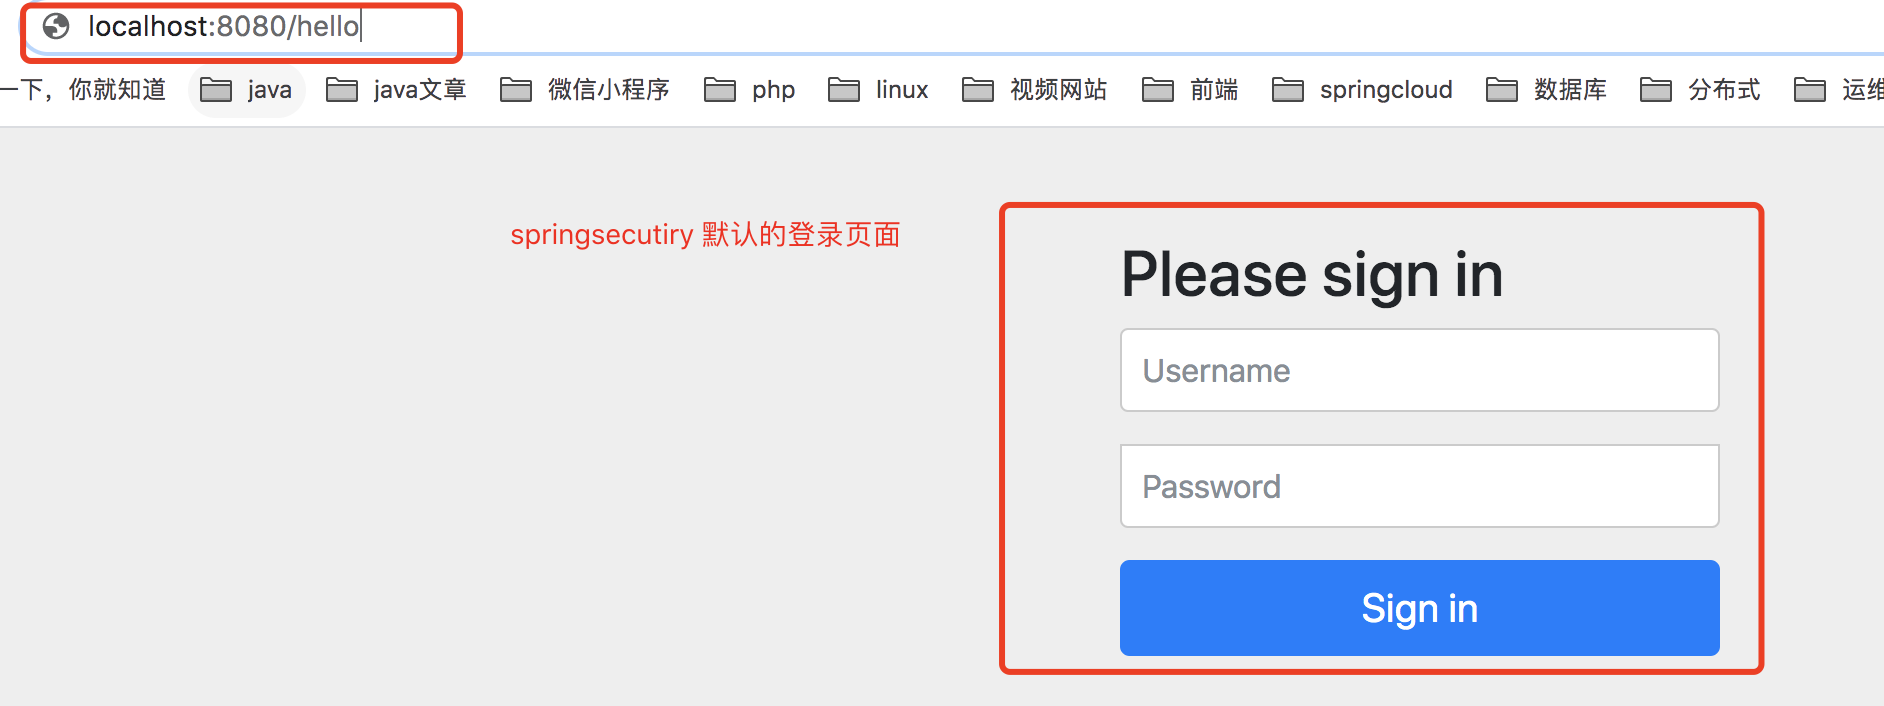
-
可以使用springsecurity默认提供的用户名 user , 密码是在启动工程控制台打印出的 随机字符串密码 ,进行登录,登录之后,重新访问http://localhost:8080/hello,发现可以正常访问了.

总结知识点:
- 默认的跳转登录页面请求地址 是 /login
- 默认的登录请求处理地址 是 /login 且请求方法 为 POST请求 所以在 Spring Security 中,默认的登录页面和登录接口,都是
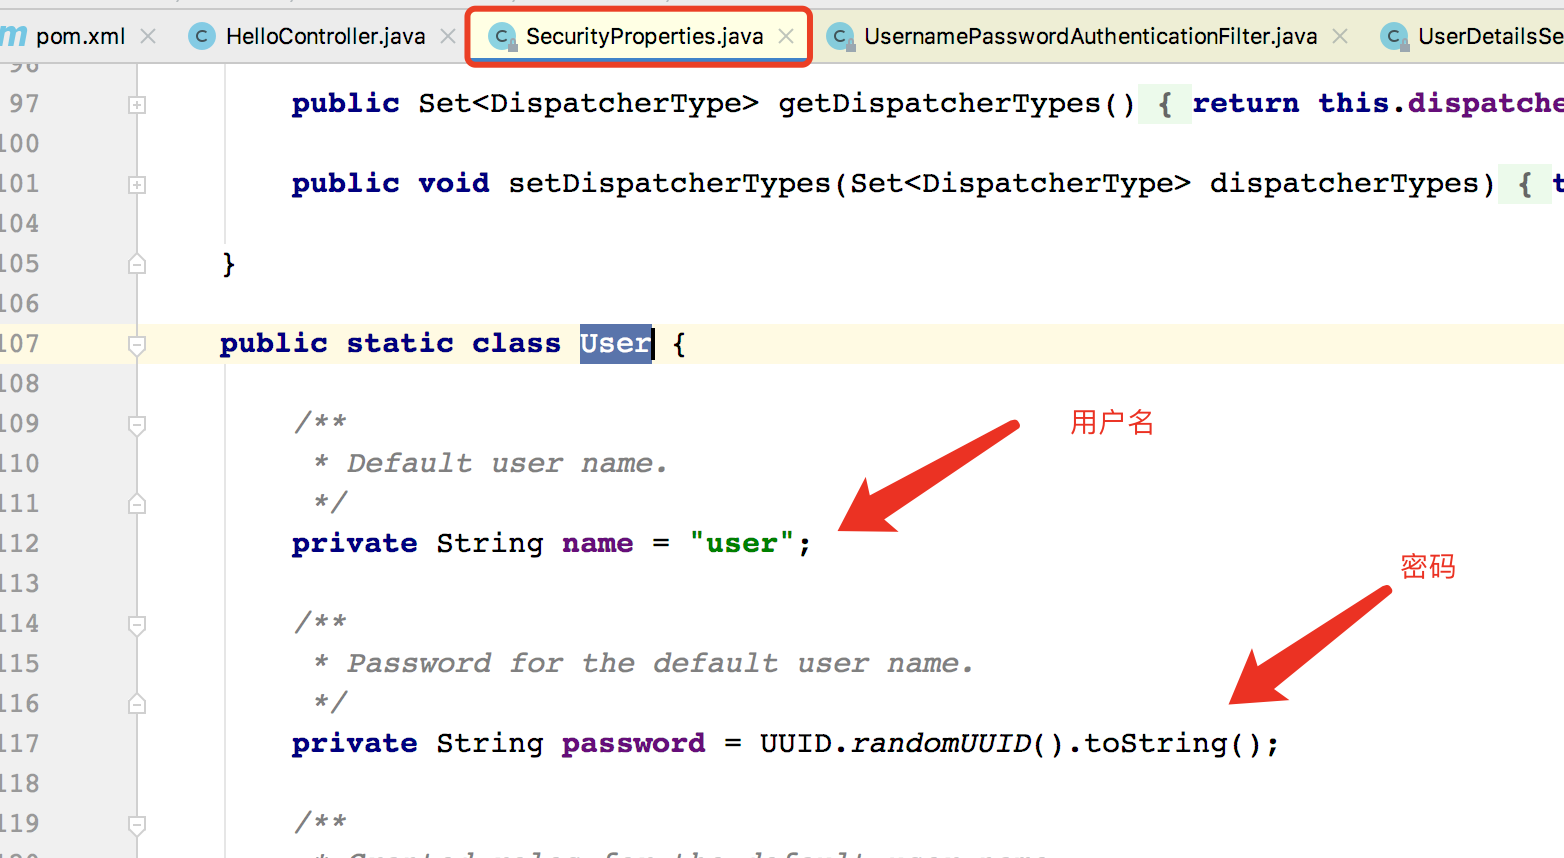
/login,只不过一个是 get 请求(登录页面),另一个是 post 请求(登录接口)。 - 什么都没配置的时候,springsecurity 提供的默认 用户名是 user 密码 是 随机字符串
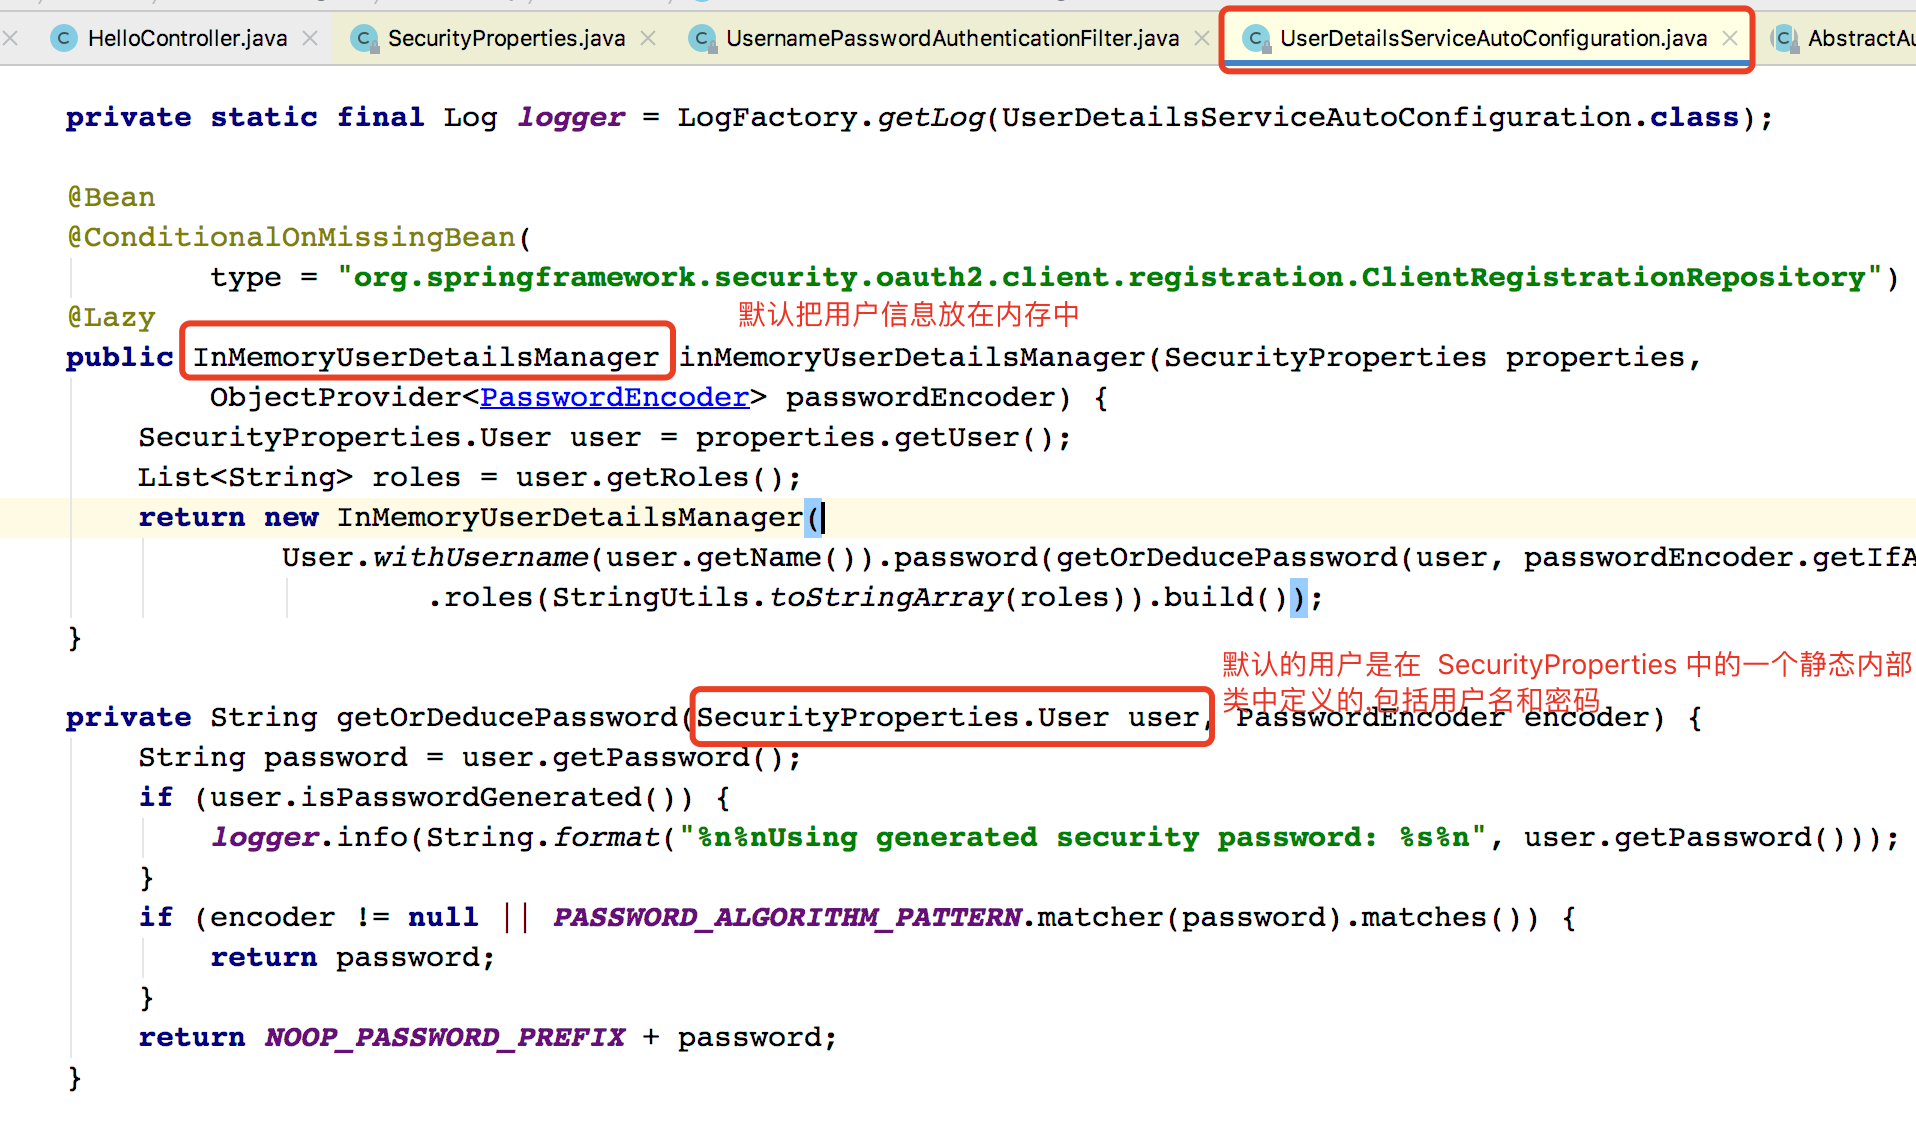
源码分析知识点:
二.自己配置用户的三种方式
- 在 application.properties 中进行配置
- 通过 Java 代码配置在内存中
- 通过 Java 从数据库中加载 正式项目一般都是这种方式
2.1.配置文件配置
spring.security.user.name=admin
spring.security.user.password=123
2.2.直接java配置在内存中
创建一个配置类
@Configuration
public class SecurityConfig extends WebSecurityConfigurerAdapter {
    @Override
    protected void configure(AuthenticationManagerBuilder auth) throws Exception {
        //下面这两行配置表示在内存中配置了两个用户
        auth.inMemoryAuthentication()
                .withUser("javaboy").roles("admin").password("$2a$10$OR3VSksVAmCzc.7WeaRPR.t0wyCsIj24k0Bne8iKWV1o.V9wsP8Xe")
                .and()
                .withUser("lisi").roles("user").password("$2a$10$p1H8iWa8I4.CA.7Z8bwLjes91ZpY.rYREGHQEInNtAp4NzL6PLKxi");
    }
    @Bean
    PasswordEncoder passwordEncoder() {
        return new BCryptPasswordEncoder();
    }
}
这里我们在 configure 方法中配置了两个用户,用户的密码都是加密之后的字符串(明文是 123),从 Spring5 开始,强制要求密码要加密,如果非不想加密,可以使用一个过期的 PasswordEncoder 的实例 NoOpPasswordEncoder,但是不建议这么做,毕竟不安全。
2.3.需要自己实现userDetailsService接口,后续补充
三.springsecurity 常见参数自定义配置
@Configuration
public class SecurityConfig extends WebSecurityConfigurerAdapter {
    @Override
    protected void configure(HttpSecurity http) throws Exception {
        http
        .authorizeRequests()//开启登录配置
        .antMatchers("/hello").hasRole("admin")//表示访问 /hello 这个接口,需要具备 admin 这个角色
        .anyRequest().authenticated()//表示剩余的其他接口,登录之后就能访问
        .and()
        .formLogin()
        //定义登录页面,未登录时,访问一个需要登录之后才能访问的接口,会自动跳转到该页面
        .loginPage("/login_p")
        //登录处理接口
        .loginProcessingUrl("/doLogin")
        //定义登录时,用户名的 key,默认为 username
        .usernameParameter("uname")
        //定义登录时,用户密码的 key,默认为 password
        .passwordParameter("passwd")
        //登录成功的处理器  --- >适合全后端分离
        .successHandler(new AuthenticationSuccessHandler() {
            @Override
            public void onAuthenticationSuccess(HttpServletRequest req, HttpServletResponse resp, Authentication authentication) throws IOException, ServletException {

                    resp.setContentType("application/json;charset=utf-8");
                    PrintWriter out = resp.getWriter();
                    out.write("success");
                    out.flush();
                }
            })
            .failureHandler(new AuthenticationFailureHandler() {
                @Override
                public void onAuthenticationFailure(HttpServletRequest req, HttpServletResponse resp, AuthenticationException exception) throws IOException, ServletException {
                    resp.setContentType("application/json;charset=utf-8");
                    PrintWriter out = resp.getWriter();
                    out.write("fail");
                    out.flush();
                }
            })
            .permitAll()//和表单登录相关的接口统统都直接通过
            .and()
            .logout()
            .logoutUrl("/logout")
            .logoutSuccessHandler(new LogoutSuccessHandler() {
                @Override
                public void onLogoutSuccess(HttpServletRequest req, HttpServletResponse resp, Authentication authentication) throws IOException, ServletException {
                    resp.setContentType("application/json;charset=utf-8");
                    PrintWriter out = resp.getWriter();
                    out.write("logout success");
                    out.flush();
                }
            })
            .permitAll()
            .and()
            .httpBasic()
            .and()
            .csrf().disable();
    }
}
四.忽略拦截
如果某一个请求地址不需要拦截的话,有两种方式实现:
- 设置该地址匿名访问
- 直接过滤掉该地址,即该地址不走 Spring Security 过滤器链
推荐使用第二种方案,配置如下:
@Configuration
public class SecurityConfig extends WebSecurityConfigurerAdapter {
    @Override
    public void configure(WebSecurity web) throws Exception {
        web.ignoring().antMatchers("/vercode");
    }
}