一、匹配404错误
在路由规则中, * 匹配任意字符,所以只要在路由中添加一个 *路由,那么以后没有匹配到的url都会被导入到这个视图中,可以用来匹配未找到的地址,即404。
测试如下:
<!DOCTYPE html>
<html lang="en">
<head>
<meta charset="UTF-8">
<meta name="viewport" content="width=device-width, initial-scale=1.0">
<title>Document</title>
</head>
<body>
<div id="app">
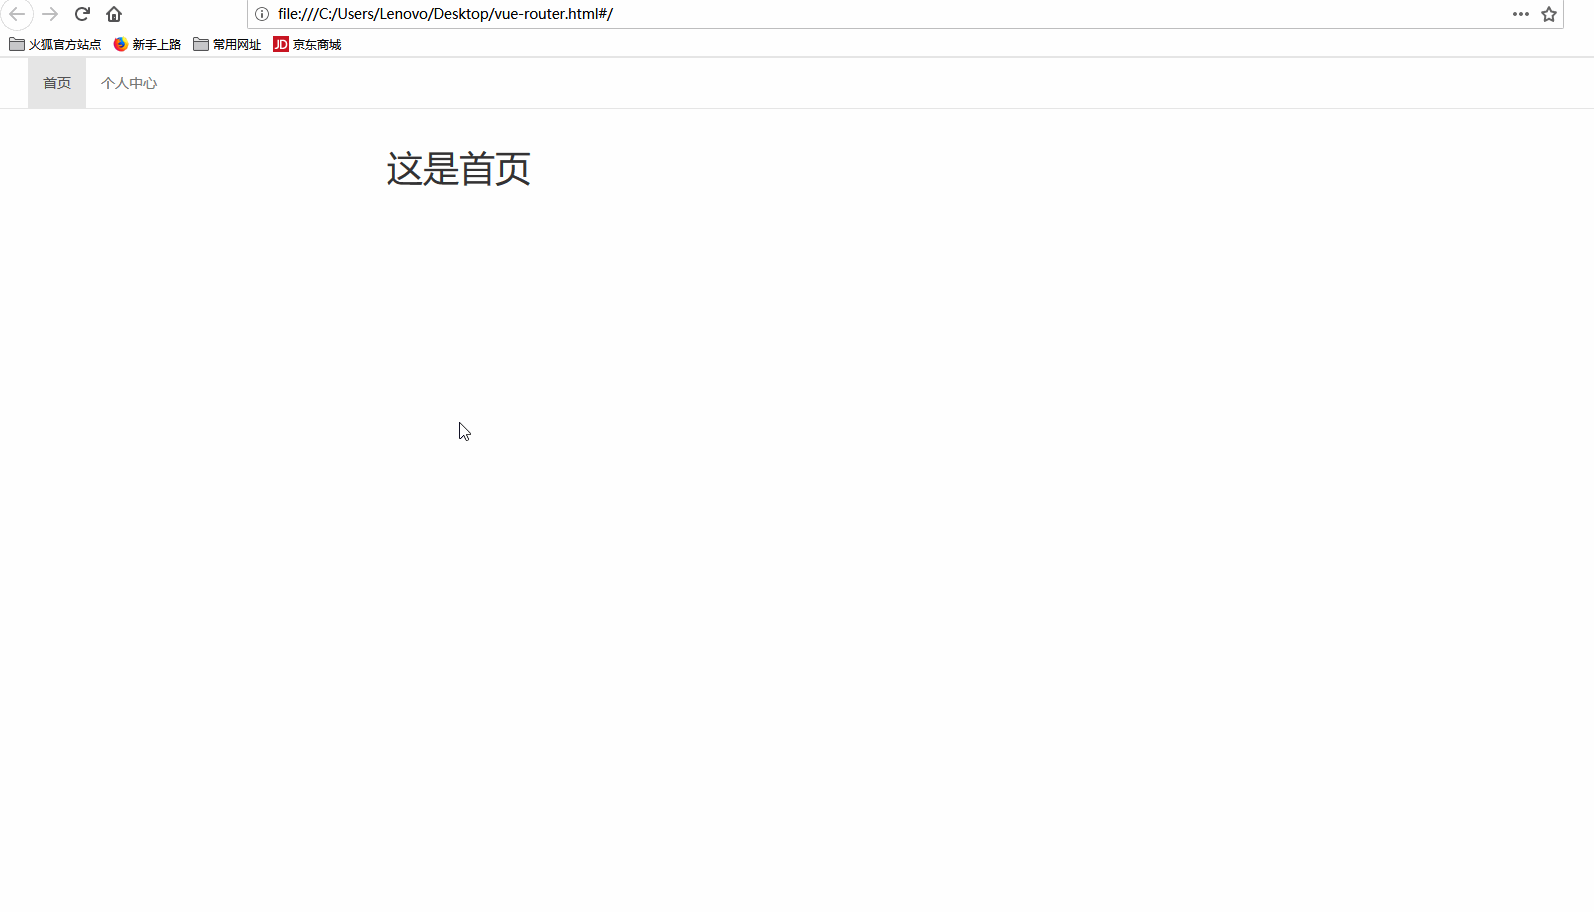
<router-link to='/'>首页</router-link>
<router-link to='/profile/123'>个人中心</router-link>
<router-view></router-view>
</div>
</body>
</html>
<script src="https://cdn.jsdelivr.net/npm/vue"></script>
<script src="https://unpkg.com/vue-router/dist/vue-router.js"></script>
<script>
var index = Vue.extend({
template:'<h1>这是首页</h1>'
})
var profile = Vue.extend({
template:'<h1>这是{{$route.params.userid}}个人中心</h1>',
mounted(){
if(this.$route.params.userid != '123'){
this.$router.replace('/404')
}
}
})
var notfound = Vue.extend({
template:'<h1>您找的页面已经到火星啦!</h1>'
})
var router = new VueRouter({
routes:[
{path:'/',component:index},
{path:'/profile/:userid',component:profile},
// 匹配未定义的地址
{path:'*',component:notfound},
// 匹配未找到的userid
{path:'/404',component:notfound},
]
})
new Vue({
el:'#app',
data:{
},
router:router
})
</script>
显示:

可以匹配两类页面未找到的情况:
- 由于url错误造成的路径找不到的错误
这一类直接在路径中添加通配符匹配。 - 由于参数错误找不到对应的数据比如用户id造成的
这一类需要在模板中判断。
二、嵌套路由
有时候在路由中,主要的部分是相同的,但是下面的具体内容可能是不同的。
比如访问用户的个人中心是/user/111/profile/,查看用户发的贴子是/user/111/posts/等,这时候就需要用到嵌套路由。
测试如下:
<!DOCTYPE html>
<html lang="en">

<head>
    <meta charset="UTF-8">
    <meta name="viewport" content="width=device-width, initial-scale=1.0">
    <title>Vue路由</title>
    <link rel="stylesheet" href="https://cdn.jsdelivr.net/npm/[email protected]/dist/css/bootstrap.min.css"
        integrity="sha384-BVYiiSIFeK1dGmJRAkycuHAHRg32OmUcww7on3RYdg4Va+PmSTsz/K68vbdEjh4u" crossorigin="anonymous">
</head>

<body>
    <div id="app">
        <nav class="navbar navbar-default">
            <div class="container-fluid">
                <div class="collapse navbar-collapse" id="bs-example-navbar-collapse-1">
                    <ul class="nav navbar-nav">
                        <li class="active">
                            <router-link to='/'>首页</router-link>
                        </li>
                        <li>
                            <router-link to='/user/123'>个人中心</router-link>
                        </li>
                    </ul>
                </div><!-- /.navbar-collapse -->
            </div><!-- /.container-fluid -->
        </nav>
        <div class="container">
            <router-view></router-view>
        </div>
    </div>
</body>

</html>


<script src="https://cdn.jsdelivr.net/npm/vue"></script>

<script src="https://unpkg.com/vue-router/dist/vue-router.js"></script>

<script>
    var index = Vue.extend({
        template: '<h1>这是首页</h1>',
    })
    var user = Vue.extend({
        template: `
        <div>
            <h1>这是个人中心</h1>
            <ul class="nav nav-pills">
                <li role="presentation" class="active">
                    <router-link to='/user/123/notice'>公告</router-link>
                </li>
                <li role="presentation" class="active">
                    <router-link to='/user/123/comment'>评论</router-link>
                </li>
                <li role="presentation" class="active">
                    <router-link to='/user/123/follow'>关注</router-link>
                </li>
            </ul>
            <div class="container">
                <router-view></router-view>
            </div>
        </div>
        `,
    })
    var notice = Vue.extend({
        template: `
        <div>
            <h3>公告1</h3>
            <h3>公告2</h3>
        </div>
        `
    })
    var comment = Vue.extend({
        template: `
        <div>
            <h3>评论1</h3>
            <h3>评论2</h3>
        </div>
        `
    })
    var follow = Vue.extend({
        template: `
        <div>
            <h3>您关注的</h3>
            <h3>关注您的</h3>
        </div>
        `
    })
    var router = new VueRouter({
        routes: [{
                path: '/',
                component: index
            },
            {
                path: '/user/:userid',
                component: user,
                children:[
                    // 设置默认显示通知
                    {path:'',component:notice},
                    {path:'notice',component:notice},
                    {path:'comment',component:comment},
                    {path:'follow',component:follow},
                ]
            },
        ]
    })

    new Vue({
        el: '#app',
        data: {

        },
        router: router
    })
</script>
显示:
可以看到:
如果在路由下面再定义路由,需要在children属性中添加,同时需要在该路由对应的模板中构建link和view。
三、编程式导航
之前我们都是使用<router-link>,用户点击时页面进行更新,但有时候我们需要在JavaScript中手动修改页面的跳转,这时候就要用到编程式导航。
即有两种导航路由的方式:
-
声明式
即之前一直用的方式<router-link to='...'>XXX</router-link> -
编程式
router.push(...)
$router.push跳转的原理:
用router.push方法导航到不同的URL,这个方法会向history栈添加一个新的记录,当用户点击浏览器后退按钮时,会回到之前的URL;
当点击<router-link>时,router.push方法会在内部调用,也就是说,点击<router-link :to="...">等同于调用router.push(...)。
router.push方法常用的方式有以下几种:
- 字符串
router.push('home')
- 对象
router.push({ path: 'home' })
- 命名的路由
router.push({ name: 'user', params: { userId: '123' }})
- 带查询参数
router.push({ path: 'register', query: { plan: 'private' }})
通过JS指定路由还有一种方式router.replace(location, onComplete?, onAbort?),它跟router.push很像,区别是它不会向history添加新记录,而是替换掉当前的history记录。
router.go(n)方法的参数是一个整数,意思是在history记录中向前或者后退多少步,类似于window.history.go(n)。
// 在浏览器记录中前进1步,等同于history.forward()
router.go(1)

// 后退1步记录,等同于history.back()
router.go(-1)

// 前进3步记录
router.go(3)

// 如果参数数值过大、history记录不够用,会前进或后退失败
router.go(-100)
router.go(100)
测试如下:
<!DOCTYPE html>
<html lang="en">
<head>
<meta charset="UTF-8">
<meta name="viewport" content="width=device-width, initial-scale=1.0">
<title>Vue路由</title>
<link rel="stylesheet" href="https://cdn.jsdelivr.net/npm/[email protected]/dist/css/bootstrap.min.css"
integrity="sha384-BVYiiSIFeK1dGmJRAkycuHAHRg32OmUcww7on3RYdg4Va+PmSTsz/K68vbdEjh4u" crossorigin="anonymous">
</head>
<body>
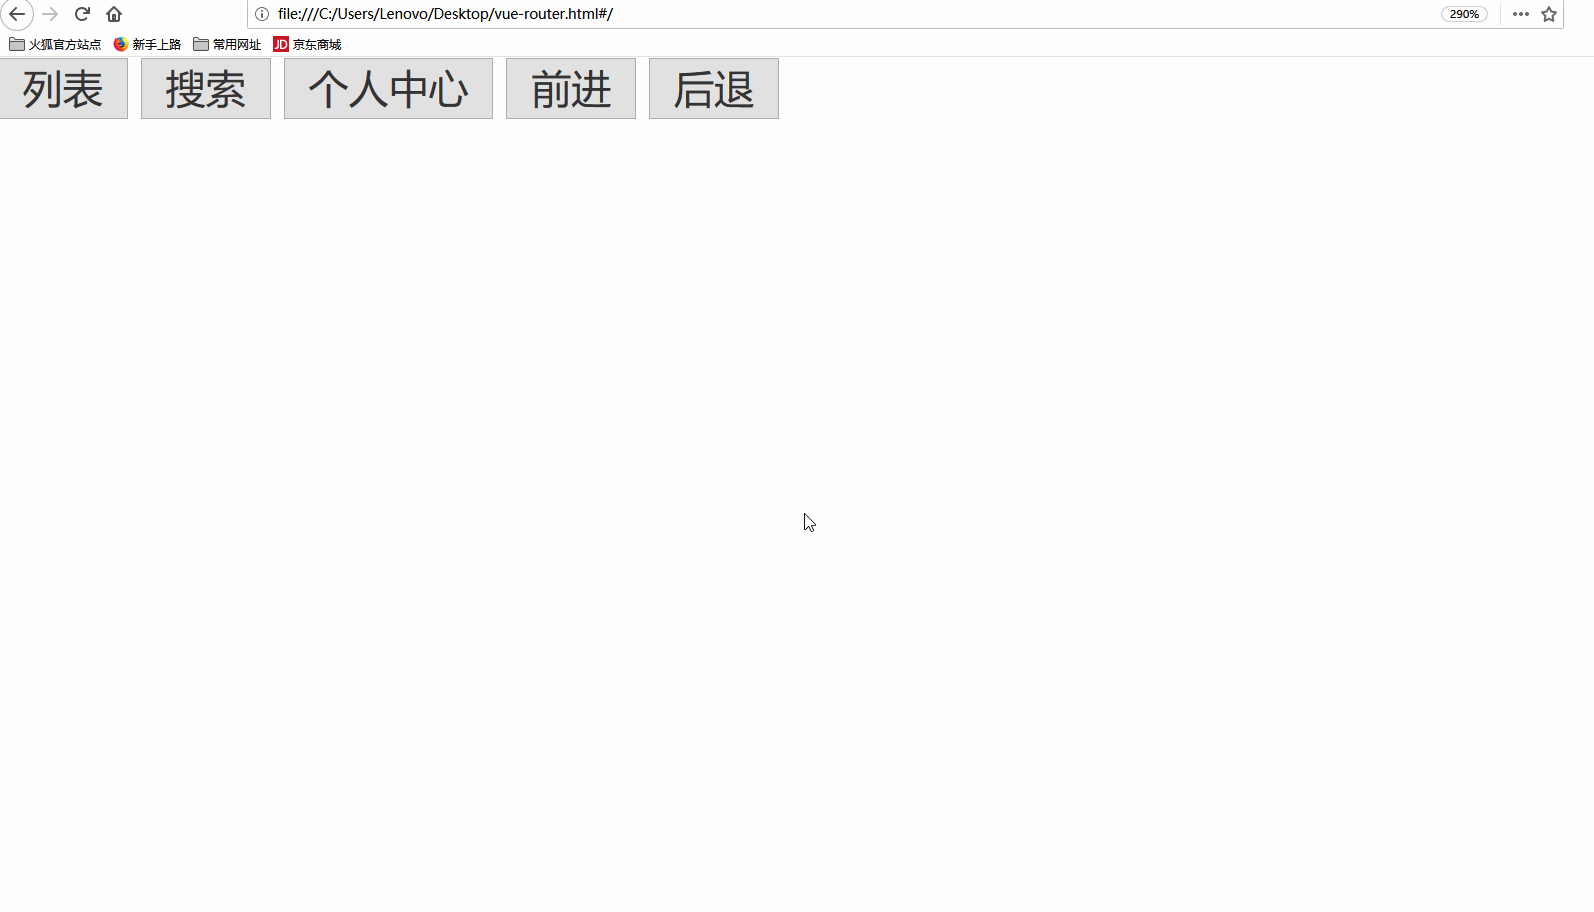
<div id="app">
<button @click="toPost">列表</button>
<button @click="search">搜索</button>
<button @click="toProfile">个人中心</button>
<button @click="toNext">前进</button>
<button @click="toPrevious">后退</button>
<router-view></router-view>
</div>
</body>
</html>
<script src="https://cdn.jsdelivr.net/npm/vue"></script>
<script src="https://unpkg.com/vue-router/dist/vue-router.js"></script>
<script>
var post = Vue.extend({
template:'<h1>这是列表</h1>'
})
var search = Vue.extend({
template:'<h1>这是搜索结果</h1>'
})
var profile = Vue.extend({
template:'<h1>这是{{$route.params.userid}}个人中心</h1>'
})
var router = new VueRouter({
routes:[
{path:'/post',component:post},
{path:'/search',component:search},
{path:'/profile/:userid',component:profile,name:'myprofile'},
]
})
new Vue({
el: '#app',
data: {
},
router: router,
methods:{
toPost:function(){
this.$router.push('/post')
},
toProfile:function(){
// this.$router.push('/profile/123')
this.$router.push({name:'myprofile',params:{userid:123}})
},
search(){
this.$router.push({path:'search',query:{kw:'vue'}})
},
toNext(){
this.$router.go(1)
},
toPrevious(){
this.$router.go(-1)
},
}
})
</script>
显示:
说明:
(1)通过push进行路由导航时,传递参数有2种常见形式profile/123和search?kw=vue,分别对应一下两种传参方式:
- 对于
profile/123型的参数
有两种方式传递这种类型的参数:- 直接在路径中定义
例如:this.$router.push('/profile/123') - 通过params传递
例如:this.$router.push({name:'myprofile',params:{userid:123}}),如果使用这种方式,需要在定义路由映射时给该路由命名。
- 直接在路径中定义
- 对于
search?kw=vue型的参数:
通过query参数传递,例如:
this.$router.push({path:'search',query:{kw:'vue'}})
(2)在router.push()的参数中提供了path时,params参数会被忽略,但是query不会被忽略;如果想要使用params参数,需要提供路由的name或手写完整的带有参数的path,这与(1)中一致。
例如:router.push({ path: '/user', params: { 123 }})的参数是无效的,路由指向/user,而router.push({ name: 'user', params: { 123}})和router.push({ path: '/user/123' })的参数是有效的,都指向/user/123。
四、命名路由和视图
1.命名路由
有时候,通过一个名称来标识一个路由显得更方便一些,特别是在链接一个路由,或者是执行一些跳转的时候。
可以在创建Router实例的时候,在routes配置中给某个路由设置名称。
要链接到一个命名路由,可以给router-link的to属性传一个对象,例如:
<router-link :to="{ name: 'user', params: { userId: 123 }}">User</router-link>
这与router.push({ name: 'user', params: { userId: 123 }})是等效的。
测试:
<!DOCTYPE html>
<html lang="en">
<head>
<meta charset="UTF-8">
<meta name="viewport" content="width=device-width, initial-scale=1.0">
<title>Vue路由</title>
</head>
<body>
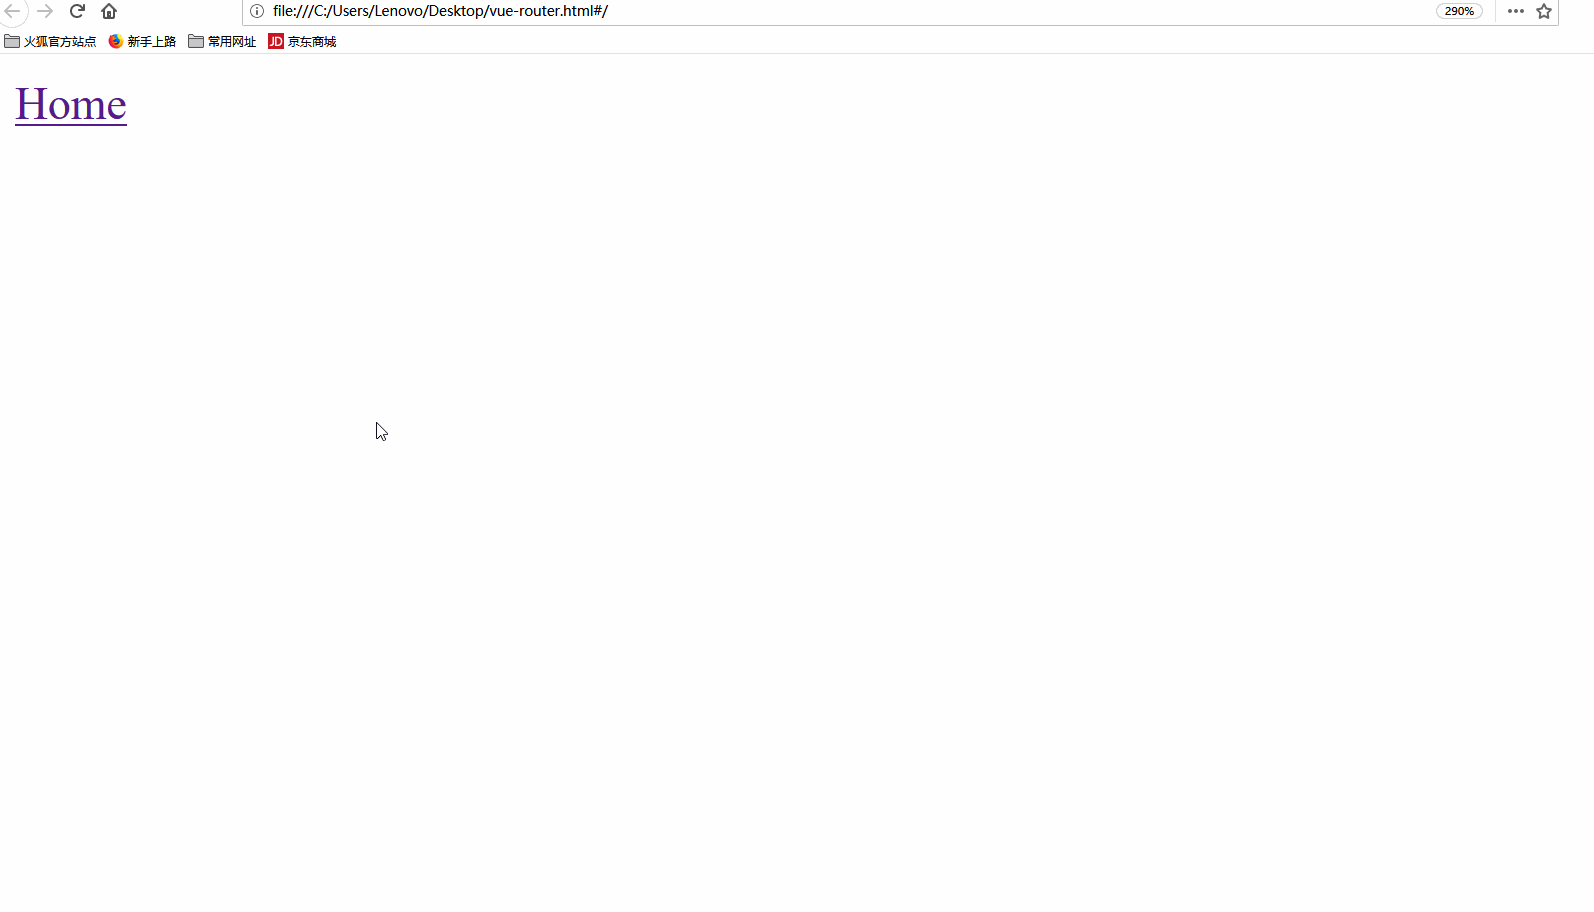
<div id="app">
<router-link :to="{name:'index'}">Home</router-link>
<router-view></router-view>
</div>
</body>
</html>
<script src="https://cdn.jsdelivr.net/npm/vue"></script>
<script src="https://unpkg.com/vue-router/dist/vue-router.js"></script>
<script>
var home = Vue.extend({
template:'<h1>这是首页</h1>'
})
var router = new VueRouter({
routes:[
{path:'/',component:home,name:'index'},
]
})
new Vue({
el: '#app',
data: {
},
router: router,
methods:{
}
})
</script>
显示:

还可以传入参数:
<!DOCTYPE html>
<html lang="en">

<head>
    <meta charset="UTF-8">
    <meta name="viewport" content="width=device-width, initial-scale=1.0">
    <title>Vue路由</title>
</head>

<body>
    <div id="app">
        <router-link :to="{name:'index',params:{userid:123}}">Home</router-link>
        <router-view></router-view>
    </div>
</body>

</html>


<script src="https://cdn.jsdelivr.net/npm/vue"></script>

<script src="https://unpkg.com/vue-router/dist/vue-router.js"></script>

<script>
    var home = Vue.extend({
        template:'<h1>这是首页</h1>'
    })

    var router = new VueRouter({
        routes:[
            {path:'/user/:userid',component:home,name:'index'},
        ]
    })

    new Vue({
        el: '#app',
        data: {

        },
        router: router,
        methods:{
        }
    })
</script>
显示:
2.命名视图
有时候想同时 (同级) 展示多个视图,而不是嵌套展示,例如创建一个布局,有sidebar(侧导航) 和main(主内容) 两个视图,这个时候命名视图就派上用场了。
可以在界面中拥有多个单独命名的视图,而不是只有一个单独的出口。
如果router-view没有设置名字,那么默认为default。
一个视图使用一个组件渲染,因此对于同个路由,多个视图就需要多个组件,并在components中实现name与组件的映射。
进行测试:
<!DOCTYPE html>
<html lang="en">

<head>
    <meta charset="UTF-8">
    <meta name="viewport" content="width=device-width, initial-scale=1.0">
    <link rel="stylesheet" href="https://cdn.jsdelivr.net/npm/[email protected]/dist/css/bootstrap.min.css" integrity="sha384-BVYiiSIFeK1dGmJRAkycuHAHRg32OmUcww7on3RYdg4Va+PmSTsz/K68vbdEjh4u" crossorigin="anonymous">
    <title>Vue路由</title>
</head>

<body>
    <div id="app">
        <div class="header panel-heading">
            <router-view name="header"></router-view>
        </div>
        <div class="body panel-body">
            <router-view name="left" class="col-md-6"></router-view>
            <router-view name="right" class="col-md-6"></router-view>
        </div>
        <div class="footer panel-footer">
            <router-view name="footer"></router-view>
        </div>
    </div>
</body>

</html>


<script src="https://cdn.jsdelivr.net/npm/vue"></script>

<script src="https://unpkg.com/vue-router/dist/vue-router.js"></script>

<script>
    var headerc = Vue.extend({
        template: '<h1>顶部</h1>'
    })
    var leftc = Vue.extend({
        template: '<h1>左边</h1>'
    })
    var rightc = Vue.extend({
        template: '<h1>右边</h1>'
    })
    var footerc = Vue.extend({
        template: '<h1>底部</h1>'
    })

    var router = new VueRouter({
        routes: [{
            path: '/',
            components: {
                header:headerc,
                left:leftc,
                right:rightc,
                footer:footerc
            },
            name: 'index'
        }, ]
    })

    new Vue({
        el: '#app',
        data: {

        },
        router: router,
        methods: {}
    })
</script>
显示:

五、重定向和别名
重定向是通过routes配置的redirect参数来完成的。
测试如下:
<!DOCTYPE html>
<html lang="en">
<head>
<meta charset="UTF-8">
<meta name="viewport" content="width=device-width, initial-scale=1.0">
<link rel="stylesheet" href="https://cdn.jsdelivr.net/npm/[email protected]/dist/css/bootstrap.min.css" integrity="sha384-BVYiiSIFeK1dGmJRAkycuHAHRg32OmUcww7on3RYdg4Va+PmSTsz/K68vbdEjh4u" crossorigin="anonymous">
<title>Vue路由</title>
</head>
<body>
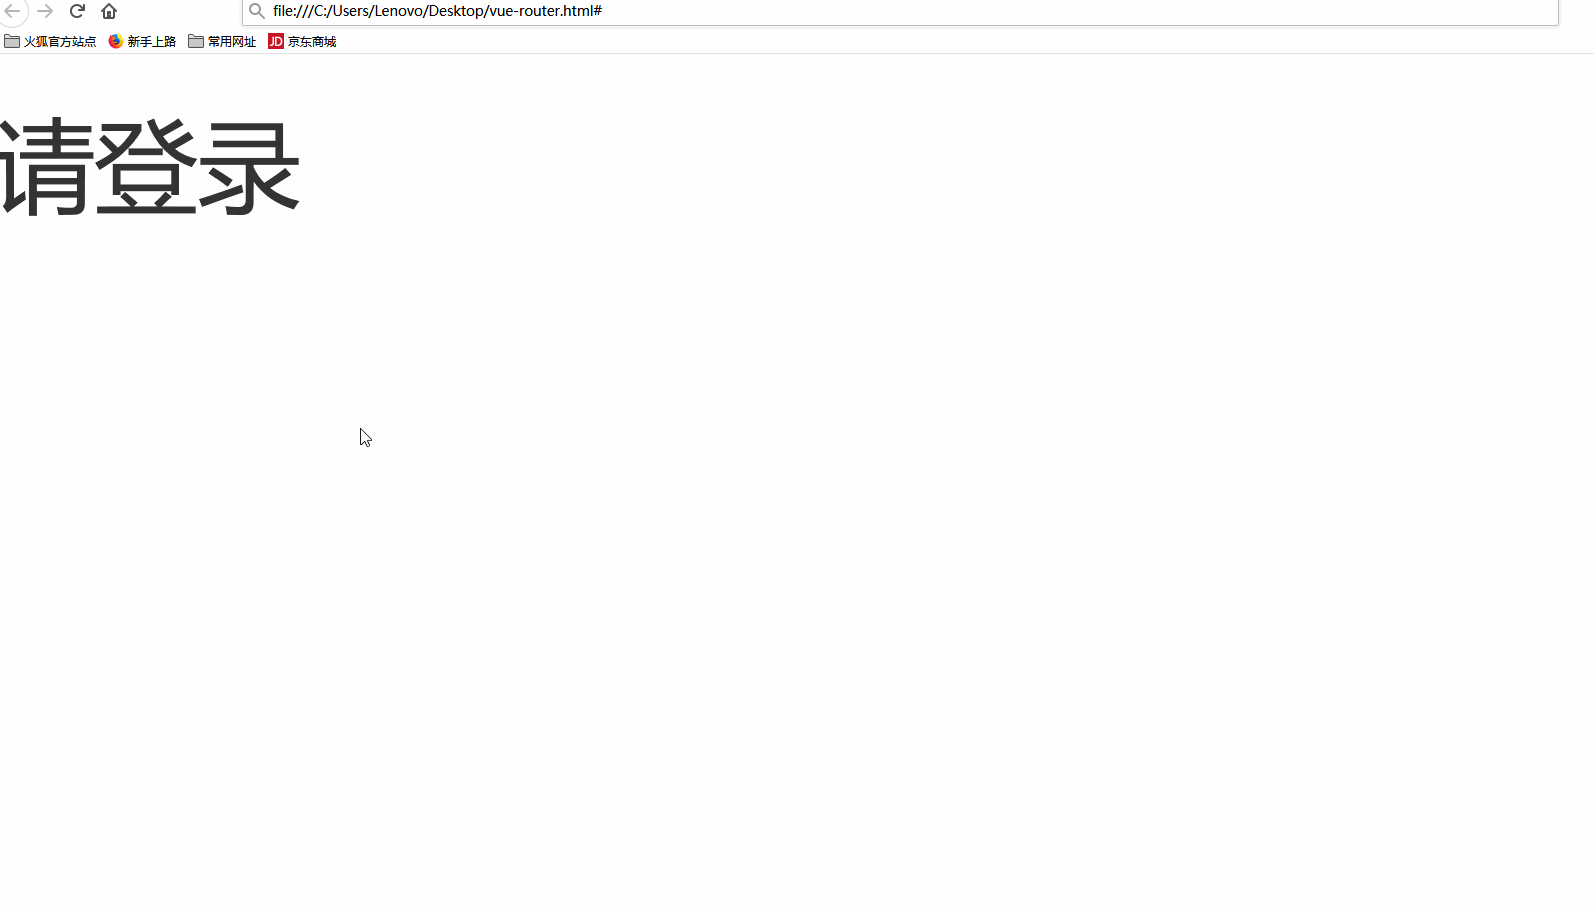
<div id="app">
<router-view></router-view>
</div>
</body>
</html>
<script src="https://cdn.jsdelivr.net/npm/vue"></script>
<script src="https://unpkg.com/vue-router/dist/vue-router.js"></script>
<script>
var login = Vue.extend({
template:'<h1>请登录</h1>'
})
var router = new VueRouter({
routes: [
{path:'/',redirect:'/login'},
{path:'/login',component:login},
]
})
new Vue({
el: '#app',
data: {
},
router: router,
methods: {}
})
</script>
显示:

同时,重定向的目标也可以是一个命名的路由,如下:
<!DOCTYPE html>
<html lang="en">

<head>
    <meta charset="UTF-8">
    <meta name="viewport" content="width=device-width, initial-scale=1.0">
    <link rel="stylesheet" href="https://cdn.jsdelivr.net/npm/[email protected]/dist/css/bootstrap.min.css" integrity="sha384-BVYiiSIFeK1dGmJRAkycuHAHRg32OmUcww7on3RYdg4Va+PmSTsz/K68vbdEjh4u" crossorigin="anonymous">
    <title>Vue路由</title>
</head>

<body>
    <div id="app">
        <router-view></router-view>
    </div>
</body>

</html>


<script src="https://cdn.jsdelivr.net/npm/vue"></script>

<script src="https://unpkg.com/vue-router/dist/vue-router.js"></script>

<script>
    var login = Vue.extend({
        template:'<h1>请登录</h1>'
    })

    var router = new VueRouter({
        routes: [
            {path:'/',redirect:{name:'relogin'}},
            {path:'/login',component:login,name:'relogin'},

            ]
    })

    new Vue({
        el: '#app',
        data: {

        },
        router: router,
        methods: {}
    })
</script>
测试效果与之前相同。
还可以命别名,测试如下:
<!DOCTYPE html>
<html lang="en">

<head>
    <meta charset="UTF-8">
    <meta name="viewport" content="width=device-width, initial-scale=1.0">
    <link rel="stylesheet" href="https://cdn.jsdelivr.net/npm/[email protected]/dist/css/bootstrap.min.css" integrity="sha384-BVYiiSIFeK1dGmJRAkycuHAHRg32OmUcww7on3RYdg4Va+PmSTsz/K68vbdEjh4u" crossorigin="anonymous">
    <title>Vue路由</title>
</head>

<body>
    <div id="app">
        <router-view></router-view>
    </div>
</body>

</html>


<script src="https://cdn.jsdelivr.net/npm/vue"></script>

<script src="https://unpkg.com/vue-router/dist/vue-router.js"></script>

<script>
    var login = Vue.extend({
        template:'<h1>请登录</h1>'
    })

    var router = new VueRouter({
        routes: [
            {path:'/',redirect:'/login'},
            {path:'/login',component:login,alias:'/signin'},

            ]
    })

    new Vue({
        el: '#app',
        data: {

        },
        router: router,
        methods: {}
    })
</script>
显示:
别名说明:
/login的别名是/signin,意味着,当用户访问/signin时,URL会保持为/signin,但是路由匹配则为/login,就像用户访问/login一样。
更多关于Vue-Router的内容可参考官方文档https://router.vuejs.org/zh/。
