文章目录
1. 案例目标
- 了解应用系统的部署架构
- 单节点部署应用系统
2. 案例分析
- 2.1 规划节点
| IP 地址 | 主机名 | 节点 |
|---|---|---|
| 192.168.214.10 | mall | 单节点服务器 |
3. 基础准备
- 克隆之前做过的centos7的centos7-temp模板机,进行调试,确认可以连接互联网,为后面做准备,这步没做的话,实验是失败的
- 使用提供gpmall-shopping-0.0.1-SNAPSHOT.jar、gpmall-user-0.0.1-SNAPSHOT.jar、shopping-provider-0.0.1-SNAPSHOT.jar、user-provider-0.0.1-SNAPSHOT.jar 、dist这5个包部署应用系统,其中4个jar包为后端服务包,dist为前端包。(在项目3-软件包\商城系统-单节点\gpmall项目包-单机下)
4. 案例实施
-
实验过程
-
部署基础架构
部署java环境
部署数据库服务(MariaDB)
部署前端web服务器(nginx)
部署缓存服务(redis)
部署消息服务(kafka和zookeeper) -
部署应用系统
部署数据库,用sql文件导入
部署服务器的前端文件
java部署后端的微服务
先启动shopping-provider,user-provider
后启动gpmall-*
-
-
步骤思路
- 准备虚拟机,确认可以
连接互联网 - 修改主机名:mall
修改地址解析 - SecureCRT连接虚拟机,上传资源包到
/opt目录下 - 准备本地
商城软件包仓库//gpmall-repo软件仓库 部署基础服务
yum install java java-devel
yum install mariadb	//检查版本10.X
yum install java 		//验证 java -version
yum install nginx
yum install redis
消息服务:
tar -zxvf kafka-....tar.gz
tar -zxvf zookeeper....tar.gz
- 相应配置,脚本启动
4.1 上传资源包
用SecureCRT连接这台“服务器”,将资源包上传到 /opt目录下
因为操作系统是英文的,建议上传完成后,对资源包重命名
将商城系统-单节点文件夹重命名为gpmall,将gpmall项目包-单机文件夹重命名为gpmall-file
微服务商城:gpmall
后端处理服务:
//负责基础服务库的中转
user-provider
shopping-provider
//负责业务流程:后端业务处理
gpmall-user
gpmall-shopping //实现商品的业务部分,如:下订单
技术框架:Spring Boot //自带tomcat
底层架构服务:
mysql(mariadb10.X) //数据库
redis //缓存
kafka //消息服务
zookeeper //消息服务
java //运行jar
4.2 基本配置
- 修改
主机名(主机名必须是mall)
[root@localhost ~]# hostnamectl set-hostname mall
//ctrl+d 退出 重新登录
Last login: Sat Apr  4 22:22:06 2020 from 192.168.214.1
[root@mall ~]# [root@mall ~]# hostnamectl
   Static hostname: mall			//此时主机名已经修改成功
         Icon name: computer-vm
           Chassis: vm
        Machine ID: dc8021a66091493c8a5869d754b6f9c2
           Boot ID: 55e977b1e5134d25aba6ddd1c7fa50c7
    Virtualization: vmware
  Operating System: CentOS Linux 7 (Core)
       CPE OS Name: cpe:/o:centos:centos:7
            Kernel: Linux 3.10.0-327.el7.x86_64
      Architecture: x86-64
- 修改
地址解析
[root@mall ~]# vi /etc/hosts
//添加以下五行
192.168.214.10 mall
192.168.214.10 kafka.mall
192.168.214.10 redis.mall
192.168.214.10 mysql.mall
192.168.214.10 zookeeper.mall
- 配置本地YUM源
[root@mall ~]# cat /etc/yum.repos.d/local.repo
[base]
name=centos7
baseurl=file:///mnt/cd
gpgcheck=0
enabled=1
[gpmall]
name=gpmall
baseurl=file:///opt/gpmall/gpmall-repo
gpgcheck=0
enabled=1

进行Yum验证:
[root@mall ~]# yum repolist
Loaded plugins: fastestmirror
Loading mirror speeds from cached hostfile
repo id                              repo name                            status
base                                 centos7                              3,723
gpmall                               gpmall                                 165
repolist: 3,888
4.3 安装基础服务
安装java环境
[root@mall ~]# yum install java java-devel -y
//验证:
[root@mall ~]# java -version
openjdk version "1.8.0_222"
OpenJDK Runtime Environment (build 1.8.0_222-b10)
OpenJDK 64-Bit Server VM (build 25.222-b10, mixed mode)
安装mariadb数据库
[root@mall ~]# yum install mariadb mariadb-server -y
安装Redis缓存服务
[root@mall ~]# yum install redis -y
安装Nginx服务
[root@mall ~]# yum install nginx -y
- 安装Elasticsearch服务
[root@mall ~]# yum install elasticsearch -y
安装ZooKeeper服务切换至/gpmall目录下,将提供的zookeeper-3.4.14.tar.gz解压
[root@mall ~]# cd /opt/gpmall/
[root@mall gpmall]# ls
gpmall-file     kafka_2.11-1.1.1.tgz
gpmall-repo 	zookeeper-3.4.14.tar.gz
[root@mall gpmall]# tar -zxvf zookeeper-3.4.14.tar.gz
进入到zookeeper-3.4.14/conf目录下,同样将zoo_sample.cfg文件重命名为zoo.cfg
[root@mall ~]# cd /opt/gpmall/zookeeper-3.4.14/conf/
[root@mall conf]# mv zoo_sample.cfg zoo.cfg				//将样本文件变为标准文件
进入到zookeeper-3.4.14/bin目录下,启动ZooKeeper服务
[root@mall zookeeper-3.4.14]# cd bin/
[root@mall bin]# ls
README.txt    zkCli.cmd  zkEnv.cmd  zkServer.cmd  zkTxnLogToolkit.cmd
zkCleanup.sh  zkCli.sh   zkEnv.sh   zkServer.sh   zkTxnLogToolkit.sh
[root@mall bin]# ./zkServer.sh start
ZooKeeper JMX enabled by default
Using config: /opt/gpmall/zookeeper-3.4.14/bin/../conf/zoo.cfg
Starting zookeeper ... STARTED		//看到此提示说明服务已启动
验证:
[root@mall bin]# ps -ef | grep zook

输出结果有zookeeper字样说明服务已启动
安装kafka服务,同样将提供的kafka_2.11-1.1.1.tgz解压
[root@mall gpmall]# tar -zxvf kafka_2.11-1.1.1.tgz
进入到kafka_2.11-1.1.1/bin目录下,启动Kafka服务
[root@mall kafka_2.11-1.1.1]# cd bin/
[root@mall bin]# ./kafka-server-start.sh -daemon ../config/server.properties
验证:
使用jps或者ps -ef 或者netstat –ntpl命令 查看Kafka是否成功启动
[root@mall bin]# jps
10337 Kafka
10418 Jps
9997 QuorumPeerMain

[root@mall bin]# ps -ef | grep kafka
//输出结果有kafka字样说明服务已启动

[root@mall bin]# netstat -ntpl
Active Internet connections (only servers)
Proto Recv-Q Send-Q Local Address           Foreign Address         State       PID/Program name
tcp        0      0 0.0.0.0:22              0.0.0.0:*               LISTEN      958/sshd
tcp        0      0 127.0.0.1:25            0.0.0.0:*               LISTEN      1055/master
tcp6       0      0 :::47153                :::*                    LISTEN      10337/java
tcp6       0      0 :::22                   :::*                    LISTEN      958/sshd
tcp6       0      0 ::1:25                  :::*                    LISTEN      1055/master
tcp6       0      0 :::38977                :::*                    LISTEN      9997/java
tcp6       0      0 :::9092                 :::*                    LISTEN      10337/java
tcp6       0      0 :::2181                 :::*                    LISTEN      9997/java
//运行结果查看到Kafka服务和9092端口,说明Kafka服务已启动。
4.4 启动服务
启动数据库并配置
修改数据库配置文件并启动MariaDB数据库,设置root用户密码为123456,并创建gpmall数据库,将提供的gpmall.sql导入。
修改/etc/my.cnf文件
[root@mall ~]# vi /etc/my.cnf
//添加如下参数
[mysqld]
init_connect='SET collation_connection = utf8_unicode_ci'
init_connect='SET NAMES utf8'
character-set-server=utf8
collation-server=utf8_unicode_ci
skip-character-set-client-handshake
启动数据库,并设置开机自启
[root@mall ~]# systemctl start mariadb
[root@mall ~]# systemctl enable mariadb
设置root用户的密码为123456并登录
[root@mall ~]# mysql_secure_installation
NOTE: RUNNING ALL PARTS OF THIS SCRIPT IS RECOMMENDED FOR ALL MySQL

      SERVERS IN PRODUCTION USE!  PLEASE READ EACH STEP CAREFULLY!
In order to log into MySQL to secure it, we'll need the current
password for the root user.  If you've just installed MySQL, and
you haven't set the root password yet, the password will be blank,
so you should just press enter here.

Enter current password for root (enter for none):  	#提示输入密码,没有密码就直接回车
OK, successfully used password, moving on...

Setting the root password ensures that nobody can log into the MariaDB root user without the proper authorisation.

root user without the proper authorisation.

Set root password? [Y/n]    						#是否设置root用户密码,输入y并回车或直接回车
New password: 										#设置root用户的密码
Re-enter new password: 								#再输入一次你设置的密码
Password updated successfully!
Reloading privilege tables..
 ... Success!


By default, a MariaDB installation has an anonymous user, allowing anyone
to log into MariaDB without having to have a user account created for
them.  This is intended only for testing, and to make the installation
go a bit smoother.  You should remove them before moving into a
production environment.

Remove anonymous users? [Y/n] y					#是否删除匿名用户,生产环境建议删除
 ... Success!

Normally, root should only be allowed to connect from 'localhost'.  This
ensures that someone cannot guess at the root password from the network.

Disallow root login remotely? [Y/n] n			#是否禁止root远程登录
 ... skipping.

By default, MariaDB comes with a database named 'test' that anyone can
access.  This is also intended only for testing, and should be removed
before moving into a production environment.

Remove test database and access to it? [Y/n] y	 #是否删除test数据库,直接回车
 - Dropping test database...
 ... Success!
 - Removing privileges on test database...
 ... Success!

Reloading the privilege tables will ensure that all changes made so far
will take effect immediately.

Reload privilege tables now? [Y/n] y		 	#是否重新加载权限表
 ... Success!

Cleaning up...

All done!  If you've completed all of the above steps, your MariaDB
installation should now be secure.

Thanks for using MariaDB!

[root@mall ~]# mysql -uroot -p123456
Welcome to the MariaDB monitor.  Commands end with ; or \g.
Your MariaDB connection id is 9
Server version: 10.3.18-MariaDB MariaDB Server

Copyright (c) 2000, 2018, Oracle, MariaDB Corporation Ab and others.

Type 'help;' or '\h' for help. Type '\c' to clear the current input statement.

MariaDB [(none)]>
设置root用户的权限
MariaDB [(none)]> grant all privileges on *.* to 'root'@'localhost' identified by '123456' with grant option;
Query OK, 0 rows affected (0.000 sec)

MariaDB [(none)]> grant all privileges on *.* to 'root'@'%' identified by '123456' with grant option;
Query OK, 0 rows affected (0.000 sec)

MariaDB [(none)]> flush privileges;		//刷新权限
Query OK, 0 rows affected (0.000 sec)
将gpmall.sql文件上传至云主机的/root目录下。创建数据库gpmall并导入gpmall.sql文件
MariaDB [(none)]> create database gpmall;
Query OK, 1 row affected (0.000 sec)

MariaDB [(none)]> use gpmall
Database changed

MariaDB [gpmall]> source /opt/gpmall/gpmall-file/gpmall.sql
Query OK, 1 row affected (0.000 sec)

Query OK, 0 rows affected, 1 warning (0.000 sec)

Query OK, 0 rows affected (0.003 sec)

Query OK, 0 rows affected, 1 warning (0.001 sec)

Query OK, 0 rows affected (0.005 sec)

Query OK, 0 rows affected, 1 warning (0.001 sec)

Query OK, 0 rows affected (0.004 sec)

Query OK, 0 rows affected, 1 warning (0.001 sec)

Query OK, 0 rows affected (0.004 sec)

Query OK, 1 row affected (0.003 sec)

Query OK, 0 rows affected (0.001 sec)
启动redis服务
修改Redis配置文件,编辑/etc/redis.conf文件
将bind 127.0.0.1这一行注释掉;将protected-mode yes 改为 protected-mode no
[root@mall ~]# vi /etc/redis.conf
//找到这两行,并修改
#bind 127.0.0.1
protected-mode no
启动Redis服务
[root@mall ~]# systemctl start redis
[root@mall ~]# systemctl enable redis
Created symlink from /etc/systemd/system/multi-user.target.wants/redis.service to /usr/lib/systemd/system/redis.service.
4.5 部署前端
启动Nginx 服务
[root@mall ~]# systemctl start nginx
[root@mall ~]# systemctl enable nginx
Created symlink from /etc/systemd/system/multi-user.target.wants/nginx.service to /usr/lib/systemd/system/nginx.service.
将dist目录上传至服务器的/root目录下。接着将dist目录下的文件,复制到Nginx默认项目路径(首先清空默认项目路径下的文件)
[root@mall ~]# rm -rf /usr/share/nginx/html/*
[root@mall ~]# cp -rf /opt/gpmall/gpmall-file/dist/* /usr/share/nginx/html/
修改Nginx配置文件/etc/nginx/conf.d/default.conf
[root@mall ~]# vi /etc/nginx/conf.d/default.conf
//添加已下内容
 location /user {
            proxy_pass http://127.0.0.1:8082;
        }

    location /shopping {
            proxy_pass http://127.0.0.1:8081;
        }
  location /cashier {
            proxy_pass http://127.0.0.1:8083;
        }

重启Nginx服务
[root@mall ~]# systemctl restart nginx
4.6 部署后端
将提供的4个jar包上传到服务器的/root目录下,并启动
[root@mall ~]# java -jar /opt/gpmall/gpmall-file/shopping-provider-0.0.1-SNAPSHOT.jar &
[root@mall ~]# java -jar /opt/gpmall/gpmall-file/user-provider-0.0.1-SNAPSHOT.jar &
[root@mall ~]# java -jar /opt/gpmall/gpmall-file/gpmall-shopping-0.0.1-SNAPSHOT.jar &
[root@mall ~]# java -jar /opt/gpmall/gpmall-file/gpmall-user-0.0.1-SNAPSHOT.jar  &
验证:
[root@mall ~]# jobs
[1]   Running                 java -jar /opt/gpmall/gpmall-file/shopping-provider-0.0.1-SNAPSHOT.jar &
[2]   Running                 java -jar /opt/gpmall/gpmall-file/user-provider-0.0.1-SNAPSHOT.jar &
[3]-  Running                 java -jar /opt/gpmall/gpmall-file/gpmall-shopping-0.0.1-SNAPSHOT.jar &
[4]+  Running                 java -jar /opt/gpmall/gpmall-file/gpmall-user-0.0.1-SNAPSHOT.jar &
5. 网站访问
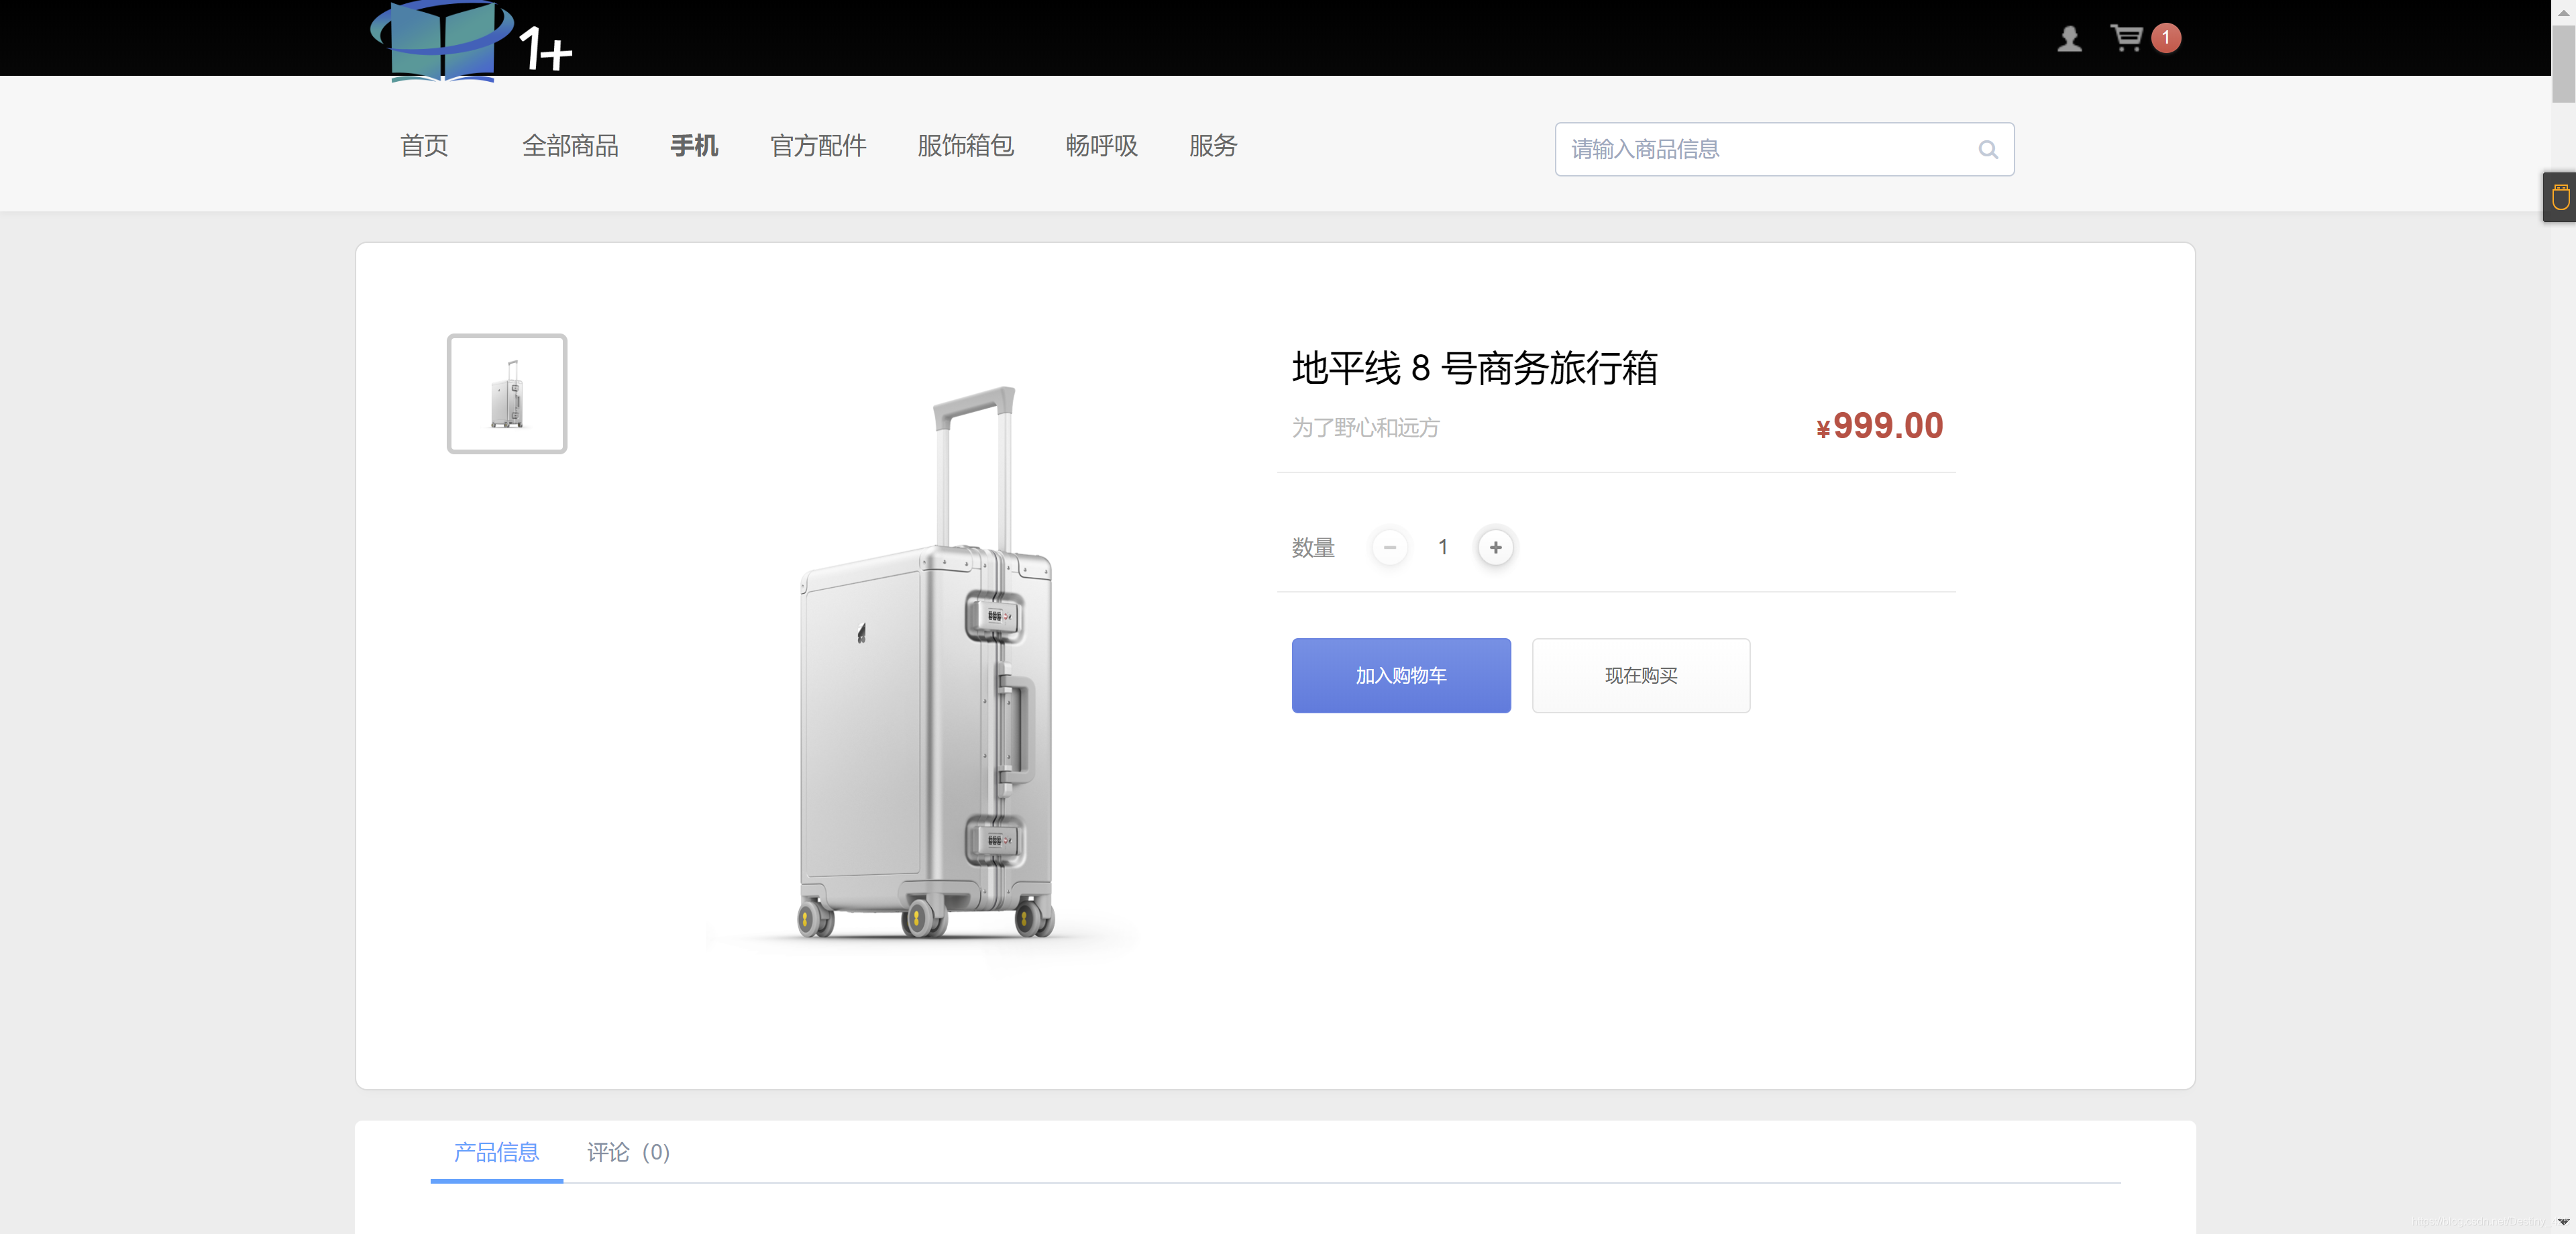
打开浏览器,在地址栏中输入http://172.16.51.29,访问界面,如下图


至此,单机部署应用系统完成
持续更新ing!!!
要是有用别忘了点个关注哦!!!

