前言
上一篇文章记录了底部导航栏BottomNavigationBar的简单使用,这篇文章将会将BottomNavigationBar+Navigation结合使用,点击导航栏不同按钮显示不同的页面,这个功能实现也可以用ViewPager实现。想要使用navigation,需要Androidstudio的版本至少在3.2以上。如Androidstudio版本过低,需更新完版本再使用。
不了解BottomNavigationBar的朋友可以看下这篇文章
安卓–底部导航栏BottomNavigationBar使用方法
使用前依然需要先添加依赖:
 def nav_version = "2.2.1"
 implementation "androidx.navigation:navigation-fragment:$nav_version"
 implementation "androidx.navigation:navigation-ui:$nav_version"
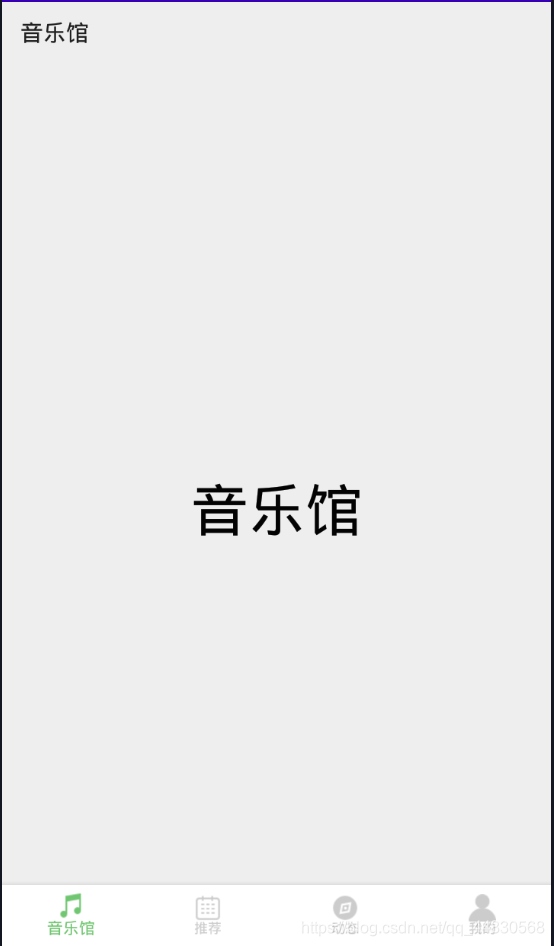
效果图如下:

使用
一、布局
<?xml version="1.0" encoding="utf-8"?>
<androidx.constraintlayout.widget.ConstraintLayout xmlns:android="http://schemas.android.com/apk/res/android"
    xmlns:app="http://schemas.android.com/apk/res-auto"
    xmlns:tools="http://schemas.android.com/tools"
    android:layout_width="match_parent"
    android:layout_height="match_parent"
    tools:context=".MainActivity">

    <androidx.appcompat.widget.Toolbar
        android:id="@+id/toolbar"
        android:layout_width="match_parent"
        android:layout_height="wrap_content"
        app:layout_constraintEnd_toEndOf="parent"
        app:layout_constraintStart_toStartOf="parent"
        app:layout_constraintTop_toTopOf="parent" />
    <fragment
        android:id="@+id/nav_host_fragment"
        android:name="androidx.navigation.fragment.NavHostFragment"
        android:layout_width="0dp"
        android:layout_height="0dp"
        app:defaultNavHost="false"
        app:layout_behavior="@string/appbar_scrolling_view_behavior"
        app:layout_constraintBottom_toBottomOf="parent"
        app:layout_constraintEnd_toEndOf="parent"
        app:layout_constraintStart_toStartOf="parent"
        app:layout_constraintTop_toTopOf="parent"
        app:navGraph="@navigation/navigation" />

    <com.ashokvarma.bottomnavigation.BottomNavigationBar
        android:id="@+id/bottom_navigation_bar"
        android:layout_width="match_parent"
        android:layout_height="wrap_content"
        android:layout_alignParentBottom="true"
        android:layout_gravity="bottom"
        app:layout_constraintBottom_toBottomOf="parent"
        app:layout_constraintEnd_toEndOf="parent"
        app:layout_constraintStart_toStartOf="parent" />

</androidx.constraintlayout.widget.ConstraintLayout>
这里的android:name="androidx.navigation.fragment.NavHostFragment"是为了使当前的acitivity能够可以加载并使用navigation管理相关的fragment,除了在layout布局中创建外,也可以在activity中添加创建。
二、创建navigation文件
如图:


三、在navigation文件中写入fragment
<?xml version="1.0" encoding="utf-8"?>
<navigation xmlns:android="http://schemas.android.com/apk/res/android"
    xmlns:app="http://schemas.android.com/apk/res-auto"
    xmlns:tools="http://schemas.android.com/tools"
    android:id="@+id/navigation"
    app:startDestination="@id/nav_hall">
    <fragment
        android:id="@+id/nav_hall"
        android:name="com.example.bottomnavigationbar.navigation.HallFragment"
        android:label="音乐馆"
        app:defaultNavHost="false"
        tools:layout="@layout/fragment_hall">
    </fragment>
    <fragment
        android:id="@+id/nav_mine"
        android:name="com.example.bottomnavigationbar.navigation.MineFragment"
        android:label="我的"
        tools:layout="@layout/fragment_mine"
        app:defaultNavHost="false">
    </fragment>
    <fragment
        android:id="@+id/nav_dynamic"
        tools:layout="@layout/fragment_dynamic"
        app:defaultNavHost="false"
        android:name="com.example.bottomnavigationbar.navigation.DynamicFragment"
        android:label="动态" />
    <fragment
        android:id="@+id/nav_recommend"
        tools:layout="@layout/fragment_recommend"
        app:defaultNavHost="false"
        android:name="com.example.bottomnavigationbar.navigation.RecommendFragment"
        android:label="推荐" >
    </fragment>
</navigation>
注意: startDestination属性必须要写,用来设置开始时加载的第一个fragment。
四、创建fragment
public class HallFragment extends Fragment {

   @Override
    public View onCreateView(LayoutInflater inflater, ViewGroup container,
                             Bundle savedInstanceState) {
        View view = inflater.inflate(R.layout.fragment_hall, container, false);
        return view;
    }
}
这里的fragment就是navigation文件中fragment标签内对应的name属性。
五、切换fragment
先我们在进行切换之前需要获取NavController,navigate相关的api均封装在NavController中,获取NavController有如下静态方法:
NavHostFragment.findNavController(Fragment)
Navigation.findNavController(Activity, @IdRes int viewId)
Navigation.findNavController(View)
这里我们使用第二种方法
代码如下:
NavController  navController= Navigation.findNavController(this, R.id.nav_host_fragment);
navController.navigate(R.id.nav_hall);
写到这里,Navigation+BottomNavigationBar的简单使用就可以实现上图效果,希望进阶使用的朋友,可以了解一些添加动画,监听navigation切换动作,navigation切换时传递参数等等进阶实现。
本文参考:
