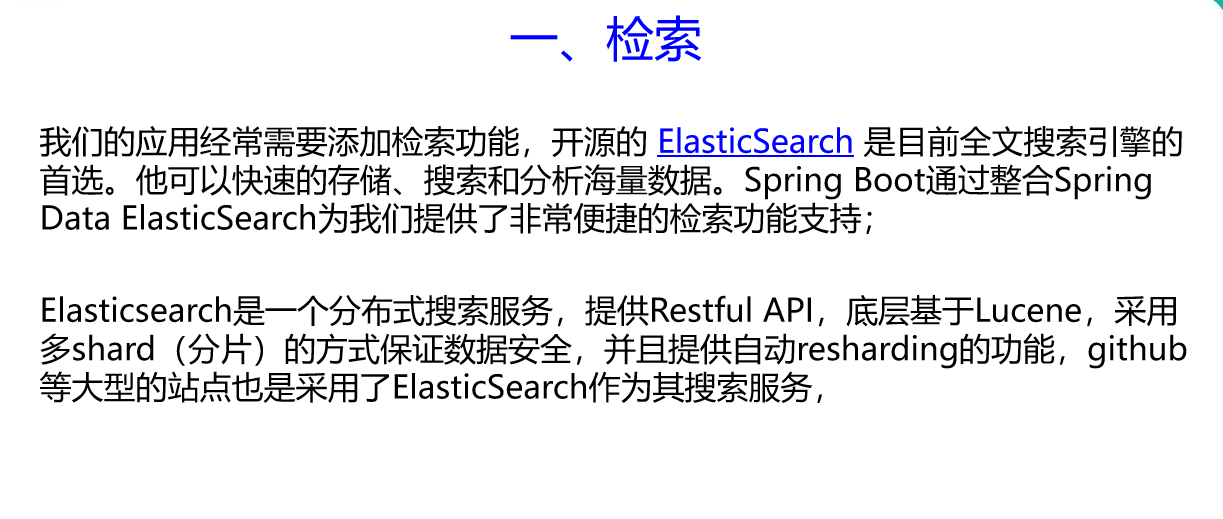
一、检索
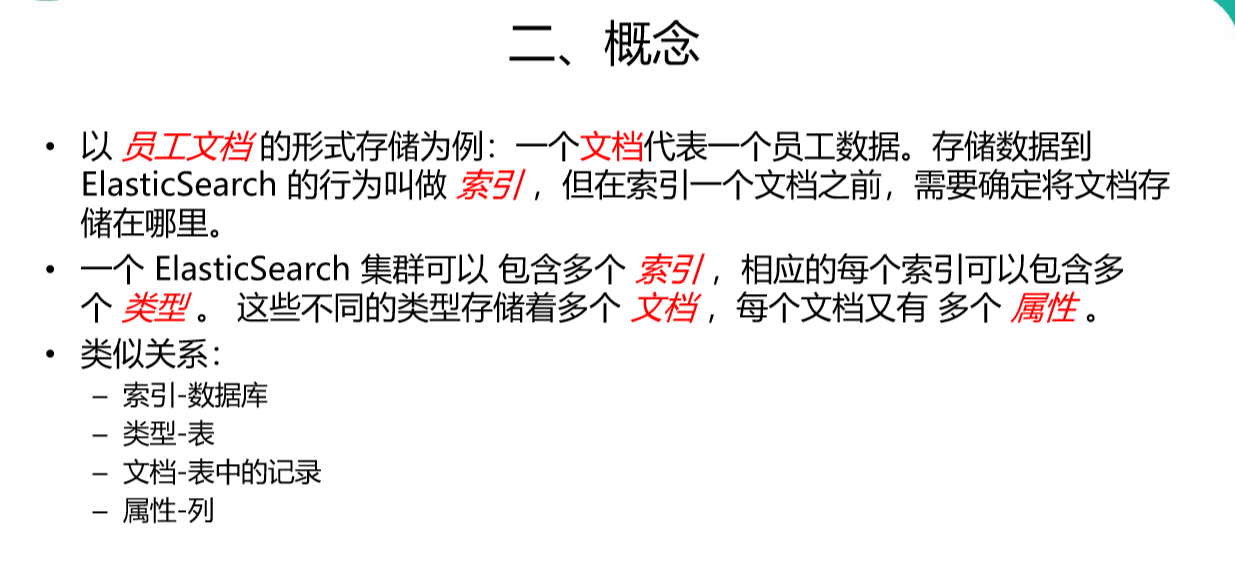
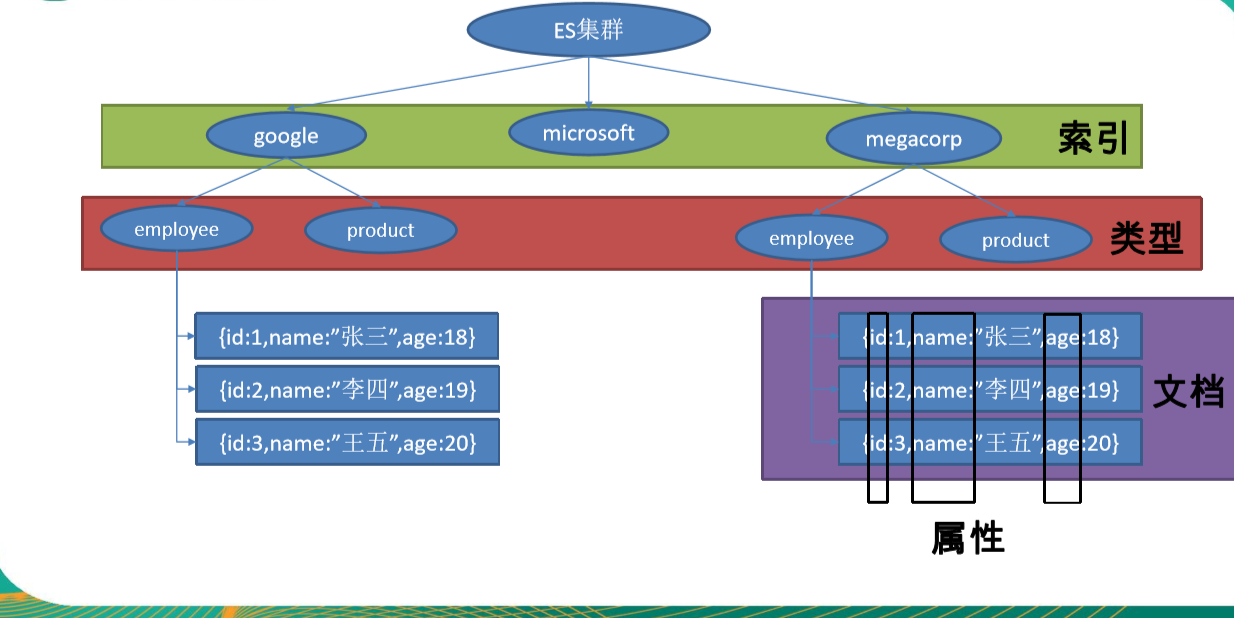
二、概念
三、整合ElasticSearch测试
• 引入spring-boot-starter-data-elasticsearch
• 安装Spring Data 对应版本的ElasticSearch
elasticsearch的安装:
[root@localhost docker]# docker pull elasticsearch
这种方式下载一般会很慢,或者直接卡死,我们可以使用阿里云的镜像加速服务您可以通过修改 daemon配置文件 /etc/docker/daemon.json 来使用加速器


1 sudo mkdir -p /etc/docker
2 sudo tee /etc/docker/daemon.json <<-'EOF'
3 {
4   "registry-mirrors": ["https:aliyuncs.com"]
5 }
6 EOF
7 sudo systemctl daemon-reload
8 sudo systemctl restart docker
ES镜像的运行
[root@localhost ~]# docker run -d -e ES_JAVA_OPTS="-Xms256m -Xmx256m" -d -p 9200:9200 -p 9300:9300 --name ES1 c71178df2dd5
-e ES_JAVA_OPTS="-Xms256m -Xmx256m"
因为 elasticsearch是java实现的,默认初始会2G大小的堆内存,虚拟机内存不足的话会启动报错,所以我们通过-e添加参数进行堆内存大小的限制.-Xms是初始的堆内存大小,-Xmx是最大的堆内存使用.
默认进行web通信时使用的是9200端口,分布式的情况下,elasticsearch各个节点之间的饿通信需要使用的是9300端口,所以,我们需要做两个端口映射.
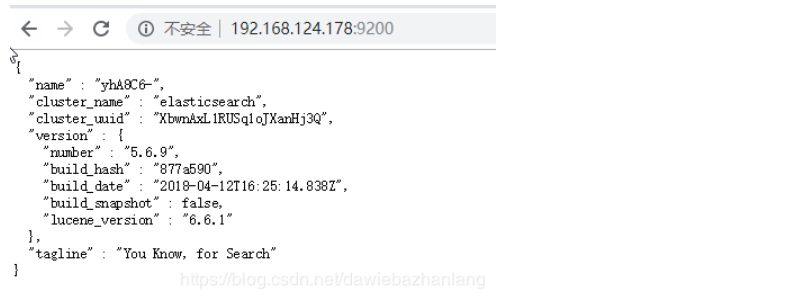
启动成功后,可以在浏览器进行访问:
• application.yml配置
• Spring Boot自动配置的 ElasticsearchRepository、ElasticsearchTemplate、Jest
• 测试ElasticSearch
使用springdata整合ES
导入依赖
1  <!--spring boot 默认使用的是springdata进行操作ES-->
2         <dependency>
3             <groupId>org.springframework.boot</groupId>
4             <artifactId>spring-boot-starter-data-elasticsearch</artifactId>
5         </dependency>
配置节点名称和节点通信端口
spring:
   data:
    elasticsearch:
      cluster-name: elasticsearch   # 节点名称
      cluster-nodes: 192.168.124.127:9300  # 节点间进行通信的端口
启动之后会报错 、更换版本
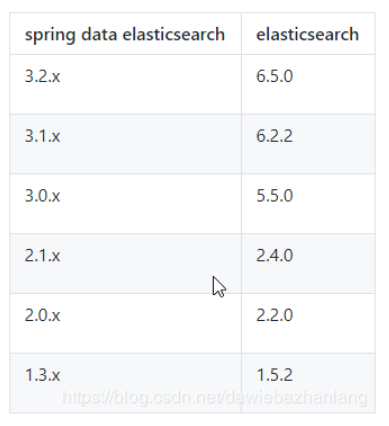
这个错误主要是,由于我们那个springboot的版本和elasticsearch的版本比匹配导致的,解决方案有两种,
第一种是 给springboot版本升级,(但是一般升级后也可能还是不匹配),
第二种就是更换低版本的elastic.[版本匹配参考],(https://github.com/spring-projects/spring-data-elasticsearch),我们可以对自己的pom问价那种的elastic和springdata的版本分析之后,决定到底是升级还是降级。
org.elasticsearch.transport.ConnectTransportException: [][192.168.124.127:9300] connect_timeout[30s]
运行 ES镜像
[root@localhost ~]# docker run -e ES_JAVA_OPTS="-Xms256m -Xmx256m" -d -p 9201:9200 -p 9301:9300 --name ES2 5e9d896dc62c
测试
两种用法:(官网:https://github.com/spring-projects/spring-data-elasticsearch)
* 1. 编写一个ElasticSearchRepository接口的子接口
* 2. ElasticSearchTemplate 操作ES
1.编写接口
1 //该接口有两个泛型,ElasticsearchRepository<T, ID extends Serializable>
2     //第一个是要存储的数据的类型,第二个是主键的类型
3 public interface BookRepository extends ElasticsearchRepository<Book,Integer> {
4     //也可以在接口中编写自定义的方法,具体的方法的命名可以参照官方文档
5     public List<Book> findBookByBookNameLike(String bookName);
6 }
2,编写实体类
//@Document的作用就是用来指定实体类将要被存储的索引名称和类型
@Document(indexName = "atguigu" , type = "book")
public class Book {
    private Integer id;
    private String author;
    private String bookName;
}
3 测试类
 1 @Autowired
 2     BookRepository bookRepository;
 3
 4     @Test
 5     public void test02(){
 6         Book book = new Book();
 7         book.setId(1);
 8         book.setAuthor("刘猛");
 9         book.setBookName("我是特种兵");
10         bookRepository.index(book);
11     }
12
13     @Test
14     public void test03(){
15        for (Book book : bookRepository.findBookByBookNameLike("我")) {
16             System.out.println(book);
17         }
18     }
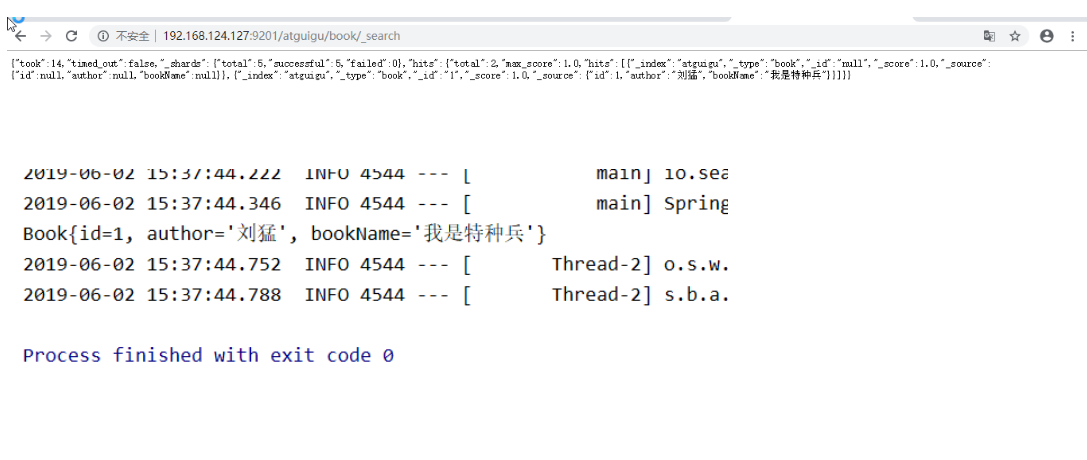
4 访问结果
使用jest整合ES
jset gitHub(https://github.com/searchbox-io/Jest/tree/master/jest)
1.导入依赖
 <!-- https://mvnrepository.com/artifact/io.searchbox/jest -->
        <dependency>
            <groupId>io.searchbox</groupId>
            <artifactId>jest</artifactId>
            <version>5.3.3</version>
        </dependency>
2.配置主机和端口
spring:
  elasticsearch:
    jest:
      uris: http://192.168.124.127:9200
3.开始测试
  @Autowired
    JestClient jestClient;

    @Test
    public void contextLoads() throws IOException {
        //给ES中索引 (保存) 一个文档
        Article article = new Article();
        article.setAuthor("zhangsan");
        article.setId(1);
        article.setTitle("好消息");
        article.setContent("hello world");
        //创建一个索引,然后把article索引到ES中的atguigu索引中.
        //构建一个索引功能
        Index index = new Index.Builder(article).index("atguigu").type("news").build();

        //执行
        jestClient.execute(index);
    }

    /**
     * 使用jest进行搜索功能,以全文搜索为例
     */
    @Test
    public void search() throws IOException {
        //构建查询规则
        String json = "{\n" +
                "    \"query\" : {\n" +
                "        \"match\" : {\n" +
                "            \"content\" : \"hello\"\n" +
                "        }\n" +
                "    }\n" +
                "}";
        //构建搜索
        Search search = new Search.Builder(json).addIndex("atguigu").addType("news").build();

        //执行搜索并且获取搜索结果
        SearchResult result = jestClient.execute(search);

        System.out.println(result.getJsonString());
    }