一、前言
今天准备去看场电影《后会无期》,但在这之前,我想好好研究下大名鼎鼎的Boost库。
--------------------------------------------------------------------------------------
二、Boost安装
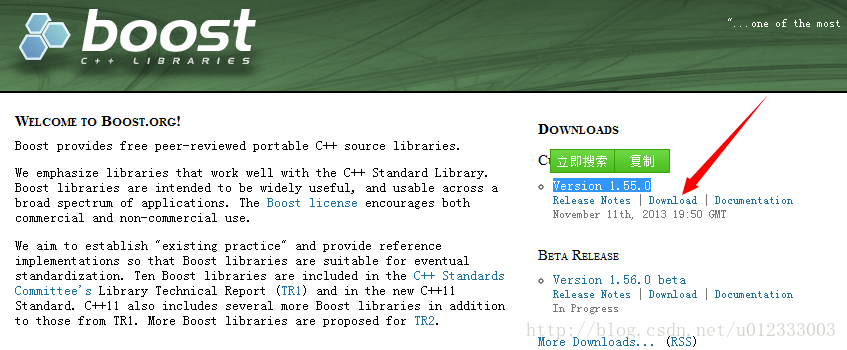
2.1 Boost官网下载Boost最新版Version 1.55.0
2.2将下载压缩包解压到本地
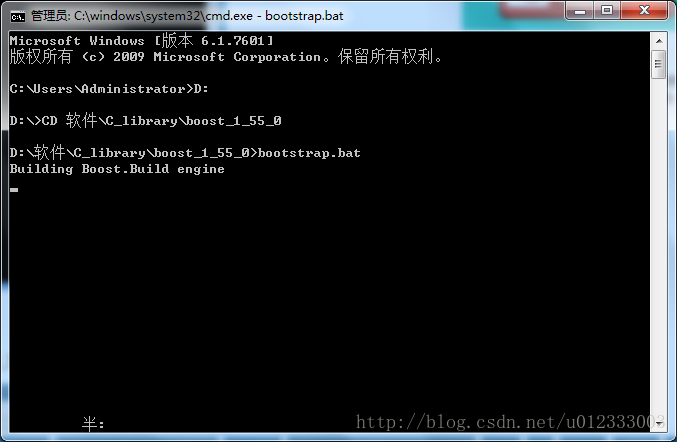
解压后可看到文件夹下有个bootstrap.bat文件。
2.3打开cmd命令窗口,运行bootstra.bat文件
执行以下命令,具体根据自己的环境略有变化。
最主要的目的是我们要运行bootstrap.bat文件
执行完后,结果如下:
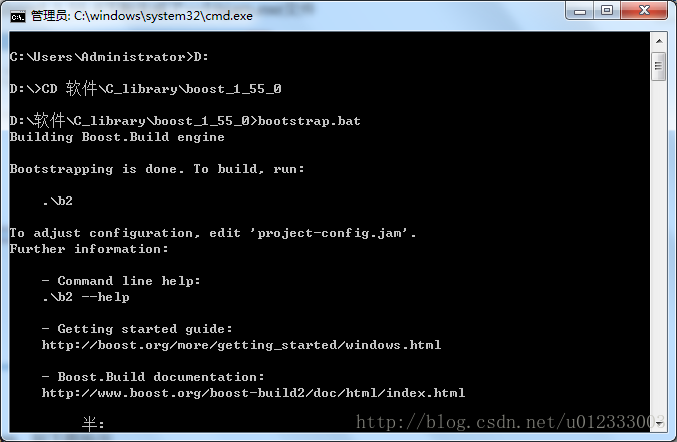
然后在文件夹下我们会发现新生成了一个名为bjam.exe的文件
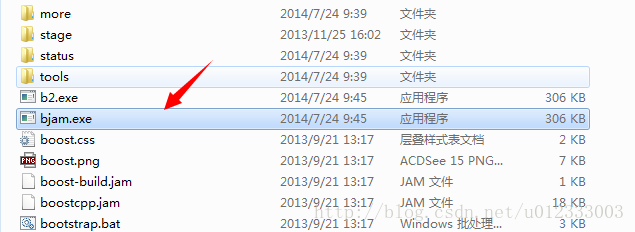
2.4在cmd窗口中运行bjam.exe文件
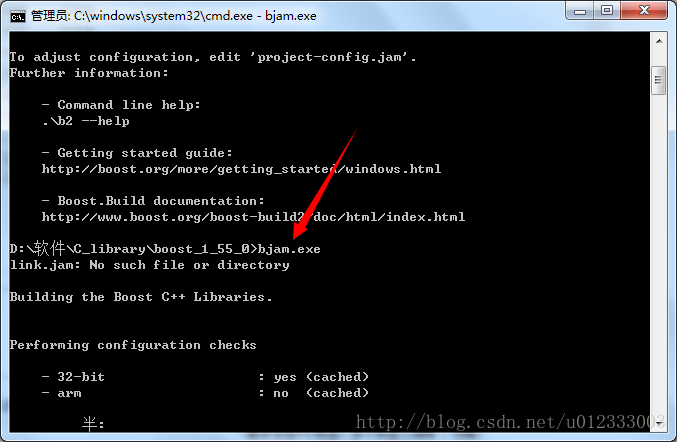
此过程将默认根据系统已经安装好的编译工具(VS2008,2010,2012,2013)等编译相应的Lib文件、头文件等。
编译完成后如下:
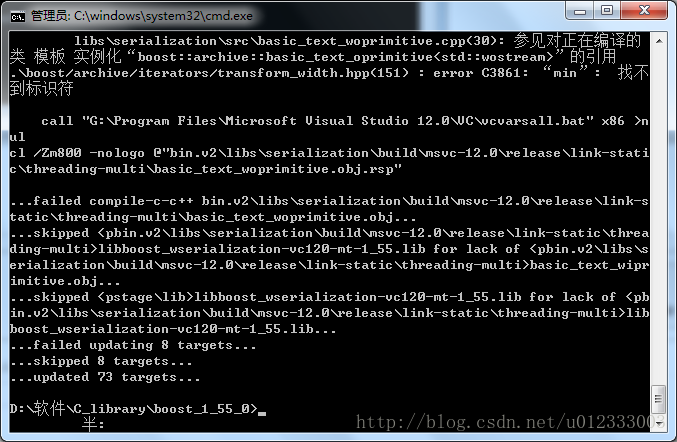
至此,Boost库安装完成
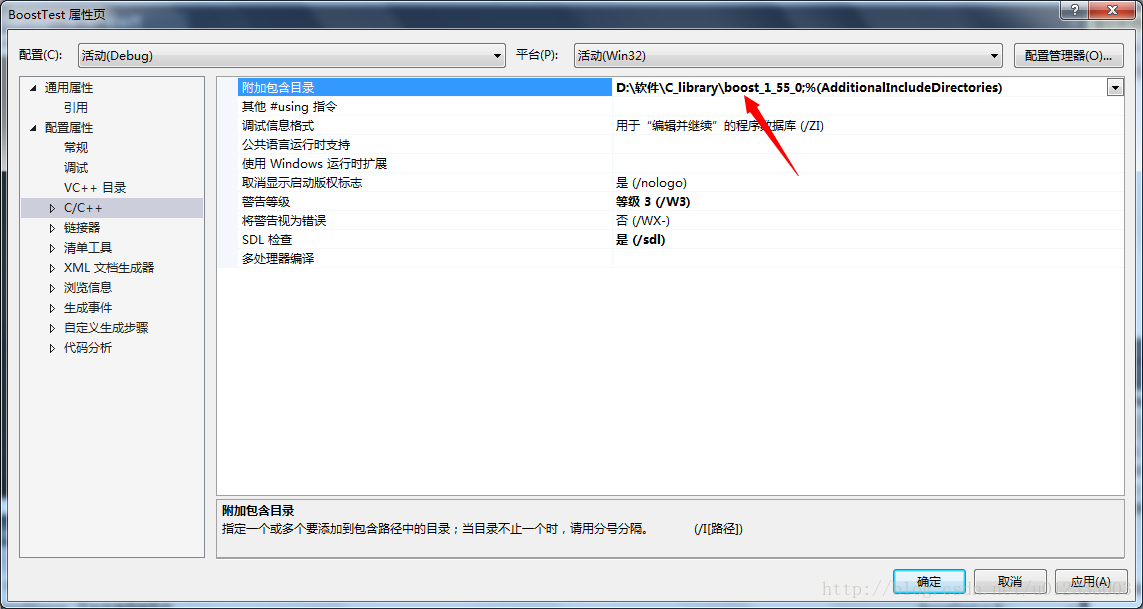
2.5配置VS2013
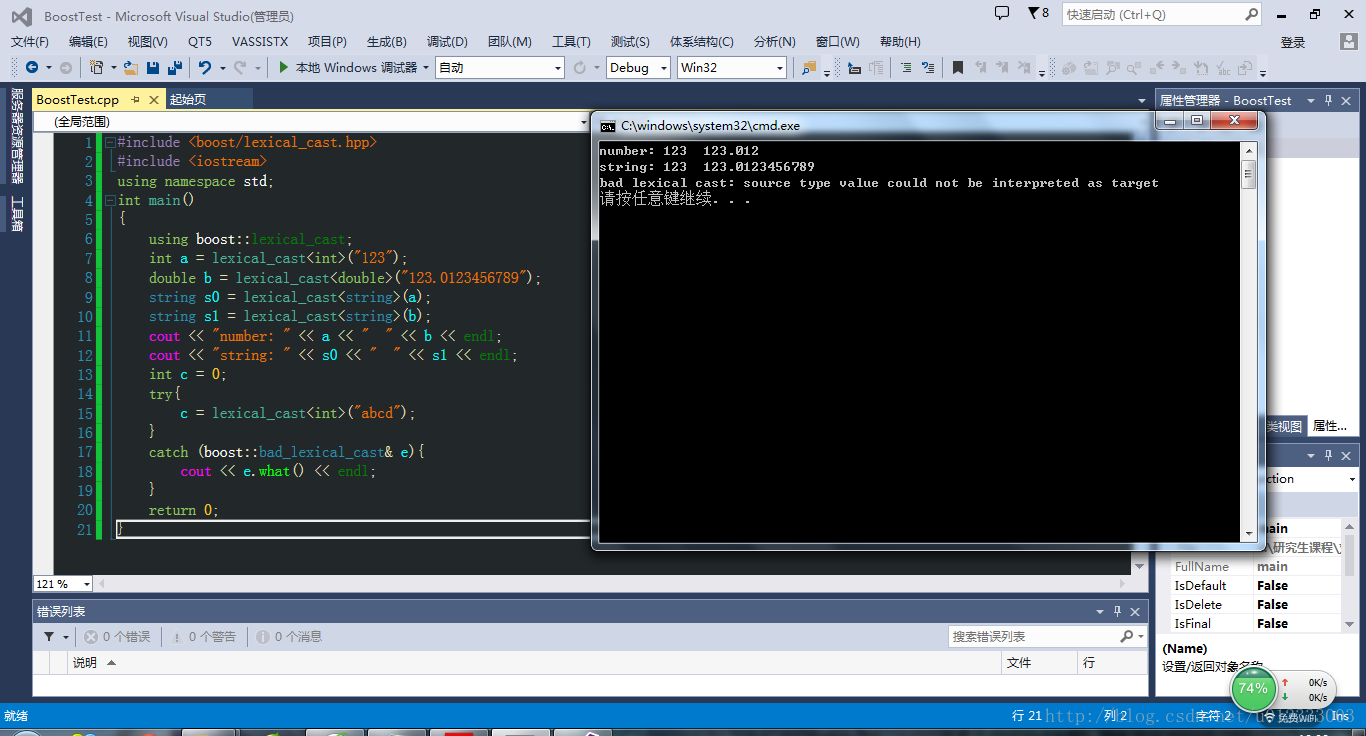
新建一个BoostTest工程文件,添加测试代码
- #include <boost/lexical_cast.hpp>
- #include <iostream>
- using namespace std;
- int main()
- {
- using boost::lexical_cast;
- int a = lexical_cast<int>("123");
- double b = lexical_cast<double>("123.0123456789");
- string s0 = lexical_cast<string>(a);
- string s1 = lexical_cast<string>(b);
- cout << "number: " << a << " " << b << endl;
- cout << "string: " << s0 << " " << s1 << endl;
- int c = 0;
- try{
- c = lexical_cast<int>("abcd");
- }
- catch (boost::bad_lexical_cast& e){
- cout << e.what() << endl;
- }
- return 0;
- }
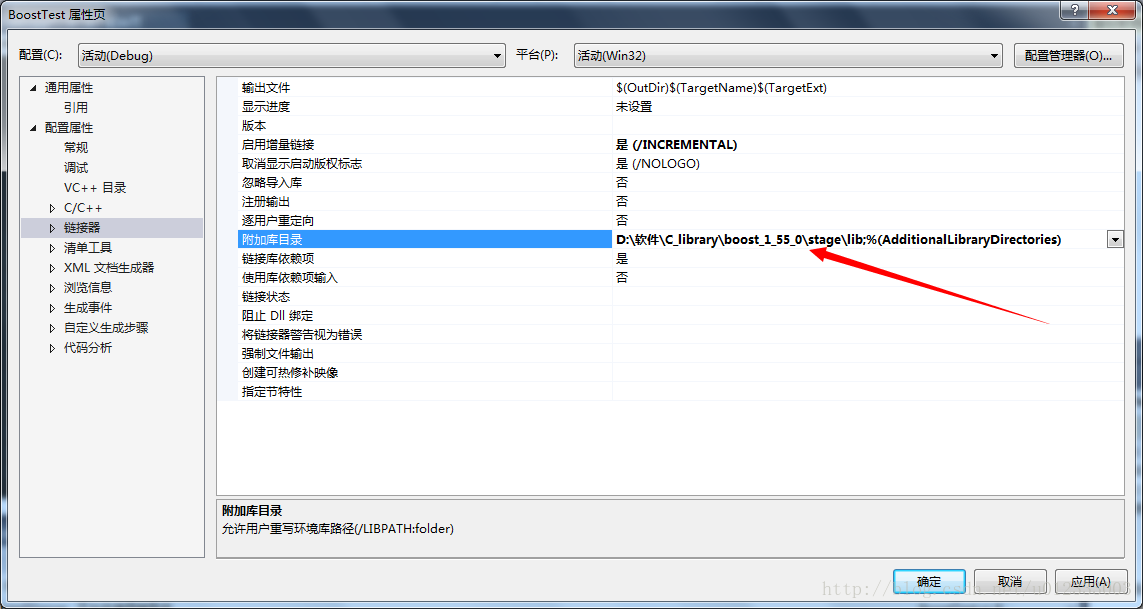
D:\软件\C_library\boost_1_55_0
在—>连接器选项附加库目录下添加Boost库lib文件路径,我的是:D:\软件\C_library\boost_1_55_0\libs
2.6测试代码
代码运行成功,说明Boost库一切配置顺利。
接下来,就去尽情享受Boost带来的欢乐吧~