一、前言
在Spring Boot Admin Server 中撒送预警邮件通知是很简单的,只需要简单的几个配置就可以了。
二、代码演示
1、microservice-monitor-server -> pom.xml
<?xml version="1.0" encoding="UTF-8"?>
<project xmlns="http://maven.apache.org/POM/4.0.0"
         xmlns:xsi="http://www.w3.org/2001/XMLSchema-instance"
         xsi:schemaLocation="http://maven.apache.org/POM/4.0.0 http://maven.apache.org/xsd/maven-4.0.0.xsd">
    <parent>
        <artifactId>microservice-minitor</artifactId>
        <groupId>com.microservice</groupId>
        <version>1.0-SNAPSHOT</version>
    </parent>
    <modelVersion>4.0.0</modelVersion>

    <artifactId>microservice-monitor-server</artifactId>

    <dependencies>
        <dependency>
            <groupId>org.springframework.boot</groupId>
            <artifactId>spring-boot-starter-web</artifactId>
        </dependency>

        <dependency>
            <groupId>de.codecentric</groupId>
            <artifactId>spring-boot-admin-starter-server</artifactId>
            <version>2.2.0</version>
        </dependency>

        <dependency>
            <groupId>org.springframework.cloud</groupId>
            <artifactId>spring-cloud-starter-netflix-eureka-client</artifactId>
        </dependency>

        <dependency>
            <groupId>org.springframework.boot</groupId>
            <artifactId>spring-boot-starter-security</artifactId>
        </dependency>

        <dependency>
            <groupId>org.springframework.boot</groupId>
            <artifactId>spring-boot-starter-mail</artifactId>
        </dependency>

    </dependencies>
    <build>
        <plugins>
            <plugin>
                <groupId>org.springframework.boot</groupId>
                <artifactId>spring-boot-maven-plugin</artifactId>
            </plugin>
        </plugins>
    </build>
</project>
其中改动的只是添加了 spring-boot-starter-mail 的依赖
2、microservice-monitor-server -> application.yml
server:
  port: 8888
spring:
  application:
    name: SpringBootAdmin
  boot:
    admin:
      ui:
        title: SpringBootAdmin-Server
      notify:
        mail:
          from: [email protected]
          to: [email protected]
  security:
    user:
      name: "admin"
      password: "admin"
  mail:
    host: smtp.qq.com
    username: [email protected]
    password: qq #授权码
    properties:
      mail:
        smtp:
          auth: true
          starttls:
            enable: true
            required: true

eureka:
  instance:
    hostname: localhost
    metadata-map:
      user.name: ${spring.security.user.name}
      user.password: ${spring.security.user.password}
  client:
    register-with-eureka: true
    fetch-registry: true
    serviceUrl:
      defaultZone: http://localhost:8001/register/eureka/
只需要两步就配置完成,根本就没有编写任何的Java的代码,只需简单的配置就可以了。
三、运行测试
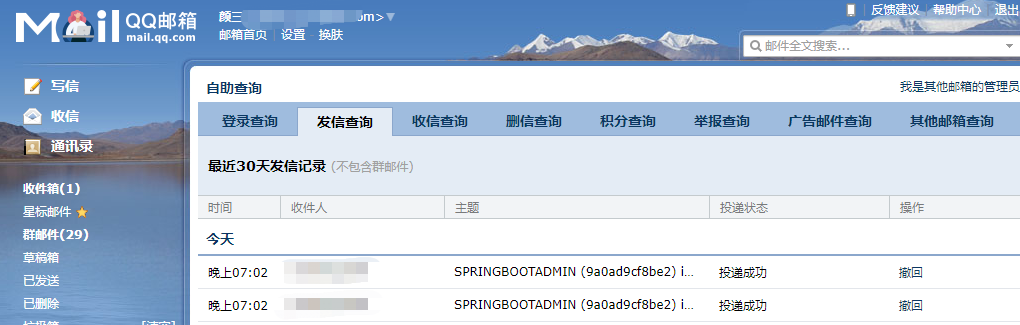

能够正常的发送接收邮件!