1.Screen('FillOval',w,color,rect,maxDiameter) 绘制实心圆/椭圆
w 窗口指针 color 颜色 rect 矩形 maxDiamter 最大直径,默认为整个显示区域的大小,用于影响运行速度(1为三角形,2为六边形,3为十二边形)
2.Screen('FillPoly',w,color,pointlist,isConvex) 绘制实心多边形
w 窗口指针 color 颜色 pointlist 多边形顶点矩阵(2*n) isConvex是否为凸多边形(默认1,1为凸,2为凹)
3.Screen('FramePoly',w,color,pointlist,penwidth) 绘制空心多边形
w 窗口指针 color 颜色 pointlist 多边形顶点矩阵(2*n) penwidth 为画笔粗细,默认为1
4.Screen('DrawLine',w,color,fromh,fromv,toh,tov,penwidth) 绘制单线
w 窗口指针 color 颜色 fromh,fromv起点坐标 toh,tov终点坐标 penwidth线条宽度

5.Screen('DrawLines',w,xy,width,color,center,smooth) 一次性绘制多条线
w 窗口指针 xy为2*2n的矩阵,第一行x坐标,第二行y坐标,第一二列是第一条线的起点和终点,以此类推
width线条宽度,一个值则都相同,否则取值数同线条数相同
color颜色 同理 center 中心点,默认(0,0) smooth线条平滑度,默认为0,取1表示反锯齿,且需使用Screen('BlendFunction')
绘制实心圆 参考链接:http://peterscarfe.com/ovaldemo.html
% Open an on screen window
[window, windowRect] = PsychImaging('OpenWindow', screenNumber, black);

% Get the size of the on screen window
[screenXpixels, screenYpixels] = Screen('WindowSize', window);

% Get the centre coordinate of the window
[xCenter, yCenter] = RectCenter(windowRect);

% Make a base Rect of 200 by 250 pixels
baseRect = [0 0 200 250];

% For Ovals we set a miximum diameter up to which it is perfect for
maxDiameter = max(baseRect) * 1.01;

% Center the rectangle on the centre of the screen
centeredRect = CenterRectOnPointd(baseRect, xCenter, yCenter);

% Set the color of the rect to red
rectColor = [1 0 0];

% Draw the rect to the screen
Screen('FillOval', window, rectColor, centeredRect, maxDiameter);

% Flip to the screen
Screen('Flip', window);
示意图

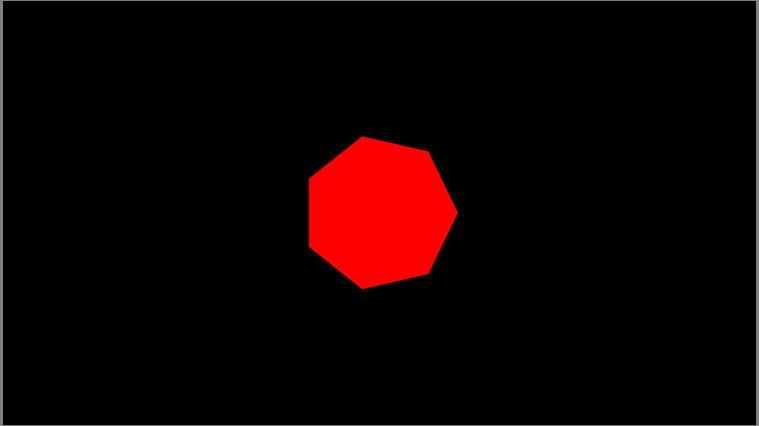
绘制实心多边形 参考链接:http://peterscarfe.com/polygondemo.html
% Open an on screen window
[window, windowRect] = PsychImaging('OpenWindow', screenNumber, black);

% Get the size of the on screen window
[screenXpixels, screenYpixels] = Screen('WindowSize', window);

% Get the centre coordinate of the window
[xCenter, yCenter] = RectCenter(windowRect);

% Number of sides for our polygon
numSides = 7;

% Angles at which our polygon vertices endpoints will be. We start at zero
% and then equally space vertex endpoints around the edge of a circle. The
% polygon is then defined by sequentially joining these end points.
anglesDeg = linspace(0, 360, numSides + 1);
anglesRad = anglesDeg * (pi / 180);
radius = 200;

% X and Y coordinates of the points defining out polygon, centred on the
% centre of the screen
yPosVector = sin(anglesRad) .* radius + yCenter;
xPosVector = cos(anglesRad) .* radius + xCenter;

% Set the color of the rect to red
rectColor = [1 0 0];

% Cue to tell PTB that the polygon is convex (concave polygons require much
% more processing)
isConvex = 1;

% Draw the rect to the screen
Screen('FillPoly', window, rectColor, [xPosVector; yPosVector]', isConvex);

% Flip to the screen
Screen('Flip', window);
示意图
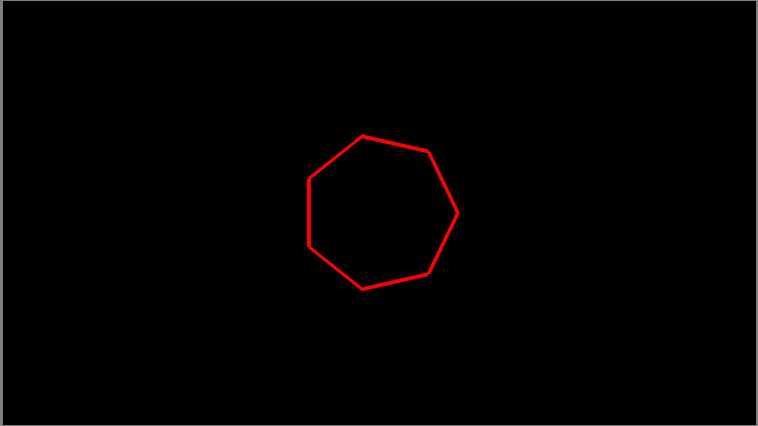
绘制空心多边形 参考链接:http://peterscarfe.com/framedpolygondemo.html
% Open an on screen window
[window, windowRect] = PsychImaging('OpenWindow', screenNumber, black);

% Get the size of the on screen window
[screenXpixels, screenYpixels] = Screen('WindowSize', window);

% Get the centre coordinate of the window
[xCenter, yCenter] = RectCenter(windowRect);

% Number of sides for our polygon
numSides = 7;

% Angles at which our polygon vertices endpoints will be. We start at zero
% and then equally space vertex endpoints around the edge of a circle. The
% polygon is then defined by sequentially joining these end points.
anglesDeg = linspace(0, 360, numSides + 1);
anglesRad = anglesDeg * (pi / 180);
radius = 200;

% X and Y coordinates of the points defining out polygon, centred on the
% centre of the screen
yPosVector = sin(anglesRad) .* radius + yCenter;
xPosVector = cos(anglesRad) .* radius + xCenter;

% Set the color of the rect to red
rectColor = [1 0 0];

% Width of the lines for our frame
lineWidth = 10;

% Draw the rect to the screen
Screen('FramePoly', window, rectColor, [xPosVector; yPosVector]', lineWidth);

% Flip to the screen
Screen('Flip', window);
示意图
绘制注视点(用线条) 参考链接:http://peterscarfe.com/fixationcrossdemo.html
% Get the centre coordinate of the window
[xCenter, yCenter] = RectCenter(windowRect);

% Here we set the size of the arms of our fixation cross
fixCrossDimPix = 40;

% Now we set the coordinates (these are all relative to zero we will let
% the drawing routine center the cross in the center of our monitor for us)
xCoords = [-fixCrossDimPix fixCrossDimPix 0 0];
yCoords = [0 0 -fixCrossDimPix fixCrossDimPix];
allCoords = [xCoords; yCoords];

% Set the line width for our fixation cross
lineWidthPix = 4;

% Draw the fixation cross in white, set it to the center of our screen and
% set good quality antialiasing
Screen('DrawLines', window, allCoords,...
    lineWidthPix, white, [xCenter yCenter], 2);

% Flip to the screen
Screen('Flip', window);
示意图
