服务的注册和发现可以说是微服务架构中最核心的地方,微服务的服务注册中心有很多个,之前选了consul作为注册中心,之所以选择它是因为它有非常强大的功能,除了服务的注册发现之外还支持KV存储、具有多语言能力、支持多数据中心等等,后来发现这些都没有什么用,毕竟我们的服务是纯Java的,另外还要花费精力去维护一个consul的集群,应用过程中出现了任何问题都需要去维护,这是一个可以预期的成本,基于以上的考量就把consul这个注册中心给换掉了。最后经过一番选择,使用了Eureka,这个最大的好处是不需要维护单独的集群,注册中心本身就作为一个项目存在,可以像维护一个服务一样去维护。Eureka本身作为一个服务,需要引入以下jar包
并在启动类上添加@EnableEurekaServer注解,这样就可以开启服务注册中心的功能了,在配置文件中添加以下内容就可以其中注册中心这个服务了。
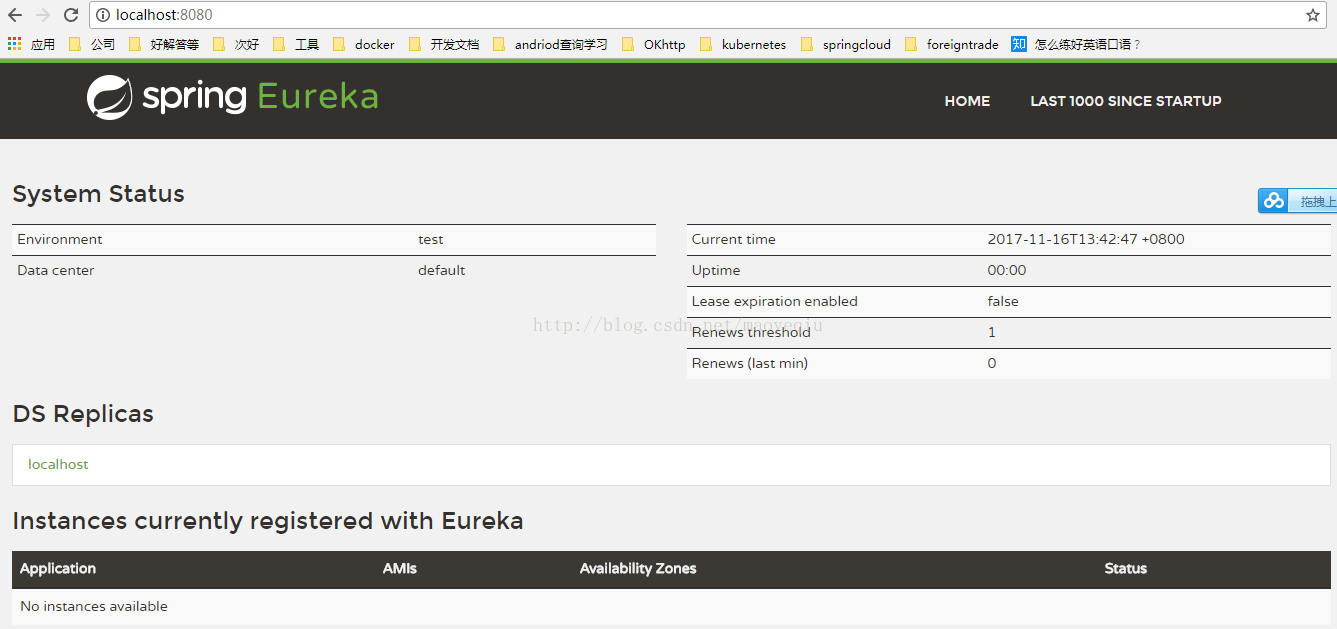
通过localhost:8080就可以查看注册中心的页面数据情况,如下图所示
Eureka在设计思想中,所有的节点既是服务提供方也是服务消费方,服务的注册中心也是如此,这样就可以解决注册中心的高可用问题,实现高可用的思想是:单机的Eureka注册中心向其他的注册中心注册自己,这样就可以形成互相注册的注册中心,实现高可用,windows条件下将单机的项目复制3份,每一份的配置文件内容如下:
只是将原来单机的配置文件内容修改为现在的以上这三种形式,就可以运行项目了,运行结果如下,eureka.instance.hostname可以是peer1、peer2、peer3这样的名字,但是这样就得修改hosts配置文件,对IP做映射,看来Eureka内部是根据eureka.instance.hostname获取相应的IP,然后根据IP去做的注册

服务中心的集群注册完成之后,就可以在上边注册和发现服务了,首先看一下服务的注册,在服务的注册端添加以下jar包
修改配置文件为以下内容
在主类上添加@EnableDiscoveryClient注解,开启服务发现的功能,同时,由于服务消费端去请求数据的时候,需要Http请求,这里需要生成一个http请求的对象,在主类中添加以下代码,这里有一个客户端负载的功能,后续的文章问研究这个的原因,这里不做说明
修改配置文件为以下内容
启动项目后就可以通过以下方式调用服务了
- <dependency>
- <groupId>org.springframework.cloud</groupId>
- <artifactId>spring-cloud-starter-eureka-server</artifactId>
- </dependency>
- <dependencyManagement>
- <dependencies>
- <dependency>
- <groupId>org.springframework.cloud</groupId>
- <artifactId>spring-cloud-dependencies</artifactId>
- <version>Brixton.RELEASE</version>
- <type>pom</type>
- <scope>import</scope>
- </dependency>
- </dependencies>
- </dependencyManagement>
- server.port=8080
- #由于该应用为注册中心,所以设置为false, 代表不向注册中心注册自己
- eureka.client.register-with-eureka=false
- #由于注册中心的职责就是维护服务实例,它并不需要去检索服务, 所以也设置为false
- eureka.client.fetch-registry=false
- #指定服务注册中心的地址
- eureka.client.serviceUrl.defaultZone=http://localhost:${server.port}/eureka/
Eureka在设计思想中,所有的节点既是服务提供方也是服务消费方,服务的注册中心也是如此,这样就可以解决注册中心的高可用问题,实现高可用的思想是:单机的Eureka注册中心向其他的注册中心注册自己,这样就可以形成互相注册的注册中心,实现高可用,windows条件下将单机的项目复制3份,每一份的配置文件内容如下:
- #server1
- spring.application.name=eureka-server
- server.port=8095
- eureka.instance.hostname=127.0.0.1:8095
- eureka.client.serviceUrl.defaultZone=http://127.0.0.1:8096/eureka/,http://127.0.0.1:8097/eureka/
- #server2
- spring.application.name=eureka-server
- server.port=8096
- eureka.instance.hostname=127.0.0.1:8096
- eureka.client.serviceUrl.defaultZone=http://127.0.0.1:8095/eureka/,http://127.0.0.1:8097/eureka/
- #server3
- spring.application.name=eureka-server
- server.port=8097
- eureka.instance.hostname=127.0.0.1:8097
- eureka.client.serviceUrl.defaultZone=http://127.0.0.1:8095/eureka/,http://127.0.0.1:8096/eureka/
服务中心的集群注册完成之后,就可以在上边注册和发现服务了,首先看一下服务的注册,在服务的注册端添加以下jar包
- <dependency>
- <groupId>org.springframework.cloud</groupId>
- <artifactId>spring-cloud-starter-eureka</artifactId>
- </dependency>
- <dependencyManagement>
- <dependencies>
- <dependency>
- <groupId>org.springframework.cloud</groupId>
- <artifactId>spring-cloud-dependencies</artifactId>
- <version>Brixton.RELEASE</version>
- <type>pom</type>
- <scope>import</scope>
- </dependency>
- </dependencies>
- </dependencyManagement>
- spring.application.name=compute-service
- server.port=8081
- eureka.client.serviceUrl.defaultZone=http://127.0.0.1:8095/eureka/,http://127.0.0.1:8096/eureka/,http://127.0.0.1:8097/eureka/
然后在主类上添加@EnableDiscoveryClient注解,开启服务的注册发现功能,这样这个服务的所有对外提供的功能都被注册到服务注册中心。下图是两个server注册后的服务在页面上的展示:


然后看一下服务的发现,消费端使用的是Robbin,所以要额外添加以下两个jar包
- <dependency>
- <groupId>org.springframework.cloud</groupId>
- <artifactId>spring-cloud-starter-ribbon</artifactId>
- </dependency>
- <dependency>
- <groupId>org.springframework.cloud</groupId>
- <artifactId>spring-cloud-starter-eureka</artifactId>
- </dependency>
- <dependencyManagement>
- <dependencies>
- <dependency>
- <groupId>org.springframework.cloud</groupId>
- <artifactId>spring-cloud-dependencies</artifactId>
- <version>Brixton.RELEASE</version>
- <type>pom</type>
- <scope>import</scope>
- </dependency>
- </dependencies>
- </dependencyManagement>
- @Bean
- @LoadBalanced
- RestTemplate restTemplate() {
- return new RestTemplate();
- }
- spring.application.name=ribbon-consumer
- server.port=8082
- eureka.client.serviceUrl.defaultZone=http://127.0.0.1:8095/eureka/,http://127.0.0.1:8096/eureka/,http://127.0.0.1:8097/eureka/
- public String add() {
- return restTemplate.getForEntity("http://compute-service/add?a=10&b=20", String.class).getBody();
- }
compute-service为服务提供者注册的服务的名字,至此搭建高可用的服务注册中心和验证过程就完毕了。
………………………………………………………………………………………………………………………………………………………………………………………
更新:
#关闭自我保护,可以定期清理失效的服务
eureka.server.enable-self-preservation=false
# 清理间隔(单位毫秒,默认是60*1000):
eureka.server.eviction-interval-timer-in-ms=1000