前言
在很长一段时间里,我们最常使用的就是xml配置文件,基本上所有的配置都往里堆。但随着时间的推移,注解类已经逐渐替代了xml配置文件。今天我们来体会一下使用配置文件和注解类对实体bean注入的差别。
1. xml配置形式
[1] 编写一个bean实体类
package com.enjoy.cap1;

public class Person {

	private String name;
	private Integer age;
	public String getName() {
		return name;
	}
	public void setName(String name) {
		this.name = name;
	}
	public Integer getAge() {
		return age;
	}
	public void setAge(Integer age) {
		this.age = age;
	}
    public Person() {

	}
	public Person(String name, Integer age) {
		super();
		this.name = name;
		this.age = age;
	}
	@Override
	public String toString() {
		return "Person [name=" + name + ", age=" + age + "]";
	}

}
[2] 编写相关的 beans.xml配置文件
<?xml version="1.0" encoding="UTF-8"?>
<beans xmlns="http://www.springframework.org/schema/beans"
	xmlns:xsi="http://www.w3.org/2001/XMLSchema-instance"
	xsi:schemaLocation="http://www.springframework.org/schema/beans http://www.springframework.org/schema/beans/spring-beans.xsd">

	<!-- 定义相应的属性值 -->
	<bean id ="person" class ="相应实体类的路径">
		<!--给相应的属性赋值-->
		<property name="name" value="zs"></property>
		<property name="age" value="18"></property>
	</bean>

</beans>
[3] 编写相应的测试类 MainTest1
package com.enjoy.cap1;

import org.springframework.context.ApplicationContext;
import org.springframework.context.support.ClassPathXmlApplicationContext;

public class MainTest1 {

	public static void main(String[] args) {
		//1.把beans.xml的类加载到容器
		ApplicationContext app =
				new ClassPathXmlApplicationContext("beans.xml");
		//2.从容器中读取bean
		Person person = (Person) app.getBean("person");
		System.out.println(person);

	}

}
这样我们就能在控制台获取Person这个bean的相关信息了。

2. @Configuration标明的注解类
作用: 告诉Spring这是一个配置类(作用相当于beans.xml)
[1] 编写一个bean实体类(同上)
[2] 编写配置类(相当于上面的配置类) —>并标上 @Configuration和@Bean
package com.enjoy.cap1.config;

import org.springframework.context.annotation.Bean;
import org.springframework.context.annotation.Configuration;

import com.enjoy.cap1.Person;

//配置类(相当于配置文件)
@Configuration
public class MainConfig {
	//给容器注入一个Bean,类型为返回值类型
	@Bean("person")    //一般写上自己想要取的bean的名称
	public Person person01() {
		return new Person("zs",18);
	}

}
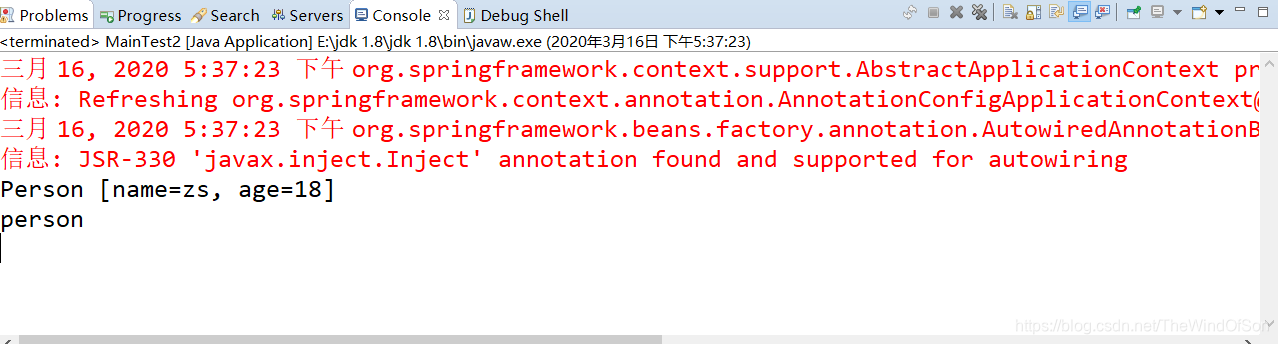
[3] 编写相应的测试类 MainTest2
package com.enjoy.cap1;

import org.springframework.context.ApplicationContext;
import org.springframework.context.annotation.AnnotationConfigApplicationContext;


import com.enjoy.cap1.config.MainConfig;

public class MainTest2 {

	public static void main(String[] args) {

		//1.获取注解类
		ApplicationContext app =
		     new AnnotationConfigApplicationContext(MainConfig.class);

		//2.从容器中读取bean
		Person person = (Person) app.getBean("person");
		System.out.println(person);

		//3.bean的名称默认是取注解类中@Bean中的内容,如果没有声明,则直接取方法名
		String []namesForBean = app.getBeanNamesForType(Person.class);
		for(String name:namesForBean) {
			System.out.println(name);
		}

	}

}
可以看到上面的用法和配置文件基本类似,只不过配置文件是获取beans.xml文件,而注解形式则是获取相应的注解类。指的注意的是如果我们的@Bean没有注明相应的名称,那么它存在容器中的就是方法名。