在
上一期Android博客中利用Takephoto开源库获取并裁剪图片,代码很精简,在这个基础上我们获取到图片一般都是要
进行上传等操作,那我们就开始吧。
上传方式是通过retrofit2.0的库。
一、集成retrofit
compile 'com.squareup.retrofit2:retrofit:2.2.0'
compile 'com.squareup.okhttp3:okhttp:3.6.0'
compile 'com.squareup.retrofit2:converter-gson:2.2.0'
二、Service
public interface ApiService {
    @Multipart
    @POST("upload.php")
    Call<Result> uploadImage(@Part MultipartBody.Part file);
}
三、添加权限
<uses-permission android:name="android.permission.INTERNET"/>
<uses-permission android:name="android.permission.READ_EXTERNAL_STORAGE"/>
<uses-permission android:name="android.permission.WRITE_EXTERNAL_STORAGE"/>
四、返回数据处理类
public class Result {

    @SerializedName("result")
    @Expose
    private String result;

    /**
     * @return The result
     */
    public String getResult() {
        return result;
    }

    /**
     * @param result The result
     */
    public void setResult(String result) {
        this.result = result;
    }

}
五、上传(在上次程序中的takeSuccess方法中对获取到的图片提取路径并上传)
@Override
    public void takeSuccess(TResult result) {
        super.takeSuccess(result);
//        Log.e("success",""+result.getImage().getOriginalPath().toString());
        //成功后将图片地址和图片显示到控件上
        tv.setText(result.getImage().getOriginalPath().toString());
        path=result.getImage().getOriginalPath().toString();
        Glide.with(this).load(new File(result.getImage().getOriginalPath())).into(img);
        Retrofit retrofit= new Retrofit.Builder()
                .baseUrl("http://39.105.20.169/php_upload/")
                .addConverterFactory(GsonConverterFactory.create())
                .build();
        ApiService service = retrofit.create(ApiService.class);
        File file = new File(path);//访问手机端的文件资源,保证手机端sdcdrd中必须有这个文件
        if(!file.exists()){
            Log.e("fail","not exist");
            return;
        }
        RequestBody requestFile = RequestBody.create(MediaType.parse("multipart/form-data"), file);

        MultipartBody.Part body = MultipartBody.Part.createFormData("uploaded_file", file.getName(), requestFile);

        Call<Result> call = service.uploadImage(body);
        call.enqueue(new Callback<Result>() {
            @Override
            public void onResponse(Call<Result> call, Response<Result> response) {
                if (response.isSuccessful()) {
                    if (response.body().getResult().equals("success"))
                        Log.e("success","success");
                    Toast.makeText(TestActivity.this,"上传成功",Toast.LENGTH_SHORT).show();
                }
            }
            @Override
            public void onFailure(Call<Result> call, Throwable t) {
                Log.e("fail","fail");
            }
        });
    }
加上属性:
private String path;
六、在服务器端的WWW目录下新建一个php_upload,添加php文件
<?php

    $file_path = "";

    $file_path = $file_path . basename( $_FILES['uploaded_file']['name']);
    if(move_uploaded_file($_FILES['uploaded_file']['tmp_name'], $file_path)) {
        $result = array("result" => "success");
    } else{
        $result = array("result" => "error");
    }

    echo json_encode($result);

?>
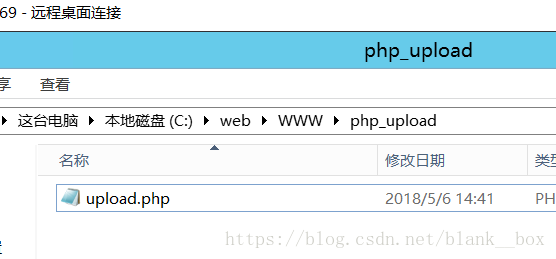
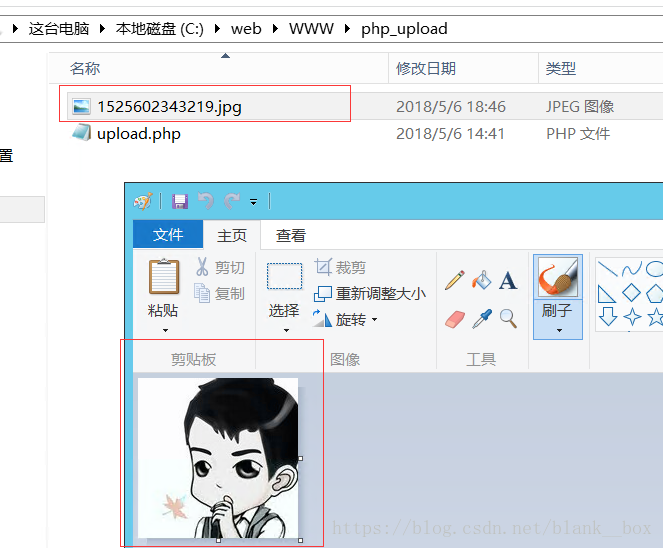
七、调试
Android端:

服务端:
八、资料
九、源码
GitHub:传送
扫描二维码关注公众号,回复:
1011787 查看本文章

如果代码有什么错误大家可以提出来一起看看。