一、安装JDK,设置JAVA_HOME的环境变量
下载地址:http://www.java.com
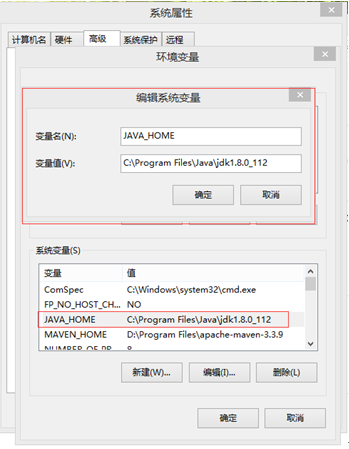
1. 选中 计算机->右键选属性->高级系统设置->高级->环境变量,逐层进入,如下图设置环境变量
2. 打开cmd窗口,用java -version命令验证是否设置成功

二、安装Eclipse
下载地址:http://www.eclipse.org/downloads/
三、在Eclipse中安装TestNG插件
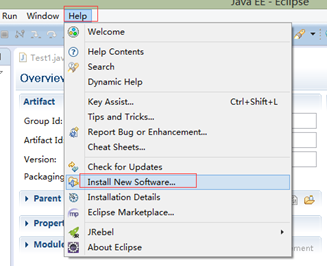
1. 点击eclipse中的Help->Install New Software

2. 点击Add按钮,输入Name和相应的地址http://beust.com/eclipse,点击OK。勾选加载出来的TestNG选项,点击Install,完成TestNG的安装。

四、创建Project
1、 创建工程存放文件夹

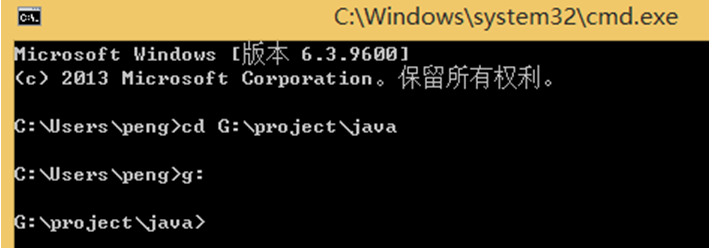
2、 打开cmd,输入命令:cd G:\project\java,切换到工程文件夹目录
3、 创建一个简单的Java工程
输入命令mvn archetype:generate -DgroupId=com.selenium.test -DartifactId=Autotest -DinteractiveMode=false -DarchetypeCatalog=local
4、 使用Notepad++软件,打开创建好的工程目录下的pom.xml文件

5、 打开pom.xml,添加Junit和selenium包
<dependencies>
<!-- <dependency>
<groupId>junit</groupId>
<artifactId>junit</artifactId>
<version>4.12</version>
<scope>test</scope>
</dependency>-->
<dependency>
<groupId>org.seleniumhq.selenium</groupId>
<artifactId>selenium-java</artifactId>
<version>2.53.1</version>
</dependency>
<dependency>
<groupId>org.testng</groupId>
<artifactId>testng</artifactId>
<version>6.9.13.6</version>
</dependency>
</dependencies>
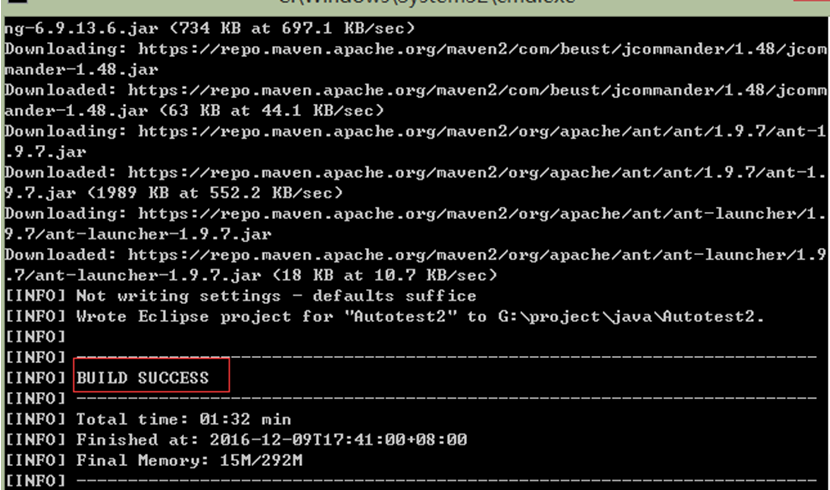
6、 在cmd中打开工程Autotest,输入命令: mvn eclipse:eclipse,生成eclipse项目文件。
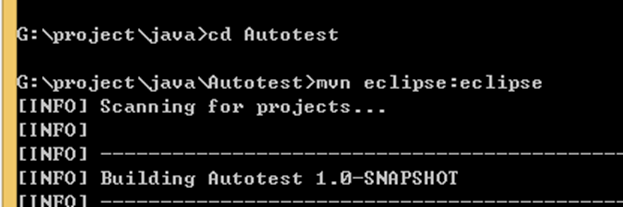
等待加载完成,出现以下Success字眼才是成功
7、 打开eclipse软件,打开工程目录,点击OK,进入软件主界面

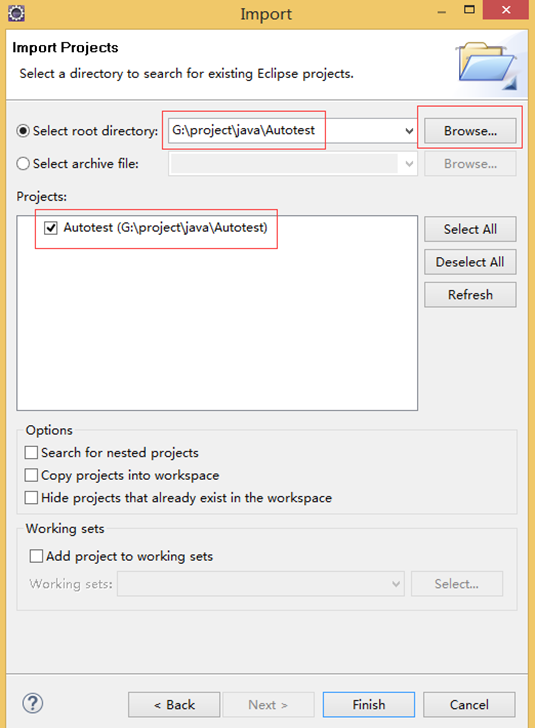
8、 导入工程:使用General导入使用效率比较好一些,这种方式的缺点修改pom.xml文件不会马上生效,需要重新mvn eclipse:eclipse,再重新导入工程;使用Maven导入工程时,修改pom.xml能马上生效,缺点是maven会联网检查包是否更新,导致eclipse比较卡,这种方式的优点是能够保证相关包为最新的。选择哪种方式,大家根据自己的情况来选择使用。


9、 新建一个简单的class类,如下图所示:
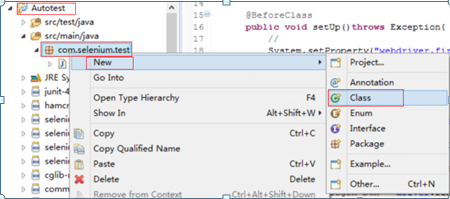

10、 以登录为例,在文件中,输入以下代码,包括”@BeforeClass、@Test、@AfterClass”三大块。
package com.selenium.test;

import org.openqa.selenium.By;

import org.openqa.selenium.WebDriver;

import org.openqa.selenium.WebElement;

import org.openqa.selenium.firefox.FirefoxDriver;

import org.openqa.selenium.support.ui.ExpectedCondition;

import org.openqa.selenium.support.ui.WebDriverWait;


import org.testng.annotations.AfterClass;

import org.testng.annotations.BeforeClass;

import org.testng.annotations.Test;

public class Test {

    WebDriver driver;

      @BeforeClass

      public void setUp()throws Exception{

      //火狐

      System.setProperty("webdriver.firefox.bin", "D:/Program Files (x86)/Mozilla Firefox/firefox.exe");

      driver = new FirefoxDriver();

      //其他浏览器,请参照Selenium2测试脚本怎样配置不同的浏览器(https://my.oschina.net/u/2315260/blog/804767)

      }

      @Test(description="登录")

      public void loginTest(){

      driver.get("http://localhost/chadmin/backend/web/index.php");

      //登录

      WebElement username =driver.findElement(By.cssSelector("#username"));

      username.sendKeys("admin");

      WebElement password = driver.findElement(By.cssSelector("password"));

      password.sendKeys("123456");

      WebElement login_btn = driver.findElement(By.cssSelector("#login_btn"));

      login_btn.click();

      //等待打开首页页面

      (new WebDriverWait(driver,10)).until(new ExpectedCondition<WebElement>(){

          @Override

          public WebElement apply(WebDriver d){

              WebElement lastProject = driver.findElement(By.cssSelector(".box-title"));

              return lastProject;

          }

      });

      }

      @AfterClass

      public void tearDown() throws Exception{

      driver.quit();

      }

}