1. vue how to introduce and configuration using element-ui framework
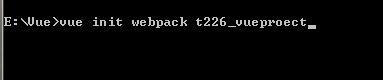
1.1 to create a project using vue vue-cli scaffolding tool
vue init webpack pro01
1.2 npm installation elementUI
root cd pro01 # enter new project
npm install element-ui -S # module mounting element-ui

## important things to say three times: at the specified location !!! specified location at the specified location !!! ~~~ !!! add three lines of code
1.3 main.js find under src directory in the project, and at the specified location Add three lines of code (main.js a file entry, the line is introduced here, the page would not introduced)
Import from Vue 'VUE'
Import ElementUI 'UI-Element'. 1 // newly added from
Import 'UI-Element / lib /theme-chalk/index.css' // add two new, post-packaging to avoid different styles, to put import App from './App'; before
Import App from './App'
Import from Router './router'
Vue.use (ElementUI) // newly added 3
Vue.config.productionTip = false

1.4 Test
modify HelloWorld.vue add components to see the effect elementUI
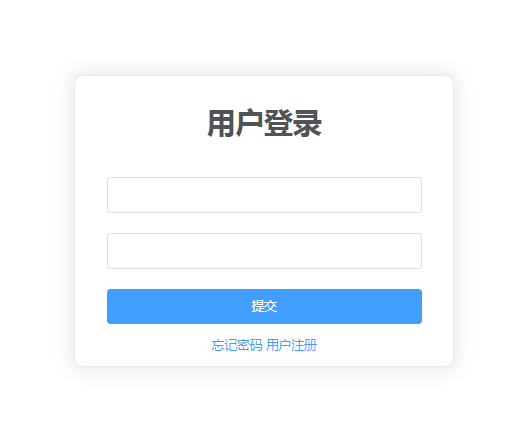
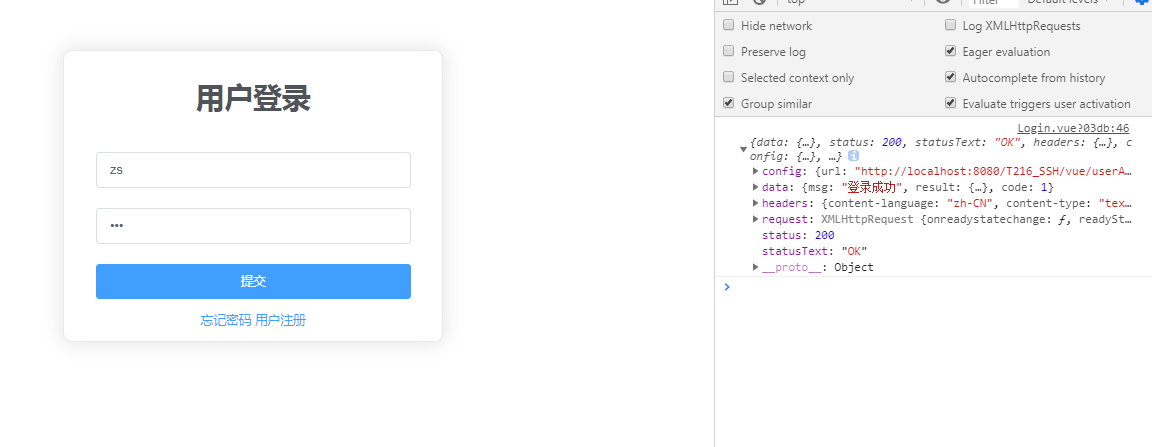
2. Vue + ElementUI landing page design
Note 1: See related style information "css.txt"
Note 2: <style scoped>
in vue component, added in the style attribute scoped tags, to indicate that it is the moment acting on the style module, to achieve a good style object privatization
Note 2: AutoComplete = "OFF"
AutoComplete attribute is new in HTML5 properties, off ----- automatically disabled
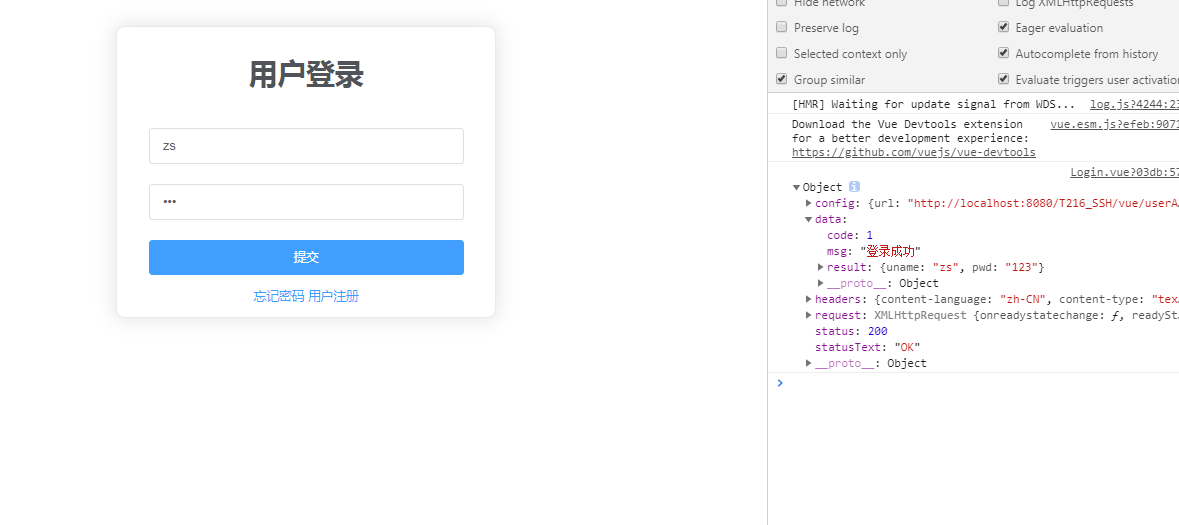
<template>
    <div class="login-wrap">
        <el-form class="login-container">
            <h1 class="title">用户登录</h1>
            <el-form-item label="">
                <el-input type="text" v-model="username" autocomplete="off"></el-input>
            </el-form-item>
            <el-form-item label="">
                <el-input type="password" v-model="password" autocomplete="off"></el-input>
            </el-form-item>
            <el-form-item>
                <el-button type="primary" style="width: 100%;" @click="doSubmit()">提交</el-button>
            </el-form-item>
            <el-row style="text-align: center; margin-top: -10px;;">
                <el-link type="Primary " EL-Link</forgot password>>
                <el-link type="primary" @click="doRegister()">用户注册</el-link>
            </el-row>
        </el-form>
    </div>
</template>
3. Background interaction (Axios / QS / VUE-Axios)
3.1 Axios
Axios is vue2 promote the use of lightweight version of ajax. It is based on the promise of HTTP library. It creates XMLHttpRequests from a browser, used in conjunction with Vue is very good.
1. Off-topic:
vue.js famous family bucket series: vue-router, vuex, vue -resource, coupled with the build tools vue-cli, the core is a complete project constitutes vue.
Vue-resource which is Vue.js of a plug-in, it can initiate a request via XMLHttpRequest or JSONP and treatment response, but after vue update to 2.0,
authors declared no longer vue-resource updates, but recommended axios
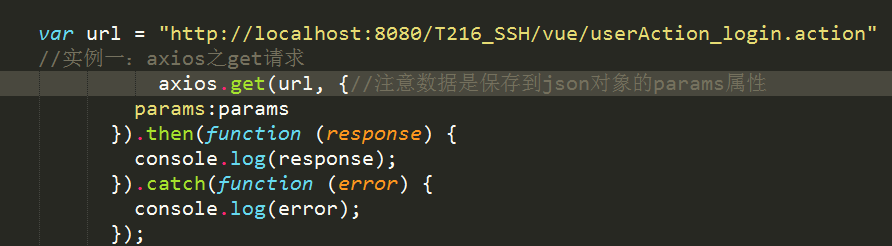
2.GET提交
axios.get('/user', {//注意数据是保存到json对象的params属性
params: {
ID: 12345
}
}).then(function (response) {
console.log(response);
}).catch(function (error) {
console.log(error);
});
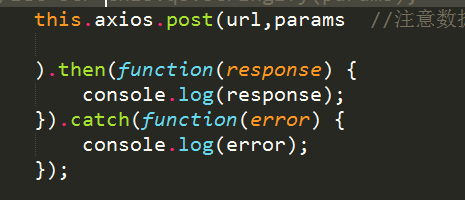
3.POST提交
axios.post('/user', {//注意数据是直接保存到json对象
firstName: 'Fred',
lastName: 'Flintstone'
}).then(function (response) {
console.log(response);
}).catch(function (error) {
console.log(error);
});
注1:axios跨域问题
会一直报错:“http://127.0.0.1:8848' has been blocked by CORS policy: No 'Access-Control-Allow-Origin' header”
因为使用了前后端分离开发,跨域访问了,解决方案:需要配置tomcat允许跨域访问,
tomcat跨域配置方法很多,但最简单的方式是自己写一个过滤器CorsFilter实现,添加一个响应头
Access-Control-Allow-Origin即可
httpResponse.addHeader("Access-Control-Allow-Origin", "*");//*表示任何域名
httpResponse.addHeader("Access-Control-Allow-Origin", "http://localhost:80");
Access-Control-Allow-Origin:* #则允许所有域名的脚本访问该资源。
Access-Control-Allow-Origin:https://www.fujieace.com #允许特定的域名访问

注2:axios.get提交没有问题,axios.post提交后台接收不到数据
因为POST提交的参数的格式是Request Payload,这样后台取不到数据的(详情见资料“05 Vue中axios踩坑之路-POST传参 - RainSun - CSDN博客.mht”),
解决方案:使用qs.js库,将{a:'b',c:'d'}转换成'a=b&c=d'
注3:为简化axios使用,还可以使用axios全局配置及拦截器,详情见资料“api/http.js”
axios.defaults.baseURL = 'https://api.example.com';
//axios.defaults.headers.common['Authorization'] = AUTH_TOKEN;//自定义请求头,添加认证令牌
axios.defaults.headers.post['Content-Type'] = 'application/x-www-form-urlencoded';
注4:为方便开发,建议对请求地址进行封装,详情见资料“api/action.js”
注5:^_^~~~~为进一步简化开发,将action.js的URL地址封装到axios.urls属性上