Hello everyone, my name is Xiongxiong. Welcome to follow the WeChat public account: Xiongxiong’s Little Classroom

Table of contents
Preface
There is a good saying: Small individuals also have their own brands.
Just like Tencent and I, we have started to develop our own system (sorry, I am a bit arrogant, please don’t mind me). In the past two years, I have successively launched my own official account, mini program, blog site, and open source code (WeChat robot) , communities , etc. Among these products, public accounts, mini programs and communities are all existing platforms. We only need to use these platforms as carriers and put some effort into operating on them.
However, the only thing 博客站is that you have to do it from scratch. From building the page, to deployment, to online promotion, you need to do it yourself. Among these links, deployment is the most troublesome. So, today, we will take a look at how to use Huawei Cloud Deploy your own blog site on the Yaoyun Server L instance server.
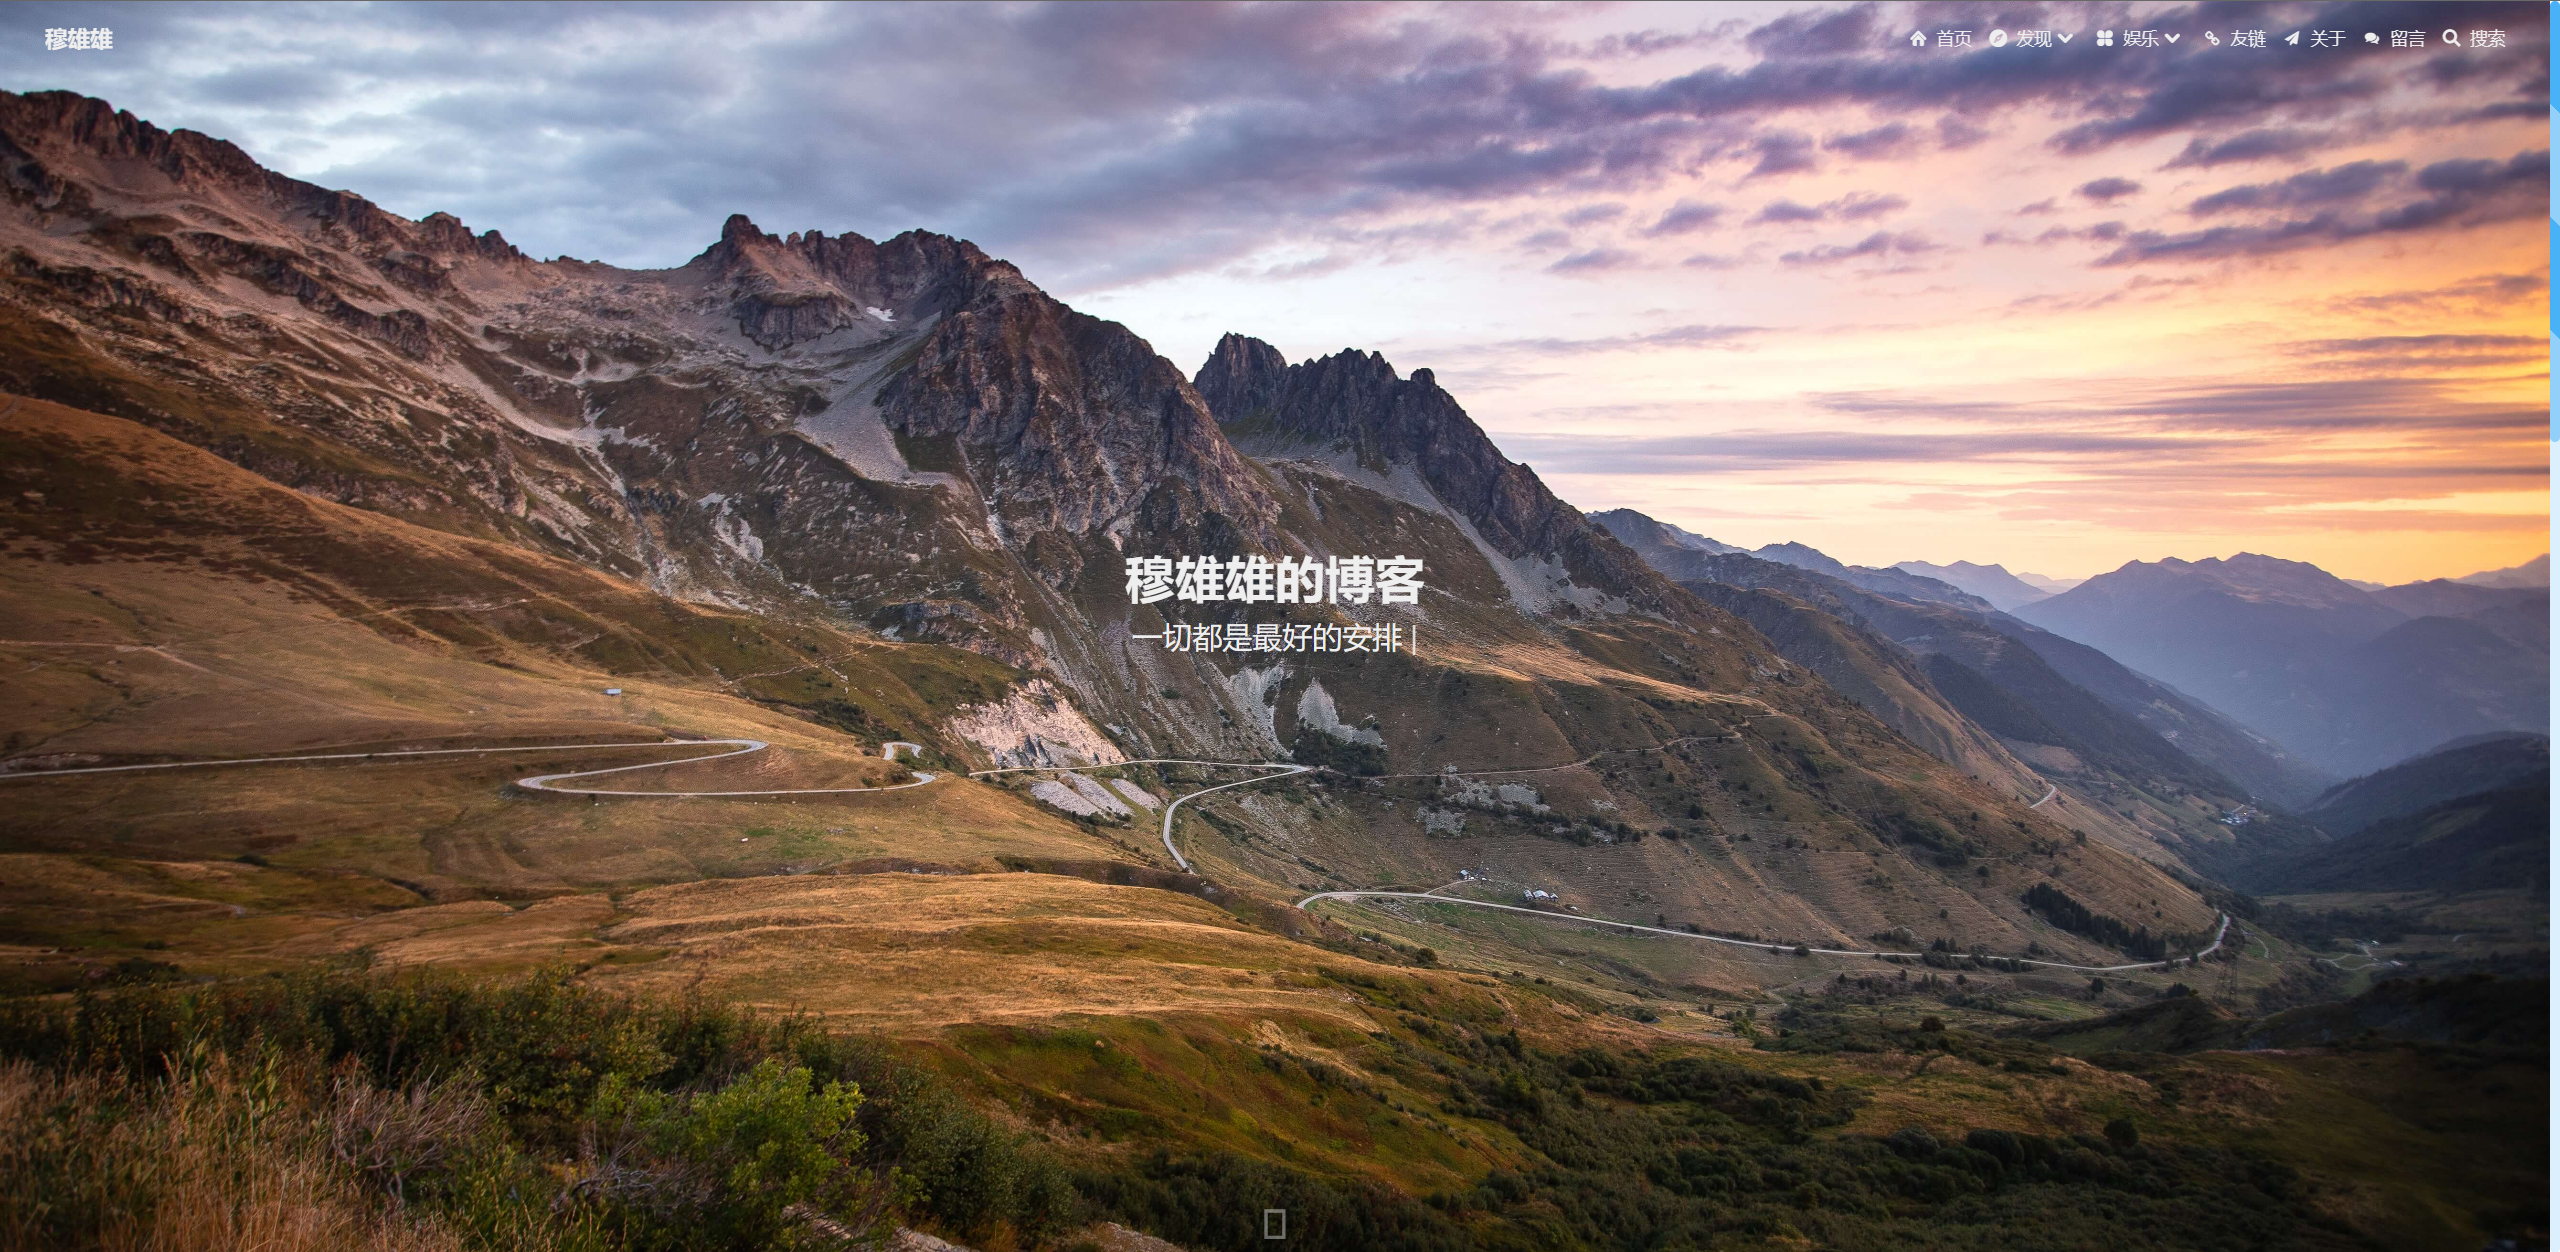
renderings
environment
- Backend:
Java,springbootthe project is packagedjarand can be run on the Huawei Cloud Yaoyun Server L instance server. - Frontend:
vuepage - database:
mysqldatabase - Cloud server: Huawei Cloud Cloud Server L instance server
Next, let's take a look at how to deploy a personal blog site.
Server purchase
Open the official link: https://www.huaweicloud.com/product/hecs-light.html , cloud server L instance. After entering, we can choose according to our needs, as shown below:
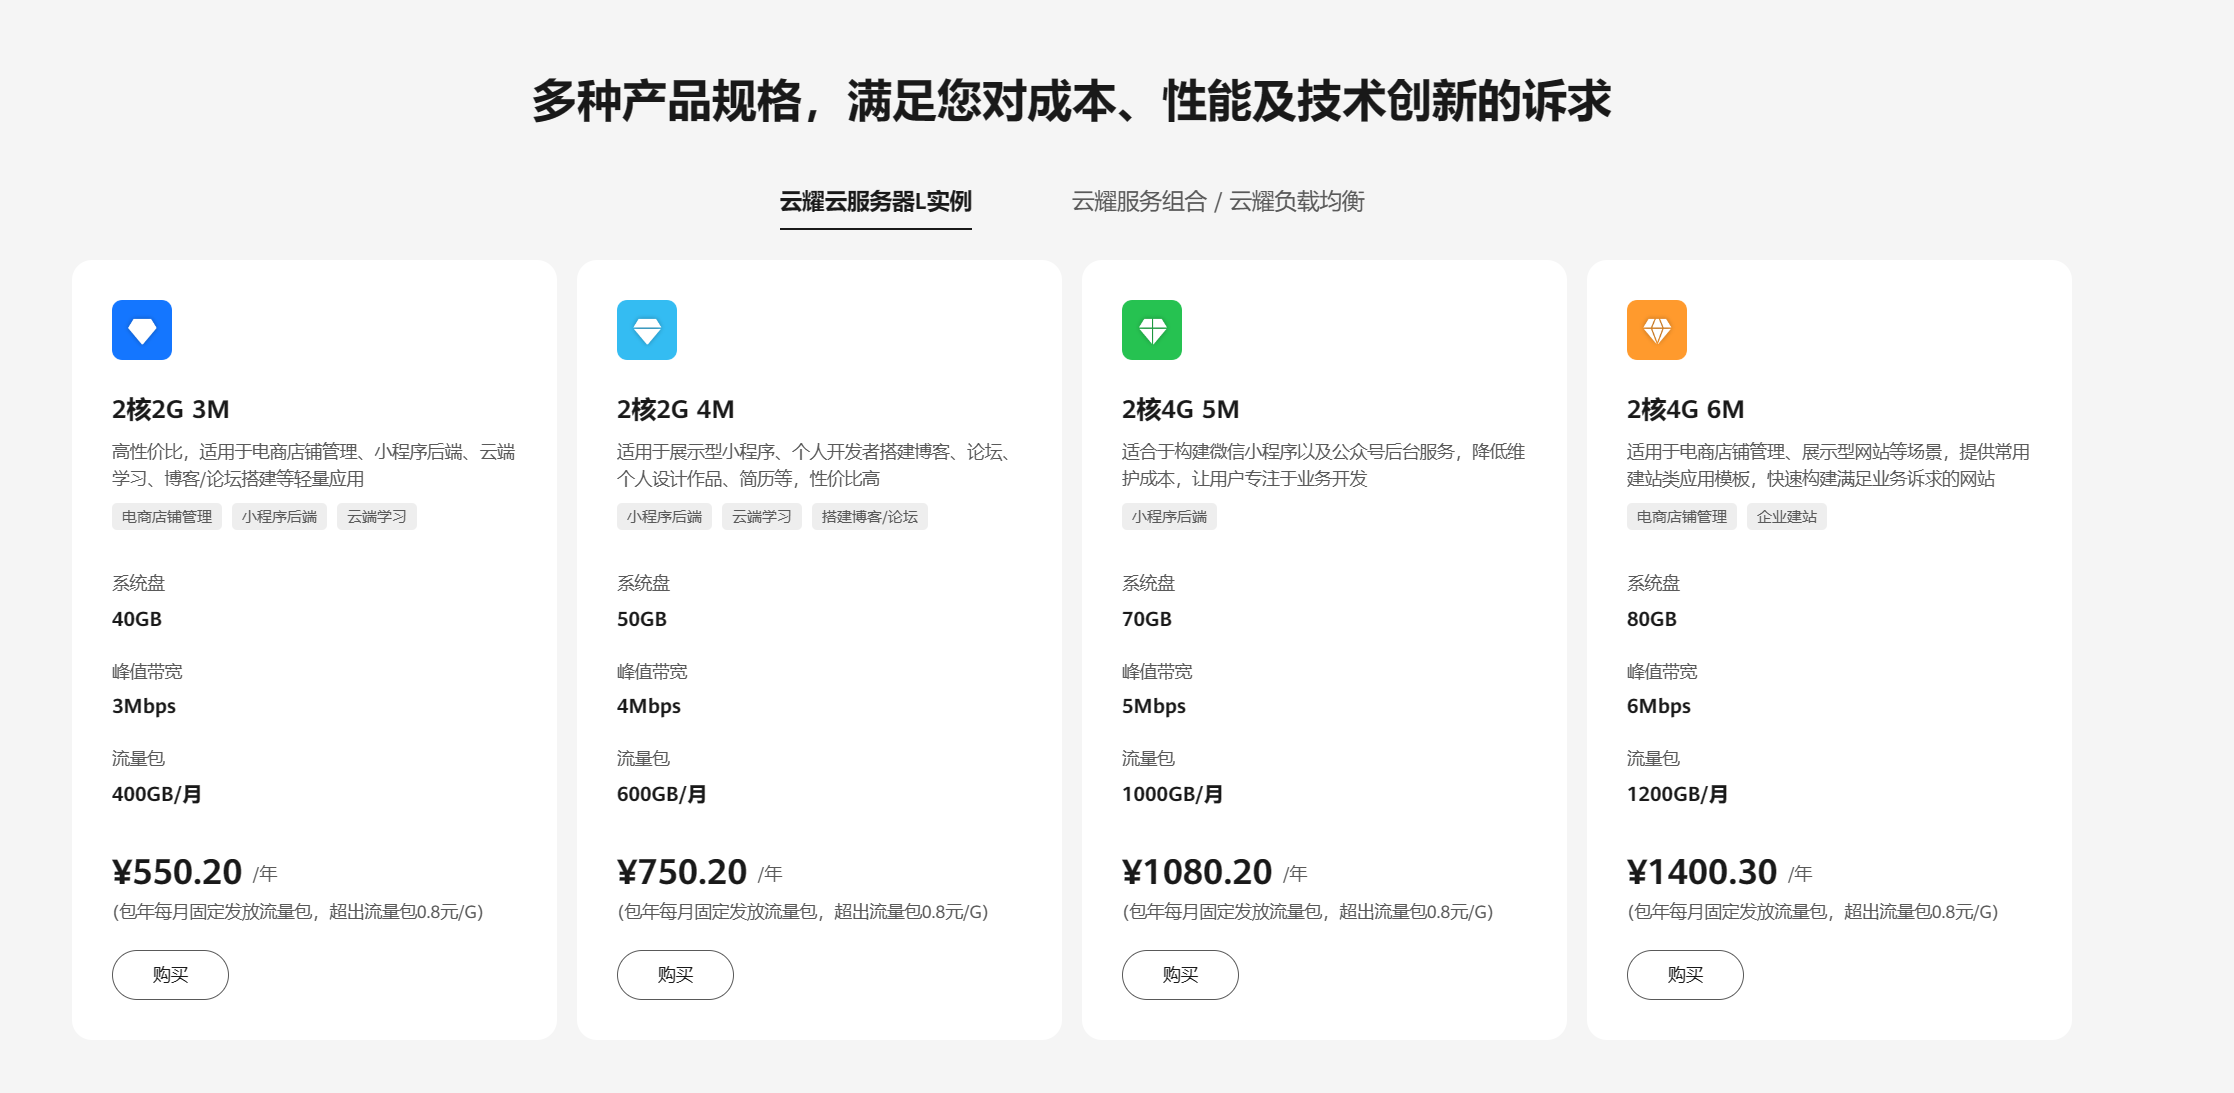
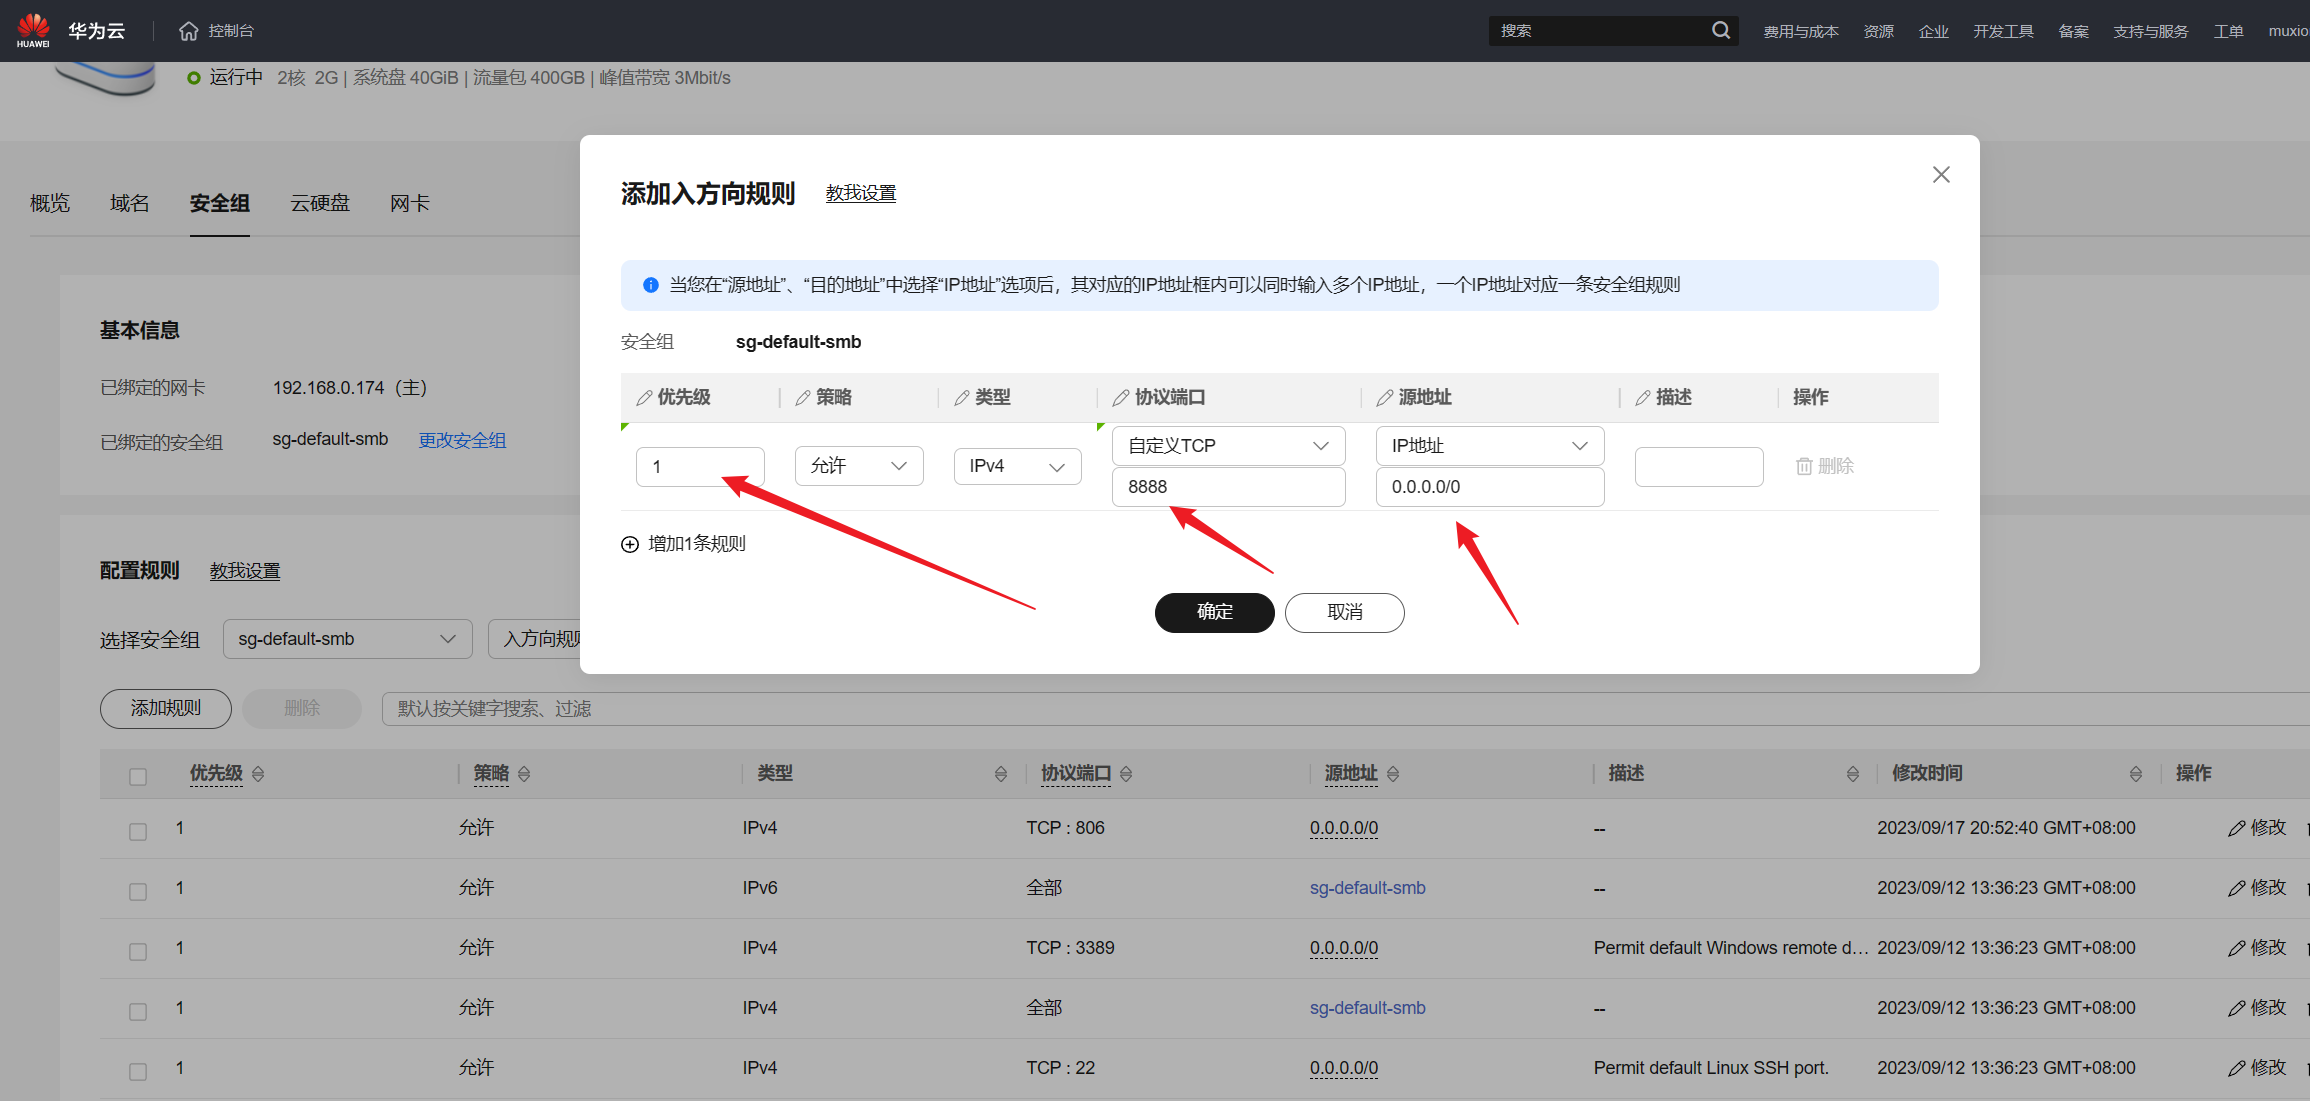
we choose the first one and click to buy. After the purchase is completed, open the necessary ports in the security group, such as 22,6379,3306these, and the ports in the project: 8800, and that's it.
Install the pagoda panel
After we use the remote xshelltool to connect to the server, enter the following command to install the Pagoda Panel (installing the Pagoda Panel will facilitate our later establishment of the Huawei Cloud Yaoyun Server L instance server environment, such as the installation of and mysql) jdk:
Let’s take centosthe system as an example:
yum install -y wget && wget -O install.sh https://download.bt.cn/install/install_6.0.sh && sh install.sh ed8484bec
After the installation is completed, the account number and password will be printed out on the console. Generally, the port to enter the pagoda panel is 8888, so we need to open this port.
If you don't open the port, you can't get in.
Environment setup
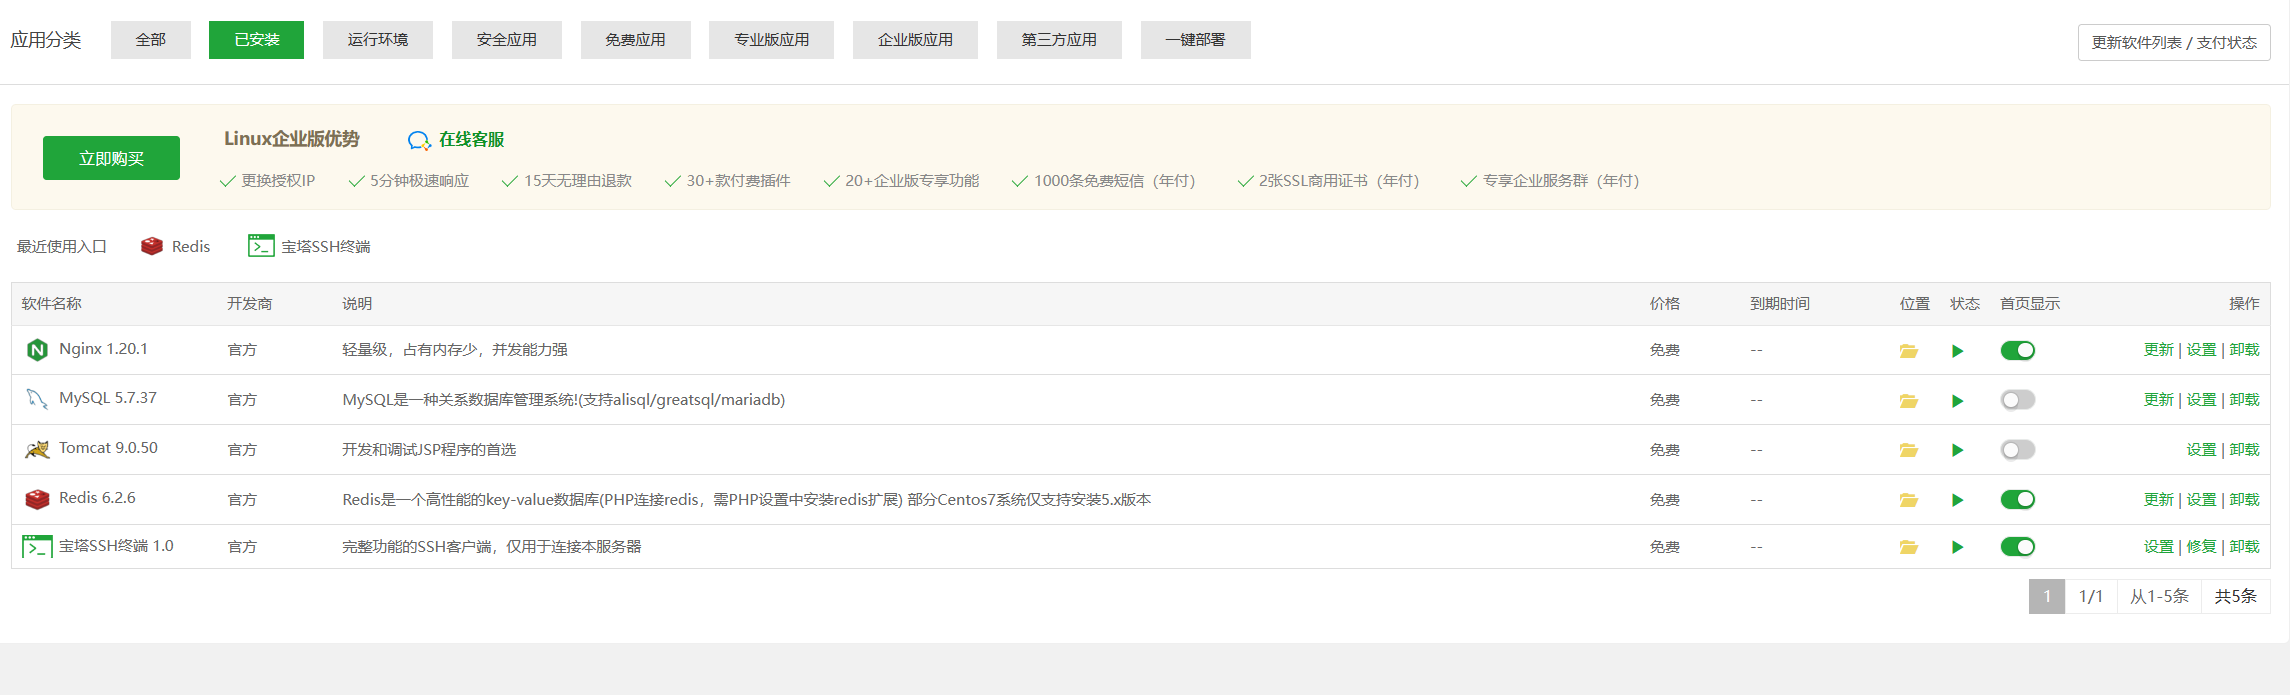
After installing the Pagoda panel, it is simple for us to set up the environment. Usually we need to install several software on the server:
- mysql 5.7
- redis
- tomcat (mainly using its jdk)
- nginx
The respective versions are as follows:

We click on the pagoda panel: [Software Store], then search for the above four software respectively, and click to install. After the installation is completed, as shown in the figure:
Source code download
Mine was modified based on the source code of a big guy. The warehouse address is here: click me to view it . After we directly download the source code, open it with your development tool. I am using it here idea.
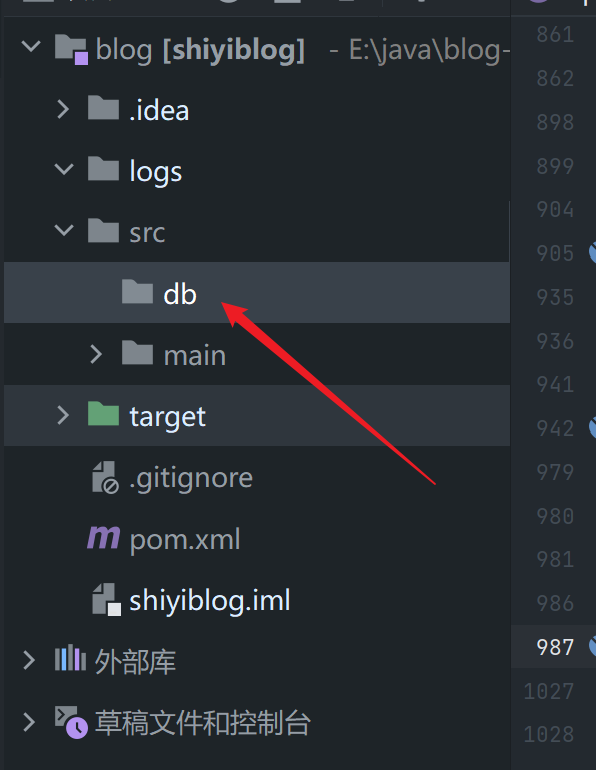
After opening, as shown in the picture above, next we need to find the files required for the project sqland put them in the cloud server. SQLThe files are here:
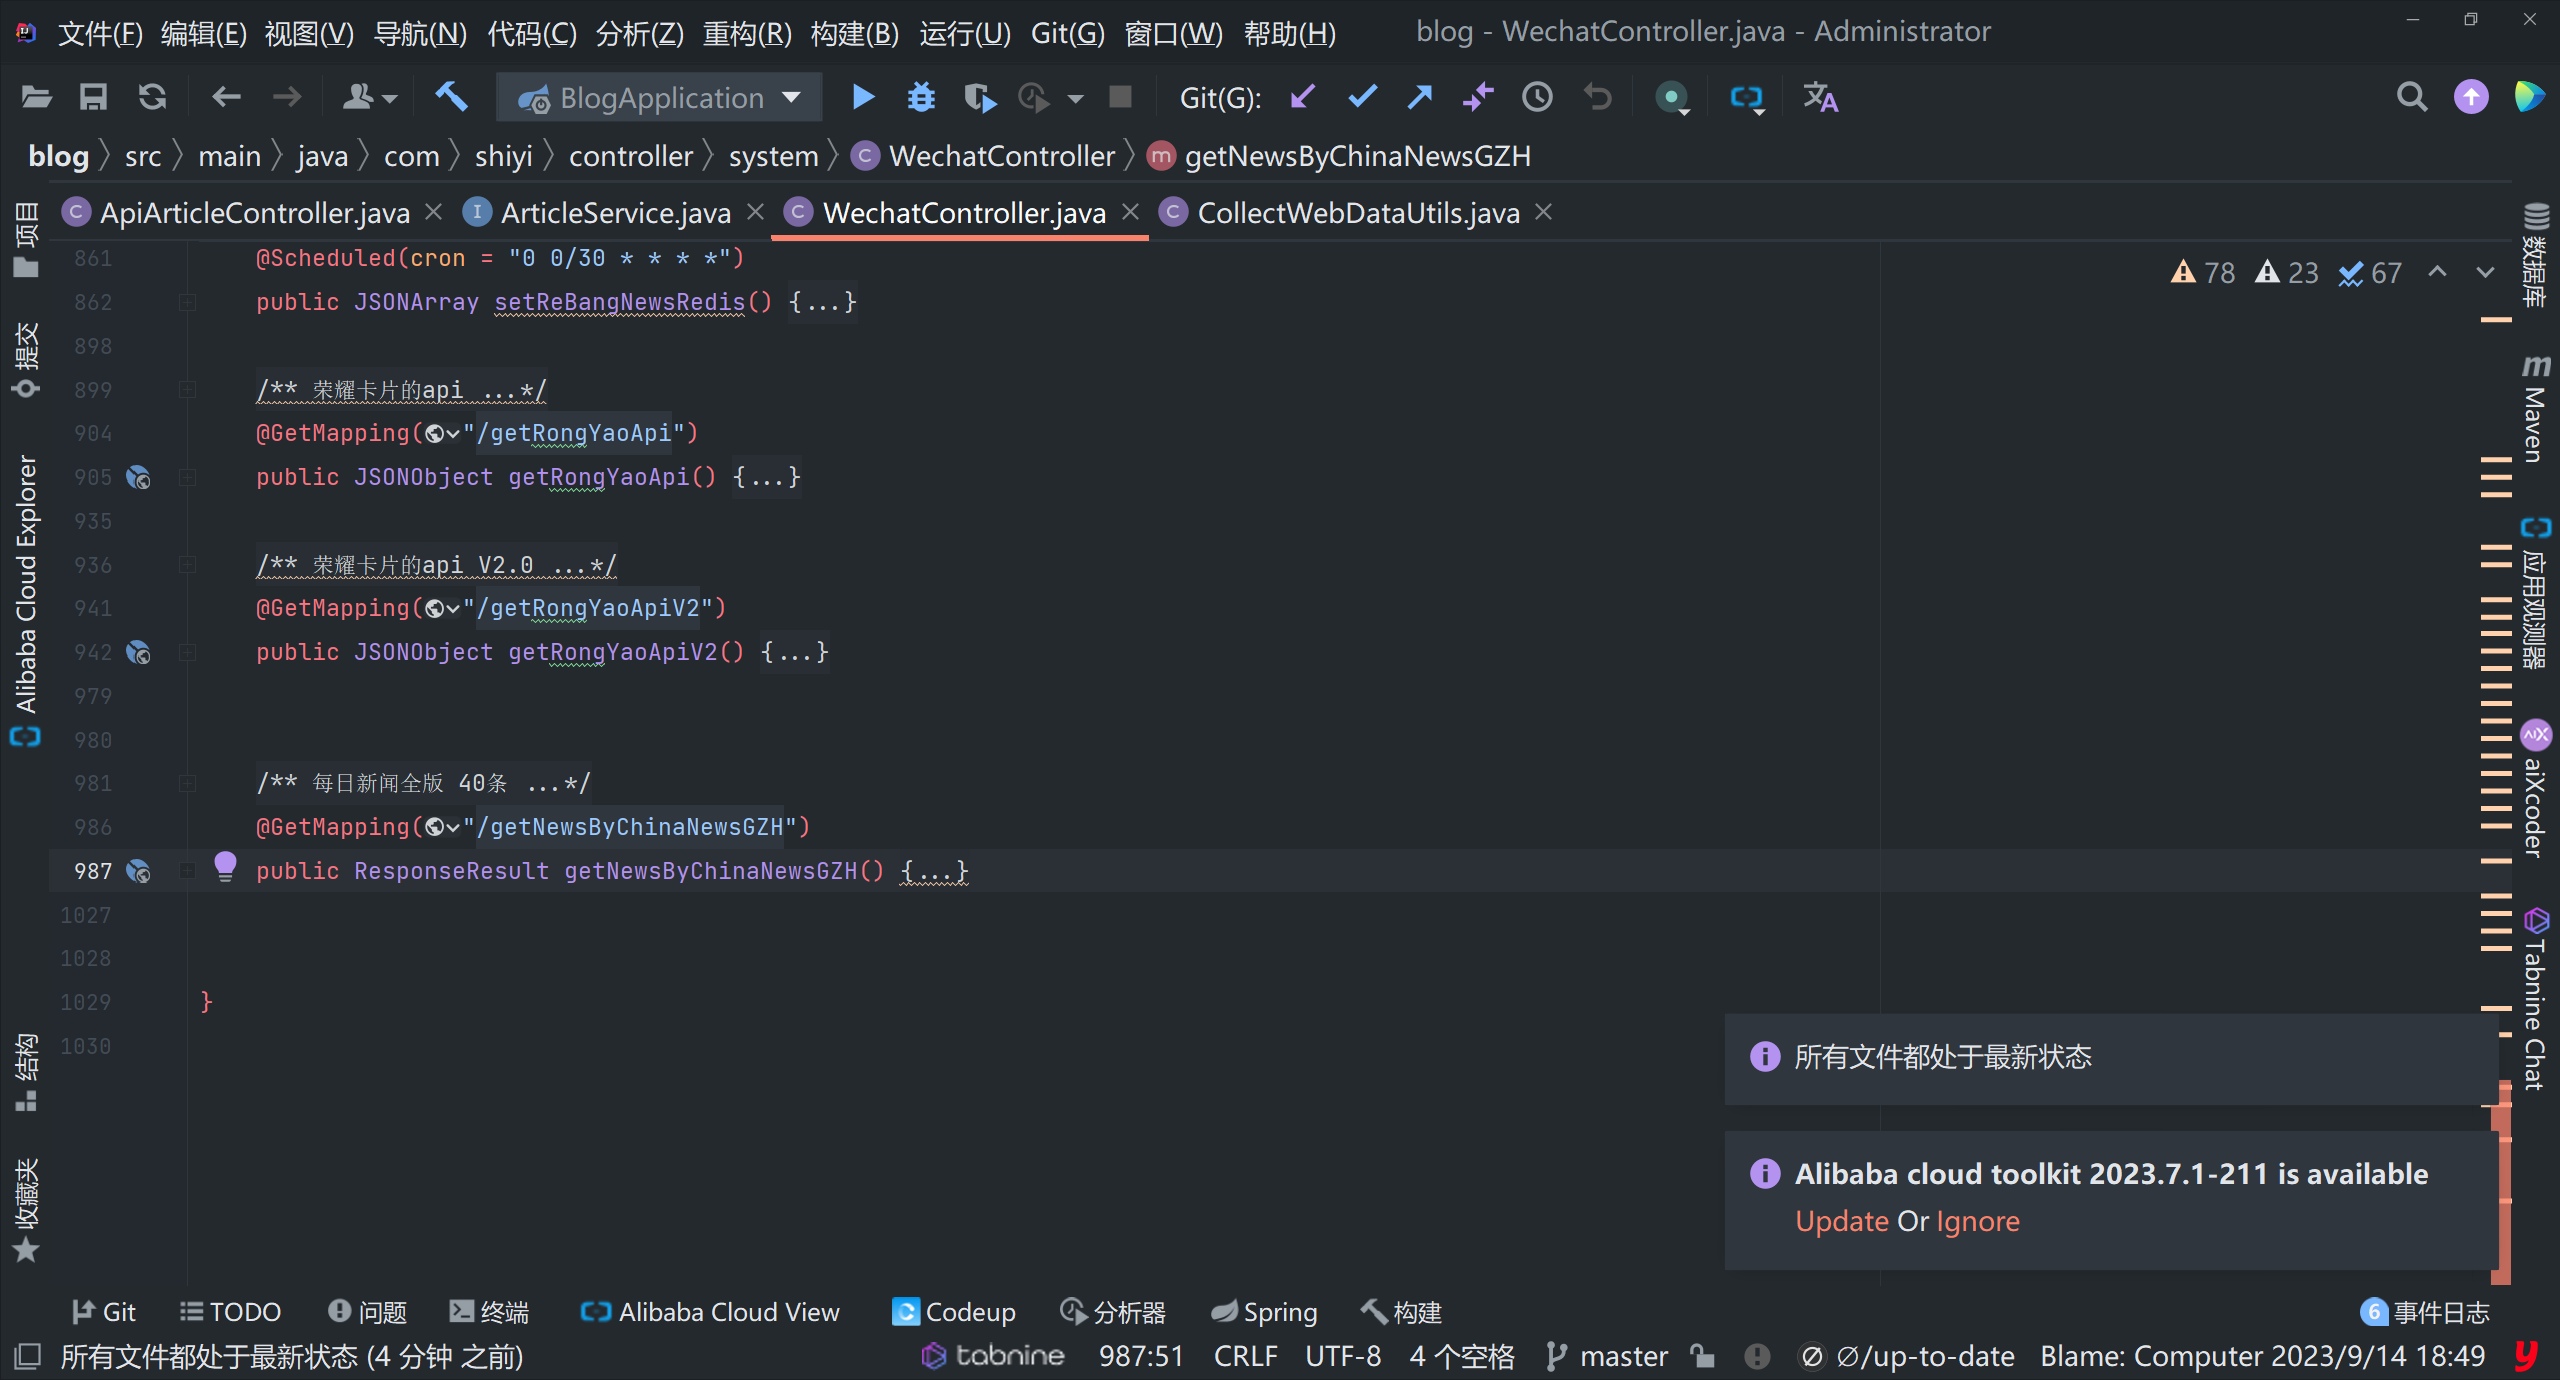
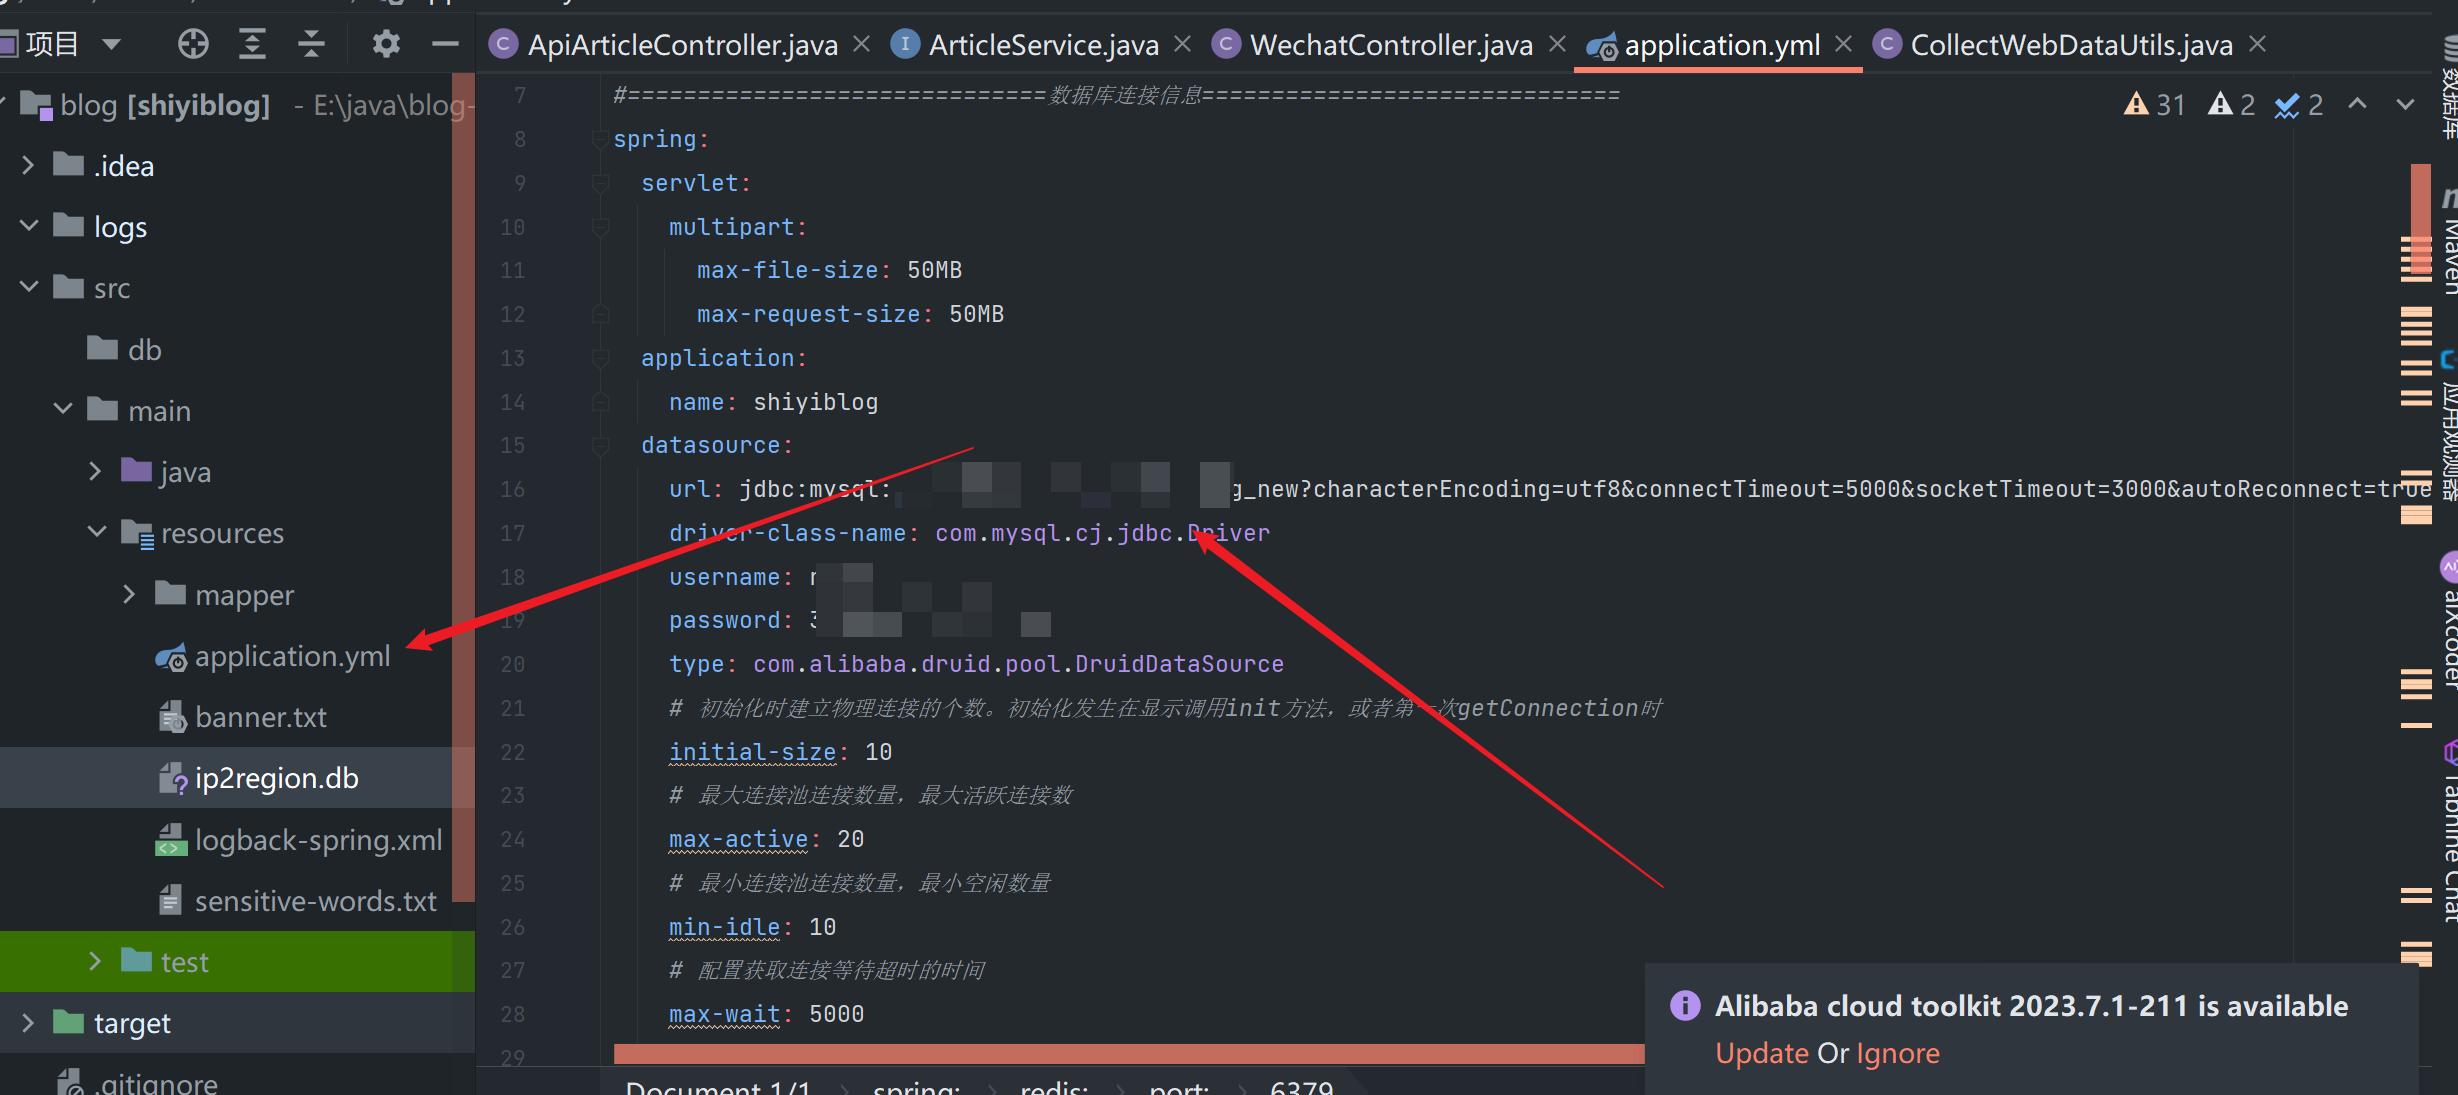
Then we need to find ymlthe database connection address in the file, as well as the user name and password. From this file Inside, you can also see that the port of the project is: 8800, so we also need to open the port.
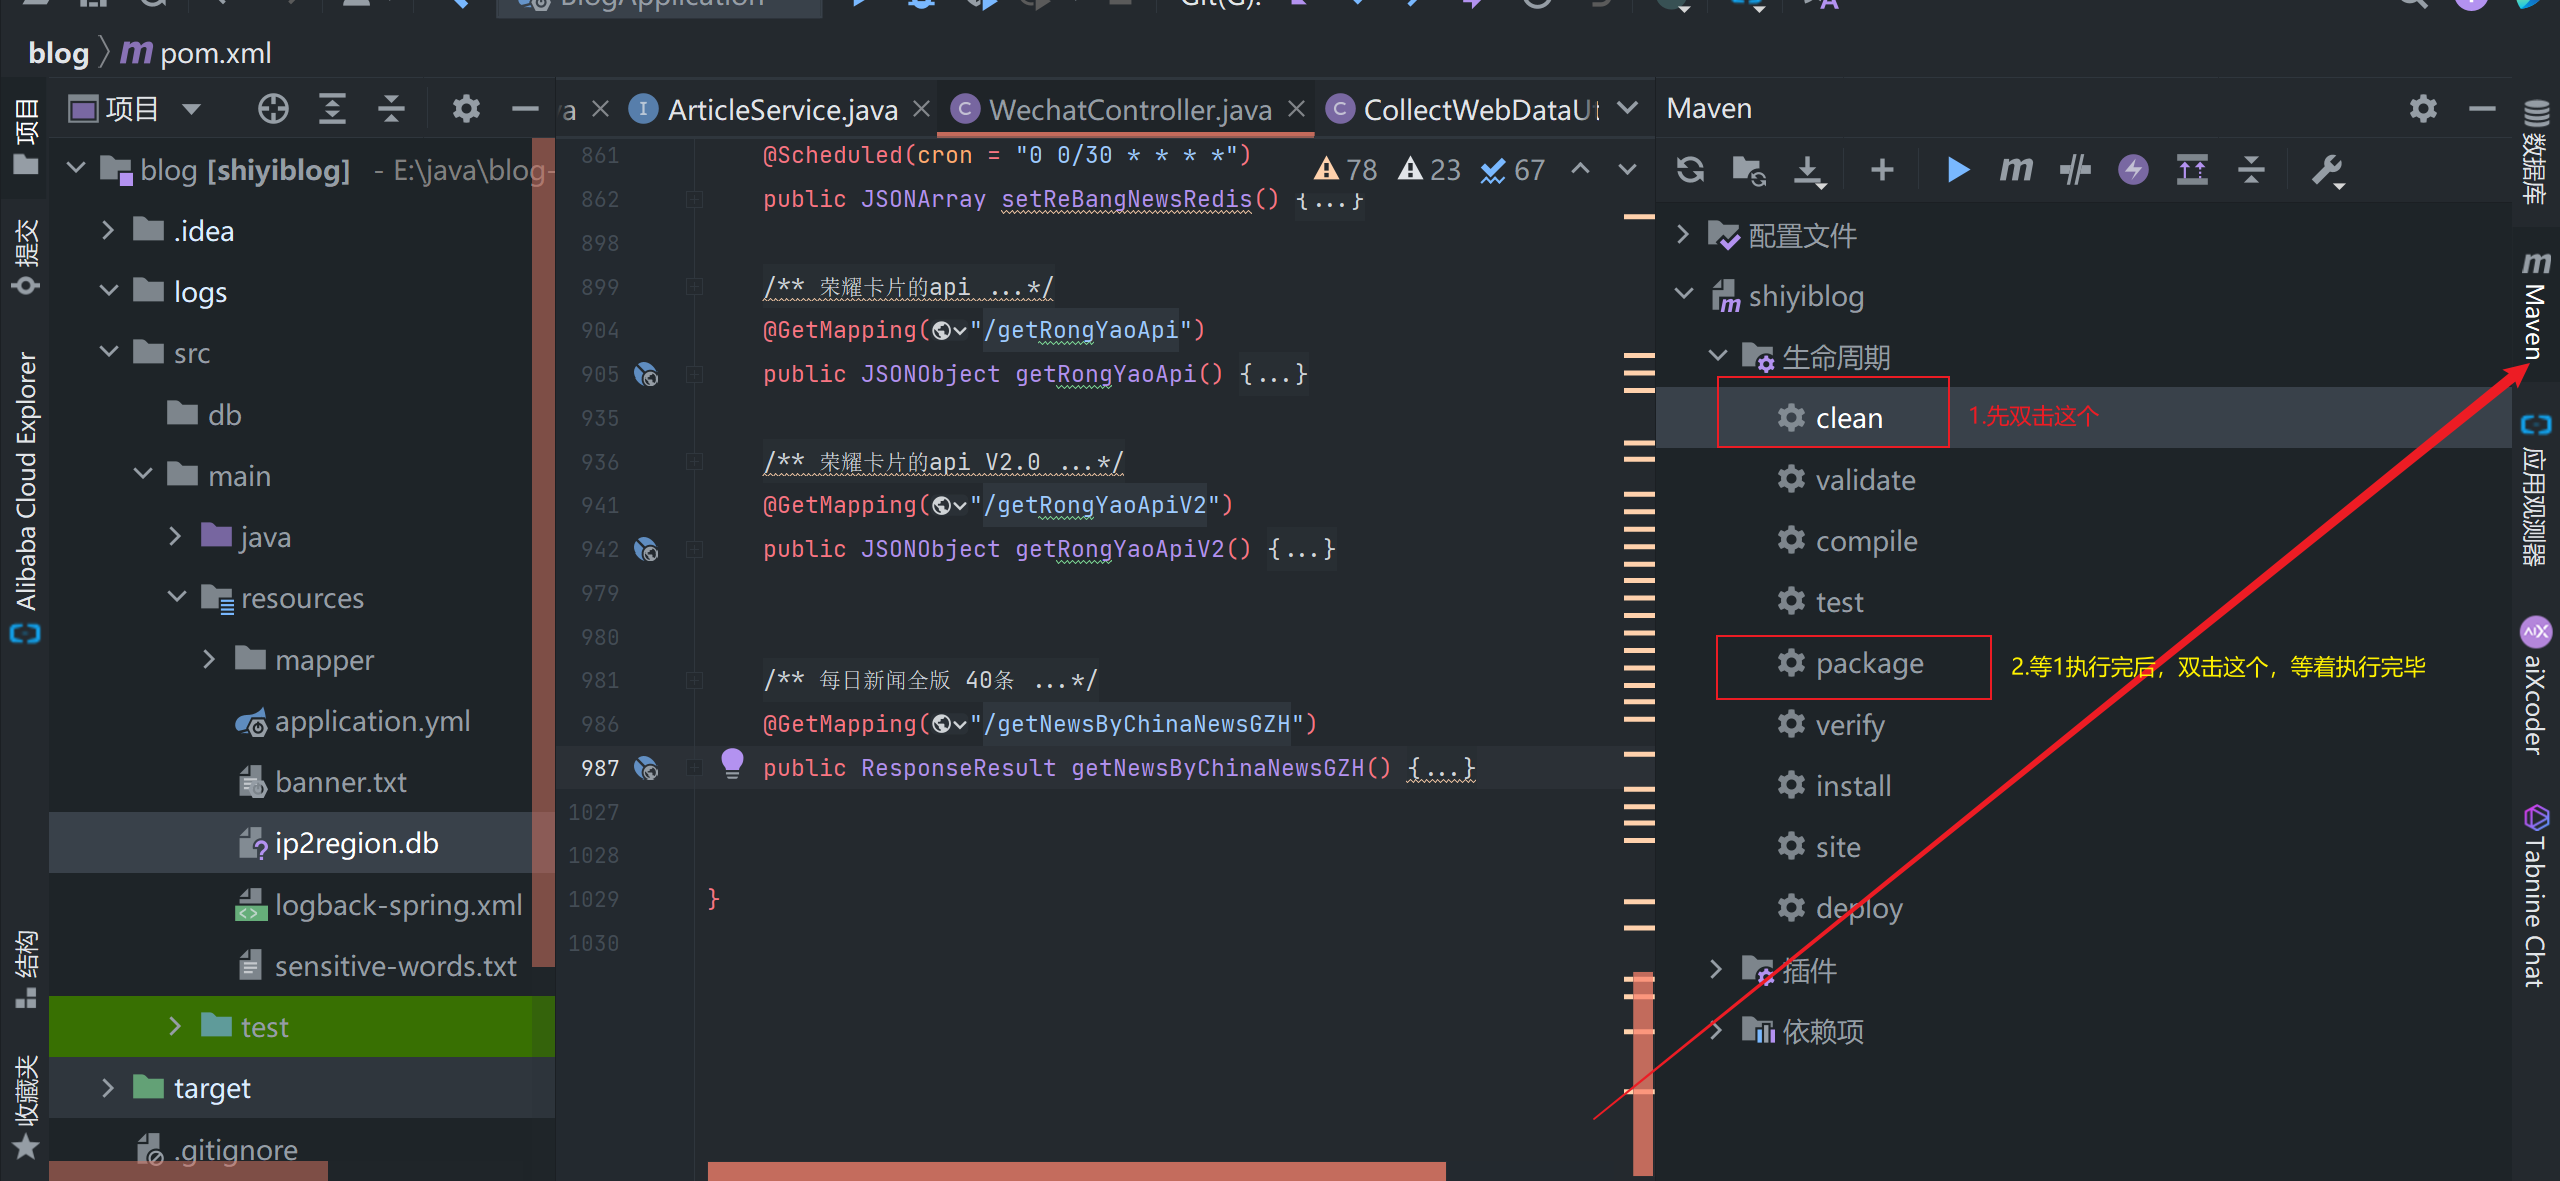
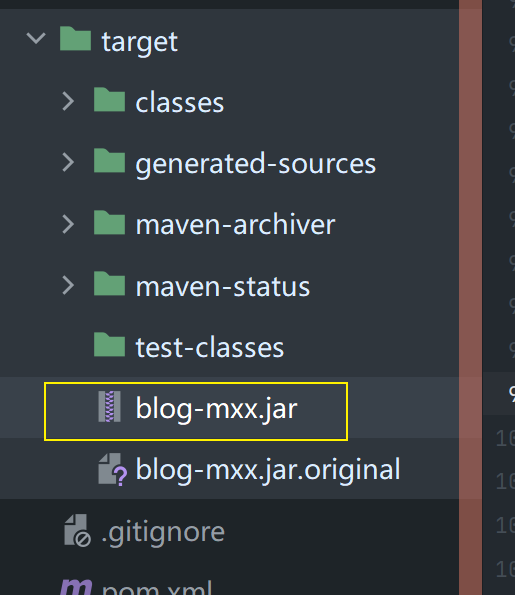
After the modification, you can package it. Click on the far right Maven, and then find the life cycle inside - "clean. After running, continue to double-click packageand wait for the execution to complete. tagetThen find jarthe package we packed. Here Bian jarrenamed the bag.
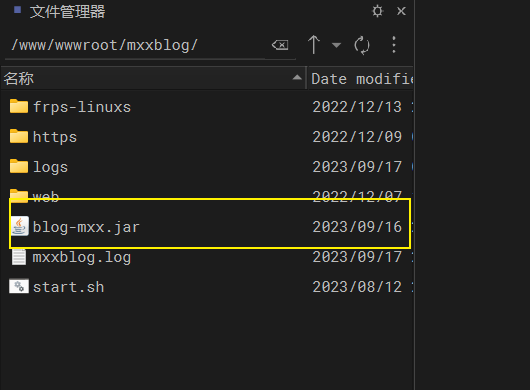
Then we transfer this jar to the server and specify a directory. For example, I /www/wwwroot/mxxblog/execute the command under the directory cd /www/wwwroot/mxxblog/and upload the file to the directory:
In order not to enter the startup command every time, I wrote a shfile here and named it: start.sh. The code is as follows:
#!/bin/bash
#重启脚本
# 查找并杀死进程
pid=$(ps -ef | grep blog-mxx.jar | grep -v grep | awk '{print $2}')
if [ -n "$pid" ]; then
  kill $pid
fi

# 启动服务
nohup java -jar blog-mxx.jar --server.port=8800 > mxxblog.log 2>&1 &
Next we execute the command directly in the console:
sh start.sh
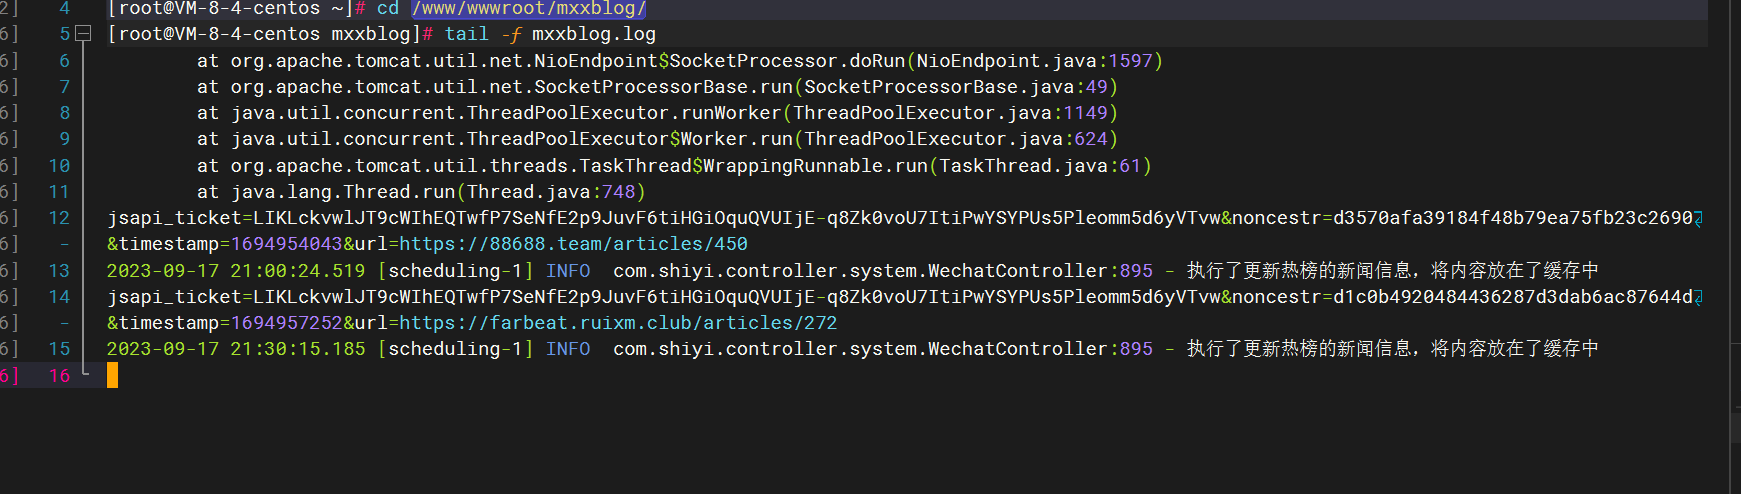
After starting the service, you can use the command:
tail -f mxxblog.log
Used to view logs.
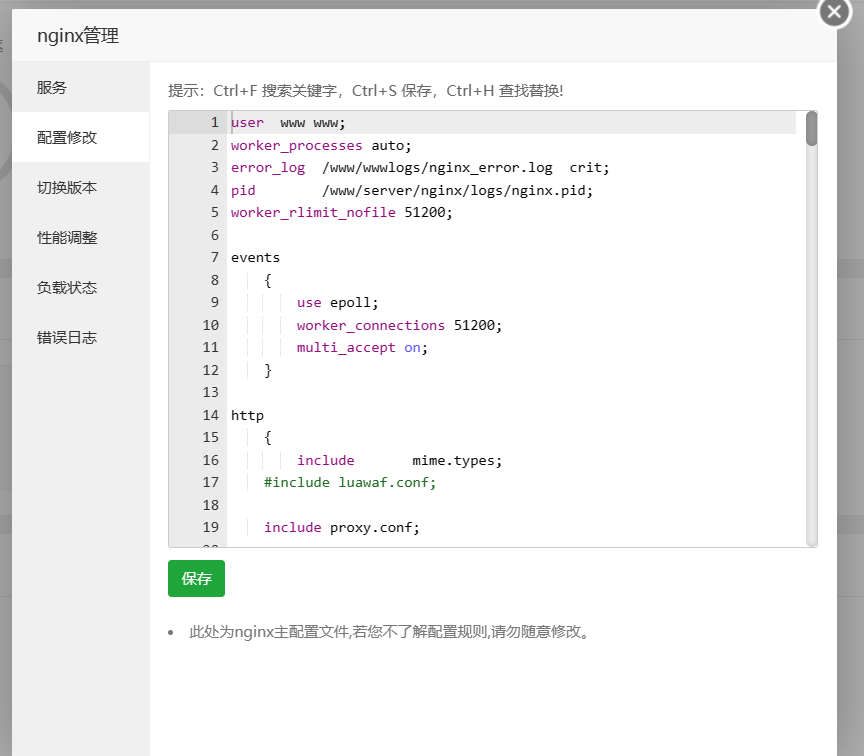
Configure NGINX
Let's introduce how to configure it nginx, because if you don't configure it, you won't be able to access the blog. The configuration file
we opened looks like this: Pull it to the end and add the configuration code:nginx
server {
        listen       80;
        listen       443 ssl http2;
        server_name  88688.team;

        if ($server_port !~ 443){
            rewrite ^(/.*)$ https://$host$1 permanent;
        }

        #证书地址
        ssl_certificate      /www/wwwroot/xxx/https/muxiongxiong.cn_bundle.pem;
        ssl_certificate_key   /www/wwwroot/xxx/https/muxiongxiong.cn.key;
        ssl_prefer_server_ciphers on;

       location / {
            proxy_pass   https://www.88688.team;
            proxy_connect_timeout 300s;
            proxy_send_timeout 300s;
            proxy_read_timeout 300s;
        }
        error_page   500 502 503 504  /50x.html;
        location = /50x.html {
            root   html;
        }
    }
You can follow the changes I made above and change the domain name to your corresponding domain name. If there is no domain name, you can directly write the public IP address. In fact, buying a domain name is not very expensive, it costs dozens of dollars a year, and it can be used by small programs later.
Packaging front-end
After we pull down the source code, we will see that there is a front end and a back end. The one just released is the back end. The front end is actually very simple. We need to find the root directory where the front end is located and execute the command directly:
npm run build
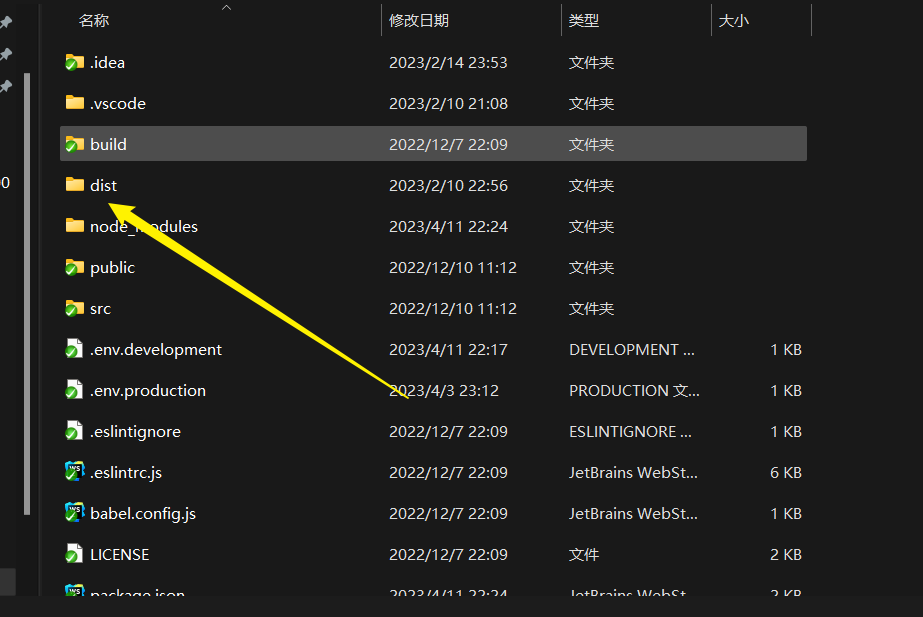
Then in the project, there will be an additional distfolder, and we can upload it to the server.
Finally, we enter nginxthe domain name configured in to directly access the website we just deployed.
Summarize
In fact, if you build a personal website, you don’t need a Huawei Cloud Yaoyun Server L instance server with a large configuration. I am currently using a 2C2G one. After running it, it doesn’t feel like a problem at all. Of course, it still depends on how many websites you have. Traffic, if there is a lot of traffic, you can upgrade the configuration. If the number of visits is not a lot, this configuration is enough!