Prerequisite: sorl needs to be installed. If you want to install it, please check the previous article
Sorl environment setup and mysql table import data.
I won’t go into too much introduction here~
1. First, the following three files need to be modified or added.
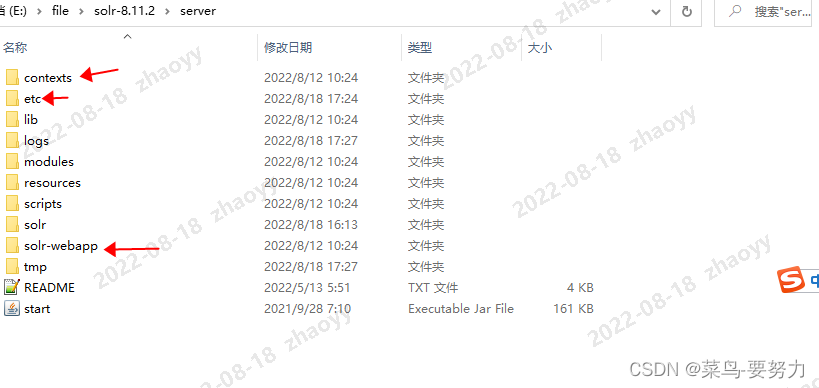
Create a *.properties file name in the 1.solr-8.11.2\server\etc folder (the name can be customized by yourself). I use verify.properties.
Add content:
zyy:123456,admin
Note: zyy login account, password 123456, admin means that the current user is authorized to the admin role. Here the user can configure multiple according to the newline symbol. You
can refer to:
zyy:123456,admin
zyy1:123456,admin
1. Add the imported account configuration file in the \solr-8.11.2\server\contexts folder and modify the file name: solr-jetty-context.xml
Added code to introduce account file:
<Get name="securityHandler">
    <Set name="loginService">
      <New class="org.eclipse.jetty.security.HashLoginService">
        <Set name="name">verify—name</Set>
        <Set name="config"><SystemProperty name="jetty.home" default="."/>/etc/verify.properties</Set>
      </New>
    </Set>
  </Get>
final result:
<?xml version="1.0"?>
<!DOCTYPE Configure PUBLIC "-//Jetty//Configure//EN" "http://www.eclipse.org/jetty/configure_9_0.dtd">
<Configure class="org.eclipse.jetty.webapp.WebAppContext">
  <Set name="contextPath"><Property name="hostContext" default="/solr"/></Set>
  <Set name="war"><Property name="jetty.base"/>/solr-webapp/webapp</Set>
  <Set name="defaultsDescriptor"><Property name="jetty.base"/>/etc/webdefault.xml</Set>
  <Set name="extractWAR">false</Set>
  <Get name="securityHandler">
    <Set name="loginService">
      <New class="org.eclipse.jetty.security.HashLoginService">
        <Set name="name">verify—name</Set>
        <Set name="config"><SystemProperty name="jetty.home" default="."/>/etc/verify.properties</Set>
      </New>
    </Set>
  </Get>
</Configure>
After adding, proceed to the next step
3. Modify the startup application web.xml file, the file address is solr-8.11.2\server\solr-webapp\webapp\WEB-INF, and modify the file name: web.xml
Append after the tag:
  <security-constraint>
    <web-resource-collection>
      <web-resource-name>Solr</web-resource-name>
      <url-pattern>/</url-pattern>
    </web-resource-collection>
    <auth-constraint>
      <role-name>admin</role-name>
    </auth-constraint>
  </security-constraint>
  <login-config>
    <auth-method>BASIC</auth-method>
    <realm-name>verify-name</realm-name>
  </login-config>
Final Results:
<?xml version="1.0" encoding="UTF-8"?>

<web-app xmlns="http://java.sun.com/xml/ns/javaee"
         xmlns:xsi="http://www.w3.org/2001/XMLSchema-instance"
         xsi:schemaLocation="http://java.sun.com/xml/ns/javaee http://java.sun.com/xml/ns/javaee/web-app_2_5.xsd"
         version="2.5"
         metadata-complete="true"
>

  <!-- Any path (name) registered in solrconfig.xml will be sent to that filter -->
  <filter>
    <filter-name>SolrRequestFilter</filter-name>
    <filter-class>org.apache.solr.servlet.SolrDispatchFilter</filter-class>

    <init-param>
      <param-name>excludePatterns</param-name>
      <param-value>/partials/.+,/libs/.+,/css/.+,/js/.+,/img/.+,/templates/.+</param-value>
    </init-param>
  </filter>

  <filter-mapping>
    <filter-name>SolrRequestFilter</filter-name>
    <url-pattern>/*</url-pattern>
  </filter-mapping>

  <servlet>
    <servlet-name>LoadAdminUI</servlet-name>
    <servlet-class>org.apache.solr.servlet.LoadAdminUiServlet</servlet-class>
  </servlet>

  <servlet-mapping>
    <servlet-name>LoadAdminUI</servlet-name>
    <url-pattern>/index.html</url-pattern>
  </servlet-mapping>

  <mime-mapping>
    <extension>.xsl</extension>
    <!-- per http://www.w3.org/TR/2006/PR-xslt20-20061121/ -->
    <mime-type>application/xslt+xml</mime-type>
  </mime-mapping>

  <welcome-file-list>
    <welcome-file>index.html</welcome-file>
  </welcome-file-list>

  <!-- Get rid of error message -->
  <security-constraint>
    <web-resource-collection>
      <web-resource-name>Disable TRACE</web-resource-name>
      <url-pattern>/</url-pattern>
      <http-method>TRACE</http-method>
    </web-resource-collection>
    <auth-constraint/>
  </security-constraint>
  <security-constraint>
    <web-resource-collection>
      <web-resource-name>Enable everything but TRACE</web-resource-name>
      <url-pattern>/</url-pattern>
      <http-method-omission>TRACE</http-method-omission>
    </web-resource-collection>
  </security-constraint>


  <security-constraint>
    <web-resource-collection>
      <web-resource-name>Solr</web-resource-name>
      <url-pattern>/</url-pattern>
    </web-resource-collection>
    <auth-constraint>
      <role-name>admin</role-name>
    </auth-constraint>
  </security-constraint>
  <login-config>
    <auth-method>BASIC</auth-method>
    <realm-name>verify-name</realm-name>
  </login-config>

</web-app>
After finally saving the configuration,
start sorl: sorl start
Default port access address: http://127.0.0.1:8983/solr
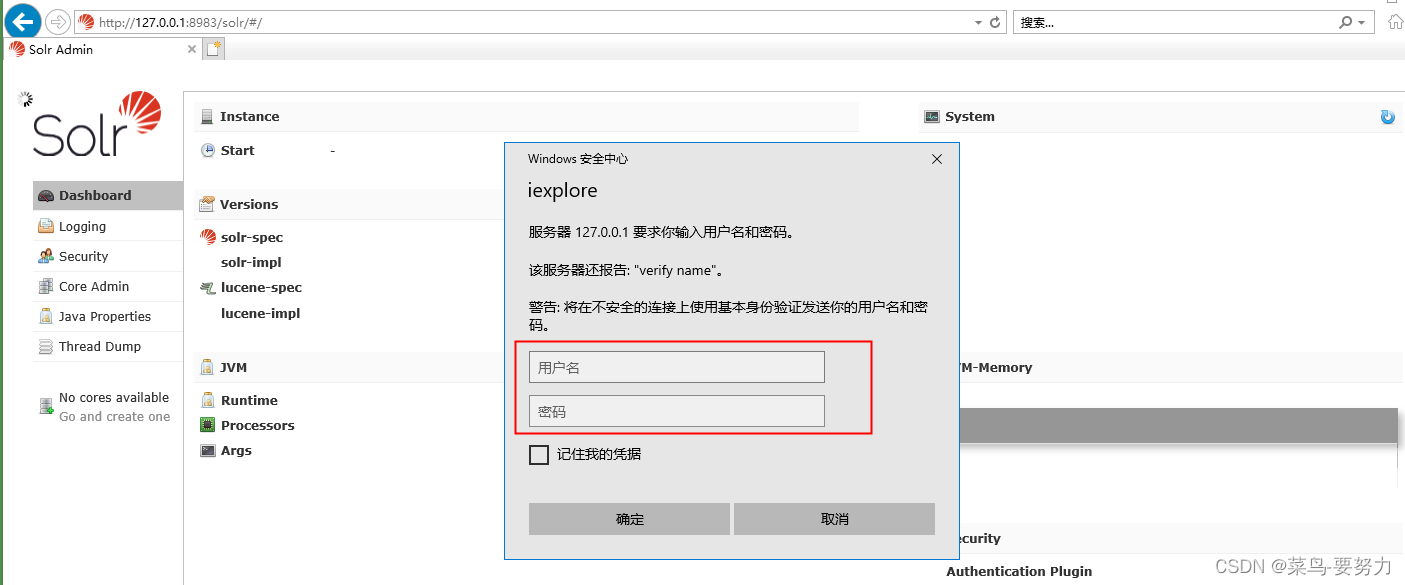
Enter your account and password here
. Confirm after input is completed.
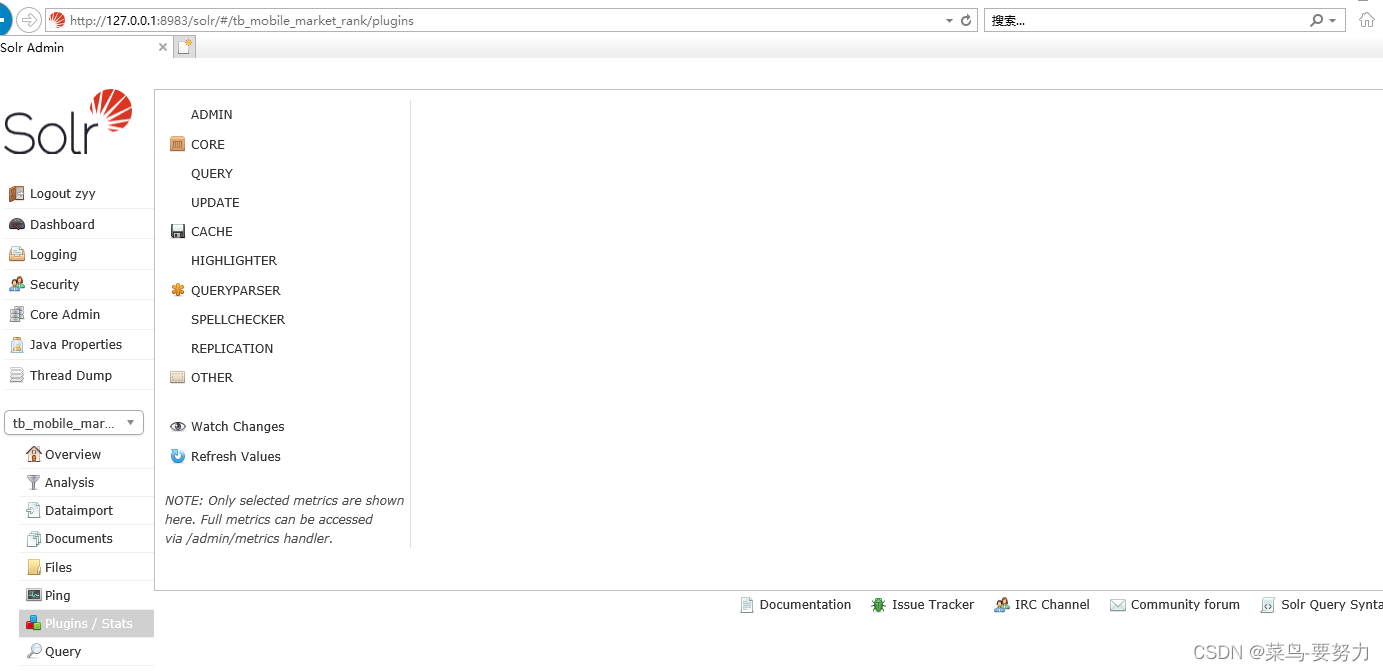
I have completed the configuration and login here
Go and do the rest yourself~~~