The pseudo-distribution of HBase depends on the Hadoop environment, so you need to configure Hadoop, pseudo-distributed, fully distributed, and HA. Here follows the simplest Hadoop distributed configuration.
HBASE theory
1. Hadoop configuration
Hadoop Pseudo-distributed
Hadoop Fully distributed
Hadoop HA
2. Pseudo-distributed configuration of HBase
Pseudo-distributed based on Hadoop
[root@single hadoop]# jps
7587 DataNode
7875 SecondaryNameNode
8243 NodeManager
8597 Jps
8103 ResourceManager
7423 NameNode
2.1 Decompress hbase
[root@localhost servers]# tar -xzvf /export/software/hbase-1.2.6-bin.tar.gz -C /export/servers/
[root@localhost servers]# cd /export/servers/
[root@localhost servers]# ls -ll
total 8
drwxr-xr-x. 9 root  root  4096 Aug 17  2016 hadoop-2.7.3
drwxr-xr-x  7 root  root   150 Jun 10 17:51 hbase-1.2.6
drwxr-xr-x. 8 10143 10143 4096 Sep 27  2021 jdk1.8.0_311
2.2 Configure hbase environment variables
[root@localhost servers]# vi /etc/profile
#在这里插入代码片
export JAVA_HOME=/export/servers/jdk1.8.0_311
export HADOOP_HOME=/export/servers/hadoop-2.7.3
export HBASE_HOME=/export/servers/hbase-1.2.6
export PATH=$PATH:$JAVA_HOME/bin:$HADOOP_HOME/bin:$HADOOP_HOME/sbin:$HBASE_HOME/bin
2.3. Configure hbase
2.3.1 $HBASE_HOME/conf/hbase-env.sh
Since HBase relies on the JAVA_HOME environment variable, edit the $HBASE_HOME/conf/hbase-env.sh file and uncomment the line starting with #export JAVA_HOME =, then set it to the Java installation path.
[root@localhost conf]# vi $HBASE_HOME/conf/hbase-env.sh
#取消JAVA_HOME的注释,并设置JAVA_HOME
export JAVA_HOME=/export/servers/jdk1.8.0_311
hbase uses the built-in zookeeper by default
# Tell HBase whether it should manage it's own instance of Zookeeper or not.
# export HBASE_MANAGES_ZK=true
The statement [export HBASE_MANAGES_ZK=true] indicates that the ZooKeeper management that comes with HBase is used. If you want to use an external ZooKeeper to manage HBase, you can install and configure ZooKeeper yourself, and then delete this sentence.
2.3.2 $HBASE_HOME/conf/hbase-site.xml
Specify the directory on the local file system where HBase and ZooKeeper write data and identify some risks. By default, a new directory habase is created under /export/data. The default location is /tmp, but many servers are configured to delete the contents of /tmp on reboot, so you should store your data elsewhere.
[root@localhost conf]# vi $HBASE_HOME/conf/hbase-site.xml
<configuration>
<property>
    <name>hbase.rootdir</name>
    <value>hdfs://single:9000/hbase</value>
    <!-- 下面是保存到本地,此时不需要部署hadoop -->
    <!-- <value>file:///export/data/hbase/hbase</value> -->
</property>
<!-- false单机模式(会启动自带的zookeeper),true是分布式模式 -->
<property>
    <name>hbase.cluster.distributed</name>
    <value>true</value>
</property>
  <!-- ZooKeeper数据文件路径 -->
  <property>
    <name>hbase.zookeeper.property.dataDir</name>
    <value>/export/data/hbase/zookeeper</value>
  </property>
</configuration>
3. Start HBASE
3.1 start
[root@localhost conf]# start-hbase.sh
starting master, logging to /export/servers/hbase-1.2.6/logs/hbase-root-master-localhost.localdomain.out
Java HotSpot(TM) 64-Bit Server VM warning: ignoring option PermSize=128m; support was removed in 8.0
Java HotSpot(TM) 64-Bit Server VM warning: ignoring option MaxPermSize=128m; support was removed in 8.0
3.2 View process
[root@single hadoop]# jps
7587 DataNode
7875 SecondaryNameNode
8243 NodeManager
12547 HRegionServer
8103 ResourceManager
12297 HQuorumPeer
12651 Jps
12397 HMaster
7423 NameNode
The HMaster process is the main process of HBase. The startup of the HMaster process indicates that the HBase stand-alone mode starts successfully.
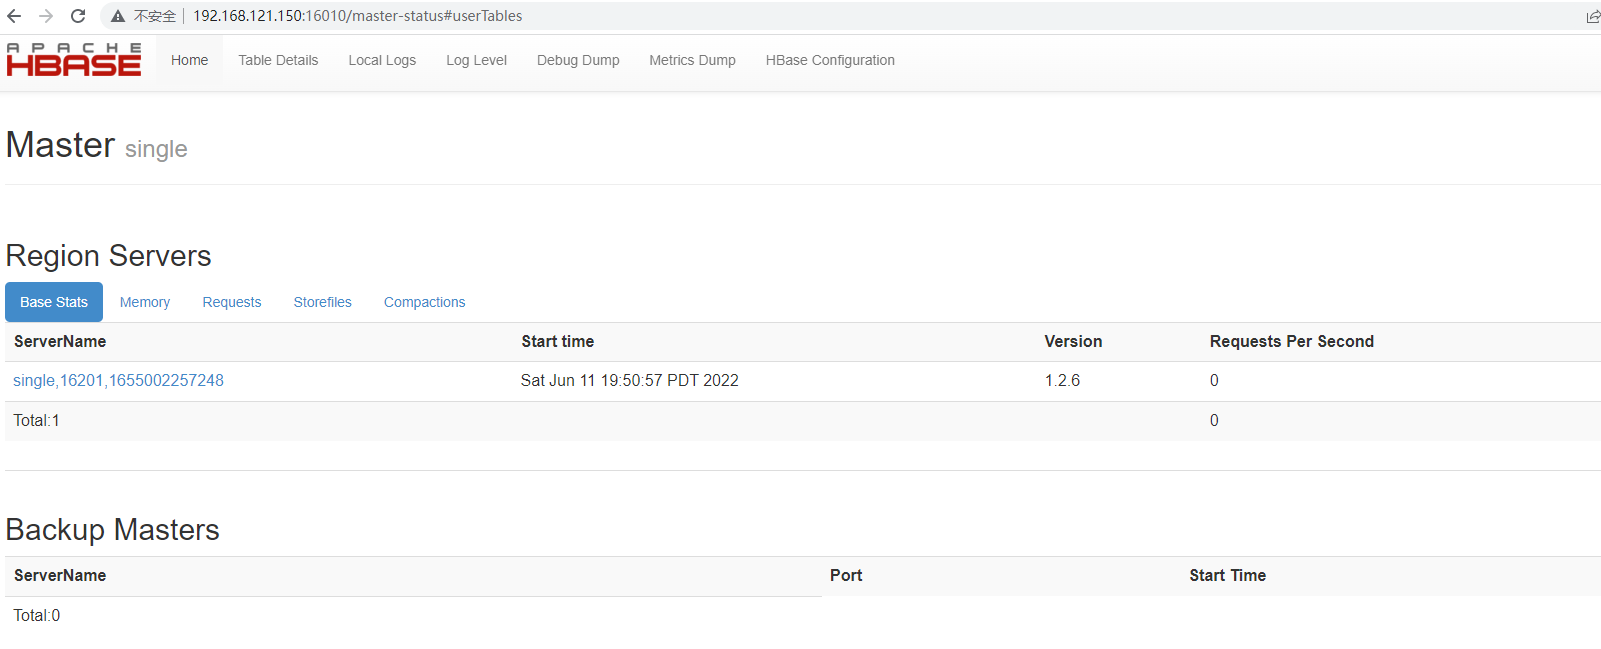
3.3 Access the web interface of HBase
http://192.168.121.150:16010/master-status
4 tests
4.1 Create an Hbase table on the shell side
hbase(main):042:0> create 't2','f1'
0 row(s) in 1.2590 seconds

=> Hbase::Table - t2
4.2 View table structure
hbase(main):047:0> describe 't2'
Table t2 is ENABLED
t2
COLUMN FAMILIES DESCRIPTION
{

    NAME => 'f1', BLOOMFILTER => 'ROW', VERSIONS => '1', IN_MEMORY => 'false', KEEP_DELETED_CELLS => 'FALSE', DATA_BLOCK_
ENCODING => 'NONE', TTL => 'FOREVER', COMPRESSION => 'NONE', MIN_VERSIONS => '0', BLOCKCACHE => 'true', BLOCKSIZE => '
65536', REPLICATION_SCOPE => '0'}
1 row(s) in 0.0470 seconds
From the above table structure, we can see that VERSIONS is 1, that is to say, only one version of column data will be accessed by default, and when inserted again, the later value will overwrite the previous value.
4.3 Modify table structure
Modify the table structure so that the Hbase table supports storing 3 VERSIONS version column data
hbase(main):056:0> alter 't2',{

    NAME=>'f1',VERSIONS=>3}
Updating all regions with the new schema...
1/1 regions updated.
Done.
0 row(s) in 1.9170 seconds
Look at the table structure again:
hbase(main):062:0> desc 't2'
Table t2 is ENABLED
t2
COLUMN FAMILIES DESCRIPTION
{

    NAME => 'f1', BLOOMFILTER => 'ROW', VERSIONS => '3', IN_MEMORY => 'false', KEEP_DELETED_CELLS => 'FALSE', DATA_BLOCK_
ENCODING => 'NONE', TTL => 'FOREVER', COMPRESSION => 'NONE', MIN_VERSIONS => '0', BLOCKCACHE => 'true', BLOCKSIZE => '
65536', REPLICATION_SCOPE => '0'}
1 row(s) in 0.0250 seconds
We will find that VERSIONS has been modified to 3.
4. Insert 3 rows of data
hbase(main):071:0>  put 't2','rowkey1','f1:name','tom'
0 row(s) in 0.0240 seconds

hbase(main):075:0> put 't2','rowkey1','f1:name','jack'
0 row(s) in 0.0310 seconds

hbase(main):076:0> put 't2','rowkey1','f1:name','lily'
0 row(s) in 0.0150 seconds

hbase(main):077:0> get 't2','rowkey1','f1:name'
COLUMN                         CELL
 f1:name                       timestamp=1654964444338, value=lily
1 row(s) in 0.0240 seconds

hbase(main):090:0> scan 't2'
ROW                            COLUMN+CELL
 rowkey1                       column=f1:name, timestamp=1654964444338, value=lily
1 row(s) in 0.0480 seconds
It can be seen from the above that 3 rows of data are inserted into the table, and the rowkeys of the 3 rows of data are consistent, and then the get command is used to obtain this row of data, and only the latest row of data is returned.
5、获取多行数据方法
hbase(main):095:0> get 't2','rowkey1',{

    COLUMN=>'f1:name',VERSIONS=>3}
COLUMN                         CELL
 f1:name                       timestamp=1654964444338, value=lily
 f1:name                       timestamp=1654964436752, value=jack
 f1:name                       timestamp=1654964406100, value=tom
3 row(s) in 0.0180 seconds

hbase(main):096:0> get 't2','rowkey1',{

    COLUMN=>'f1:name',VERSIONS=>2}
COLUMN                         CELL
 f1:name                       timestamp=1654964444338, value=lily
 f1:name                       timestamp=1654964436752, value=jack
2 row(s) in 0.0150 seconds
From the above test results, it can be seen that the data of two versions is obtained at one time.