The basic idea is to use the P104 graphics card with 8G memory as the computing power, deploy the novelai service on Ubuntu, and crack the gateway to allow ipv6 access to achieve intranet penetration.
Install graphics card
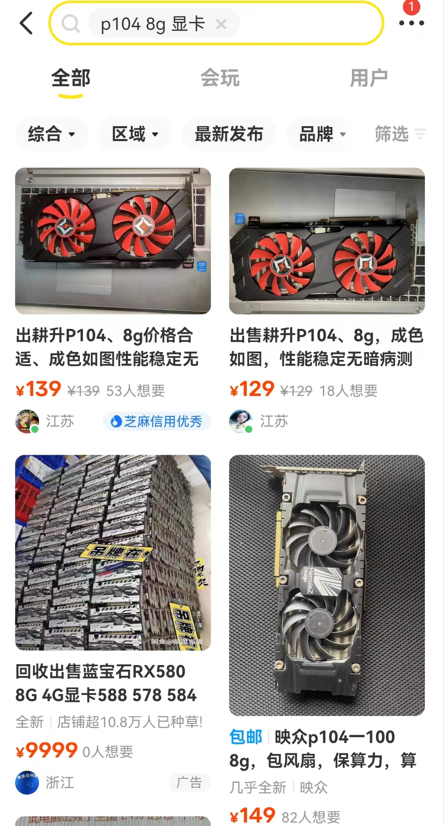
First of all, it is recommended to use a P104 graphics card whose video memory is changed to 8G. The core of P104 is equivalent to 1070, and the video memory reaches 8G after unlocking the BIOS. But the price is only about 150 yuan, so cheap because the P104 as a computing card does not have HDMI output, and the transmission bandwidth of the PCIE interface is not high. However, these limitations are not only not a problem for the purpose of running the AI model, but also a large enough video memory is also suitable for loading the model for calculation.

After the graphics card is installed, run
ubuntu-drivers devicesIf you can see the returned graphics card parameters and recommended driver list, you can directly install the official driver.
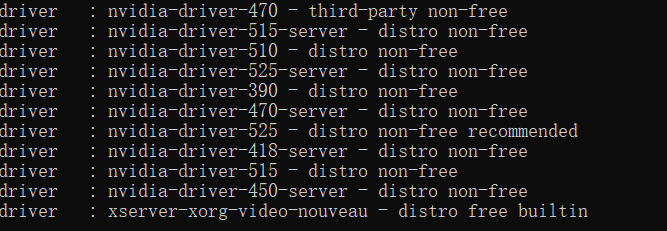
For example:
sudo ubuntu-drivers autoinstallThe network may be slow, you can also download it from the official website
https://www.nvidia.cn/drivers/unix/
If you do not see a list of recommended drivers when running [ubuntu-drivers devices], you can run
lspciIf you don't find NVIDIA information like this in the returned information
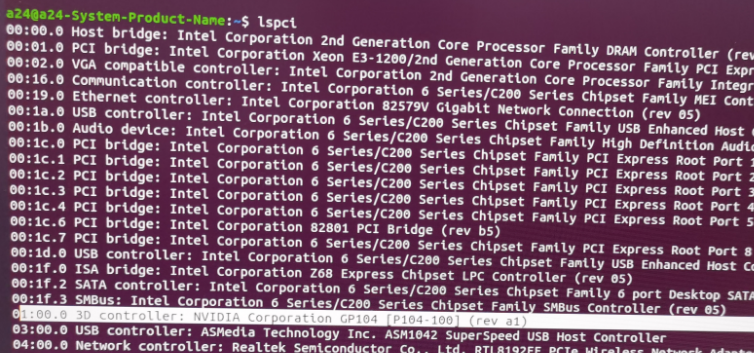
Then you should consider the compatibility between the graphics card and the motherboard, that is, the motherboard does not recognize the card, refer to this article:
https://blog.csdn.net/qq_63533710/article/details/128865451?spm=1001.2014.3001.5502
To put it simply, use tape to shield the contacts after the 20th pin (including 20th pin) of the graphics card interface, like this:
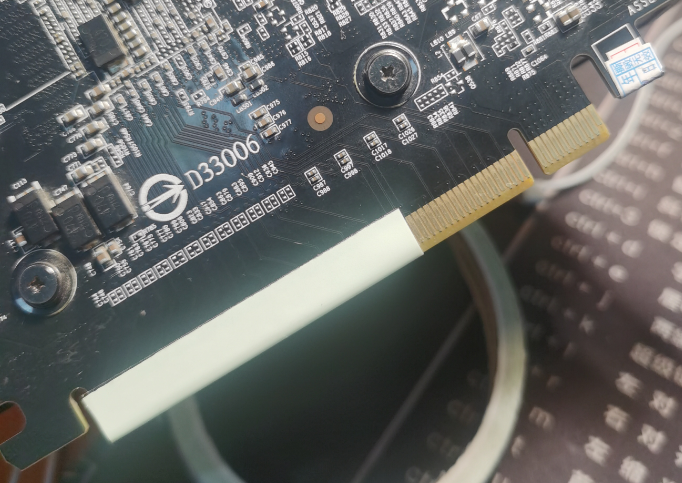
After that, you should be able to install the driver normally on the computer. After installing the driver, run:
nvidia-smiif return
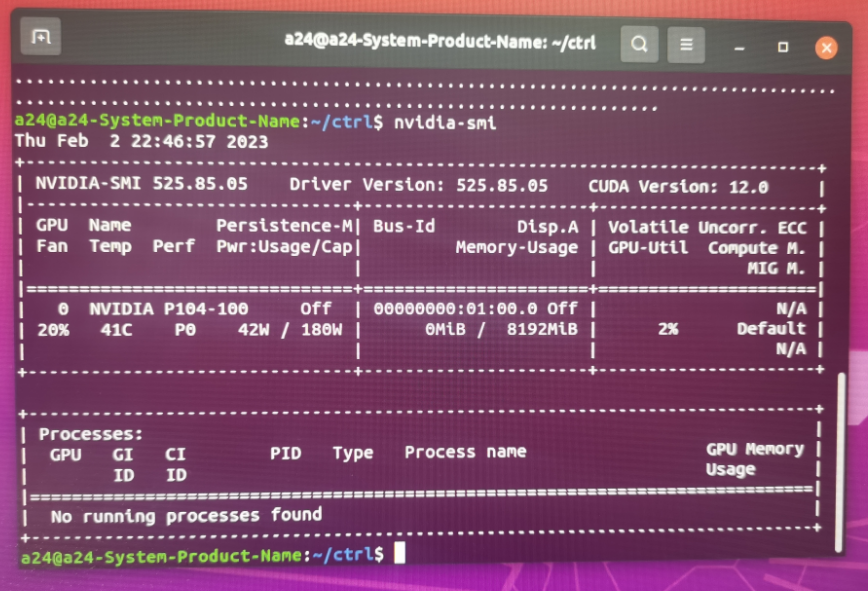
Indicates that the driver installation is complete
Intranet penetration
If it is a server set up at home, then there is no way to directly access the server from the external network, and naturally there is no way to use the service of ai painting outside the home. Therefore, we need intranet penetration. However, commercial intranet penetration solutions are not cheap, and require cumbersome filing and registration certification. We can refer to this article to use ipv6 for intranet penetration:
https://blog.csdn.net/qq_63533710/article/details/128621073?spm=1001.2014.3001.5502
这一步很重要,也需要面对一定的安全风险,但是使用这种内网穿透方案可以不用另外花钱,稳定性往往也相当不错。
部署novelai服务
在确定显卡可用以及外网可以使用ipv6访问我们搭建的机器后,就可以部署novelai服务了。
参考这篇文章:
https://hackmd.io/@remi-guan/SyYPgMGIj
但是似乎直接使用这里面的脚本会出问题,也可以尝试使用我稍微修改的脚本。
首先新建一个setupai.sh文件,内容如下:
#!/bin/bash
# install naifu
apt-get update -y
apt-get upgrade -y
apt install -y -qq aria2 python3 python3-pip
aria2c --summary-interval=5 -x 3 --allow-overwrite=true -Z   https://pub-2fdef7a2969f43289c42ac5ae3412fd4.r2.dev/naifu.tar
tar xf naifu.tar && rm naifu.tar
# 这个地方要赋予naifu读写权限,否则下步会报错
sudo chmod 777 -R naifu/
#
cd naifu
pip install virtualenv && bash ./setup.sh
sed -i 's/# export SAVE_FILES="1"/export SAVE_FILES="1"/g' run.sh

# install caddy
sudo apt install -y debian-keyring debian-archive-keyring apt-transport-https
curl -1sLf 'https://dl.cloudsmith.io/public/caddy/stable/gpg.key' | sudo gpg --dearmor -o /usr/share/keyrings/caddy-stable-archive-keyring.gpg
curl -1sLf 'https://dl.cloudsmith.io/public/caddy/stable/debian.deb.txt' | sudo tee /etc/apt/sources.list.d/caddy-stable.list
sudo apt update -y
sudo apt install -y caddy

# add systemd service
sudo cat << EOF > /etc/systemd/system/naifu.service
[Unit]
Description=Naifu Web Service

[Service]
WorkingDirectory=/root/naifu
ExecStart=/root/naifu/run.sh

Restart=always
RestartSec=10

StandardOutput=syslog
StandardError=syslog
SyslogIdentifier=autodeploy

[Install]
WantedBy=multi-user.target
EOF
然后在这个文件的同级目录下打开终端,运行
sudo chmod 777 setupai.sh
sudo ./setupai,sh
由于网络或者权限问题这个脚本有时候不能一次性执行成功,可以将脚本的每一步分开输入终端执行,逐步排除问题。脚本大致的流程是下载naifu的相关文件,然后建立虚拟环境并且安装相关依赖。
脚本运行完成后会出现一个naifu文件夹,进去文件夹,找到里面run.sh的文件,将最后一行:
$PYTHON -m uvicorn --host 0.0.0.0 --port=6969 main:app & bore local 6969 --to bore.pub改为
$PYTHON -m uvicorn --host '::' --port=6969 main:app这样改是因为如果按照上面链接的做法,uvicorn服务只是支持ipv4访问,但是我们的内网穿透方案使用的是ipv6,可以参考uvicorn官方文档:

运行
ifconfig找到服务器的ipv6地址,就像这样:

通常你会看到多个地址,随便复制一个inet6后面的ipv6地址即可,但是不要选择fe80开头的内网地址。
然后进入naifu文件夹运行run.sh
sudo ./run.sh如果运行不了可以先修改权限
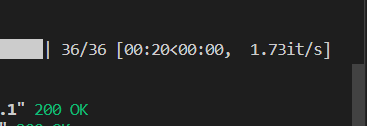
sudo chmod 777 run.sh运行应该可以看到:

说明运行成功了,服务已经部署。
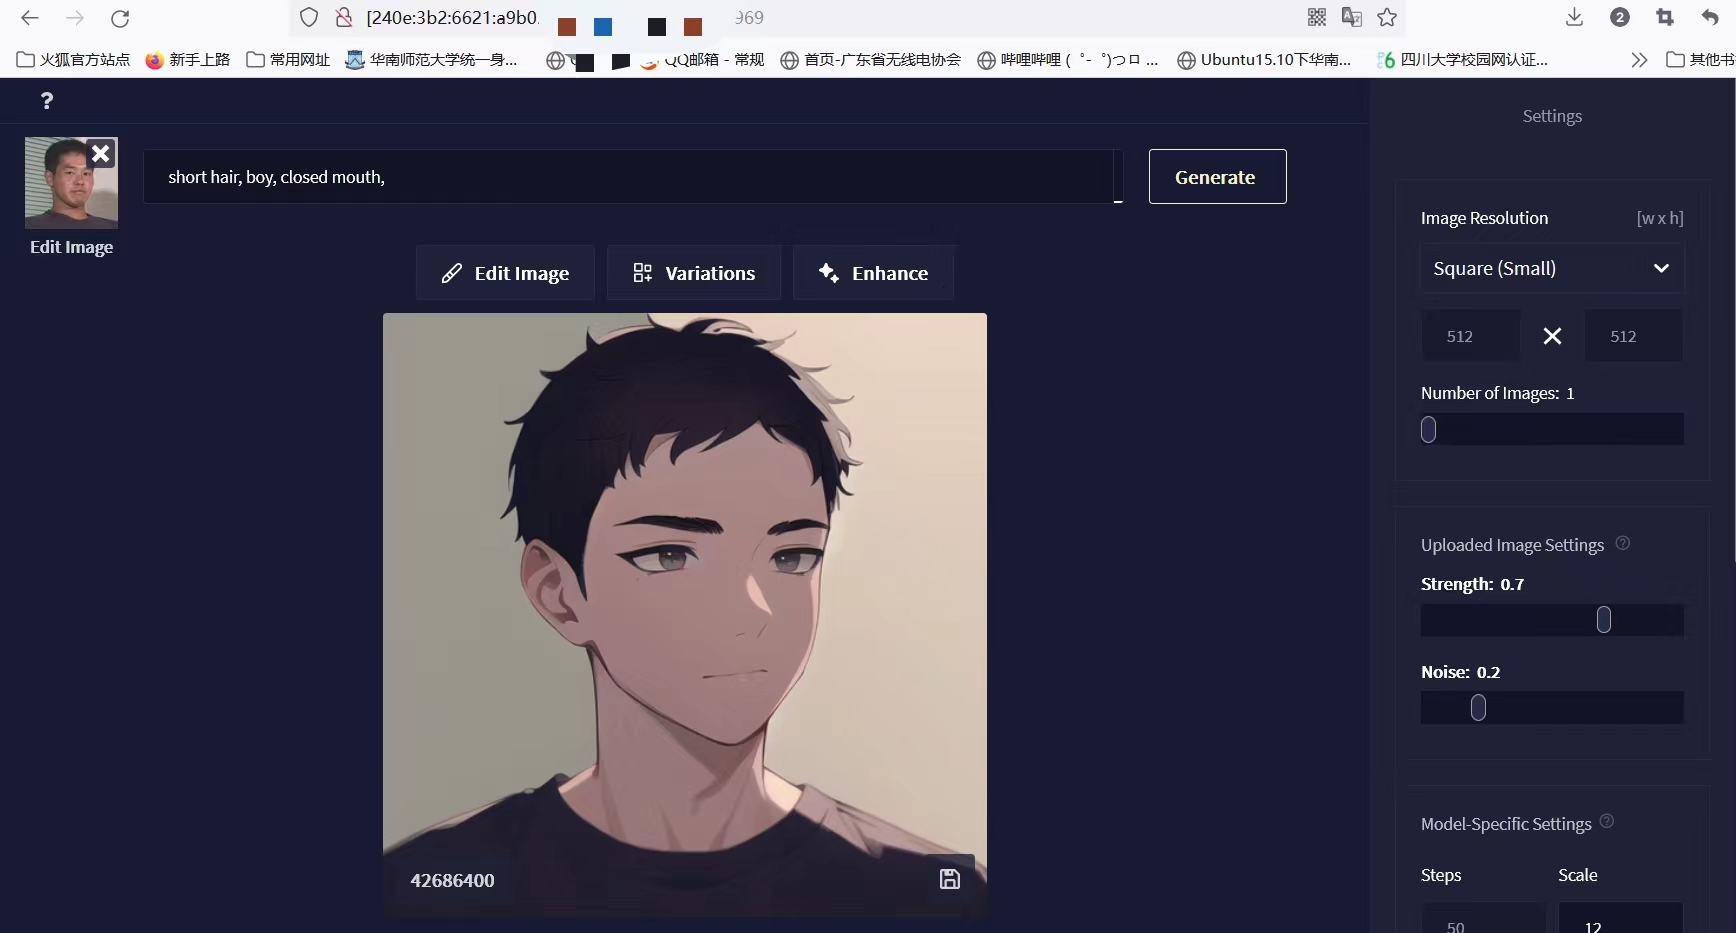
访问服务
任何人想要访问网站时只要在浏览器输入刚刚复制下来的网址,要像这种格式输入:
[<刚刚复制下来的网址>]:6969比如这里:

如果无法访问:

可能是访问网站的人没有ipv6网络,通常使用手机热点上网就可以获得ipv6网络了。
然后就可以画纸片人了()
部分手机浏览器也可以直接访问:

大致性能
对512*512画幅的生成速度
运行时查看负载状况,可以看:
nvidia-smi
服务器ipv6地址通常至少可以使用两个月以上,当地址变化导致无法访问时可以参考内网穿透部分的文章,从github获取服务器的新网址。