Table of contents
Pix2Pix overview
Pix2Pix is a deep learning image conversion model based on conditional generative adversarial networks (cGAN, Condition Generative Adversarial Networks). This model was proposed by Phillip Isola and other authors on CVPR in 2017. It can realize semantic/label to real Conversion of images, grayscale images to color images, aerial images to maps, day to night, and line drawings to physical images. Pix2Pix is a classic of applying cGAN to supervised image-to-image translation, which includes two models: generator and discriminator.
Traditionally, although the goal of such tasks is the same to predict pixels from pixels, each is handled by a separate dedicated machine. And the network used by Pix2Pix as a general framework, using the same architecture and objectives, only trained on different data, can get satisfactory results, in view of this many people have published their own artwork using this network .
If you are interested in MindSpore, you can follow the Shengsi MindSpore community

1. Environmental preparation
1. Enter ModelArts official website
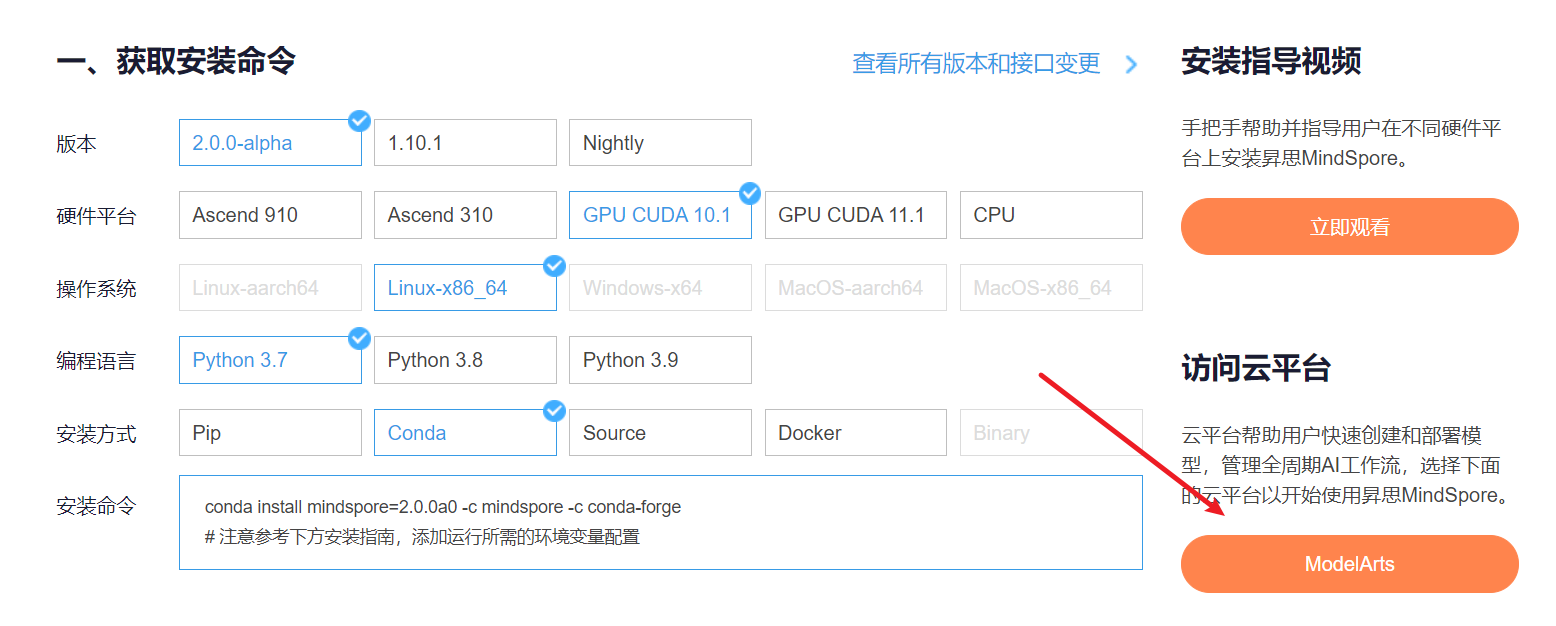
The cloud platform helps users quickly create and deploy models, and manage full-cycle AI workflows. Select the following cloud platform to start using Shengsi MindSpore, get the installation command , install MindSpore2.0.0-alpha version, and enter the ModelArts official website in the Shengsi tutorial
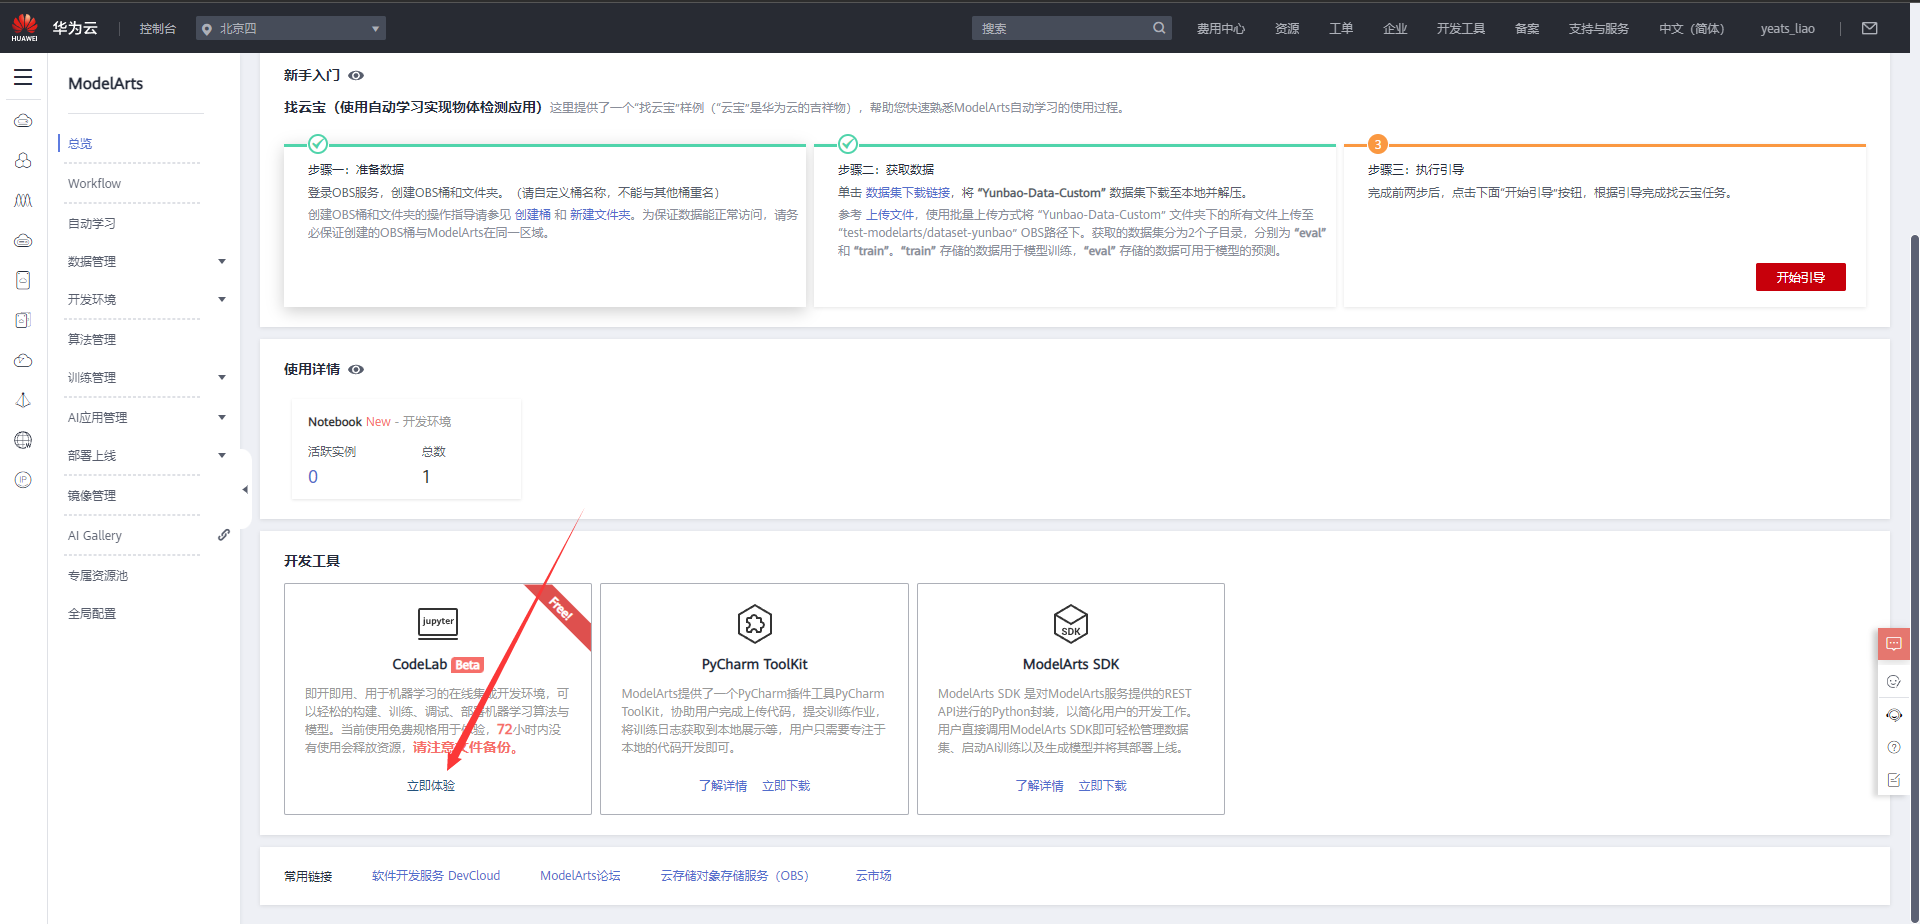
Choose CodeLab below to experience it immediately
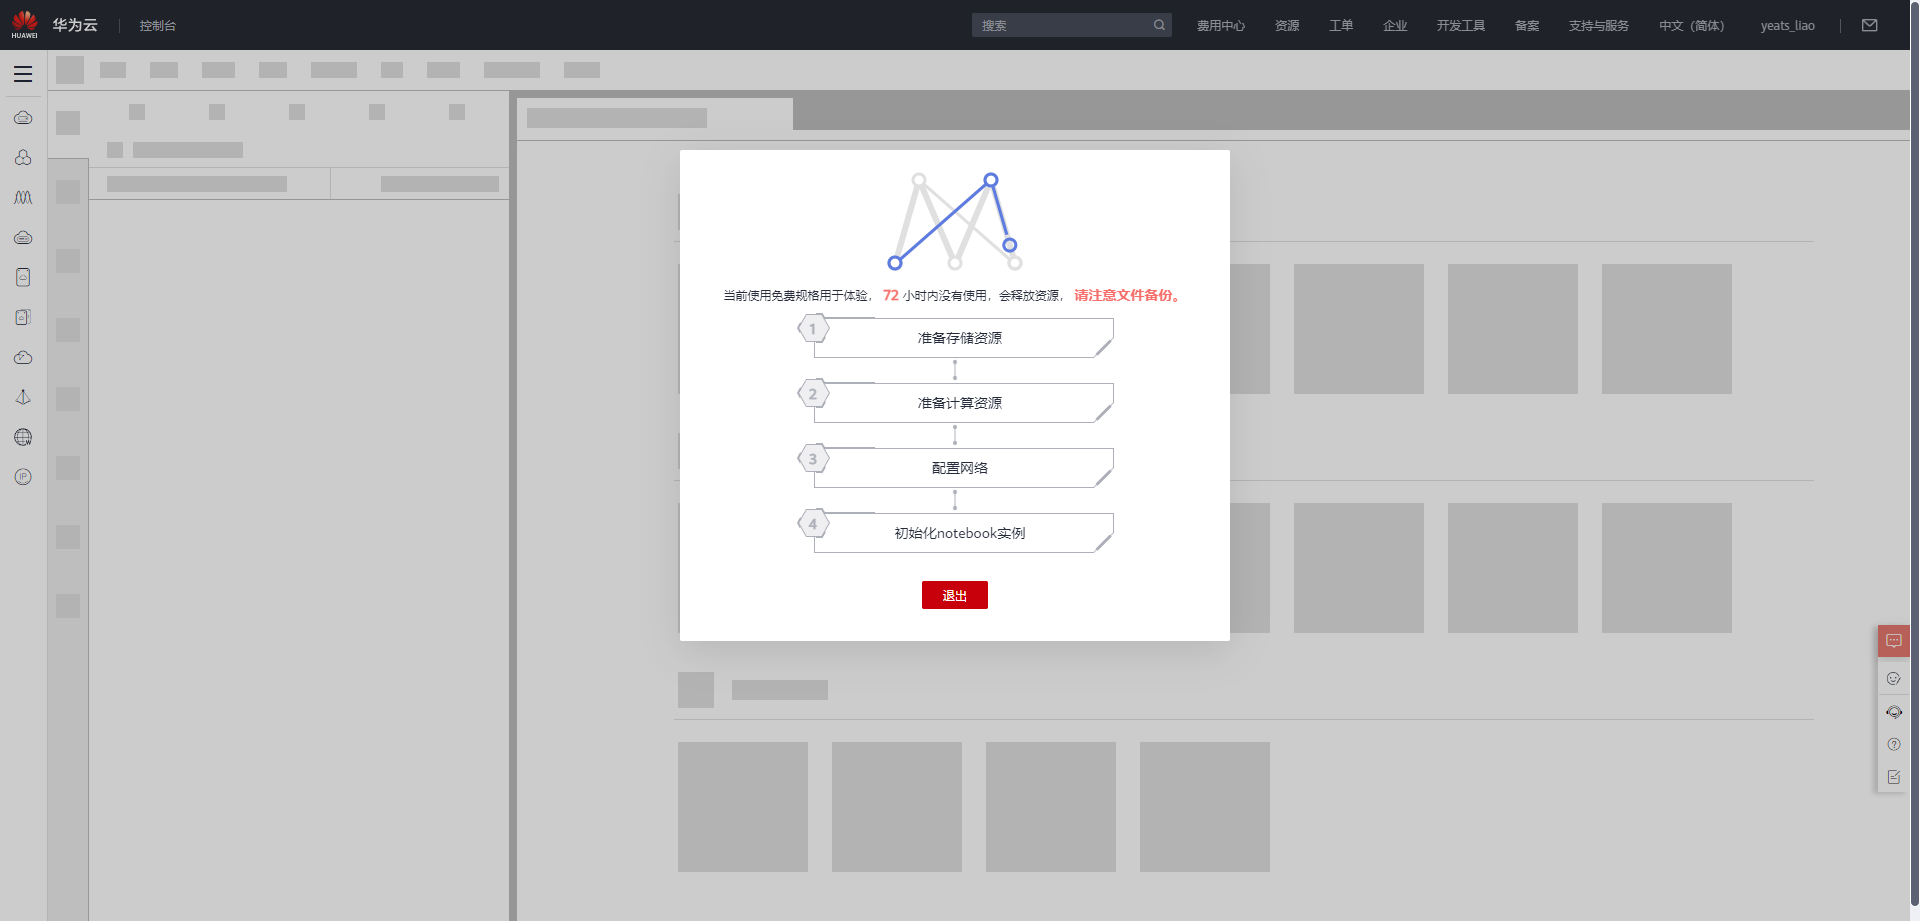
Wait for the environment to be built
2. Use CodeLab to experience Notebook instances
Download the NoteBook sample code , ResNet50 transfer learning , .ipynbas a sample code
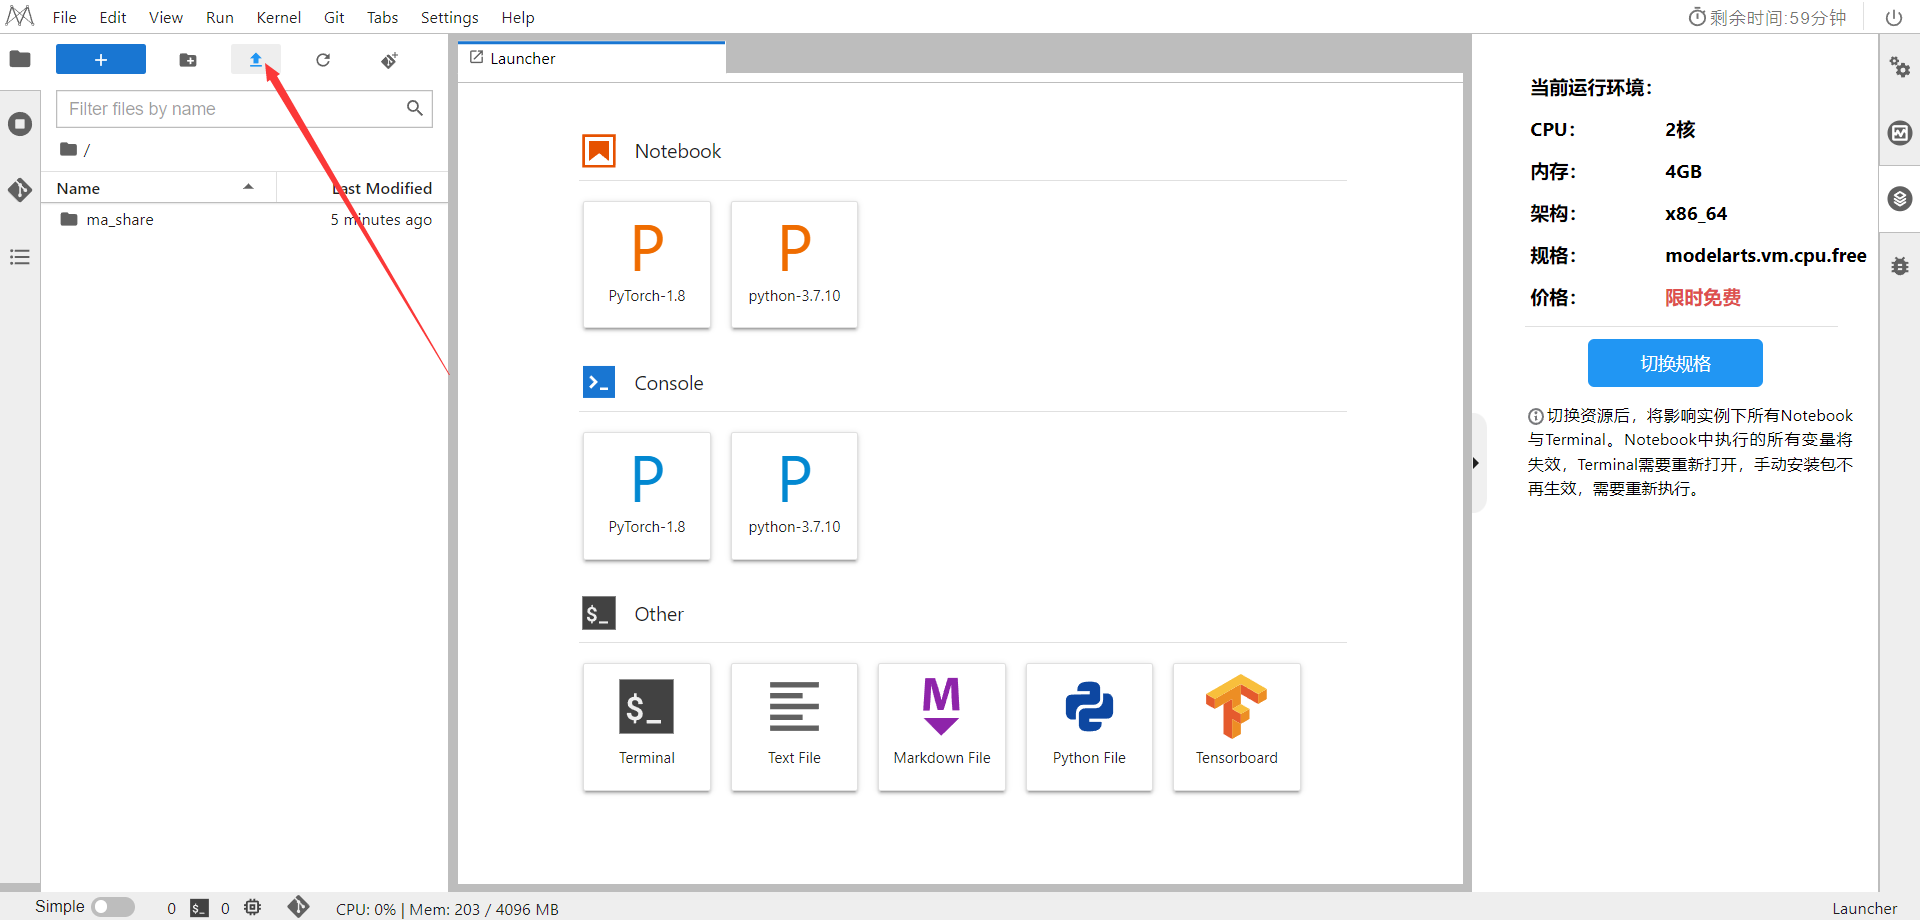
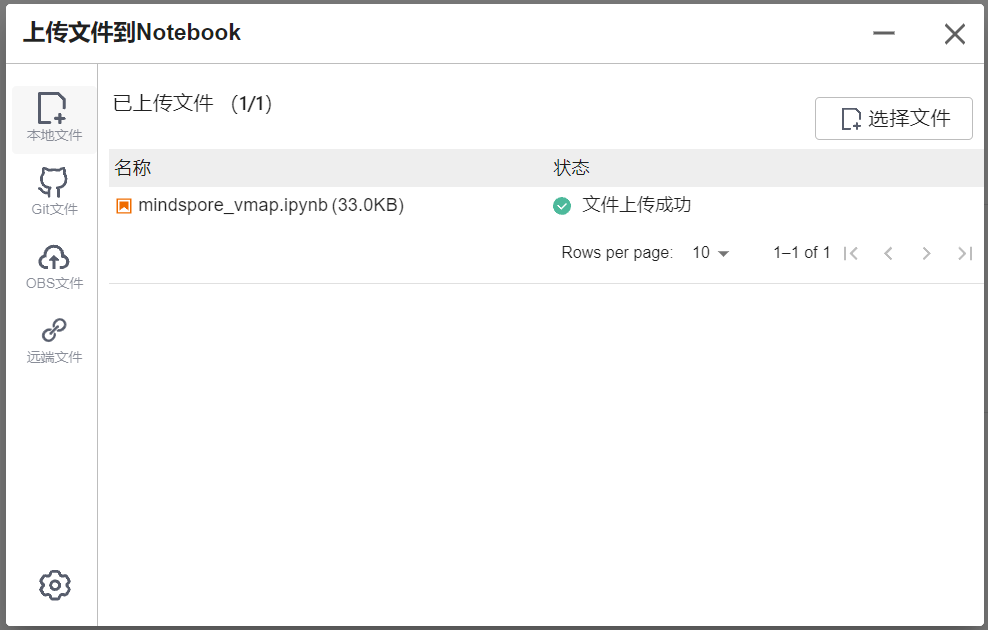
Select ModelArts Upload Files to upload .ipynbfiles
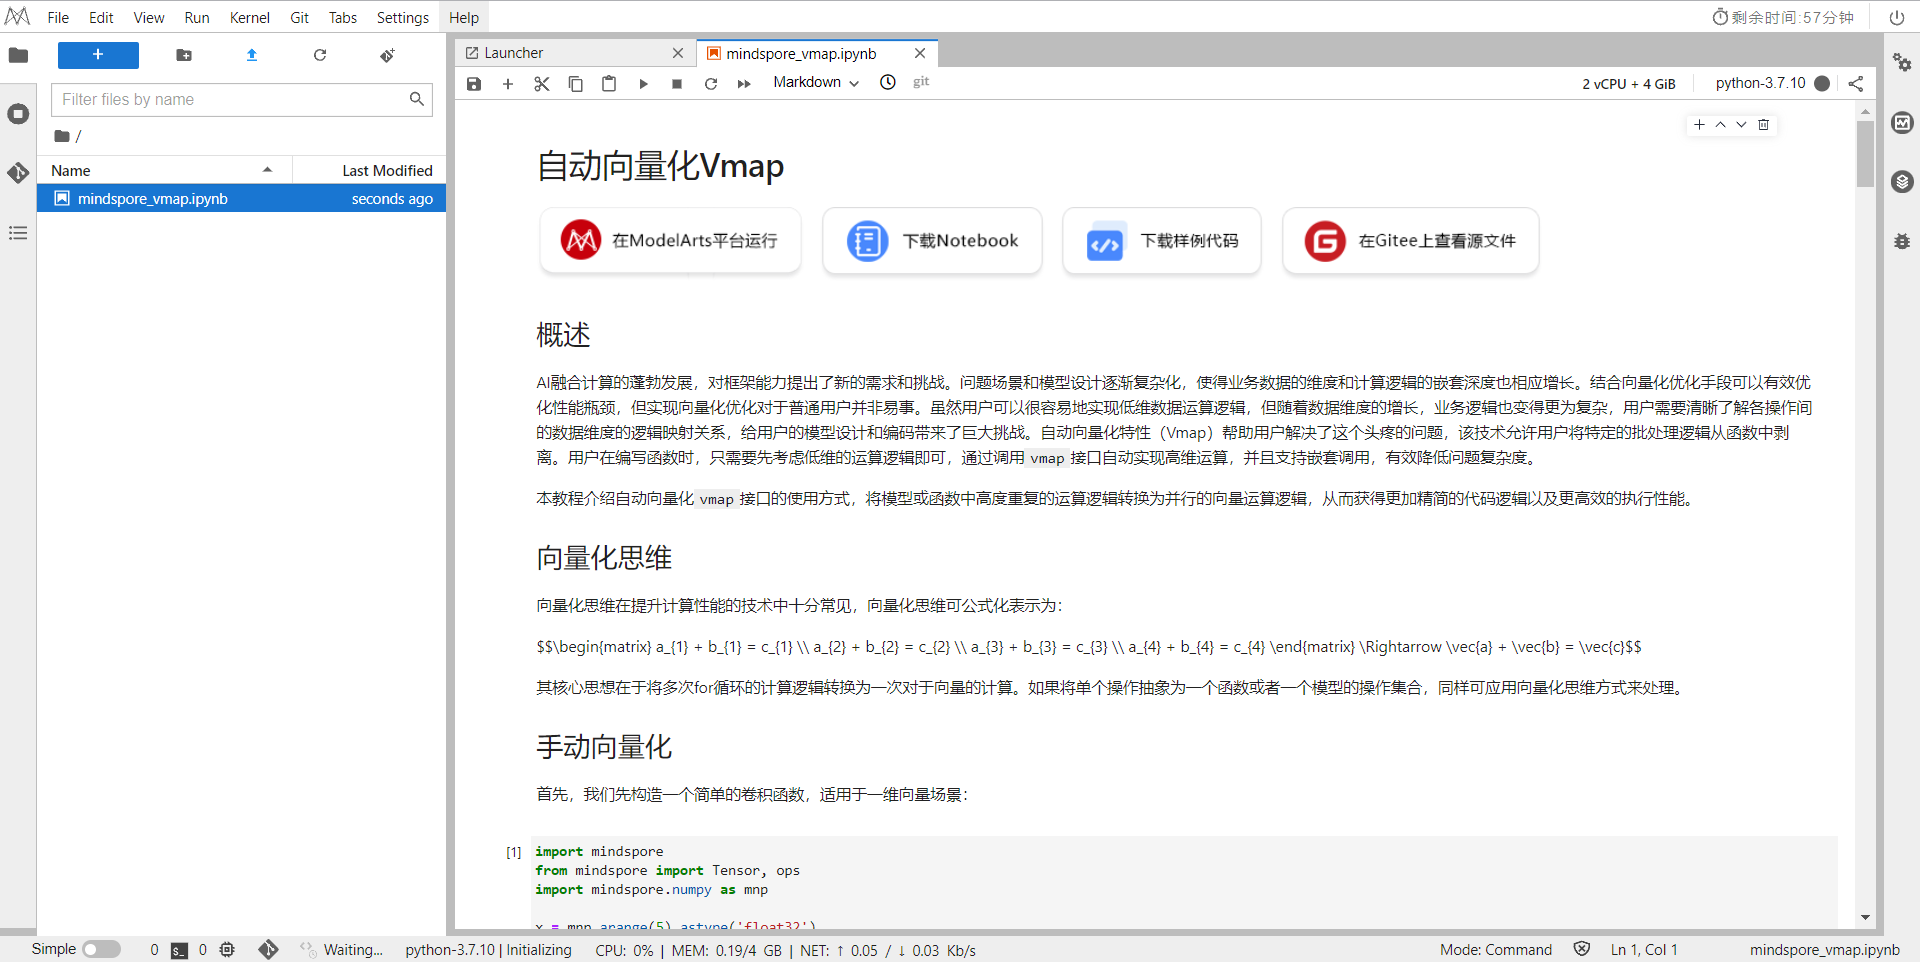
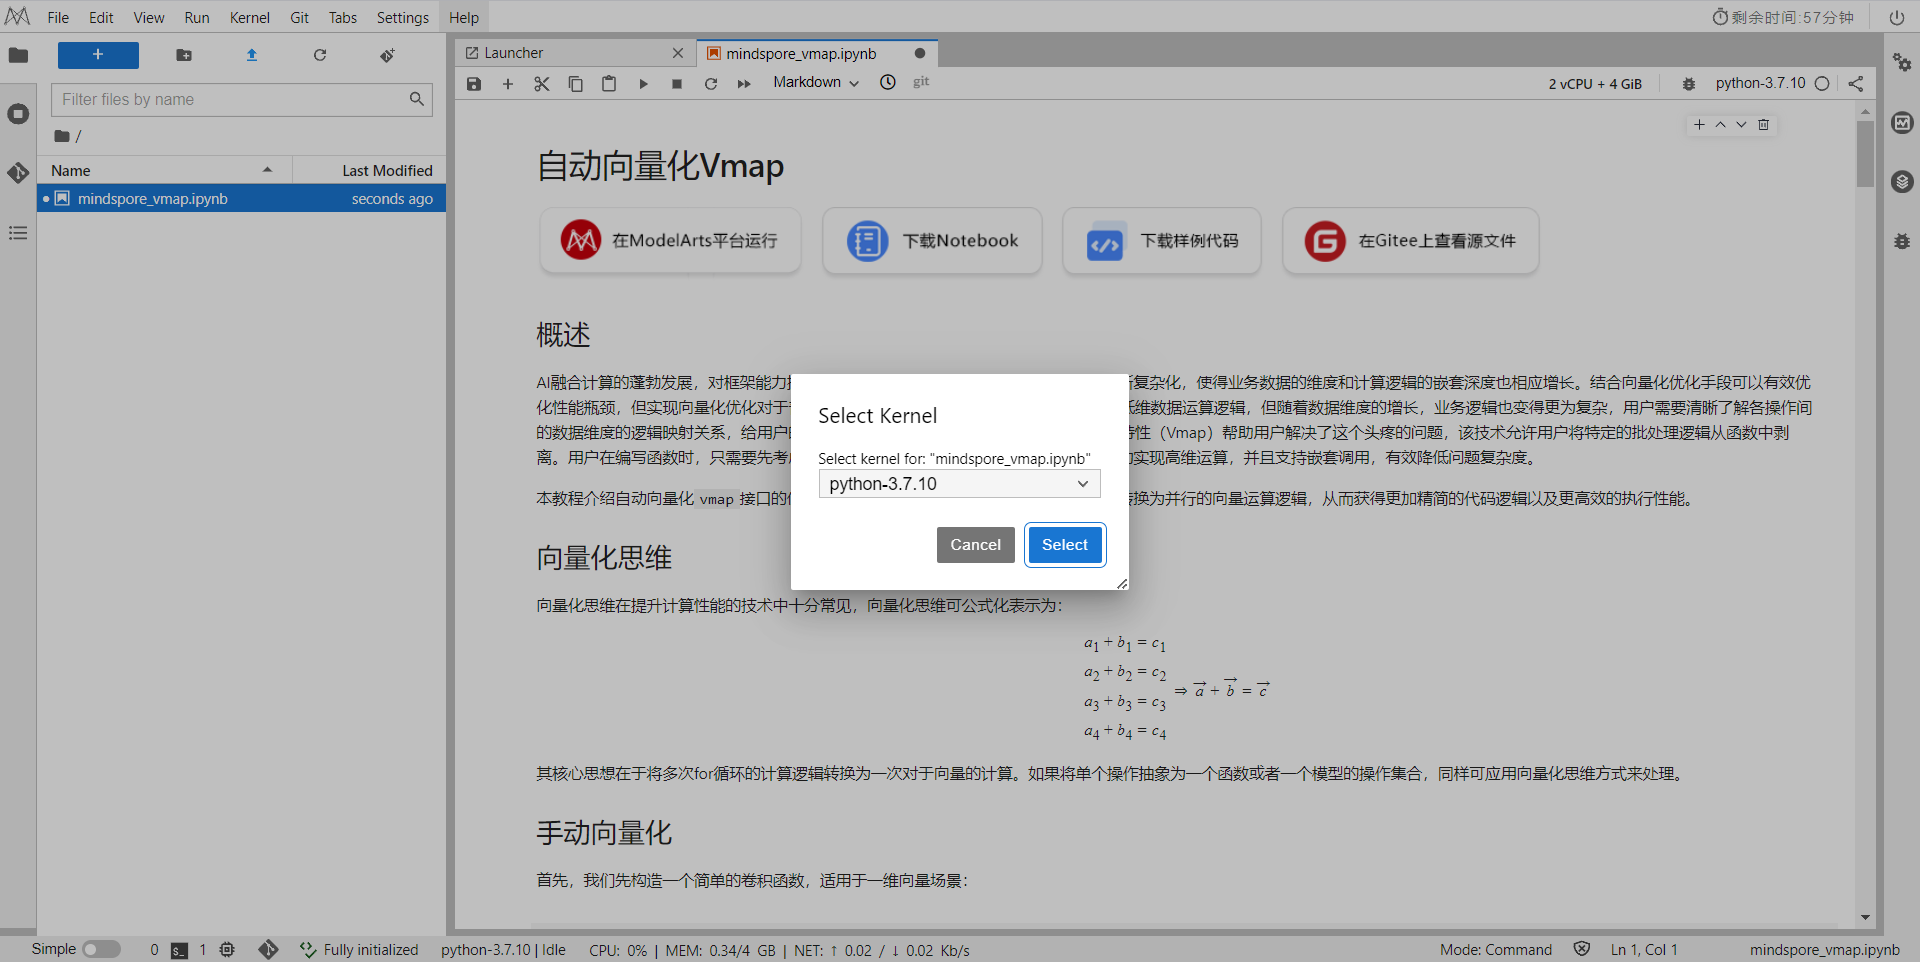
Select the Kernel environment
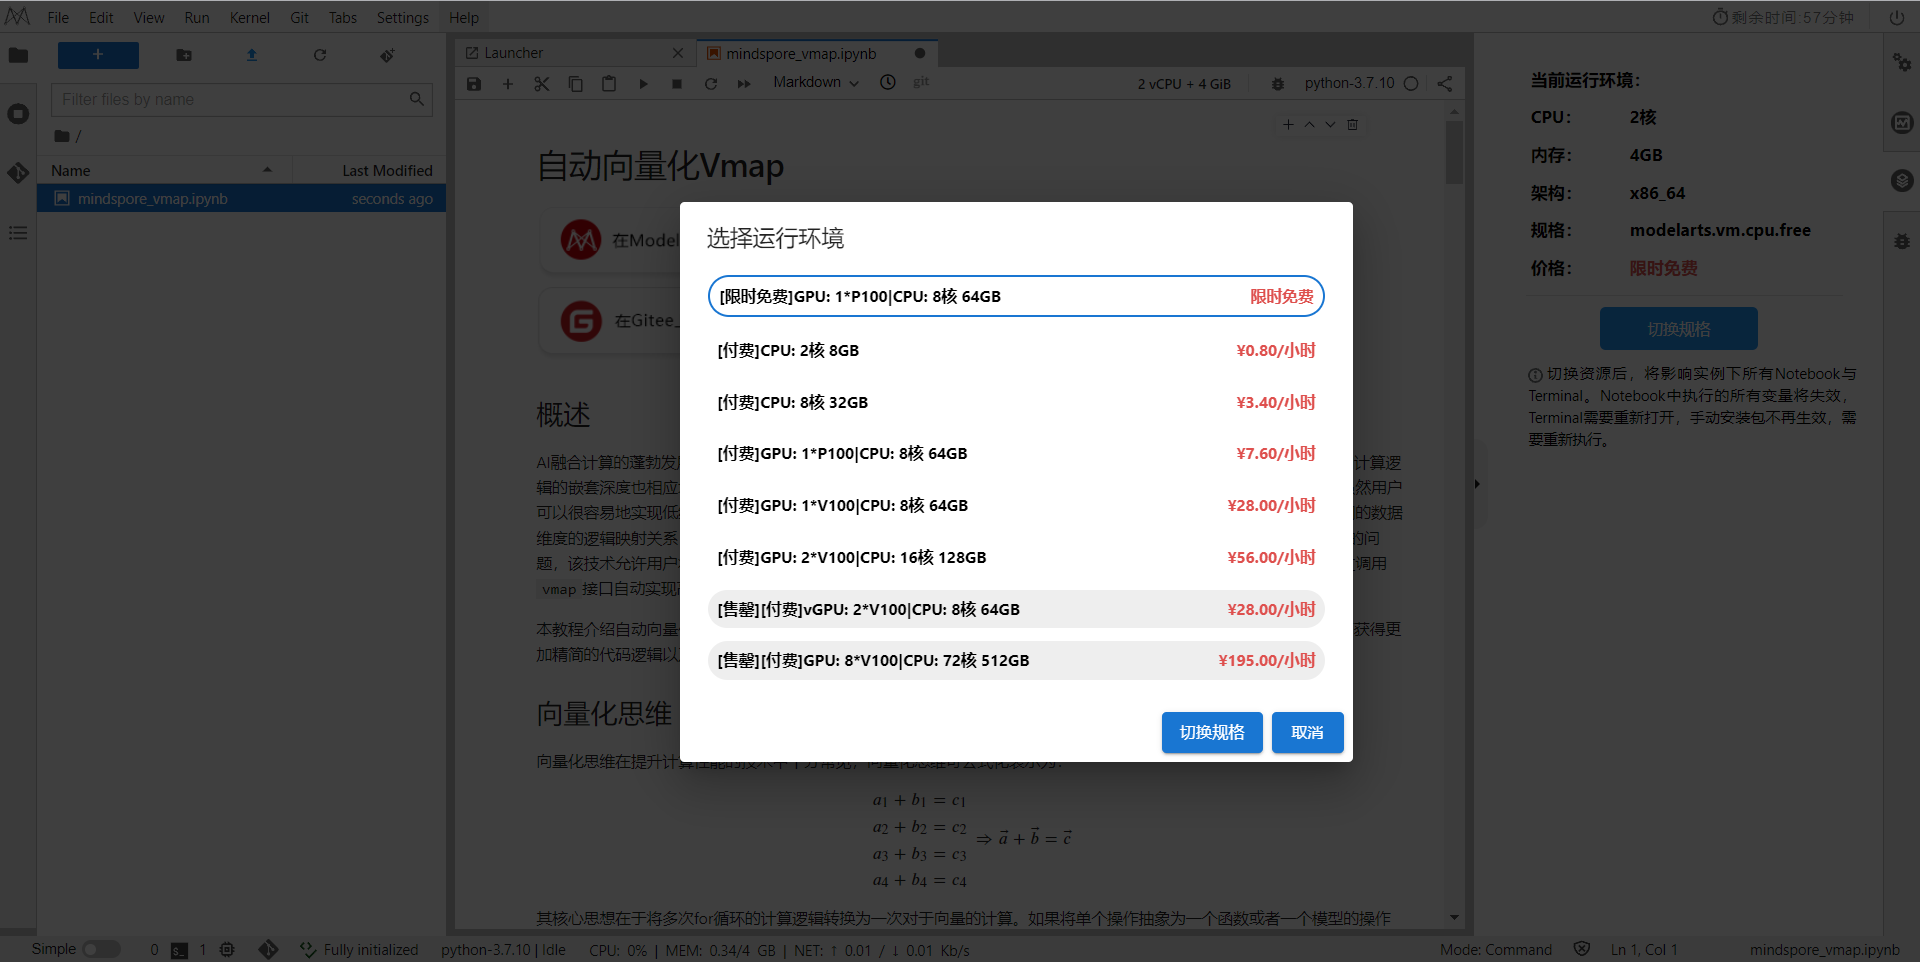
Switch to the GPU environment, switch to the first time-limited free
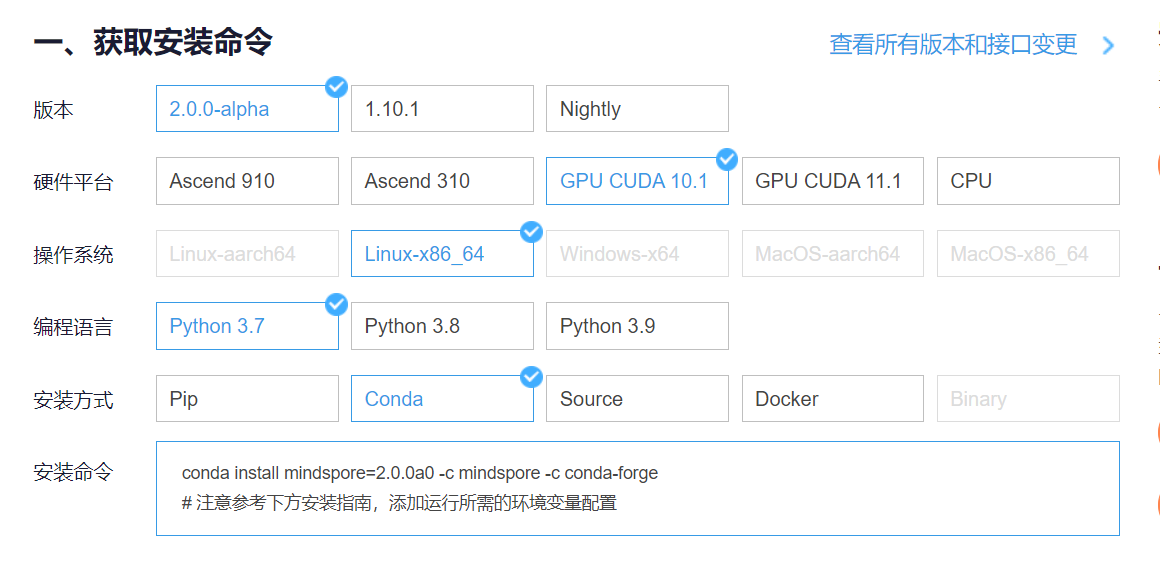
Enter Shengsi MindSpore official website , click on the installation above

get install command
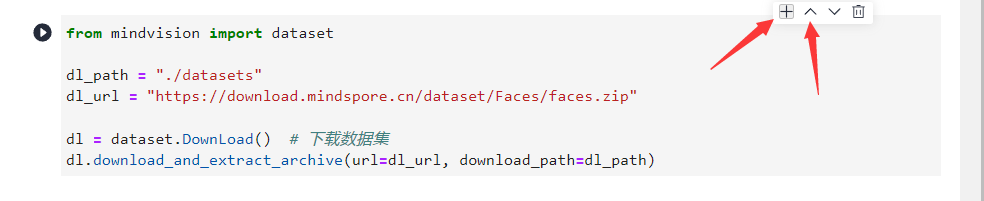
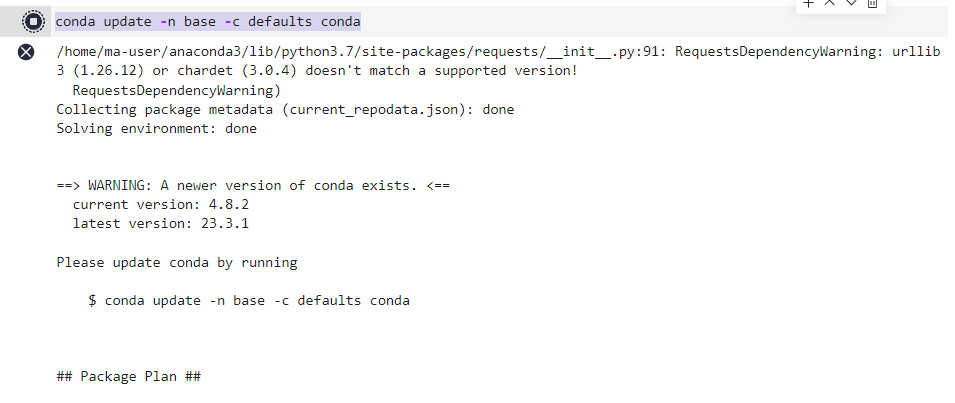
Back in the Notebook, add the command before the first block of code
conda update -n base -c defaults conda
Install MindSpore 2.0 GPU version
conda install mindspore=2.0.0a0 -c mindspore -c conda-forge

install mindvision
pip install mindvision

2. Data preparation
download dataset
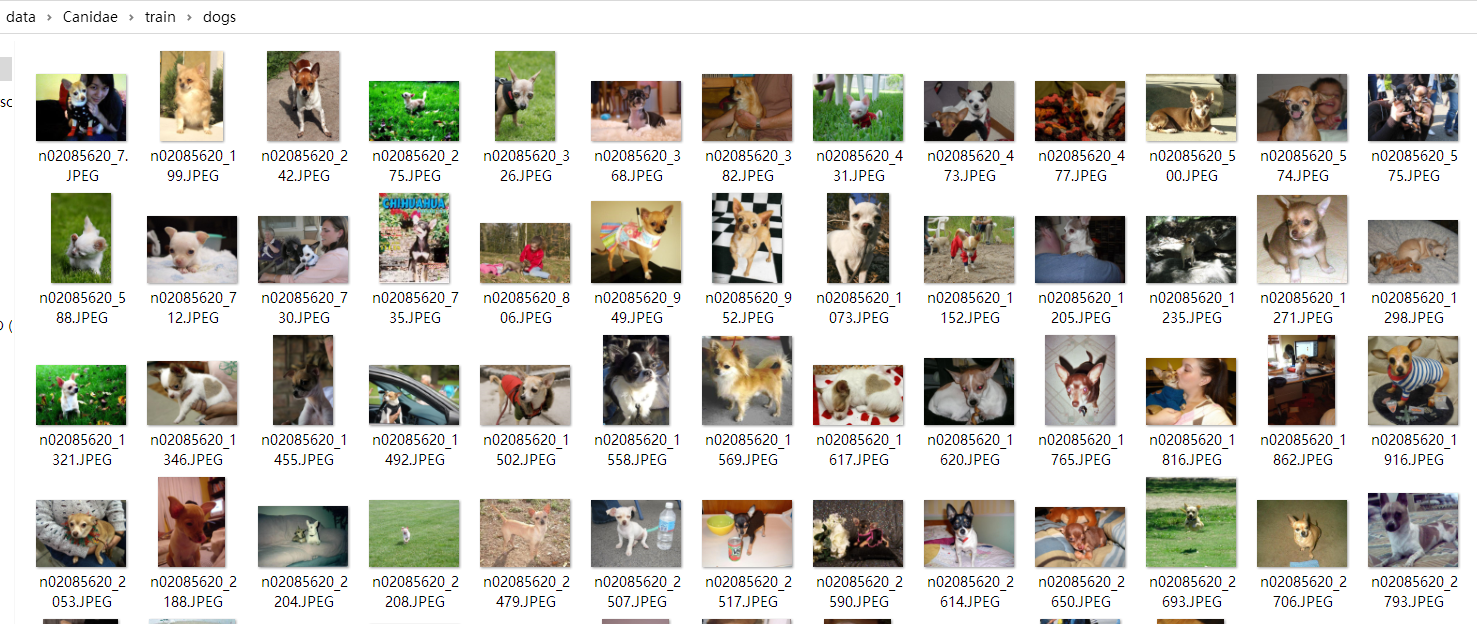
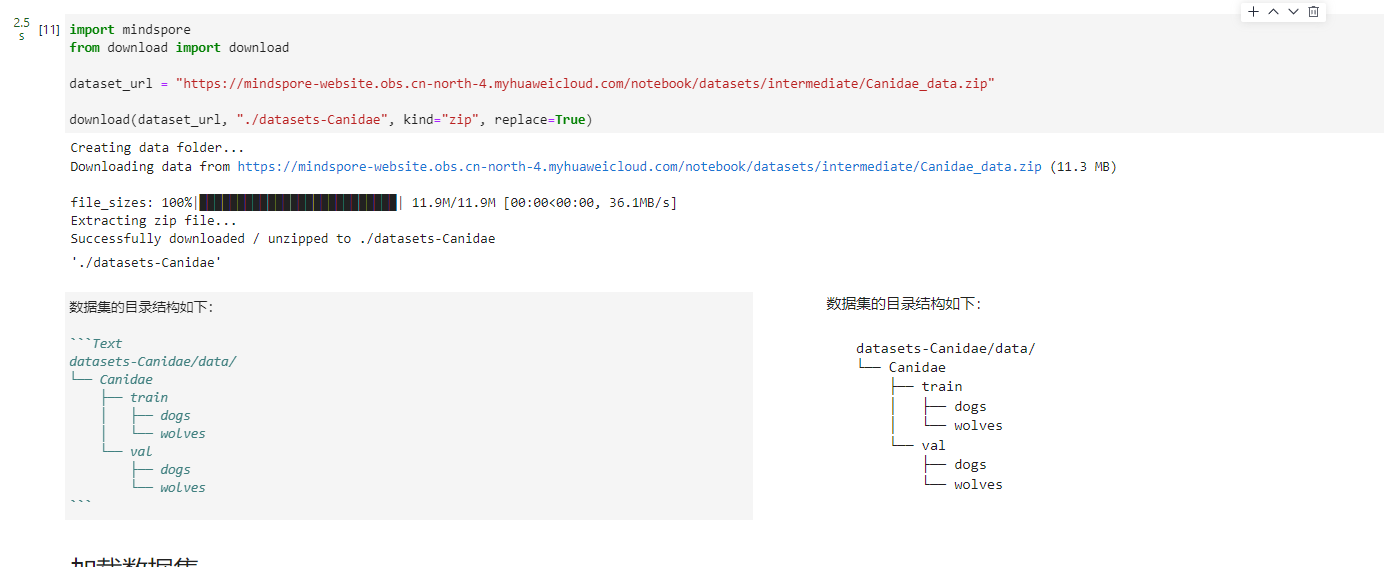
Download the dog and wolf classification data set used in the case . The images in the data set come from ImageNet. Each classification has about 120 training images and 30 verification images. Use the download interface to download the dataset, and automatically decompress the downloaded dataset to the current directory.
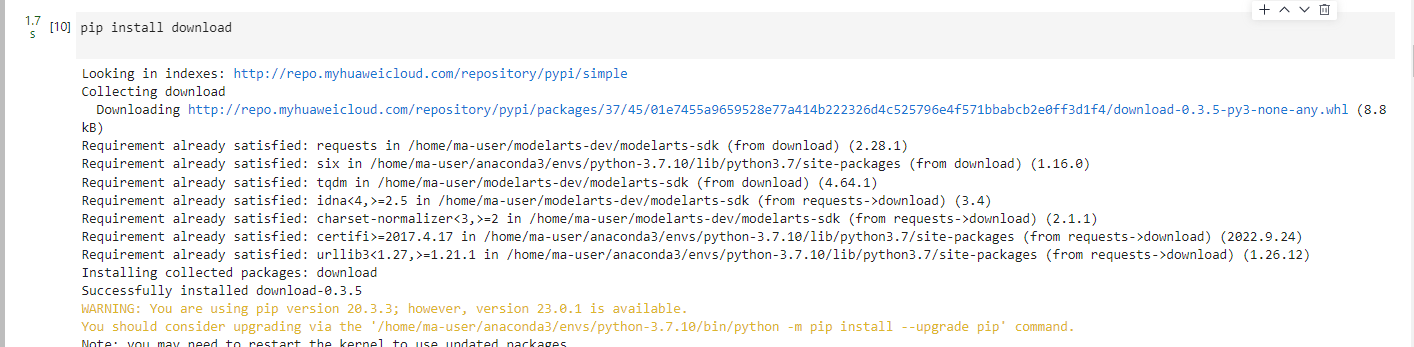
installdownloaddownload
pip install download
from download import download

dataset_url = "https://mindspore-website.obs.cn-north-4.myhuaweicloud.com/notebook/datasets/intermediate/Canidae_data.zip"

download(dataset_url, "./datasets-Canidae", kind="zip")
The directory structure of the dataset is as follows:
datasets-Canidae/data/
└── Canidae
    ├── train
    │   ├── dogs
    │   └── wolves
    └── val
        ├── dogs
        └── wolves
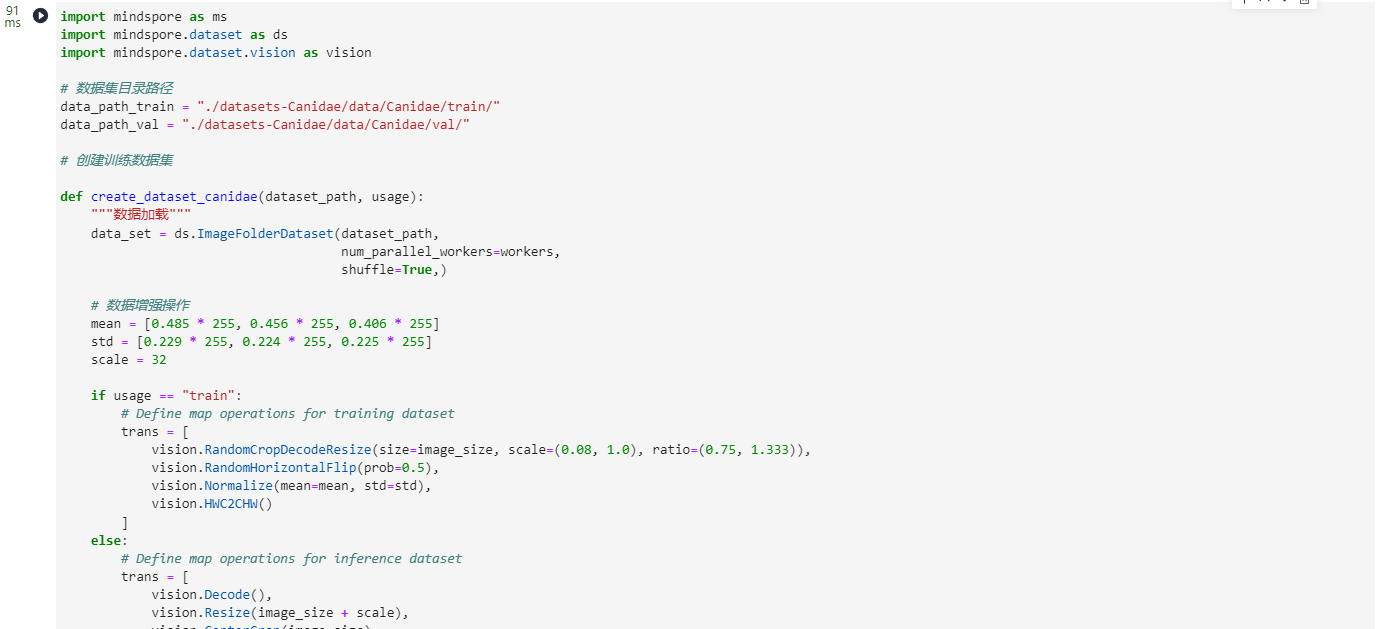
3. Load the dataset
The wolfdog dataset is extracted from the ImageNet classification dataset, and the mindspore.dataset.ImageFolderDataset interface is used to load the dataset and perform related image enhancement operations.
First the execution procedure defines some inputs:

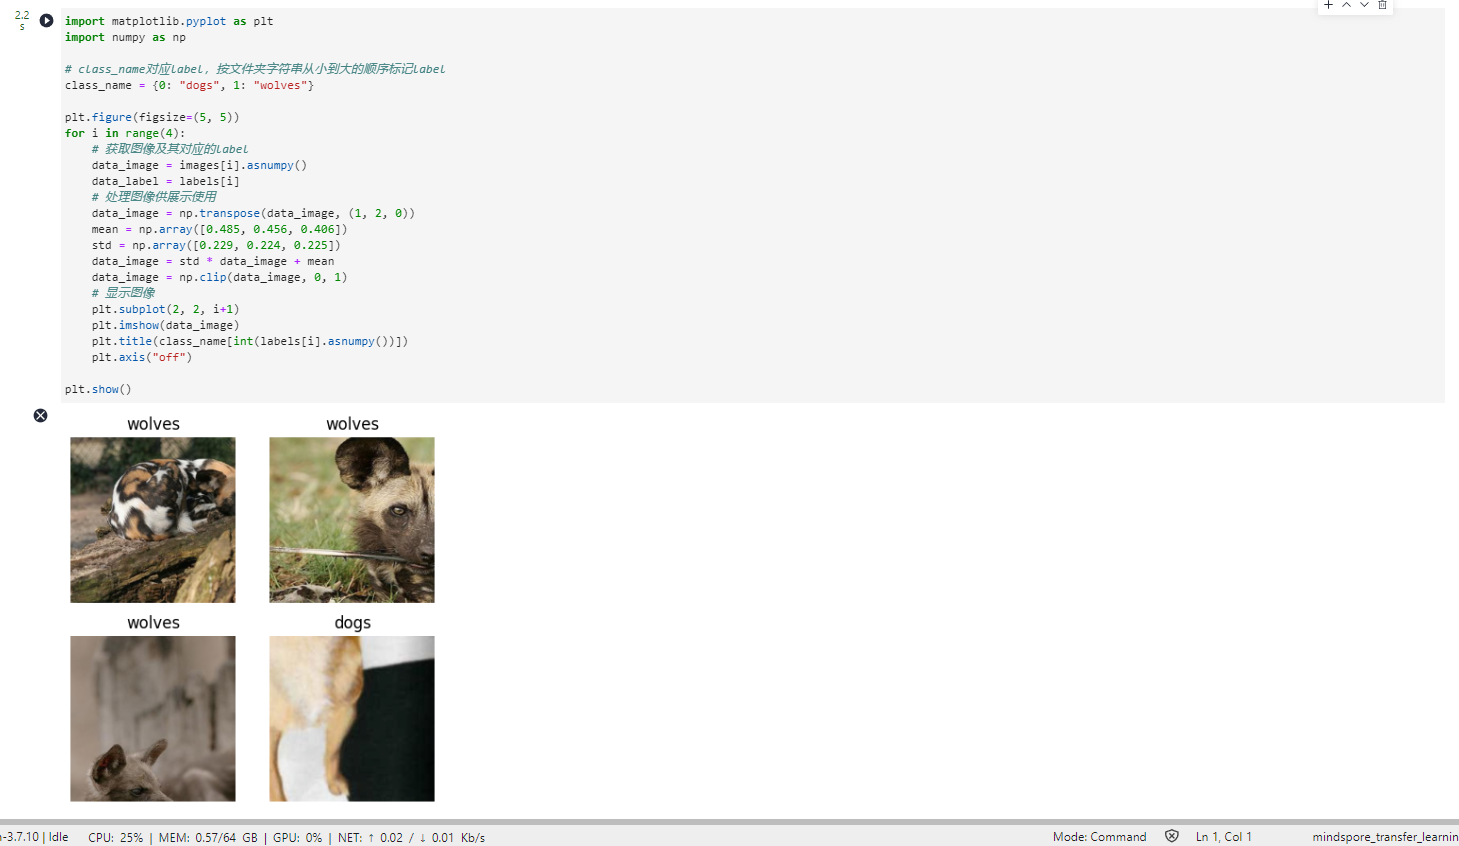
Dataset visualization
The return value of the training data set loaded from the mindspore.dataset.ImageFolderDataset interface is a dictionary, and the user can create a data iterator through the create_dict_iterator interface, and use the next iteration to access the data set. In this chapter, batch_size is set to 18, so you can use next to get 18 images and label data at a time.

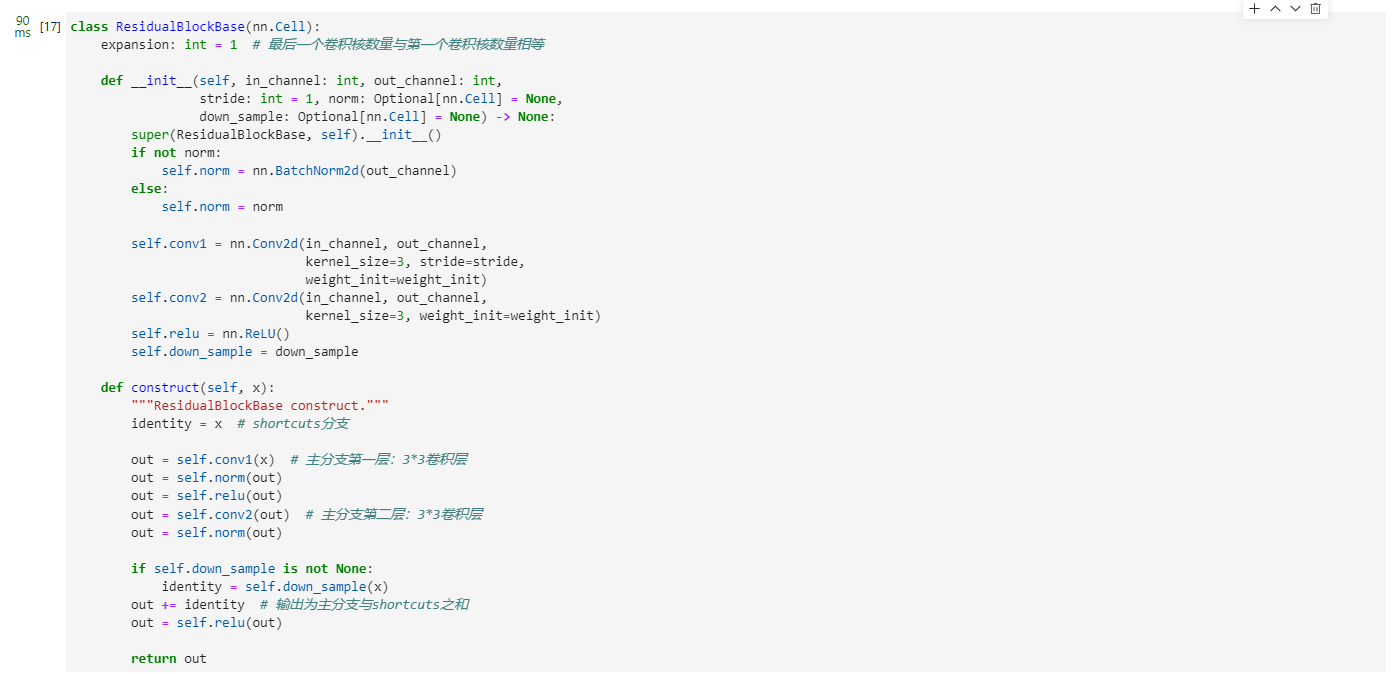
4. Training model
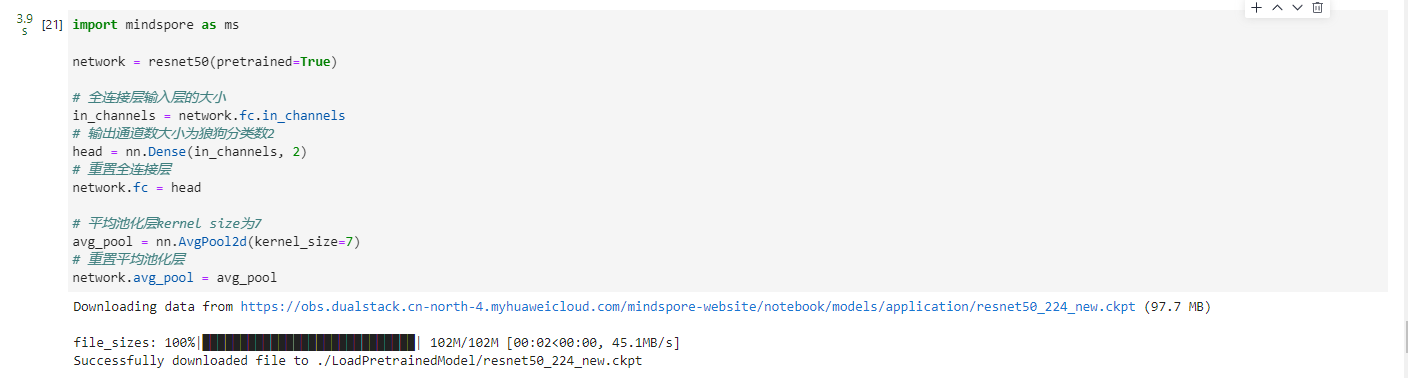
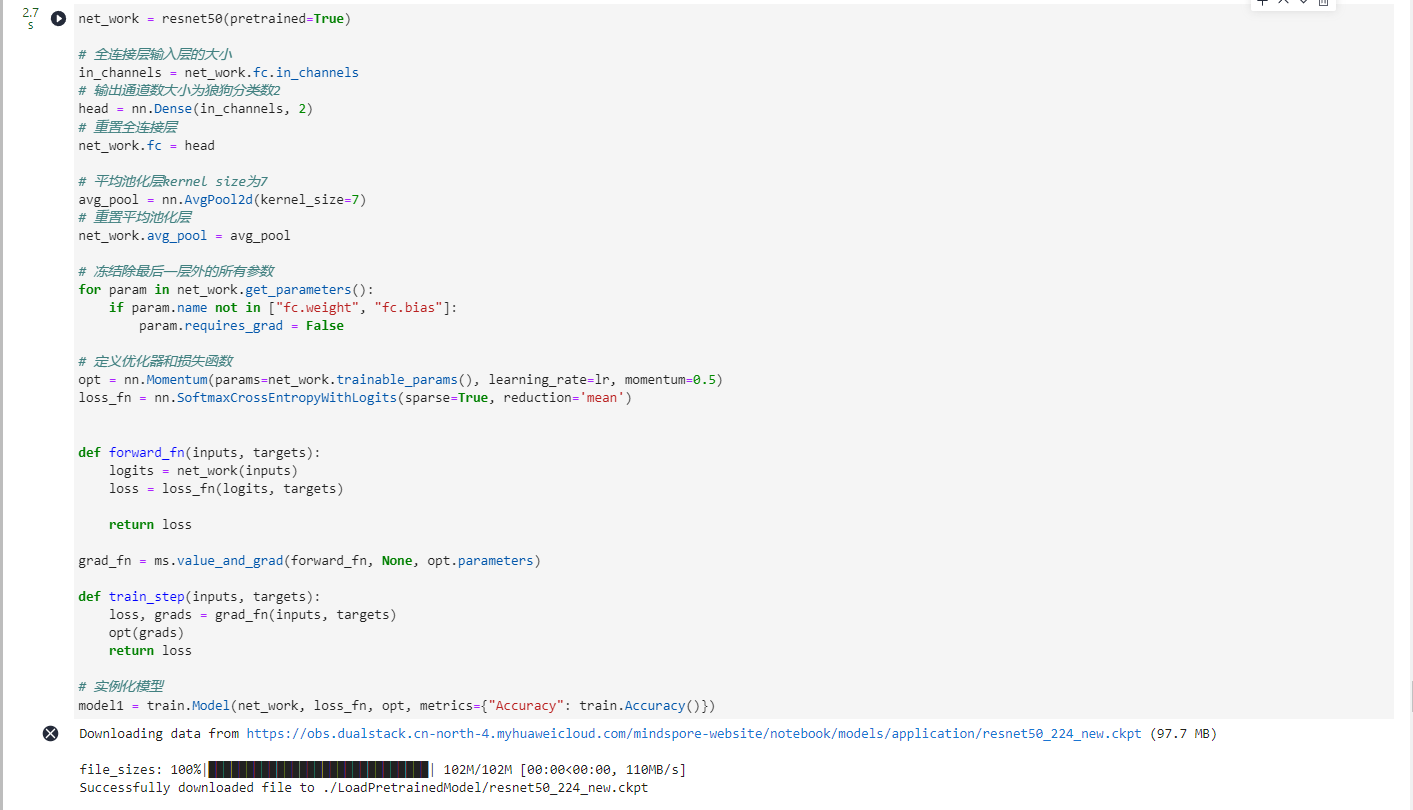
This chapter uses the ResNet50 model for training. After building the model framework, download the ResNet50 pre-trained model and load the weight parameters into the network by setting the pretrained parameter to True .
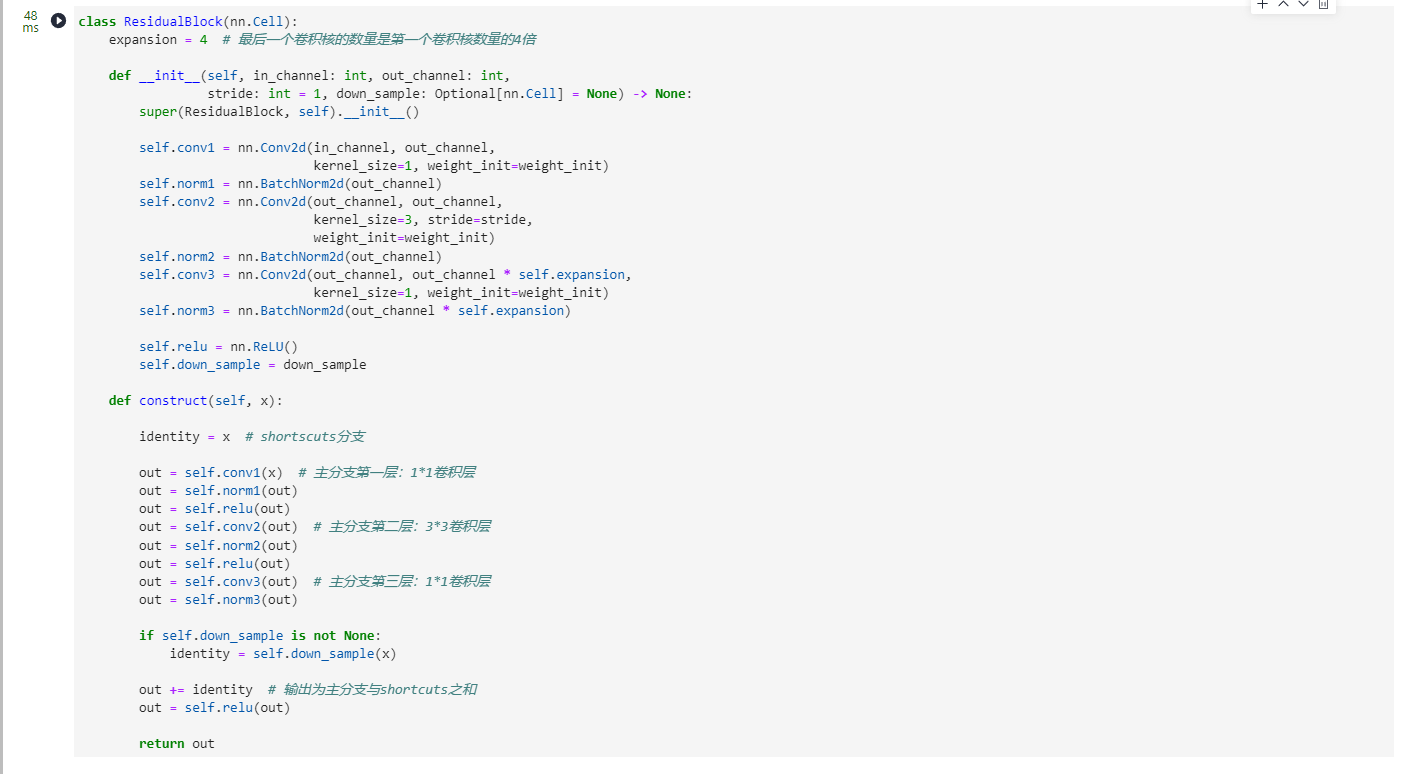
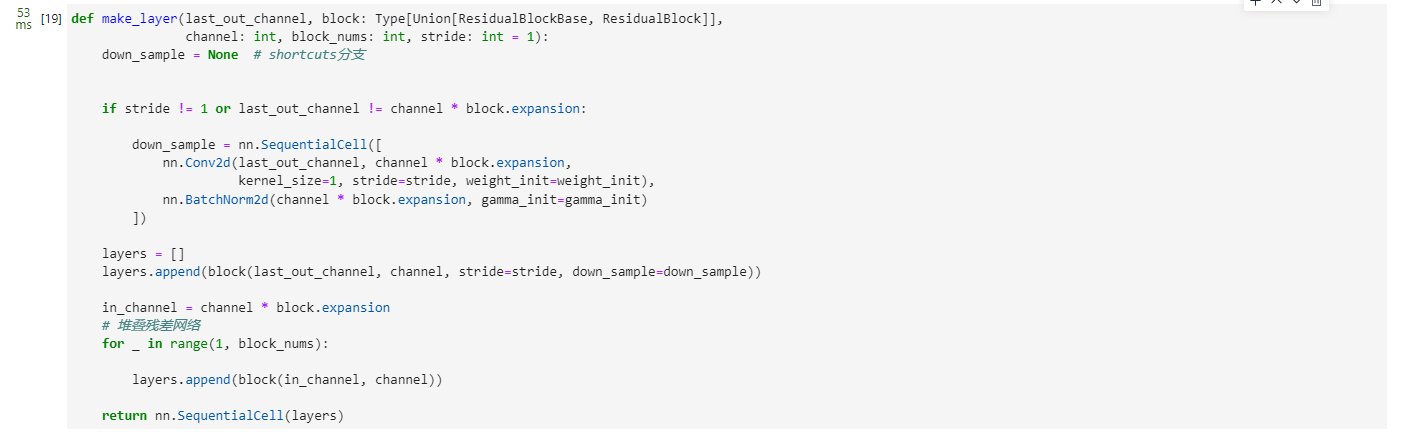
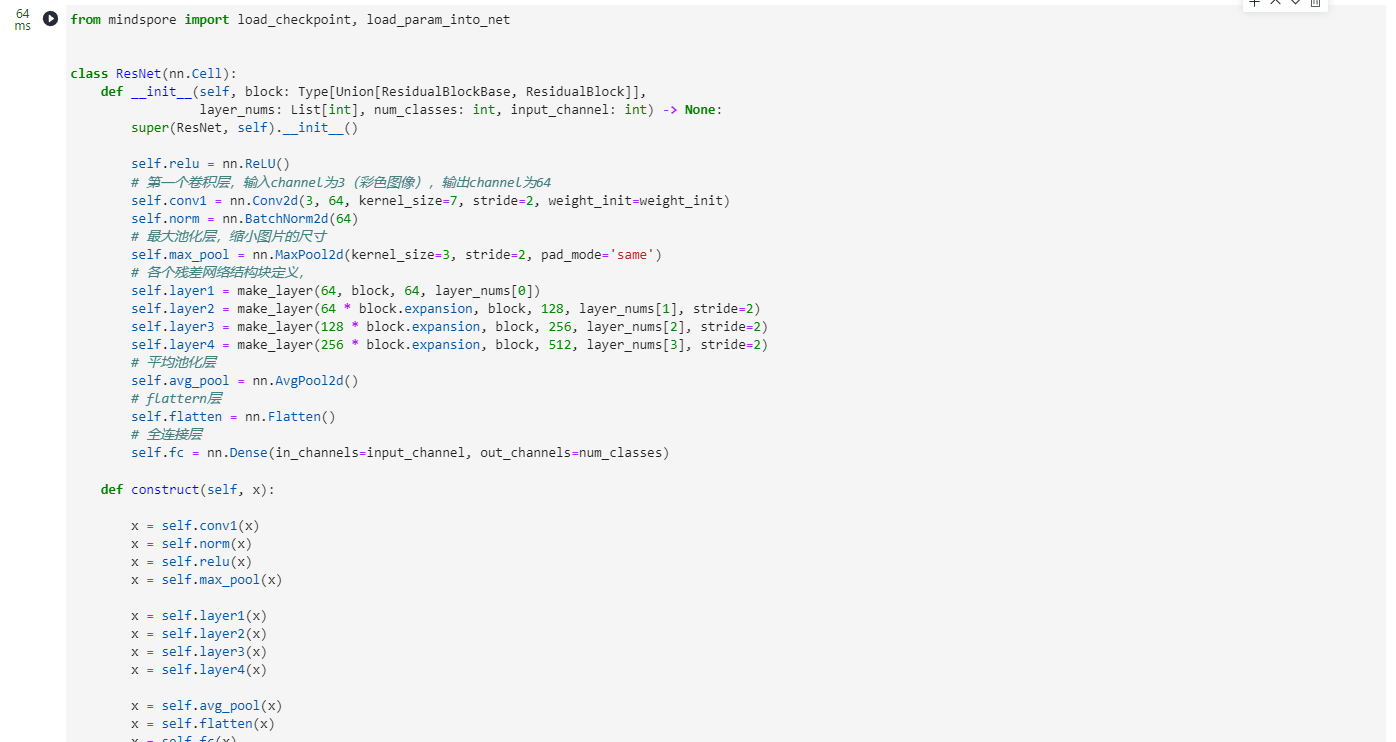
Build a Resnet50 network

Model fine-tuning
Since the pre-training model in ResNet50 is classified for 1000 categories in the ImageNet dataset, only wolf and dog are classified in this chapter, so it is necessary to reset the classifier in the pre-training model and then re-fine-tune the network.
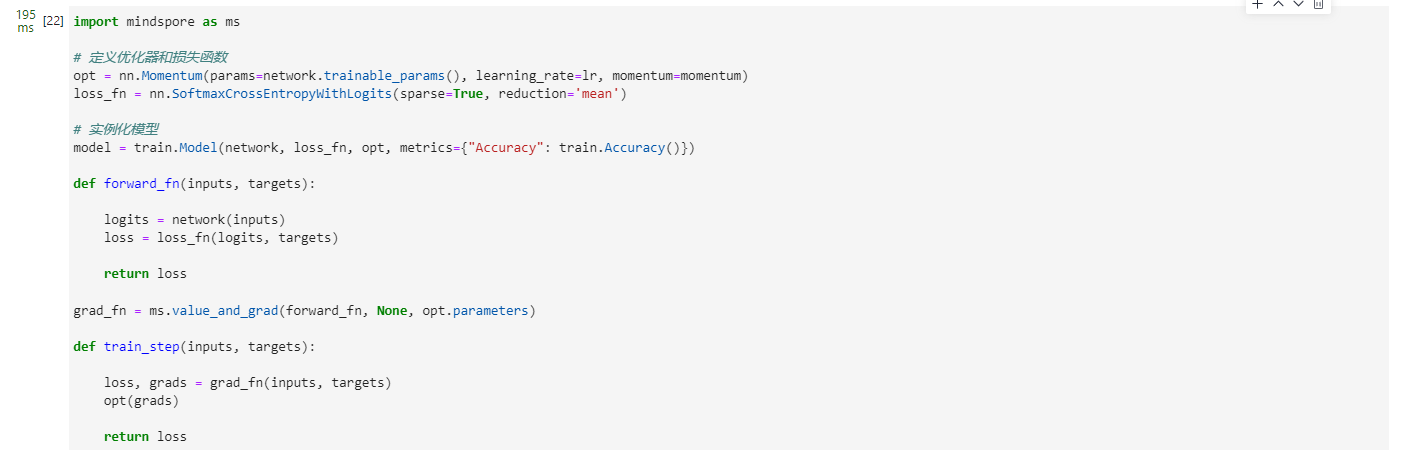
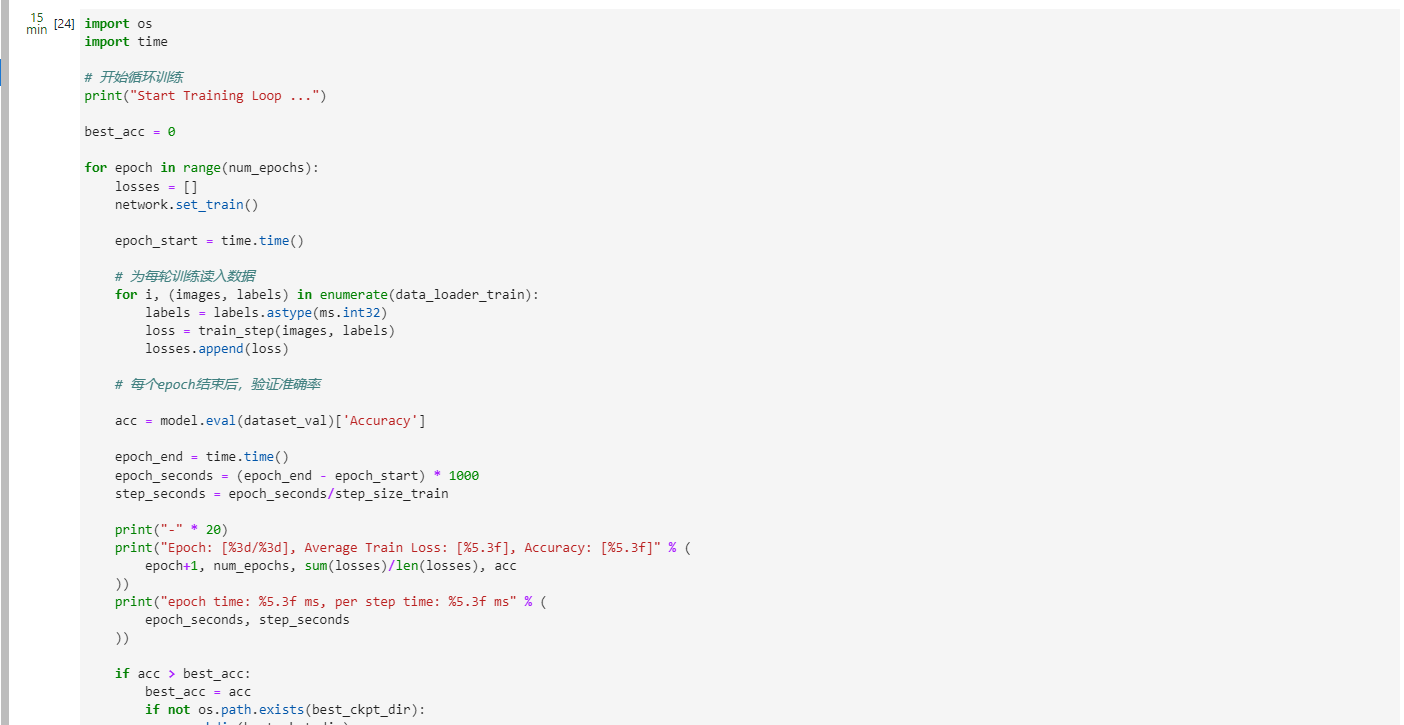
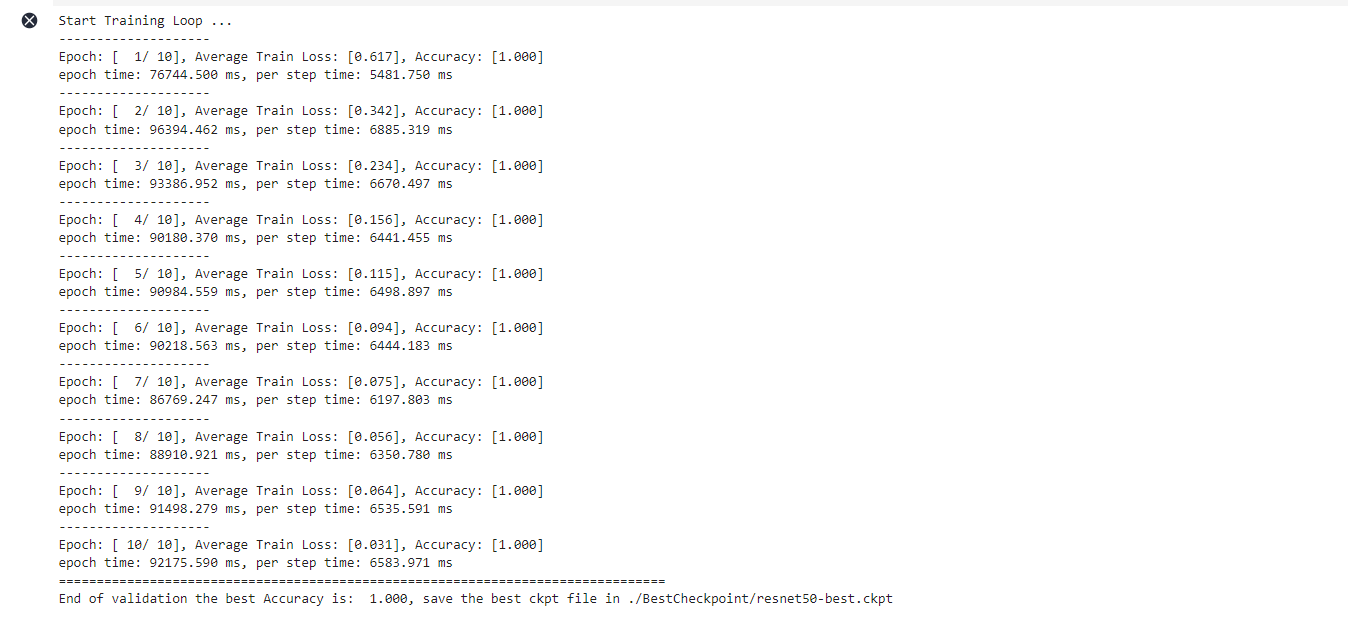
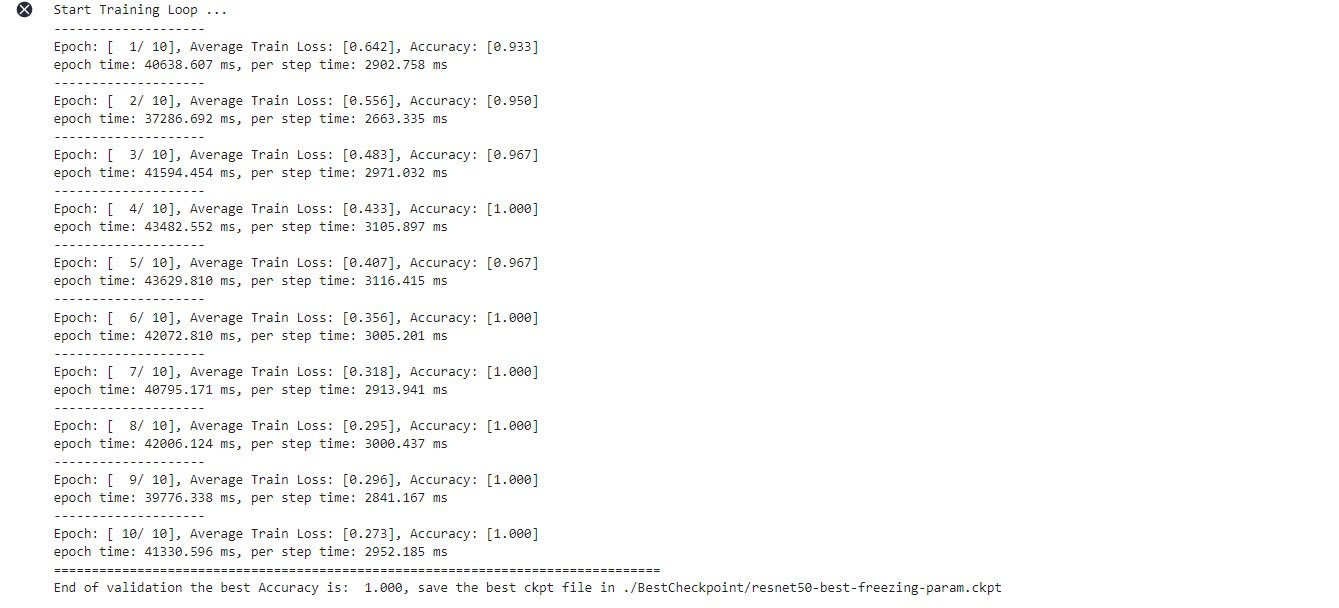
training and evaluation
Train and evaluate the network, and after the training is completed, save the ckpt file (resnet50-best.ckpt) with the highest evaluation accuracy to /BestCheckpoint in the current path. The save path and ckpt file name can be adjusted by yourself.

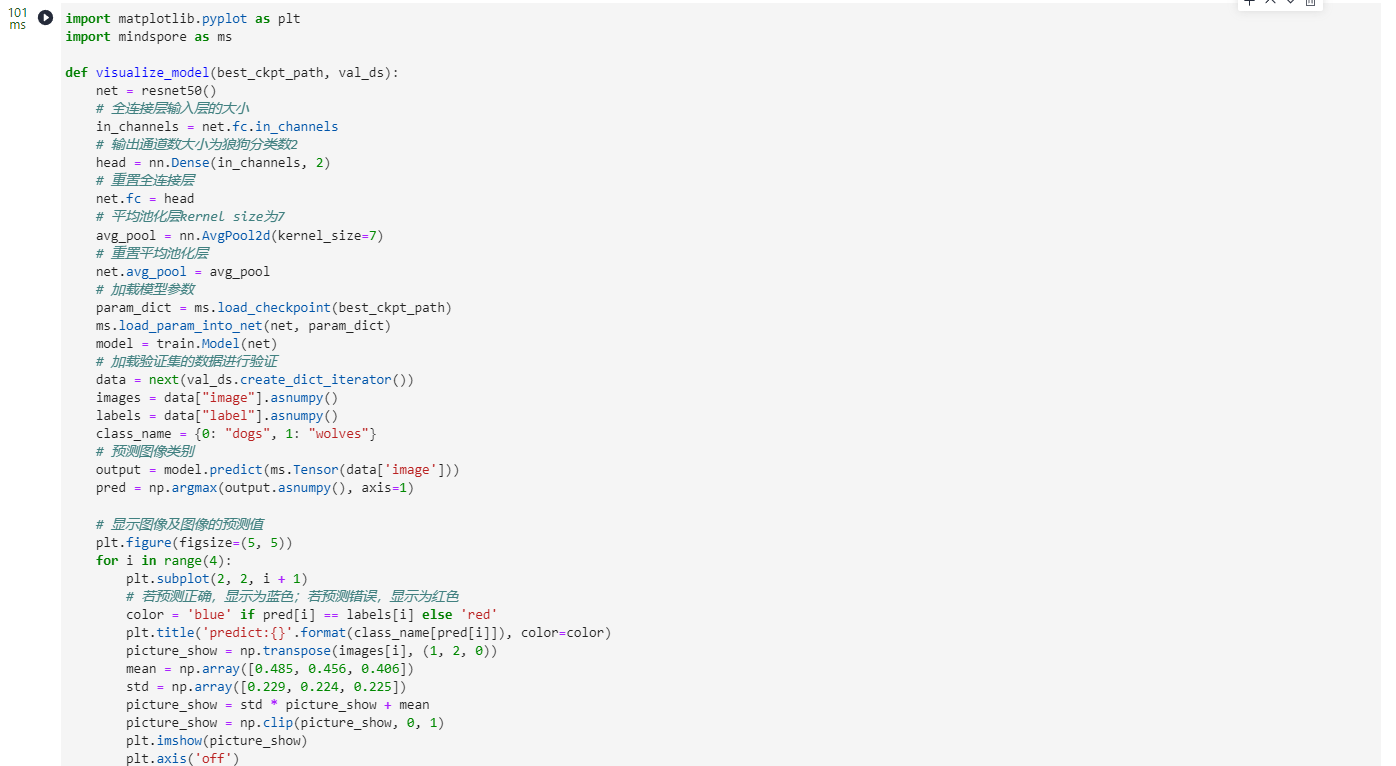
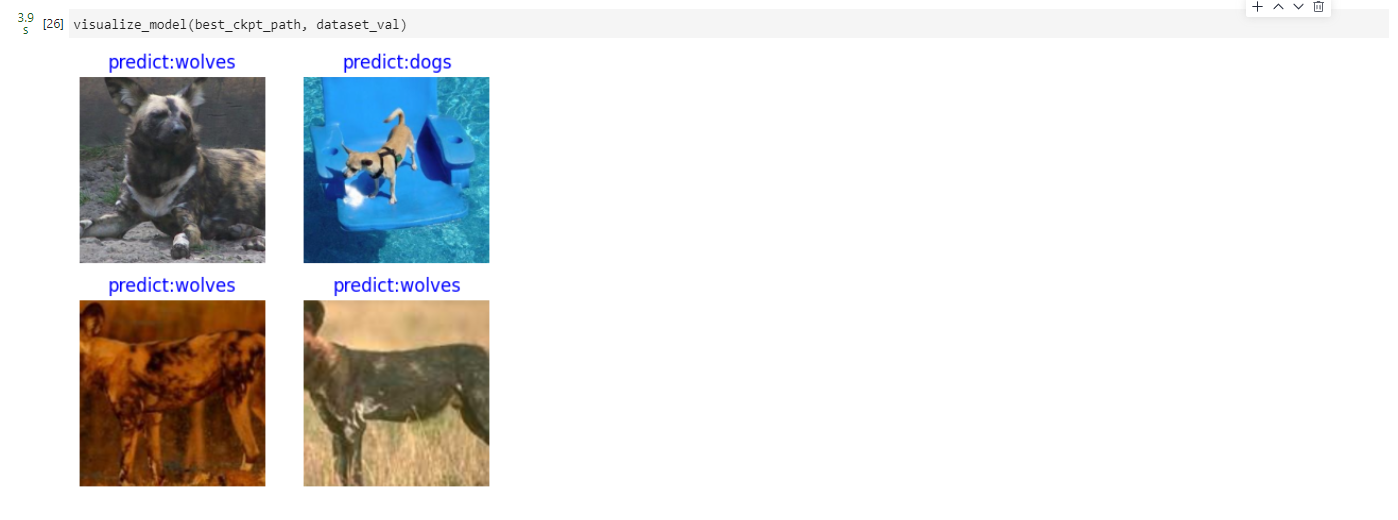
Visualize model predictions
Define the visualize_mode function to visualize model predictions.
Fixed features for training
When training with fixed features, you need to freeze all network layers except the last one. Freeze parameters by setting requires_grad == False so that gradients are not computed in backpropagation.

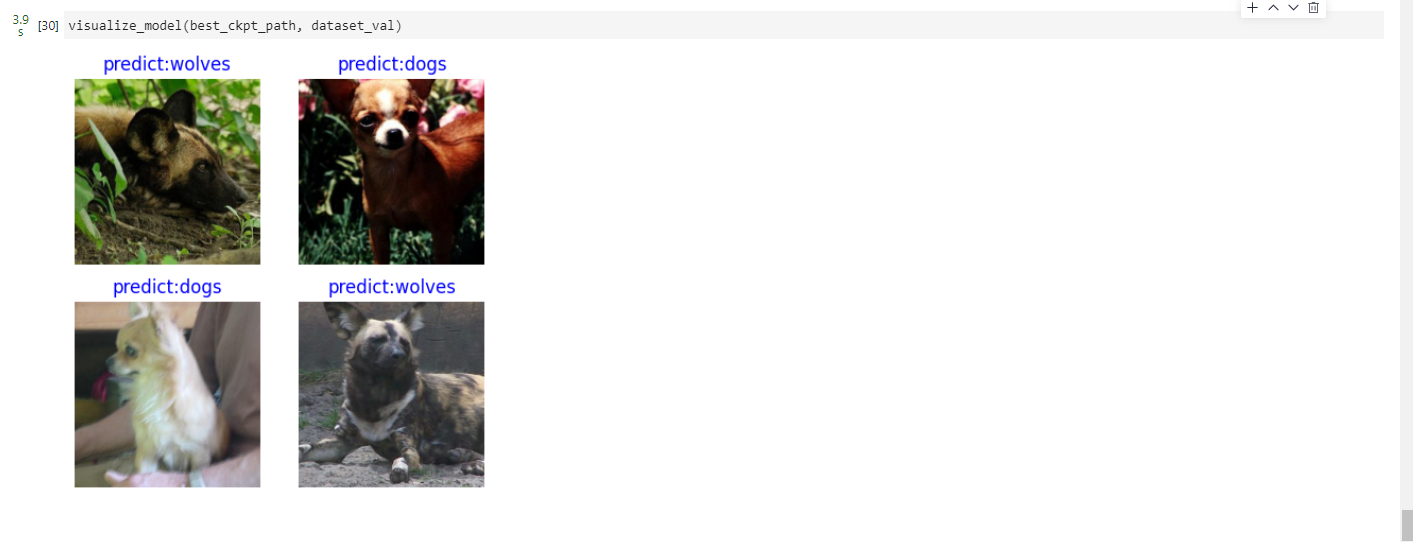
Visualize model predictions
Use the best.ckpt file obtained with fixed features to predict the wolf and dog image data of the validation set. If the prediction font is blue, the prediction is correct; if the prediction font is red, the prediction is wrong.
to be continued