Article Directory
- 1. Anaconda download and installation
- 2. Download and install Vscode
- 3. ChatGPT academic optimization project software
-
- 1. Download
- 2. Configuration dependencies
- 3. Configure API Key and overseas proxy.
- 4. Final step: run
- It's over, sprinkle flowers! ! !
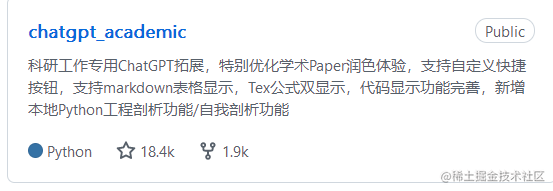
Recently, a brand-new scientific research artifact called ChatGPT academic optimization (chatgpt_academic) has garnered 18.4k⭐️ on GitHub, and has also rushed to the GitHub hot list.
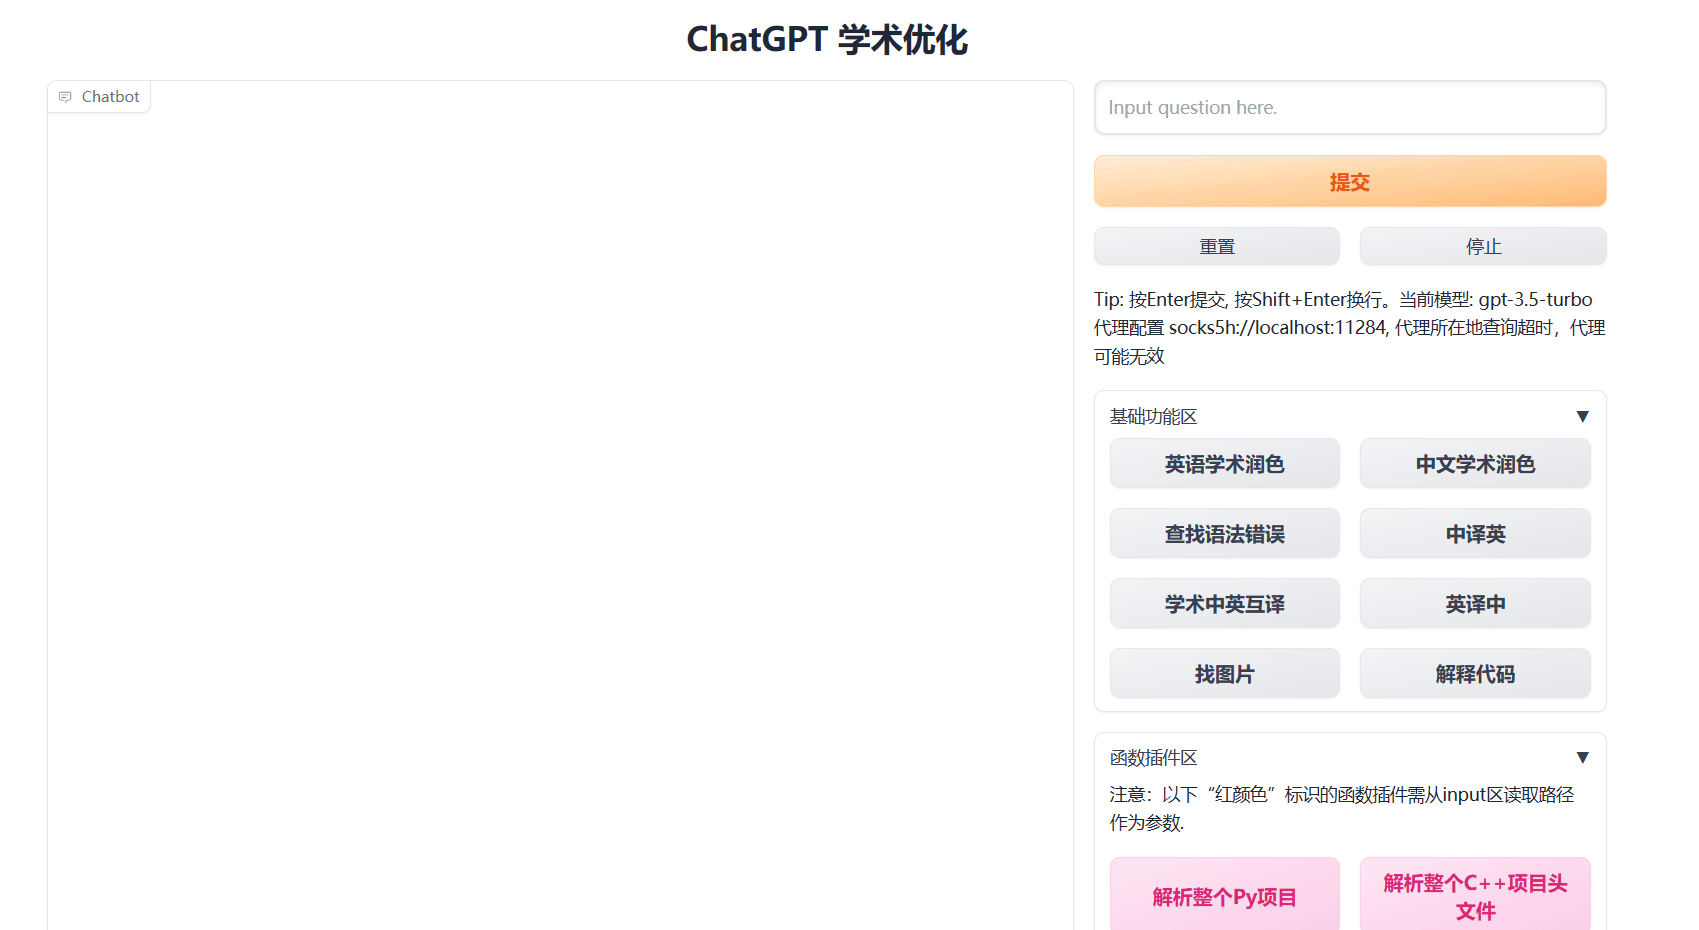
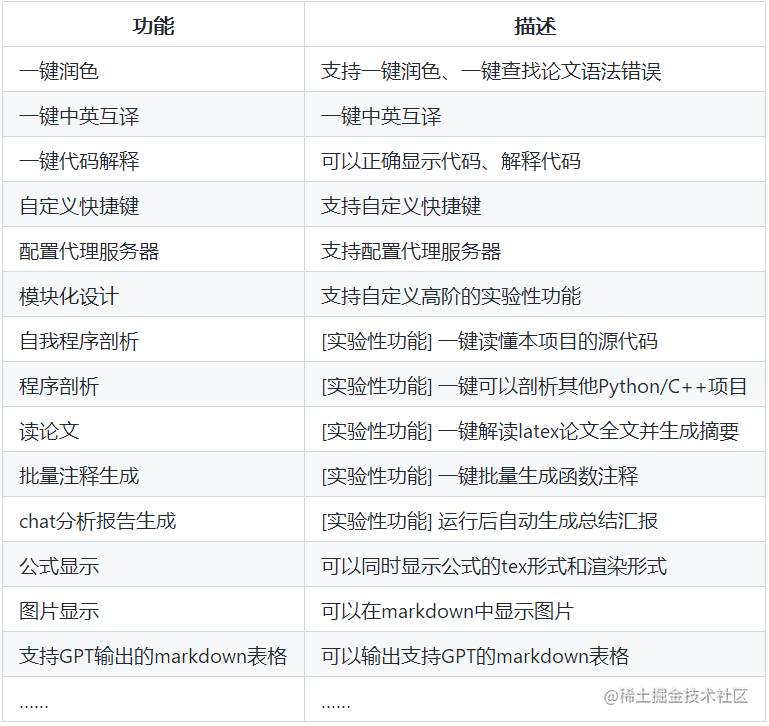
The functions that can be realized are as follows:
It is a blessing for scientific researchers. This article provides nanny-style teaching. Starting from the installation of anaconda, it will be explained step by step. All are equipped with pictures of the operation interface. Come and find out!
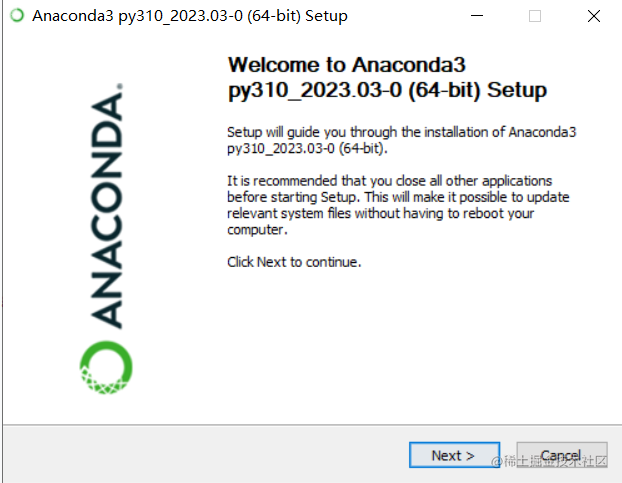
1. Anaconda download and installation
1. Official website download link: https://www.anaconda.com/

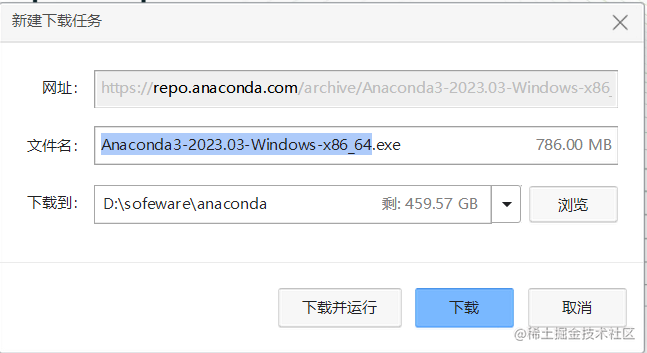
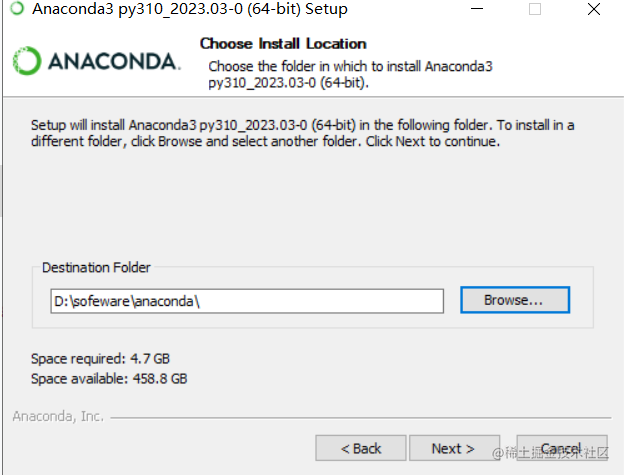
Click Download to download to the directory defined by yourself. Here I am in the sofeware\anaconda folder of the D drive.
2. Install
After the download is complete, double-click the exe to install


Novices must remember to select the second one here, saving the step of configuring environment variables.
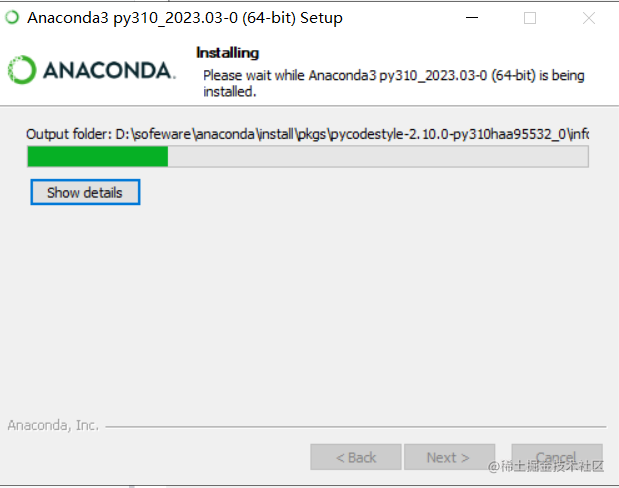
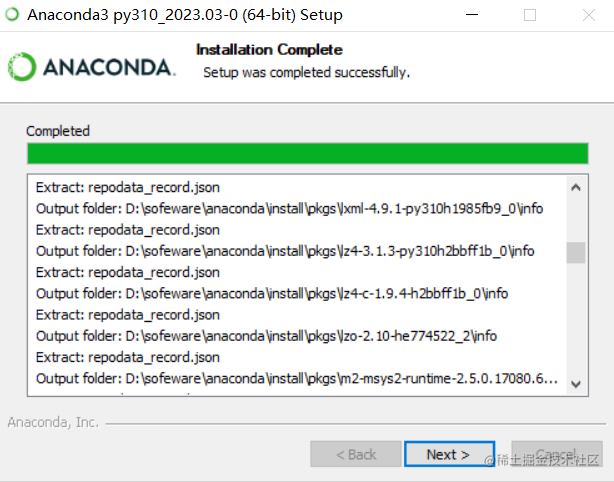
Then just wait for the installation.
After the installation is complete, click Anaconda Navigator,
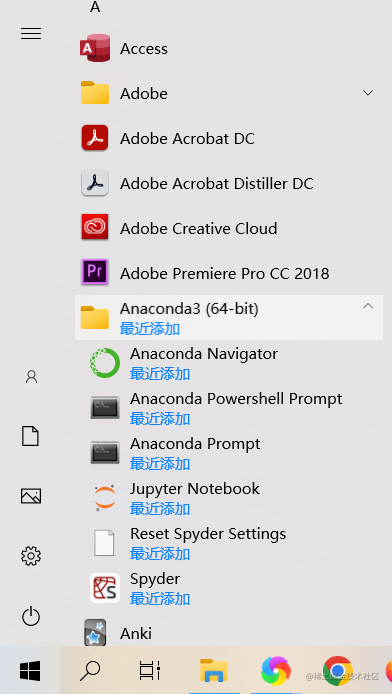
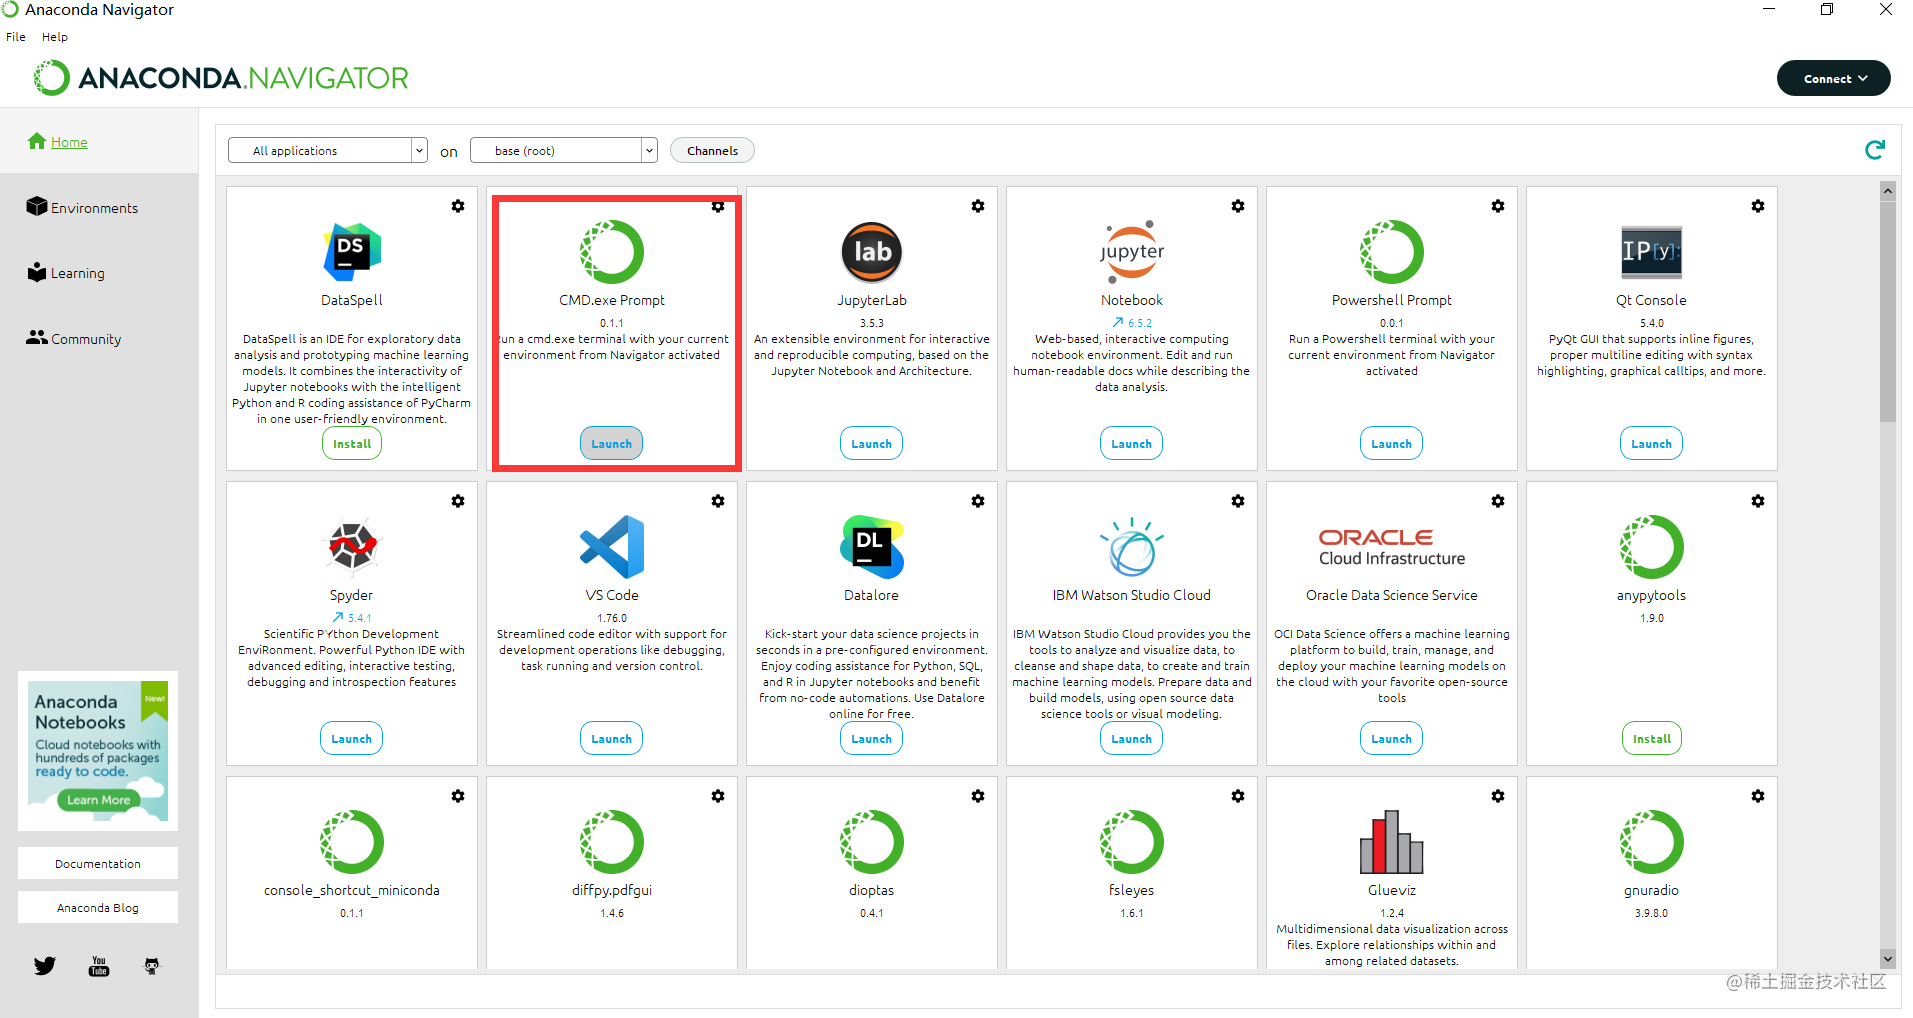
Then click CMD.exe Prompt, and then the terminal will pop up, and we will change the source in the terminal. This is for the convenience of visiting foreign browsers later.
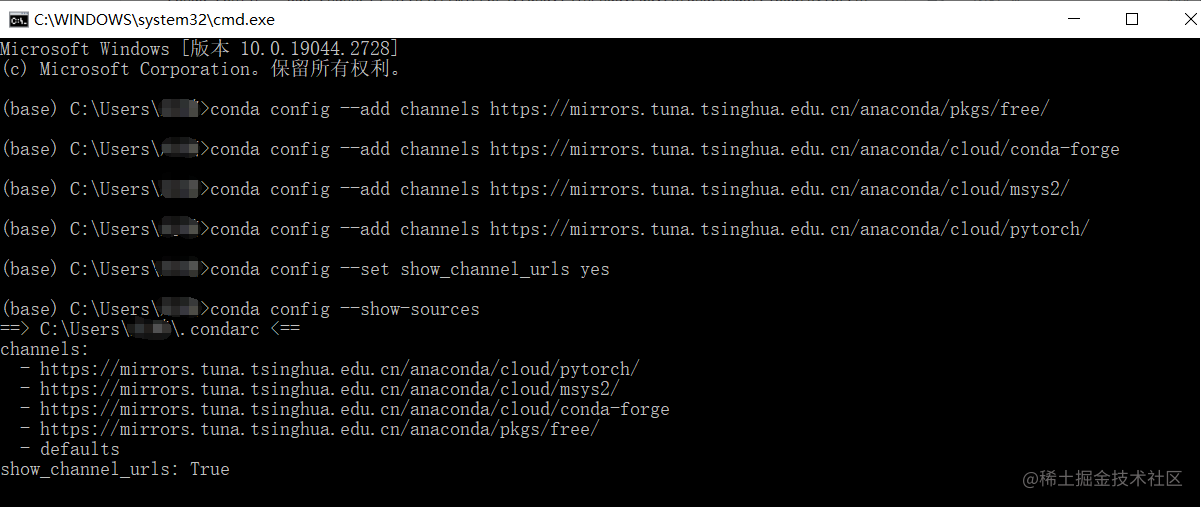
3. Change source
Under Windows system, you can do as follows:
Tsinghuayuan
conda config --add channels https://mirrors.tuna.tsinghua.edu.cn/anaconda/pkgs/free/
conda config --add channels https://mirrors.tuna.tsinghua.edu.cn/anaconda/cloud/conda-forge
conda config --add channels https://mirrors.tuna.tsinghua.edu.cn/anaconda/cloud/msys2/
conda config --add channels https://mirrors.tuna.tsinghua.edu.cn/anaconda/cloud/pytorch/
conda config --set show_channel_urls yes
View installed sources
conda config --show-sources
Then enter in the terminal:
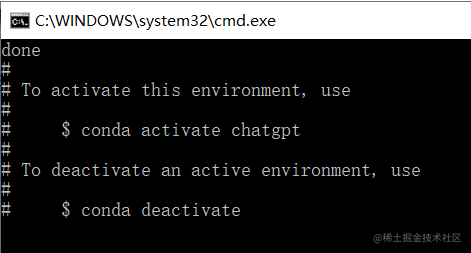
conda create -n chatgpt python=3.11.0
Enter y, and the following interface will display done.
examine
conda info --envs
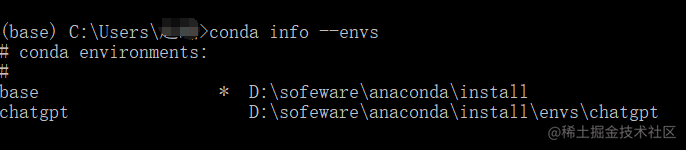
no problem!
2. Download and install Vscode
Official website download link: https://code.visualstudio.com/
3. ChatGPT academic optimization project software
1. Download
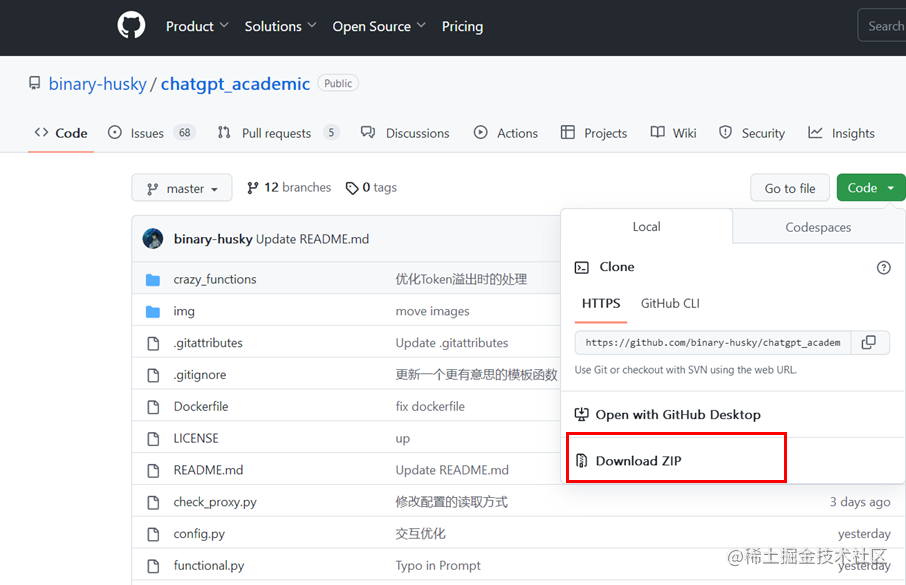
Project link: https://github.com/binary-husky/chatgpt_academic **
Download the project locally and unzip it. Here I put it directly under the D drive.
2. Configuration dependencies
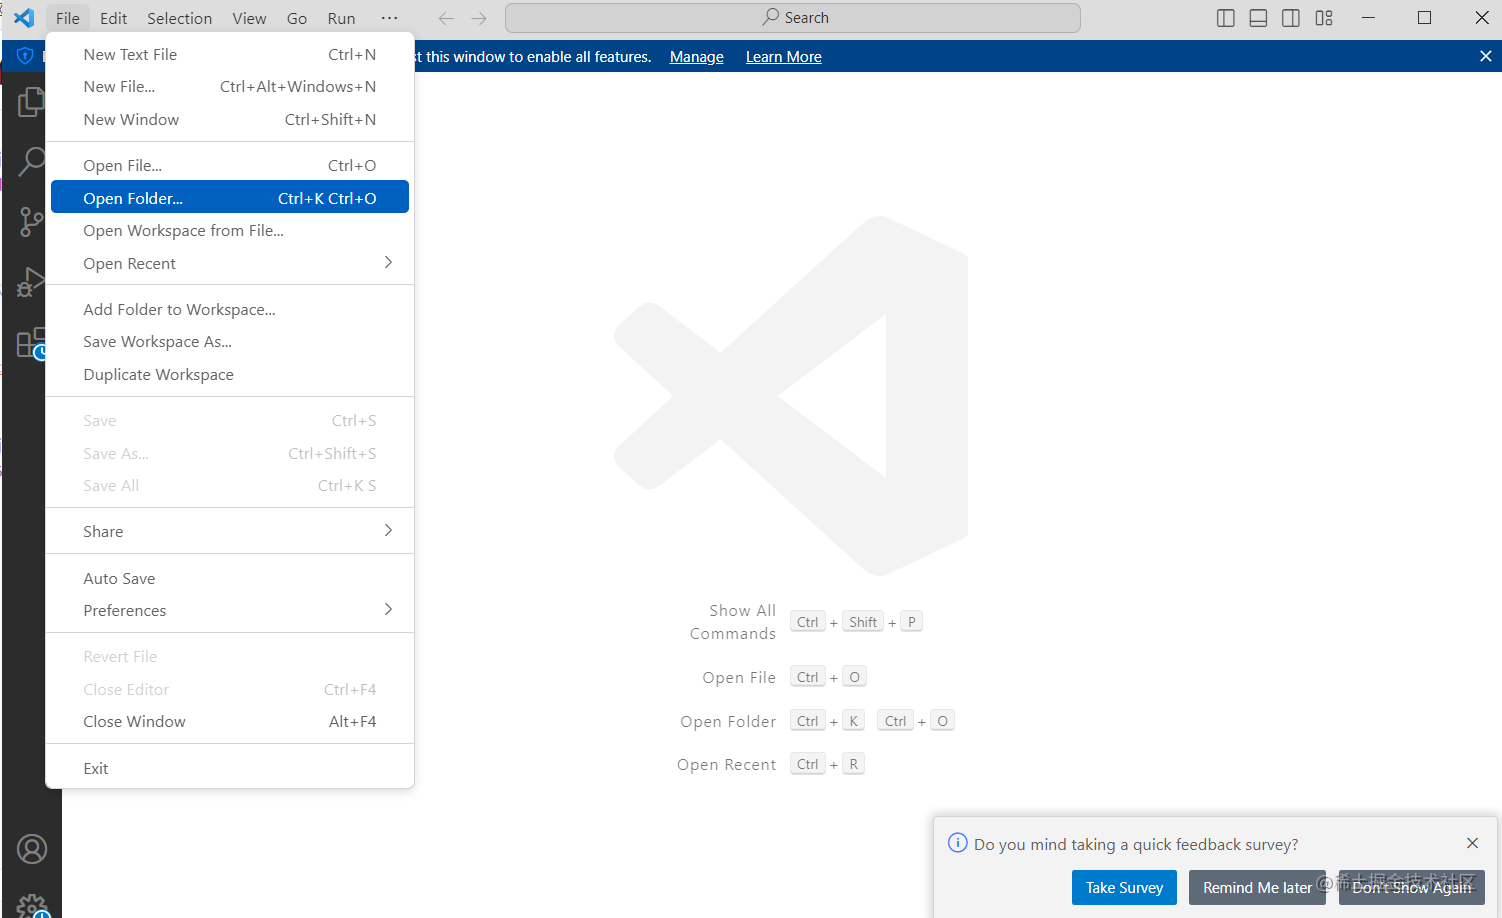
1) Open vs_code, File—Open Folder—select the chatgpt_academic-master folder under the D drive.
2) Click View, select Terminal, which opens the terminal.
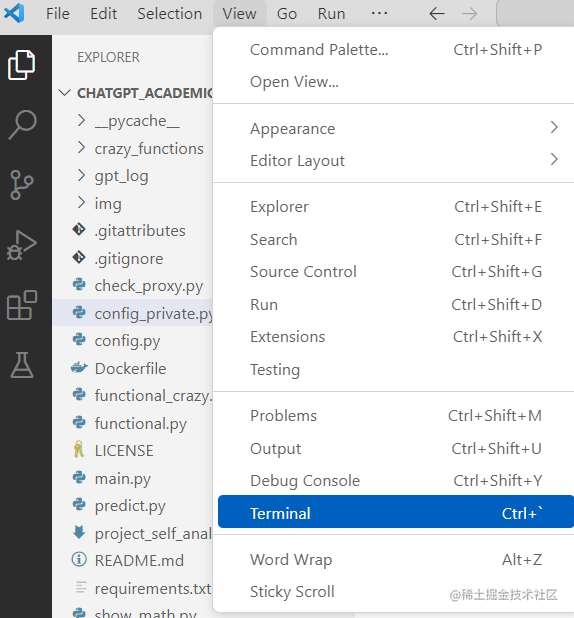
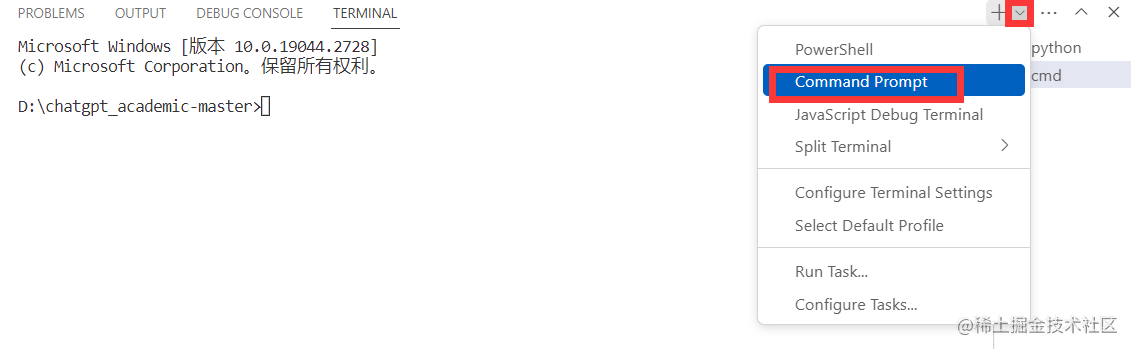
Click the lower triangle symbol next to the + sign on the terminal interface in the lower right corner, continue to click Command Prompt, and you will come to cmd>
Next, start using anaconda, enter:
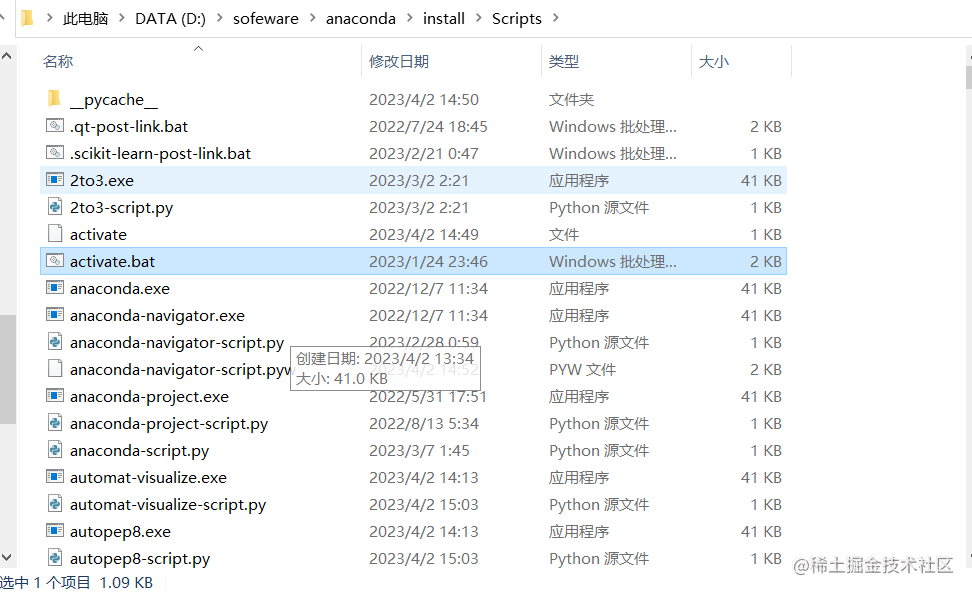
D:\sofeware\anaconda\install\Scripts\activate
That is: the installation path of your own anaconda\Scripts\activate
At this point (base) appears, and then run the configured python3.11.0 environment.
Go ahead and type:
conda activate chatgpt
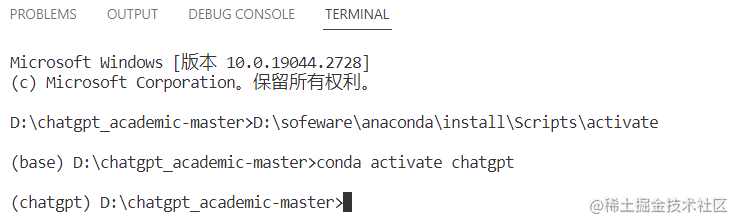
(chatgpt) appears at this time, indicating that we have come to the chatgpt_academic-master folder.
Enter dir to see the detailed directory.
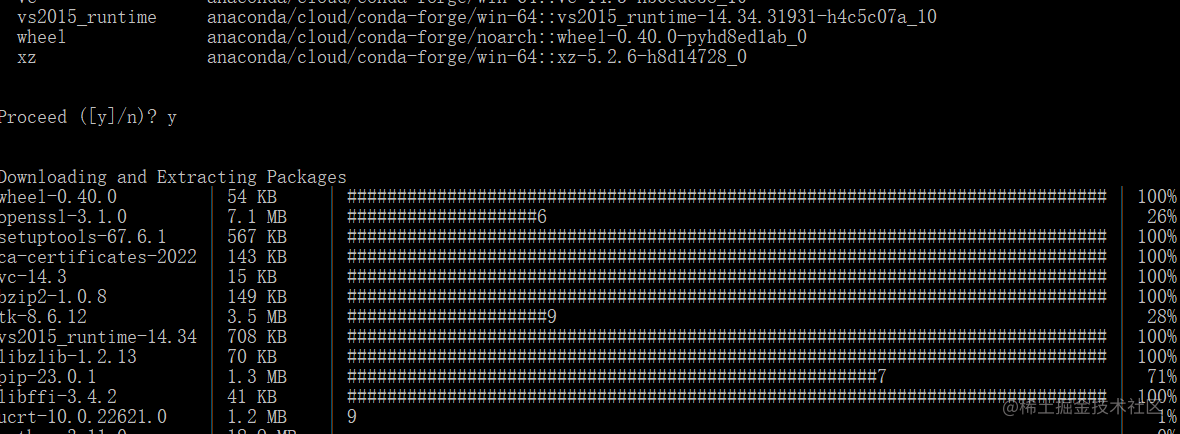
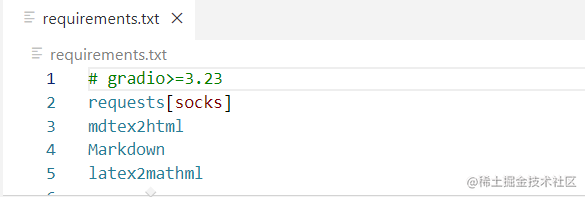
Next, install the project dependency package, enter: (Note that you need to comment out the first line of the requirements.txt file with a # sign)
python -m pip install -r requirements.txt
The installation will take some time, the picture below shows the end of the installation.
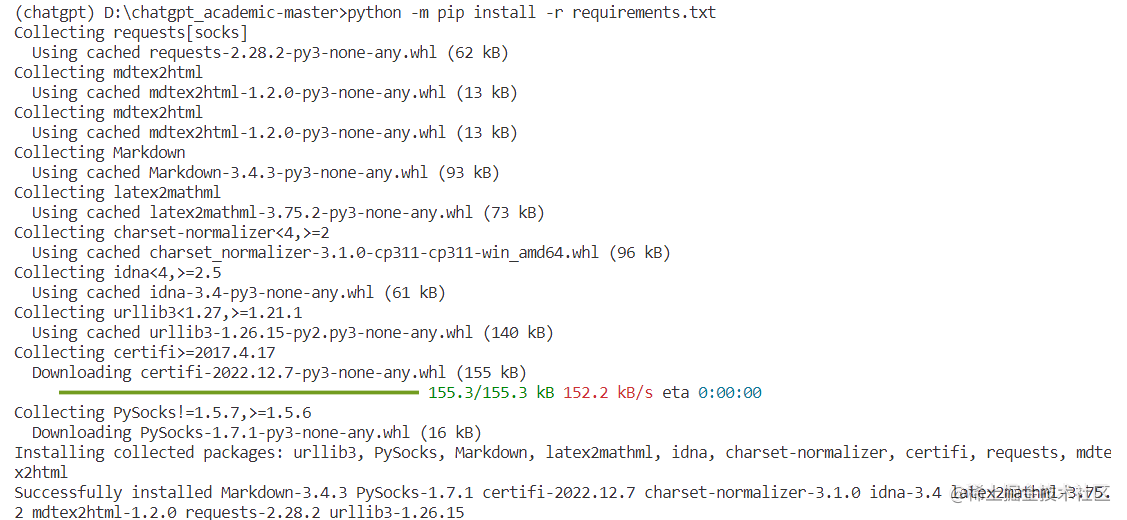
In this way, all dependencies are installed.
3. Configure API Key and overseas proxy.
Here is mainly to modify the D:\chatgpt_academic-master\config_private.py file.
Note that there is no such file in the installation package we decompressed, we need to copy config.pyit config_private.py.
The original author explained as follows:
(When the PS program is running, it will first check whether there is a config_private.pyprivate configuration file named , and use the configuration in it to overwrite the configuration config.pywith the same name. Therefore, if you can understand our configuration reading logic, we strongly recommend that you config.pycreate a file config_private.pynamed New configuration file, and config.pytransfer (copy) the configuration in to config_private.py. config_private.pyIt is not controlled by git, which can make your private information more secure.)
We need to modify a total of three, as follows.
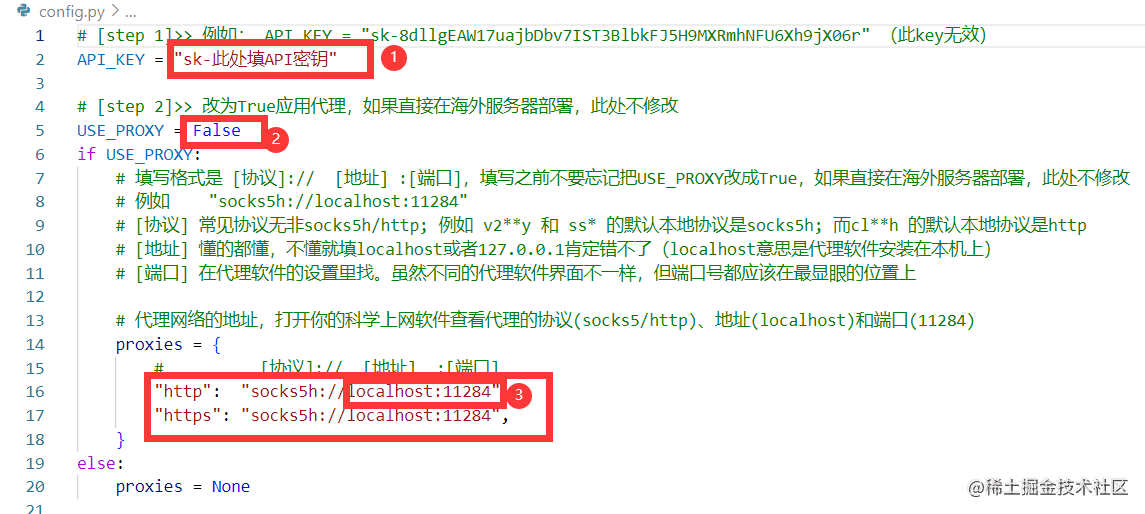
This is the case after I modified it myself. Everyone uses different agents and needs to replace it with their own.
It looks like this before modification:
        "http":  "socks5h://localhost:11284",
        "https": "socks5h://localhost:11284",
After modification, it looks like this:
        "http":  "http://127.0.0.1:11304",
        "https": "http://localhost:11304",
Premise: Internet access scientifically, enable global proxy
The first place, OpenAI Key acquisition
1) Click OpenAI
Link:
https://platform.openai.com/docs/quickstart/getting-started,
enter the following interface:
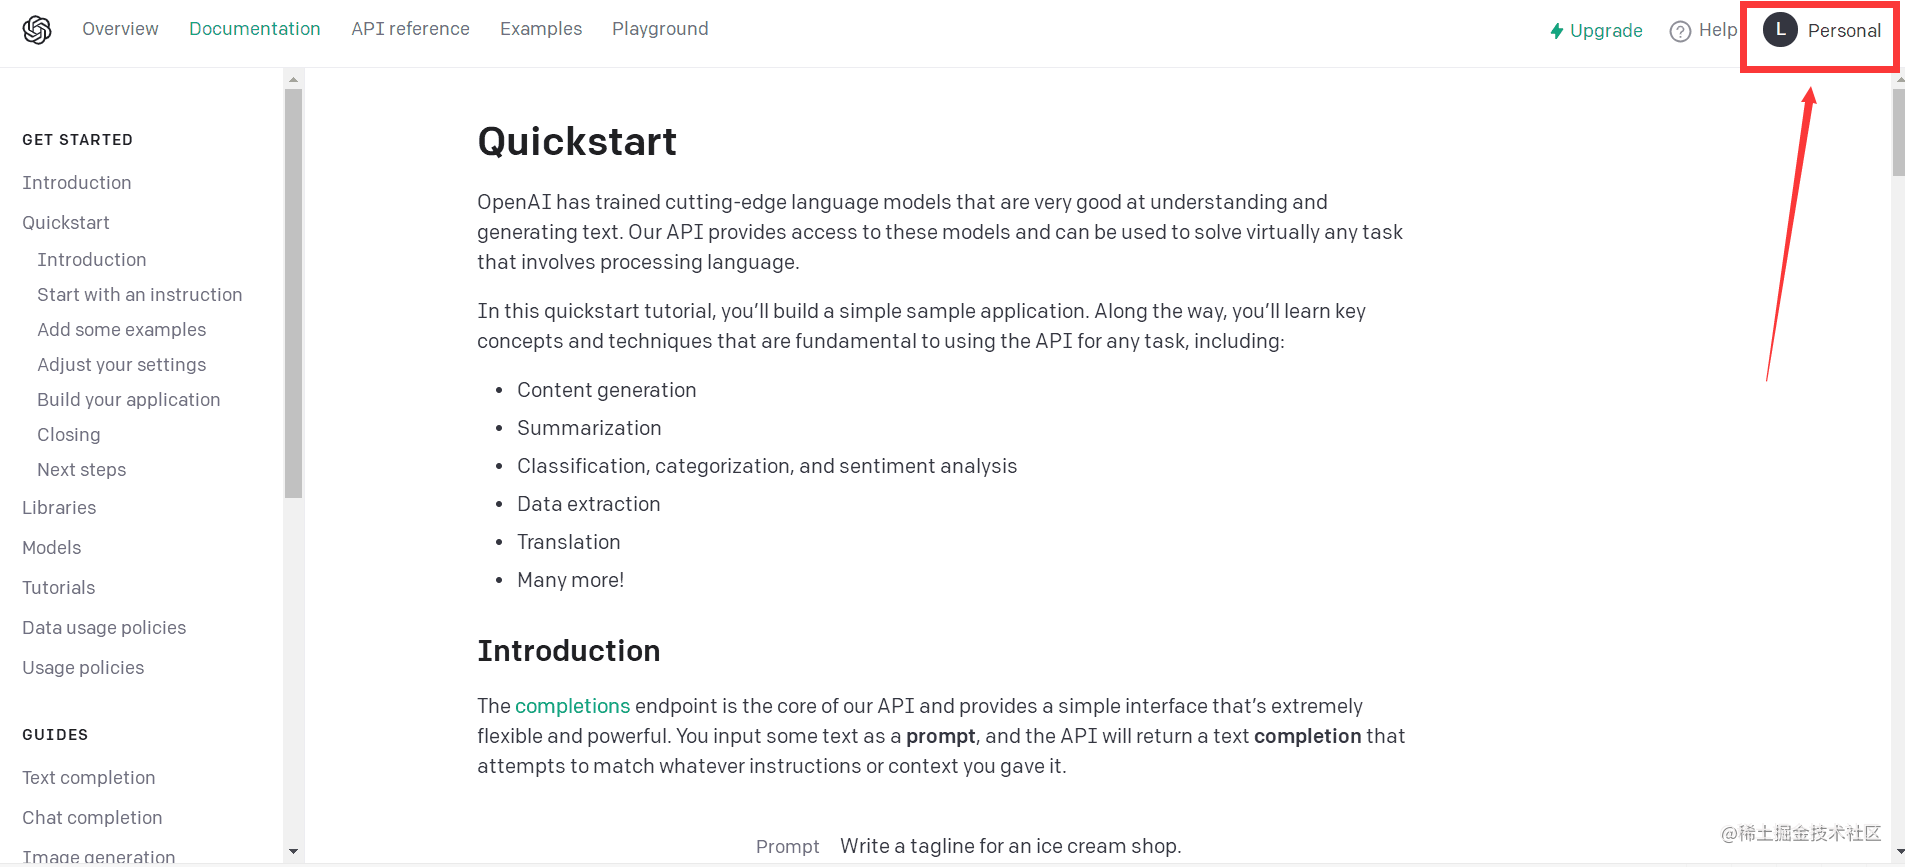
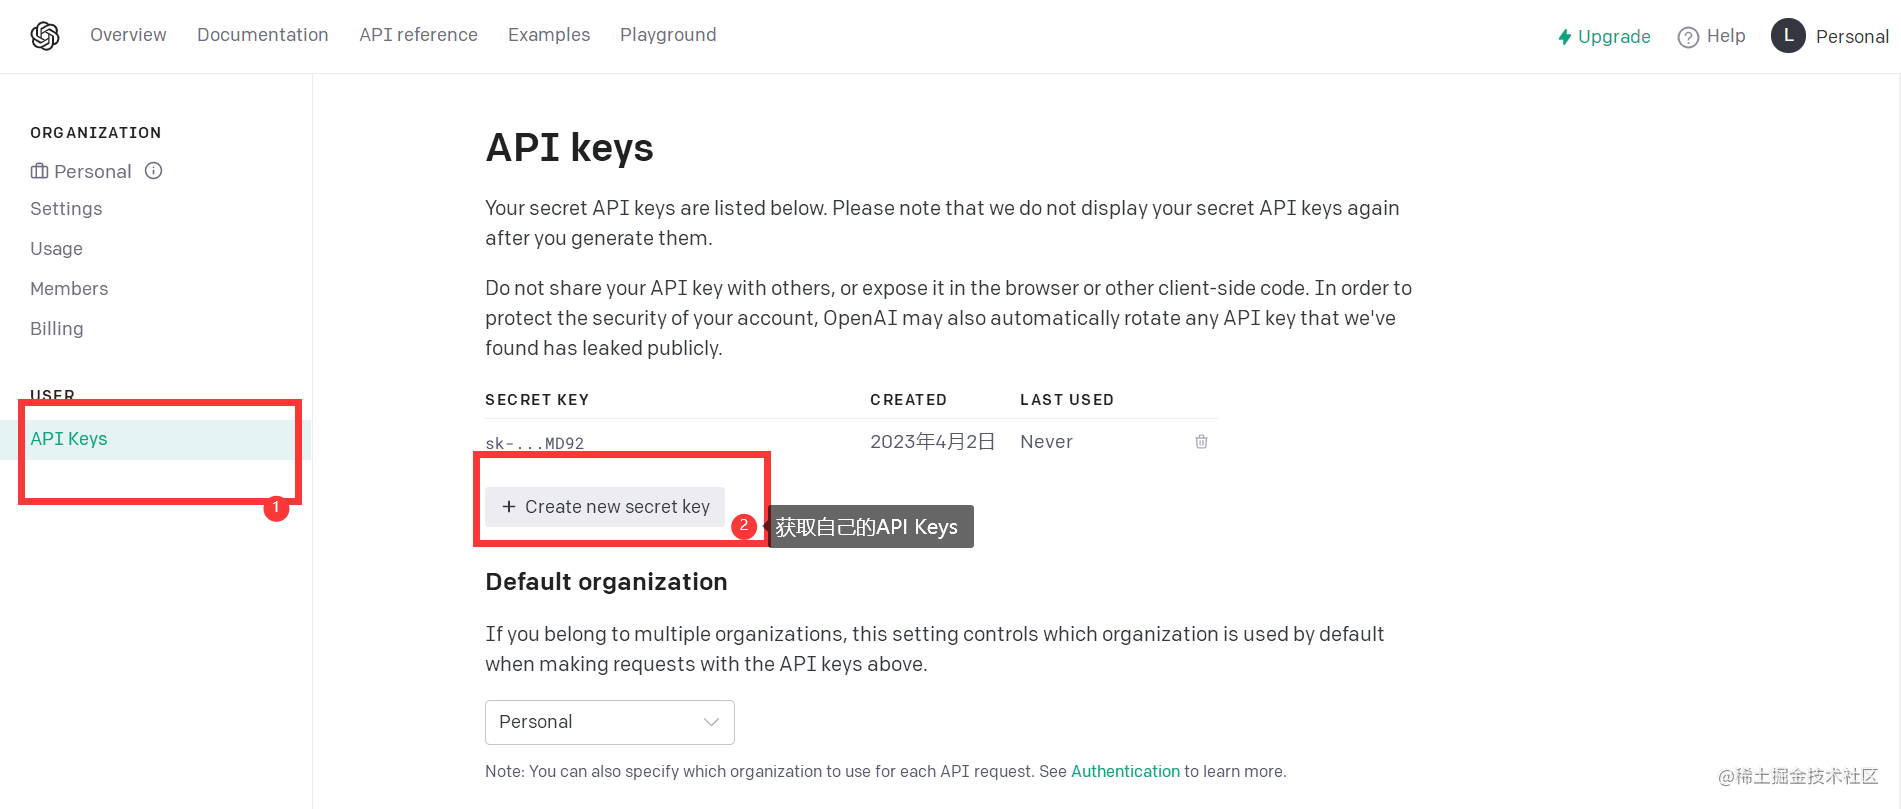
2) Click Personal, jump to the page and continue to click API keys and then Create new secret keys, and you will get it.
The second place, changed to True
The third place, node address acquisition
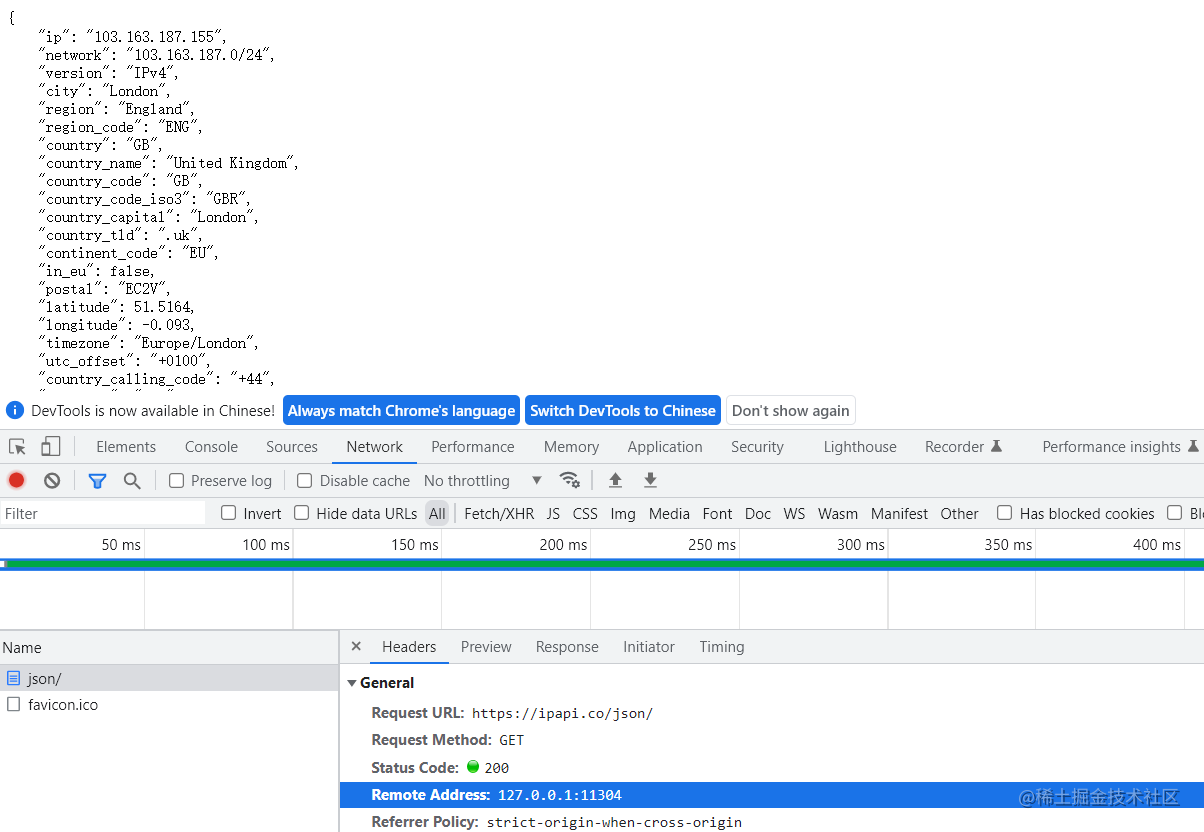
1) Open the webpage https://ipapi.co/json/, then press F12 to exit the developer mode.
2) ctrl + R, click json/, click Headers, find Remote Address, copy and paste it to the third place.
The configuration of the proxy here is also successful!
4. Final step: run
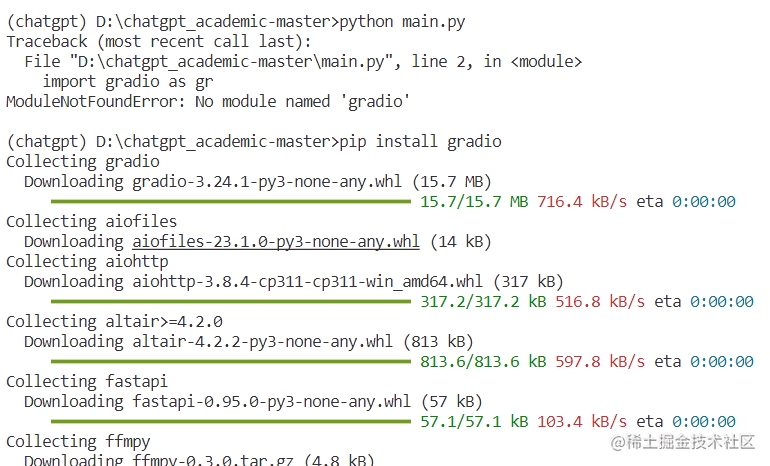
python main.py
That's it.
I reported a mistake here, if there is no such package, then pip install gradio, and then run it again.
It's over, sprinkle flowers! ! !
This is the first article on the Nuggets platform, and I am writing it with great care, hoping to help someone who is destined! ! !
The reference video link is as follows:
https://www.bilibili.com/video/BV1hL411X7bZ/?spm_id_from=333.337.search-card.all.click
https://www.bilibili.com/video/BV1Th411V75K/?spm_id_from=333.337.search-card.all.click