Download and install steps
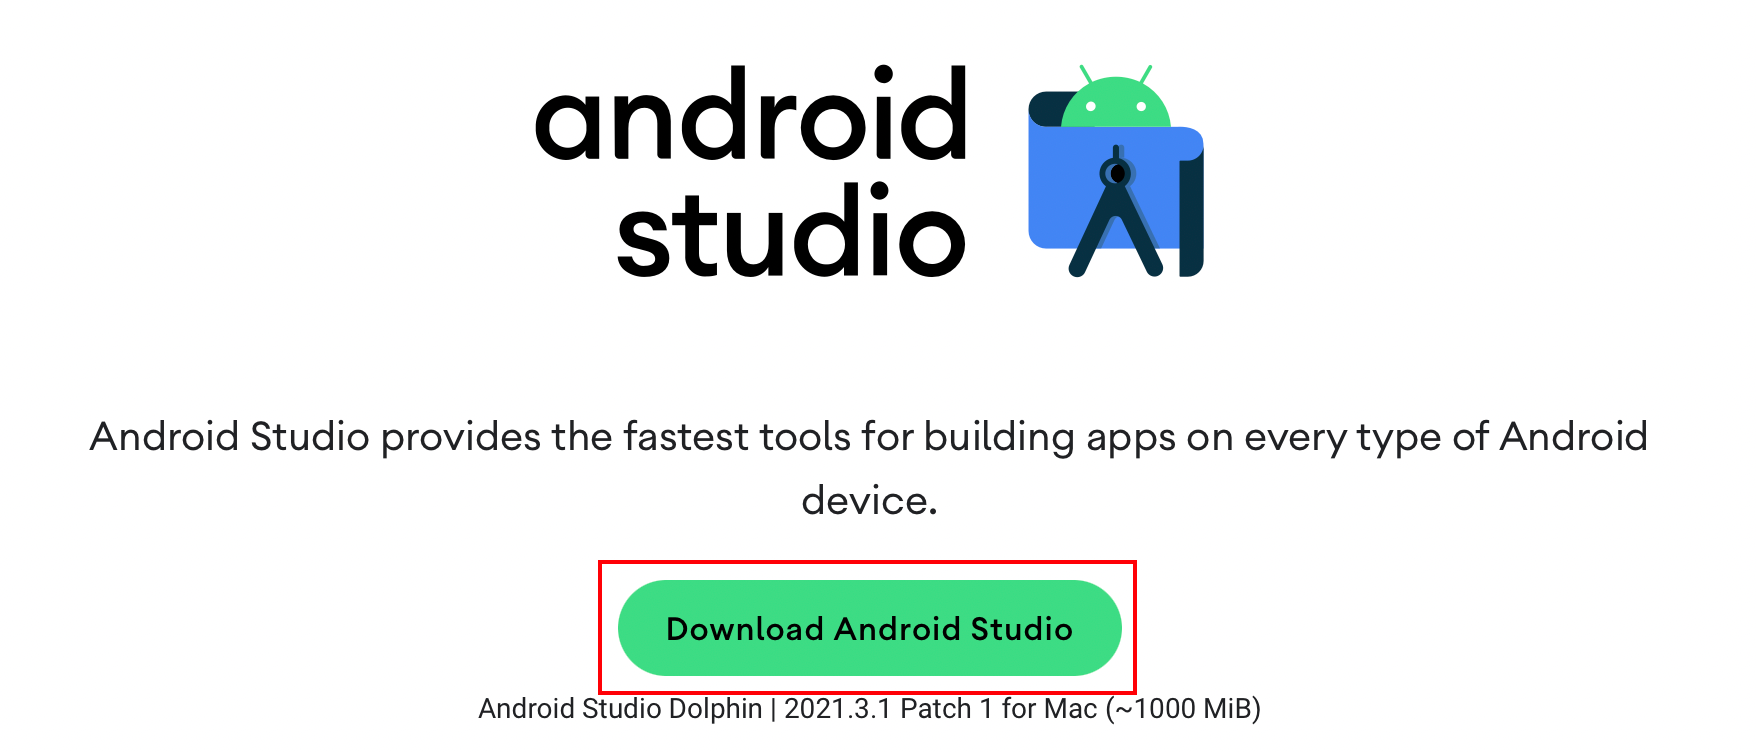
(1) By default, you have already installed JDK (if not, you can go to the JDK download address to install JDK first, of course, you can also download it internally), first enter the official website Android Studio , click download, and then select the appropriate chip, that is Mac with Apple chip.

(2) Drag the app in and install it.

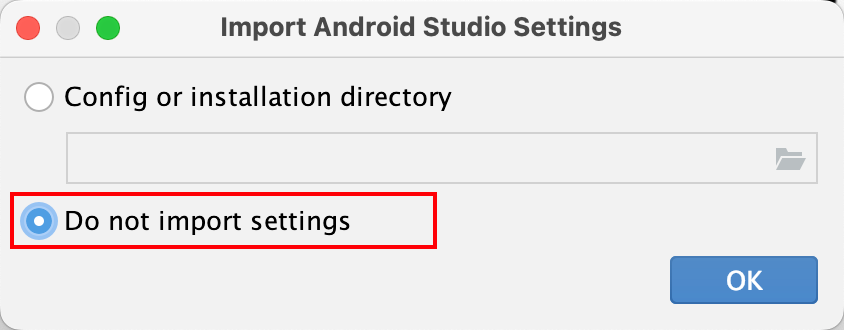
(3) After the installation is complete, open Android Studio and select Do not import settings.
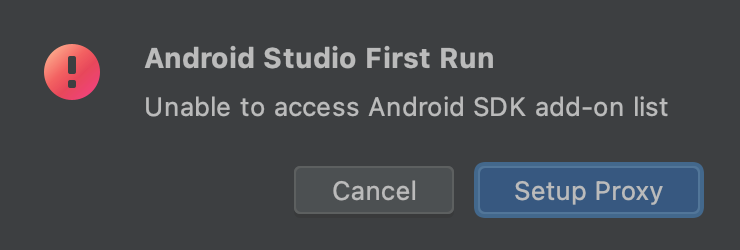
(4) Since the SDK is not installed, this prompt will appear, click CancelCancel first.
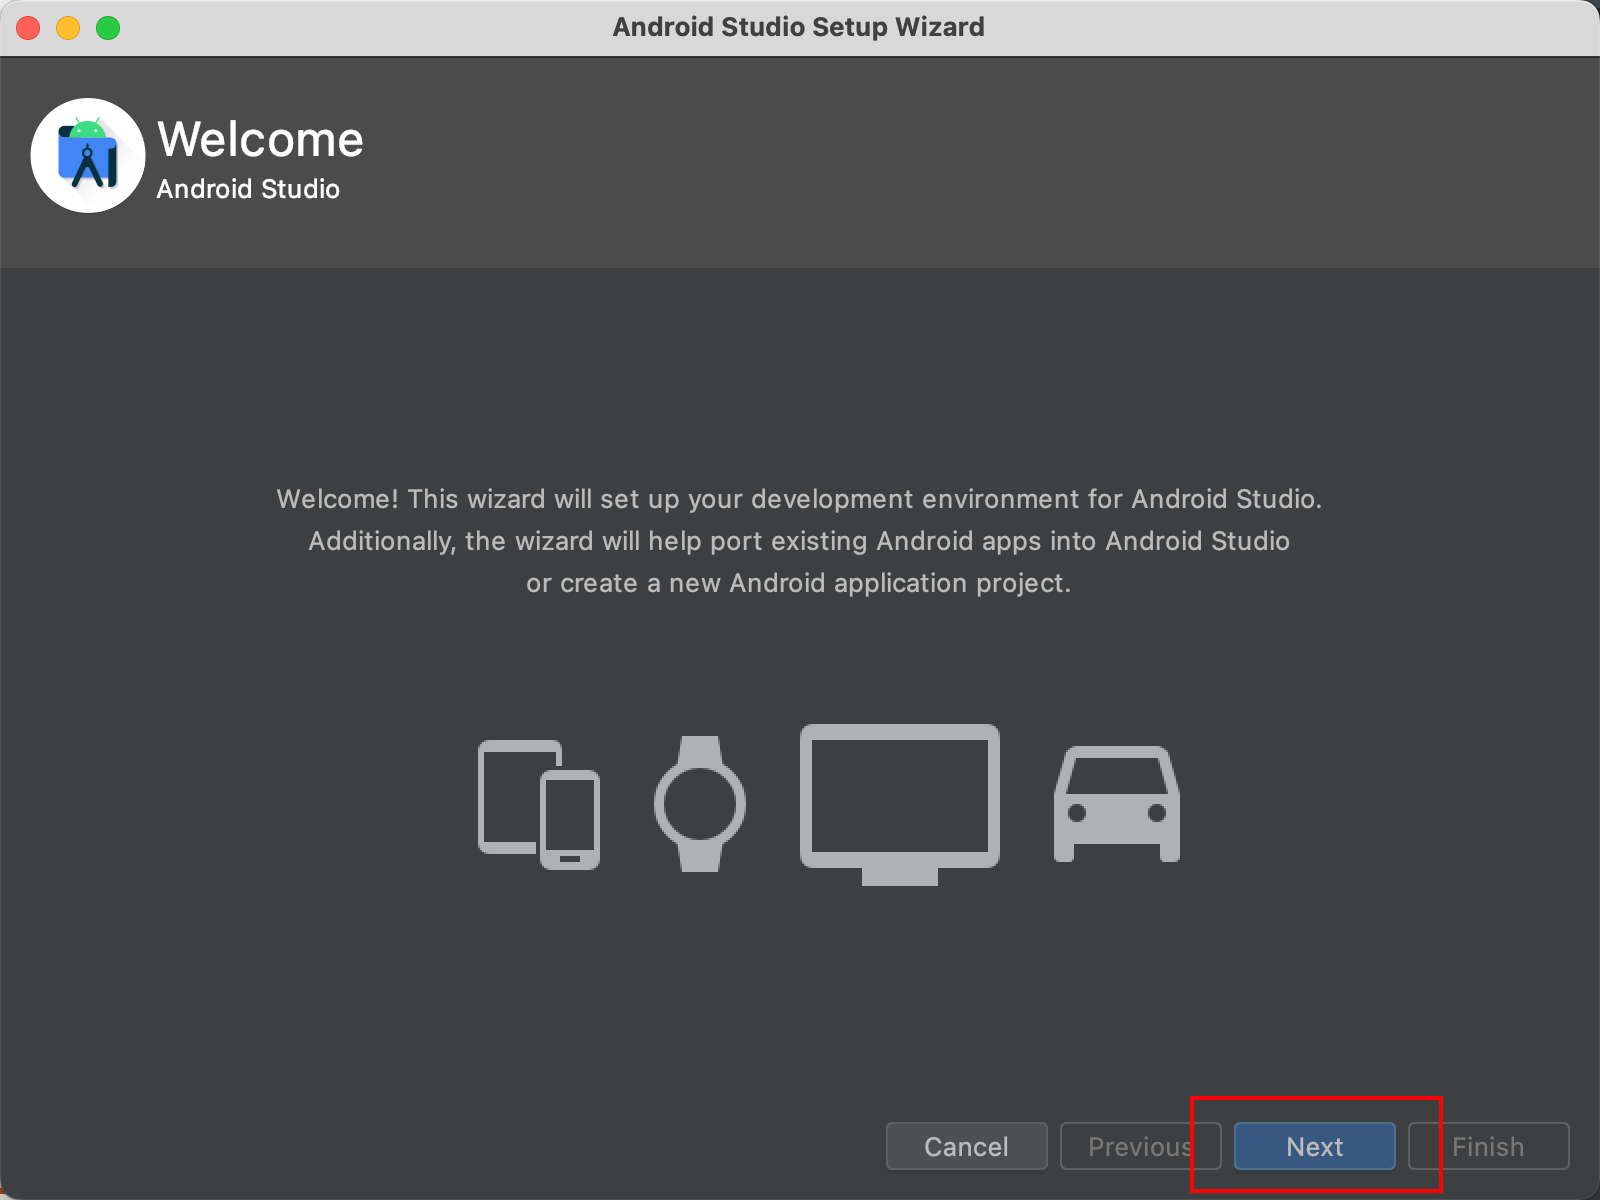
(5) clickNext
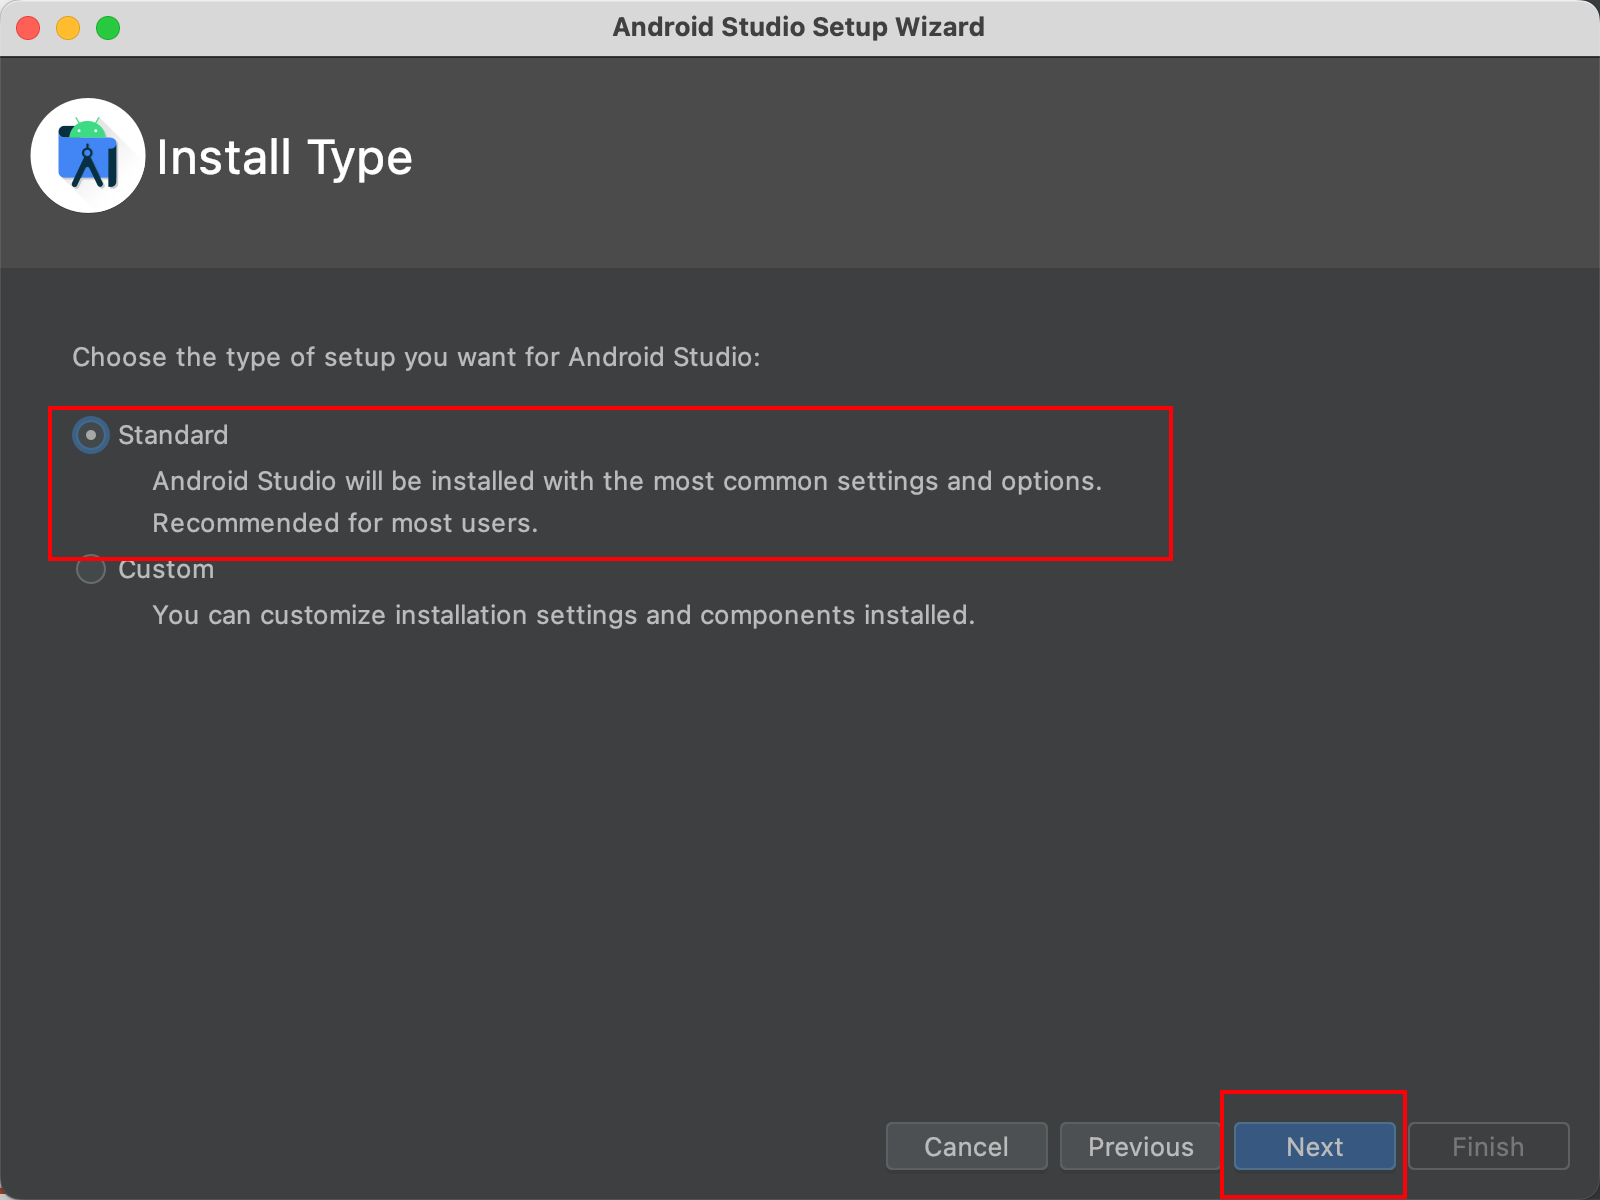
(6) Select StandardSettings and continue clicking Next.
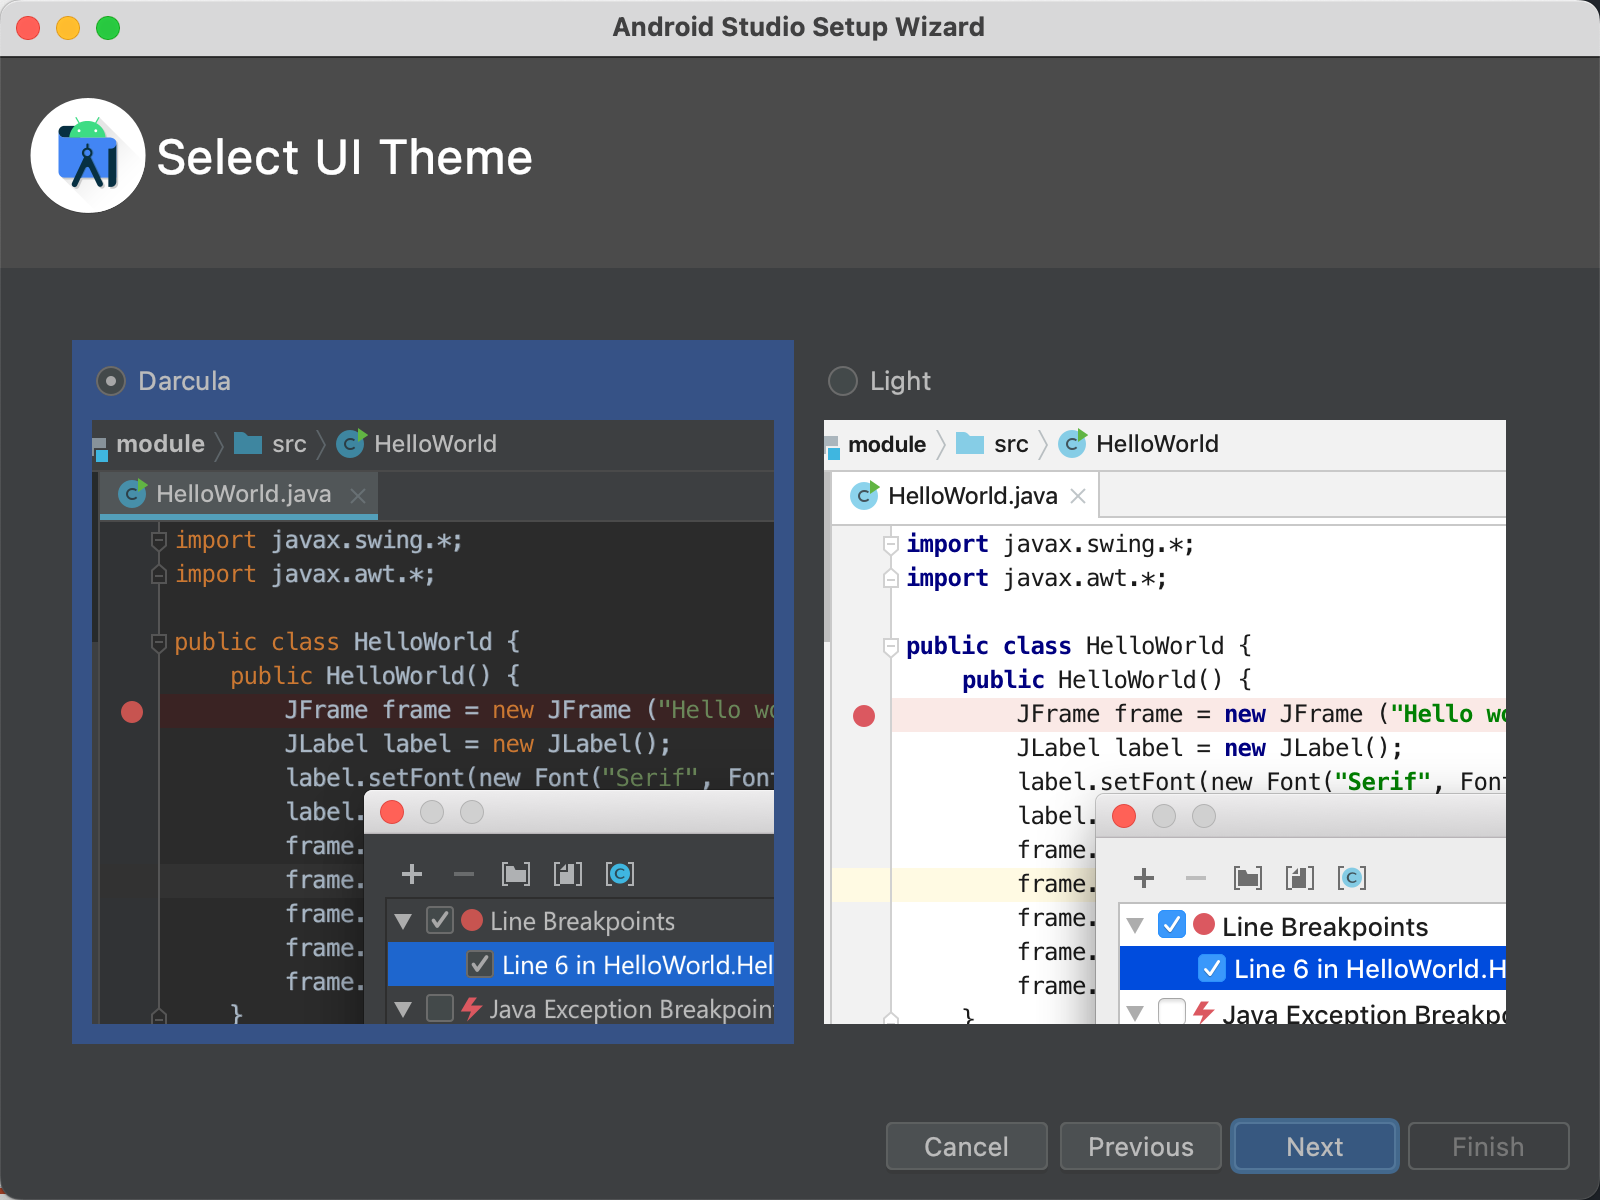
(7) Choose your favorite theme interface, I like it here Darcula, after you choose it, you can go in and modify it, so you can choose whatever you want.
(8) CONTINUE Next.
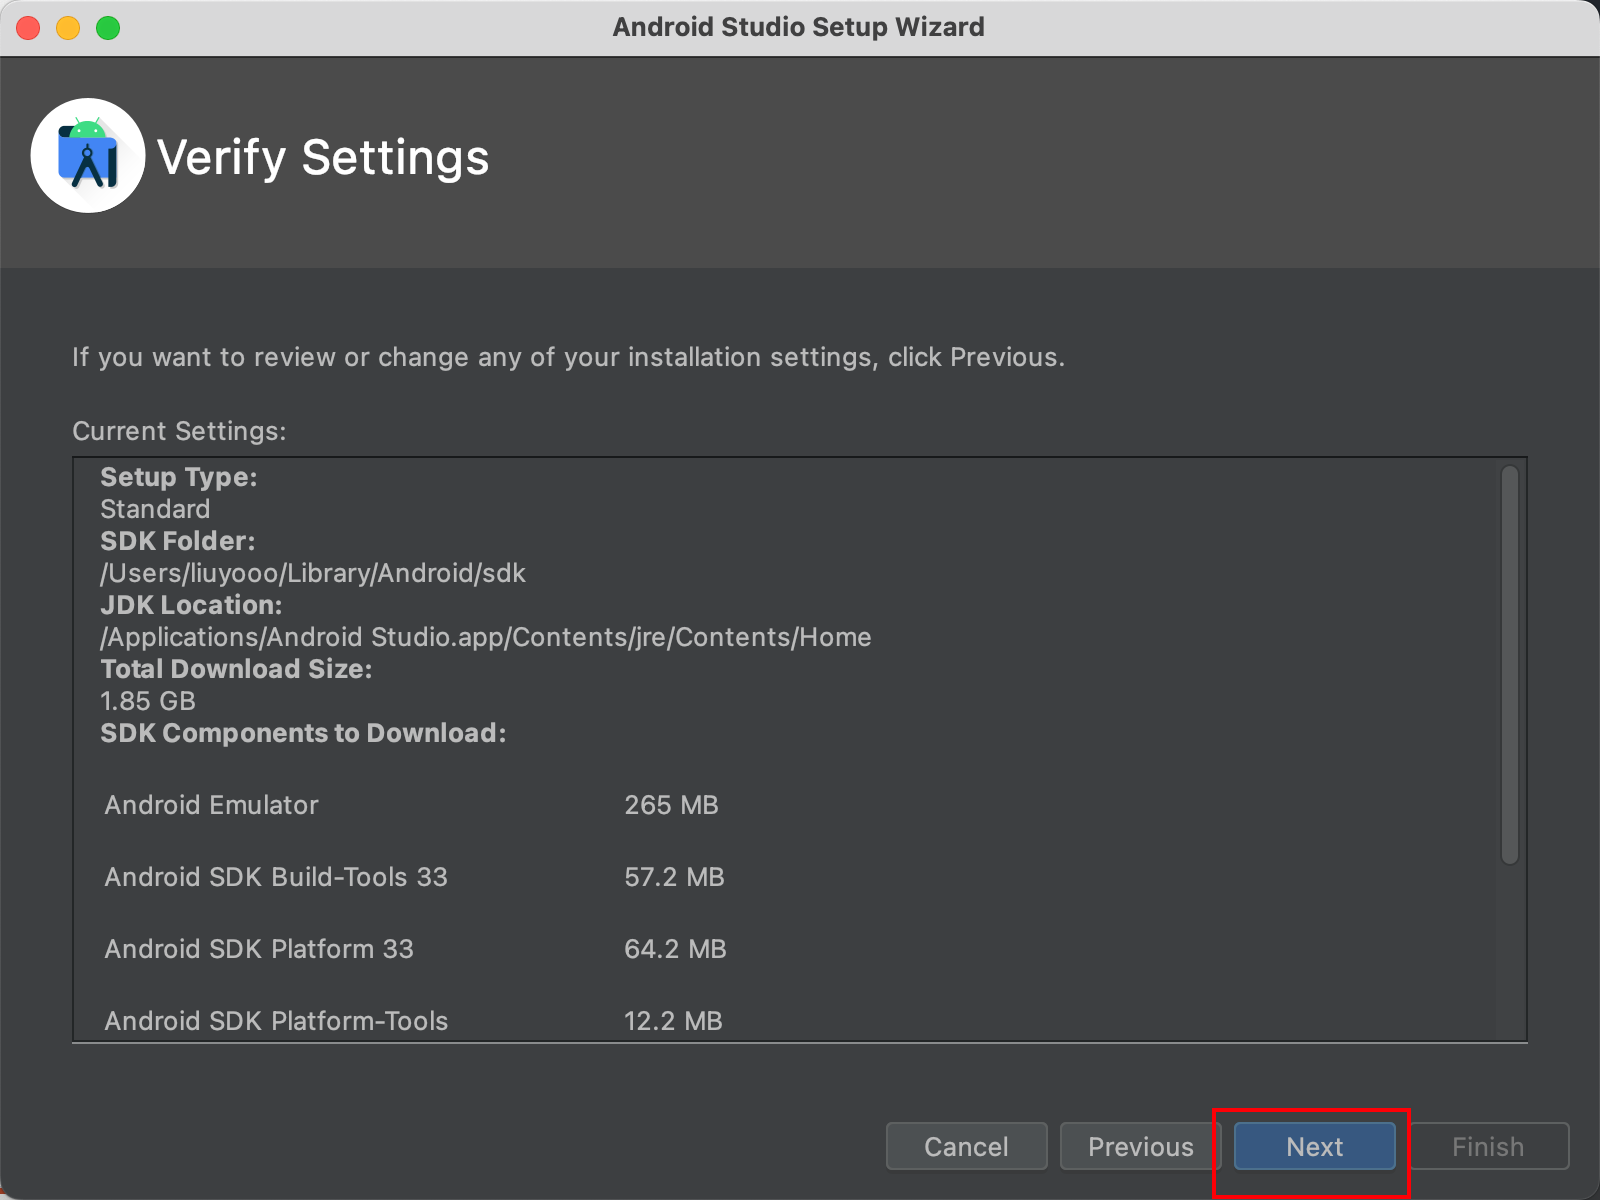
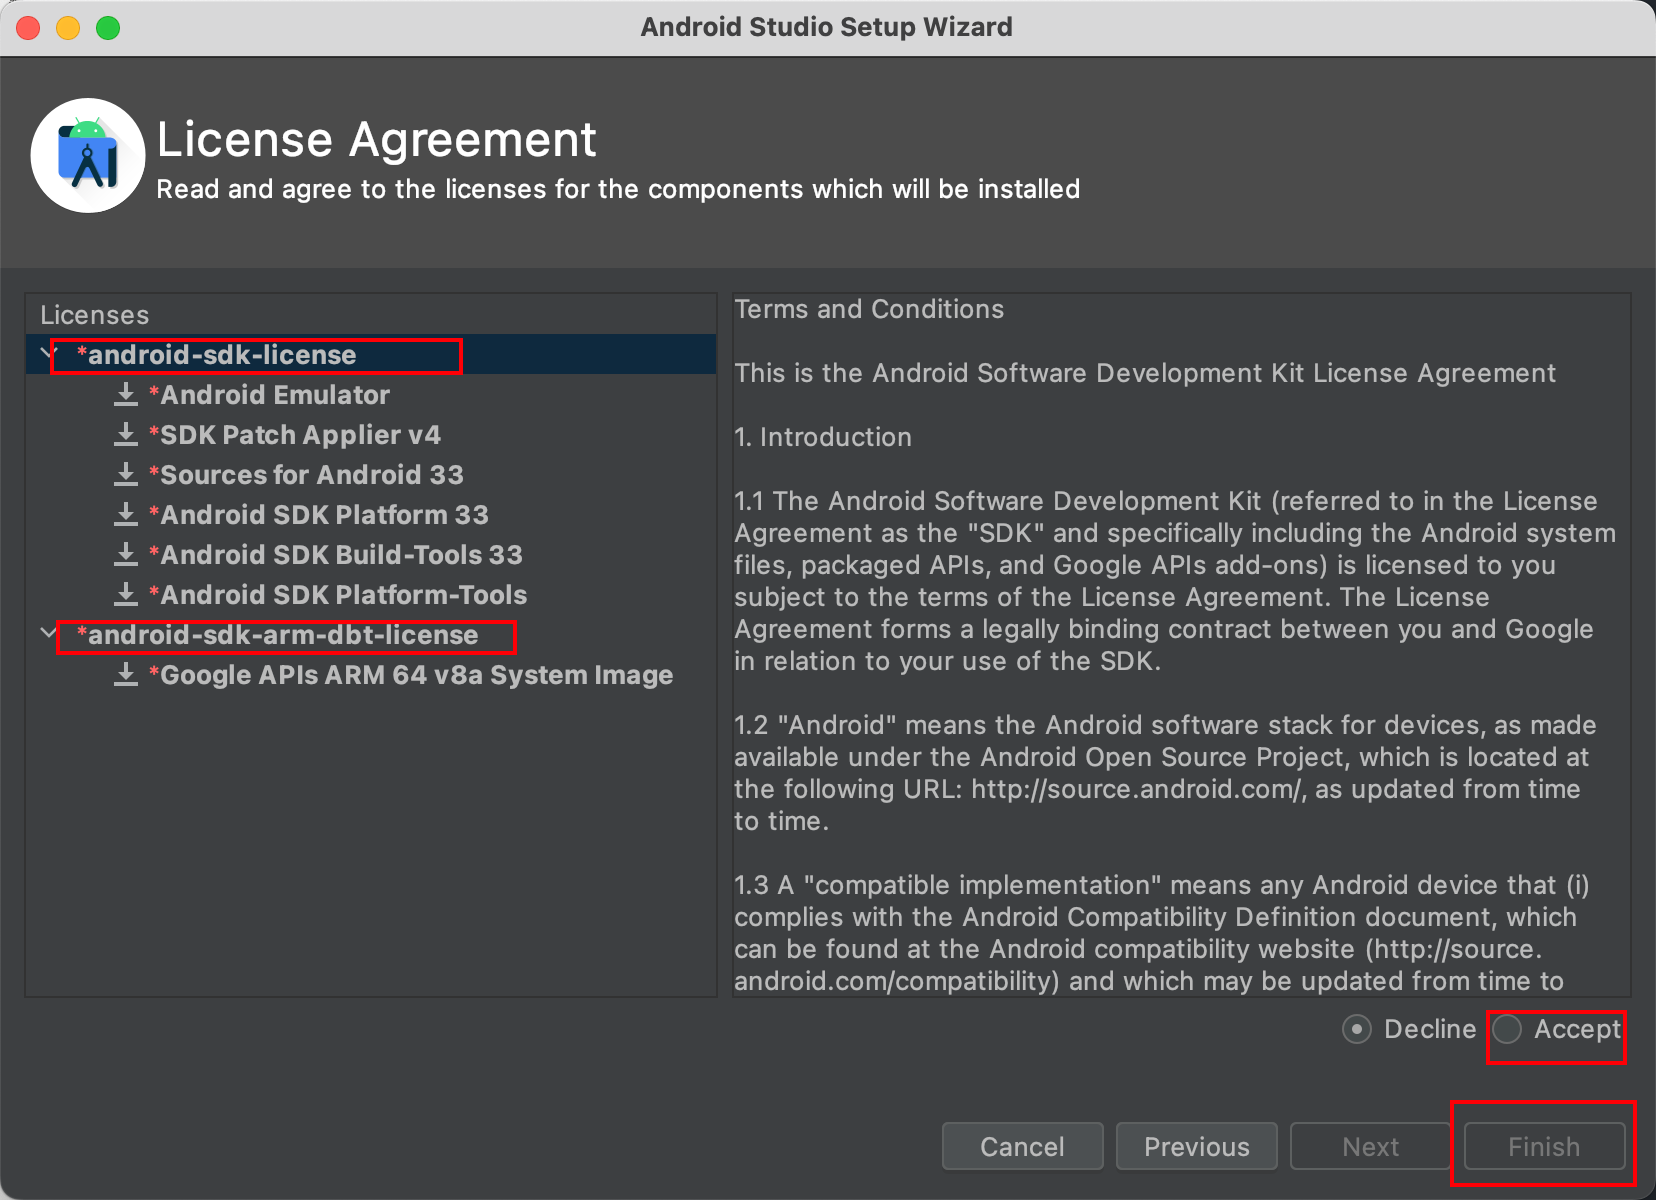
(9) This is to ask you to agree to install some components. After clicking both Accept, you can click Finish. Of course, you can read the introduction inside.
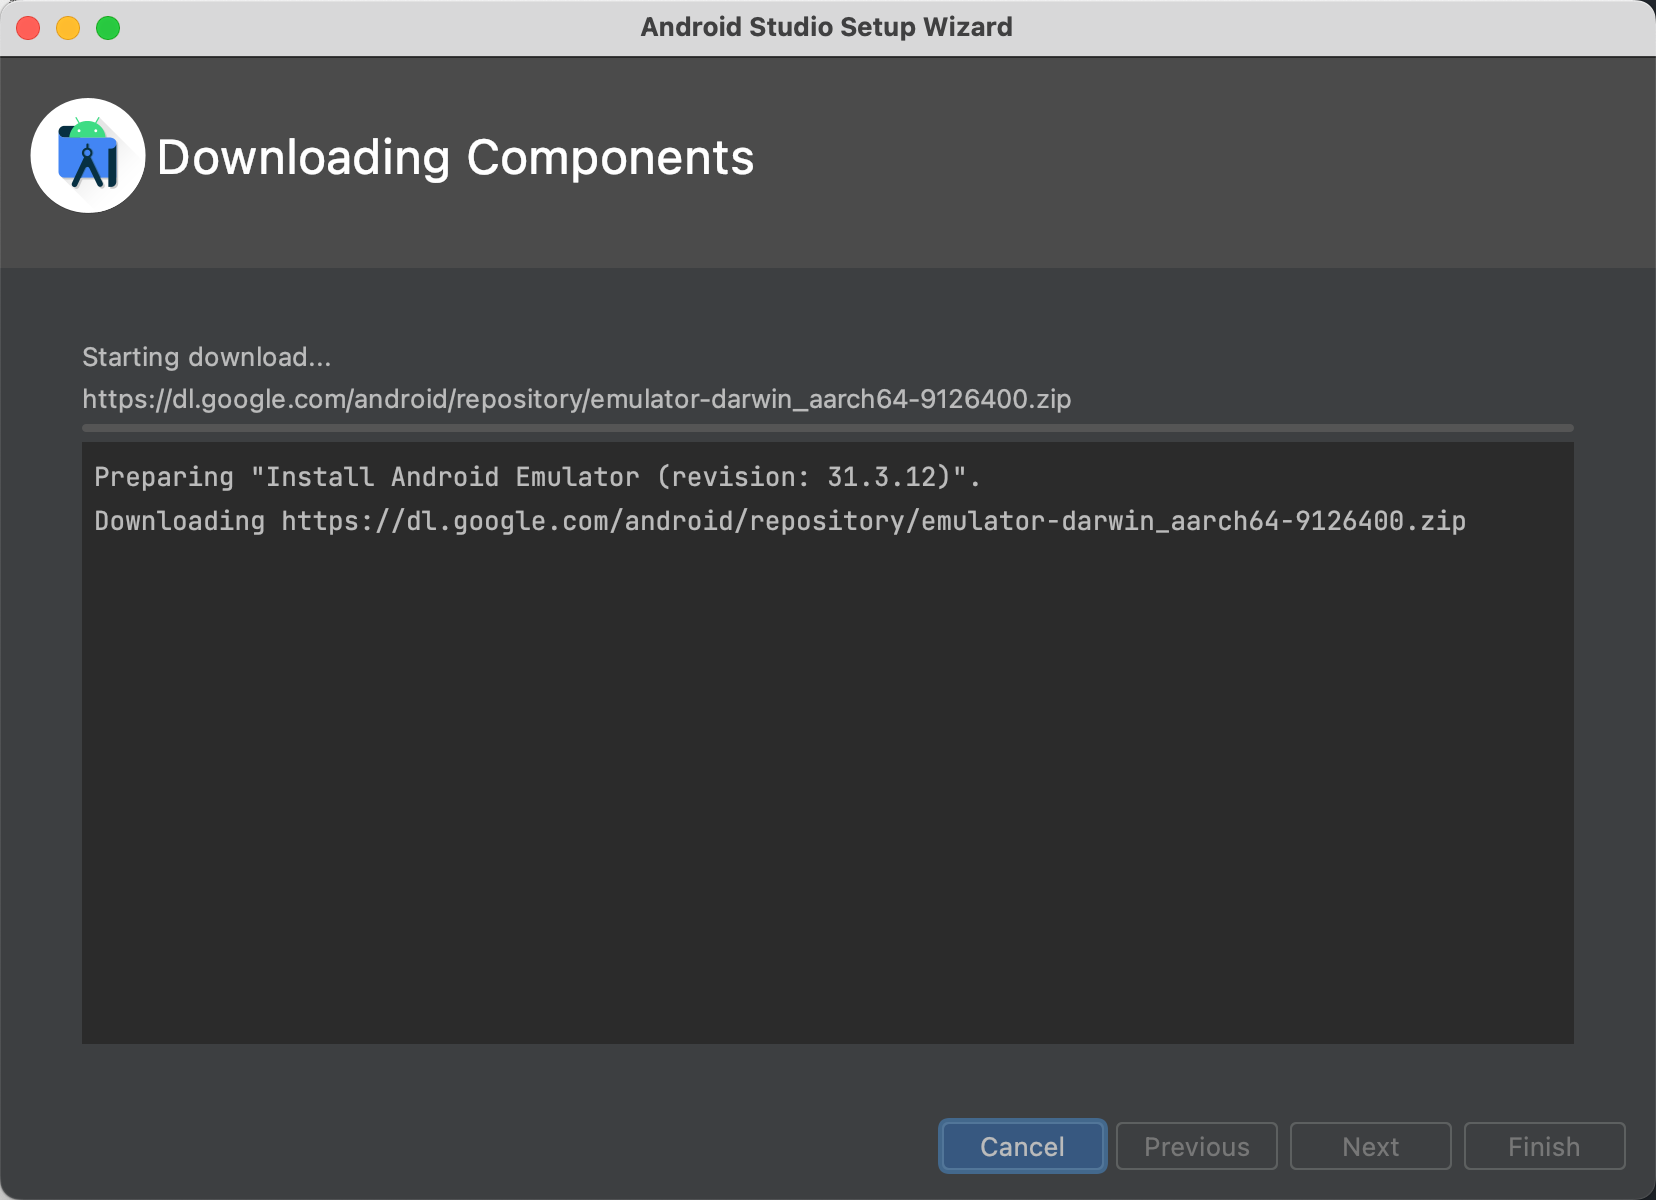
(10) Waiting for downloading.
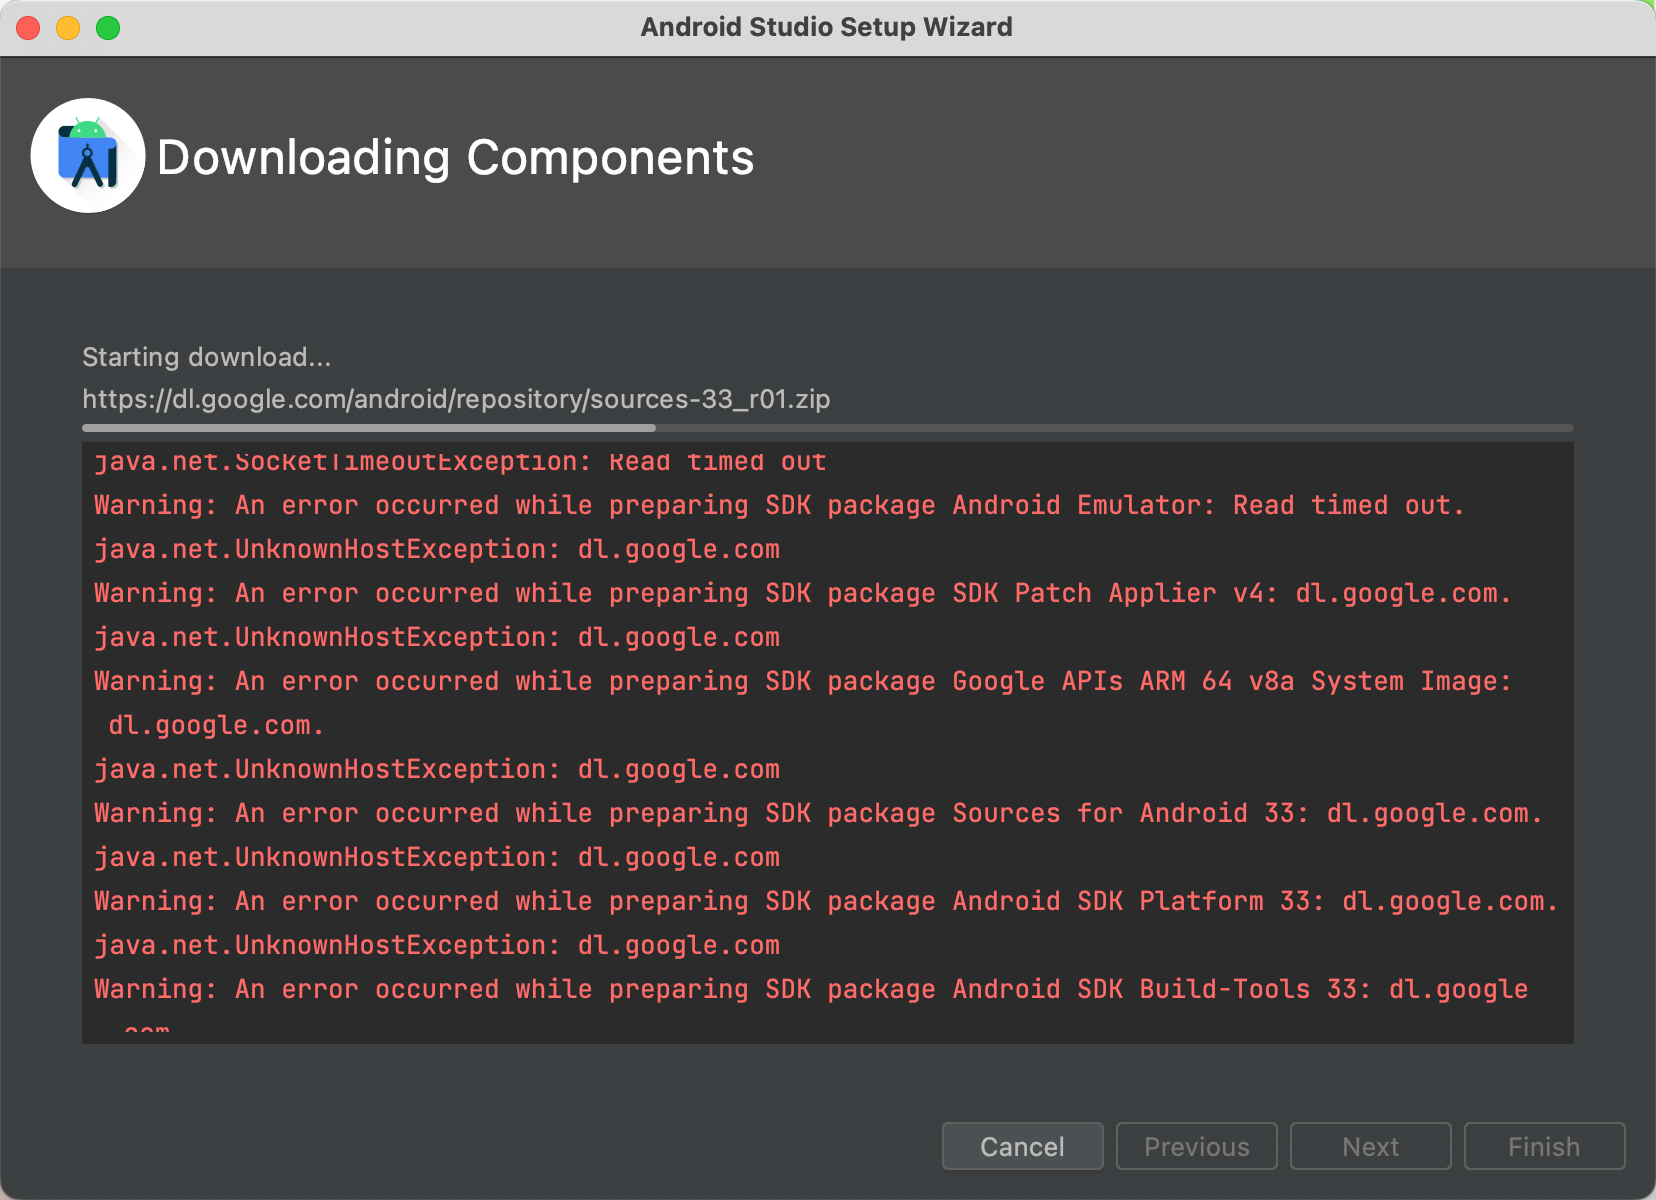
(11) In the middle of the process, I don’t know if my network was disconnected or what happened. The download failed, and then I clicked to Retrydownload again.
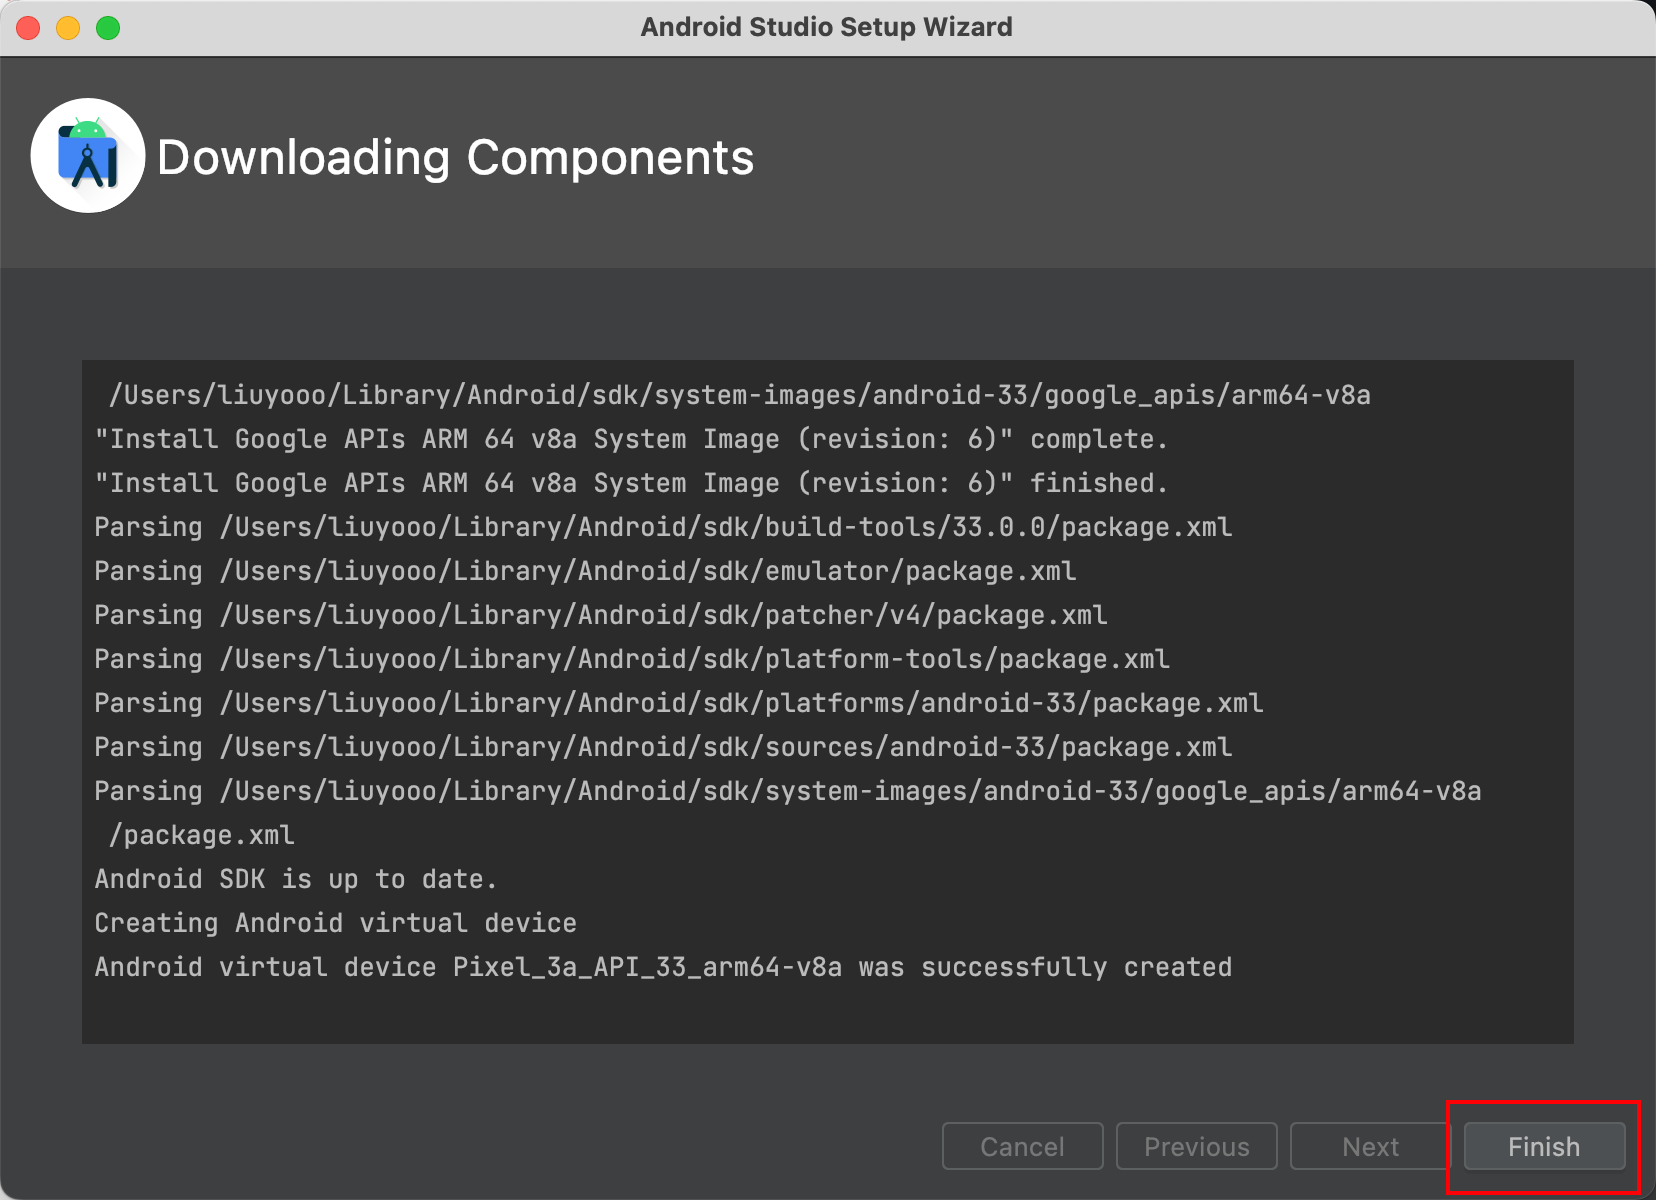
(12) When the download is complete, click Finish.
Start Android Studio
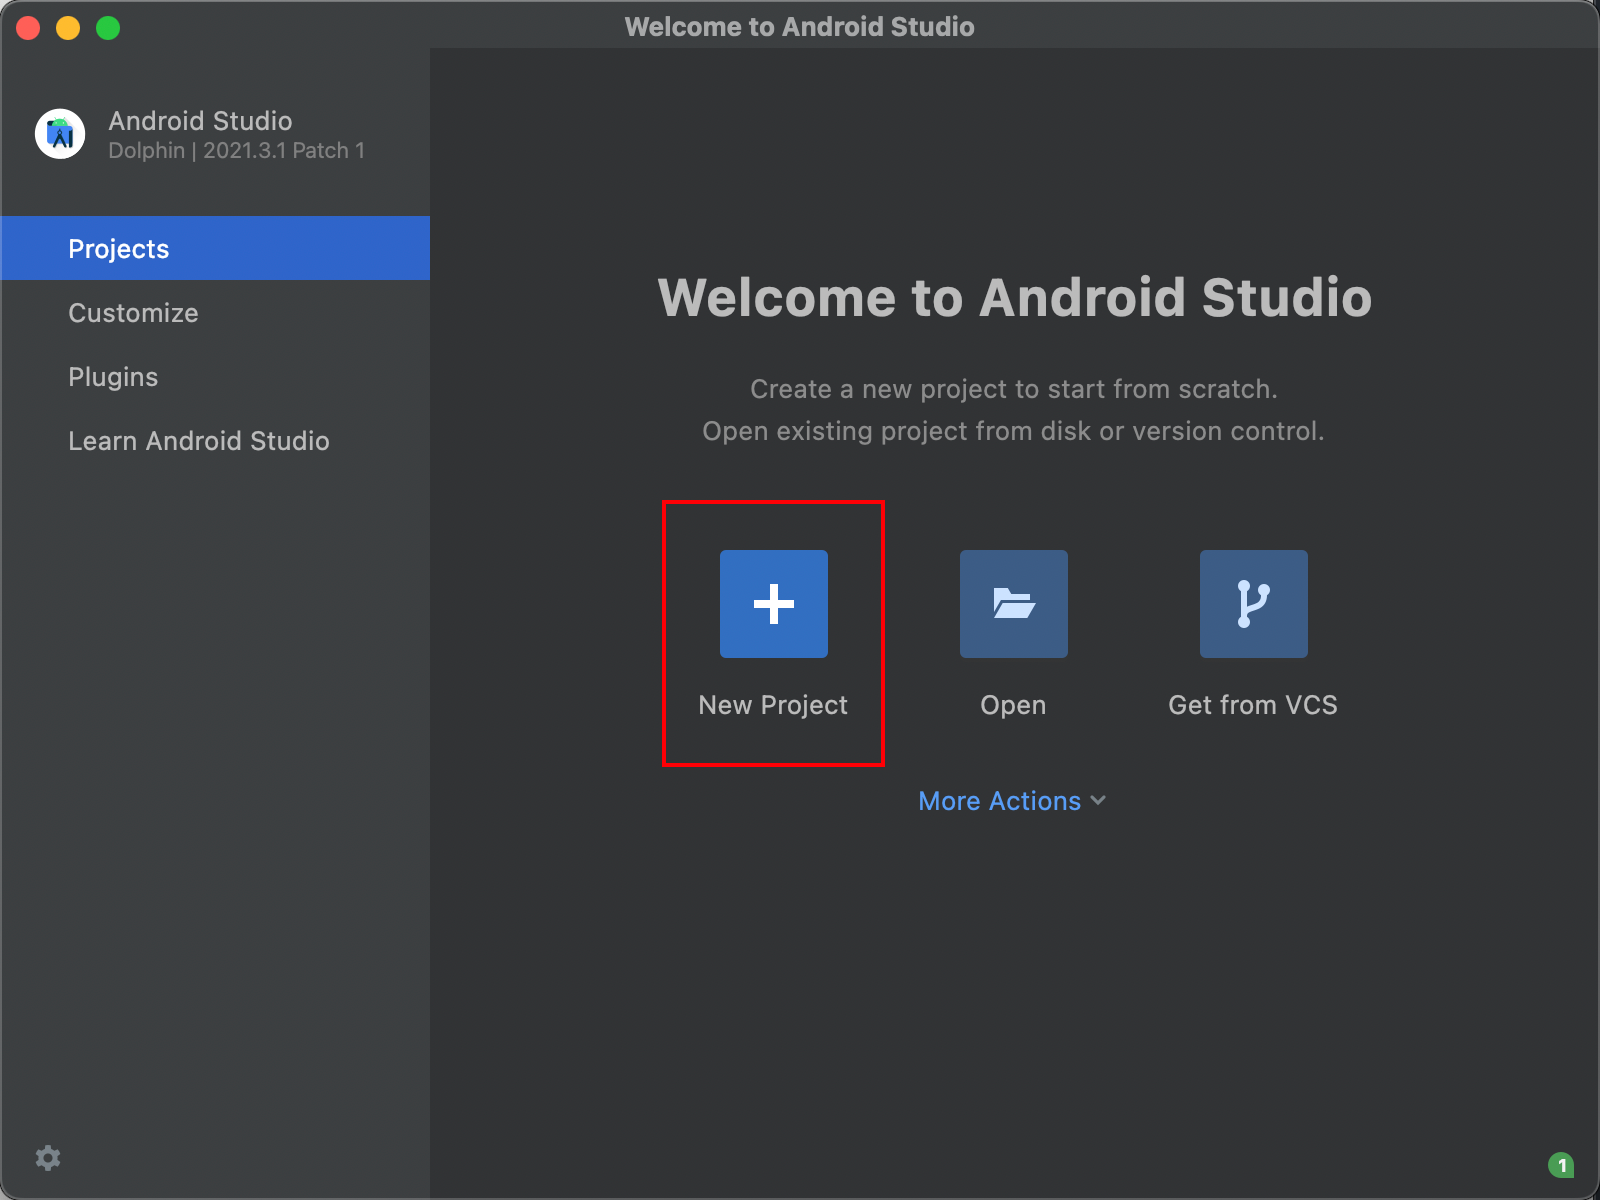
(1) Open Android Studio and click to New Projectcreate a new project.
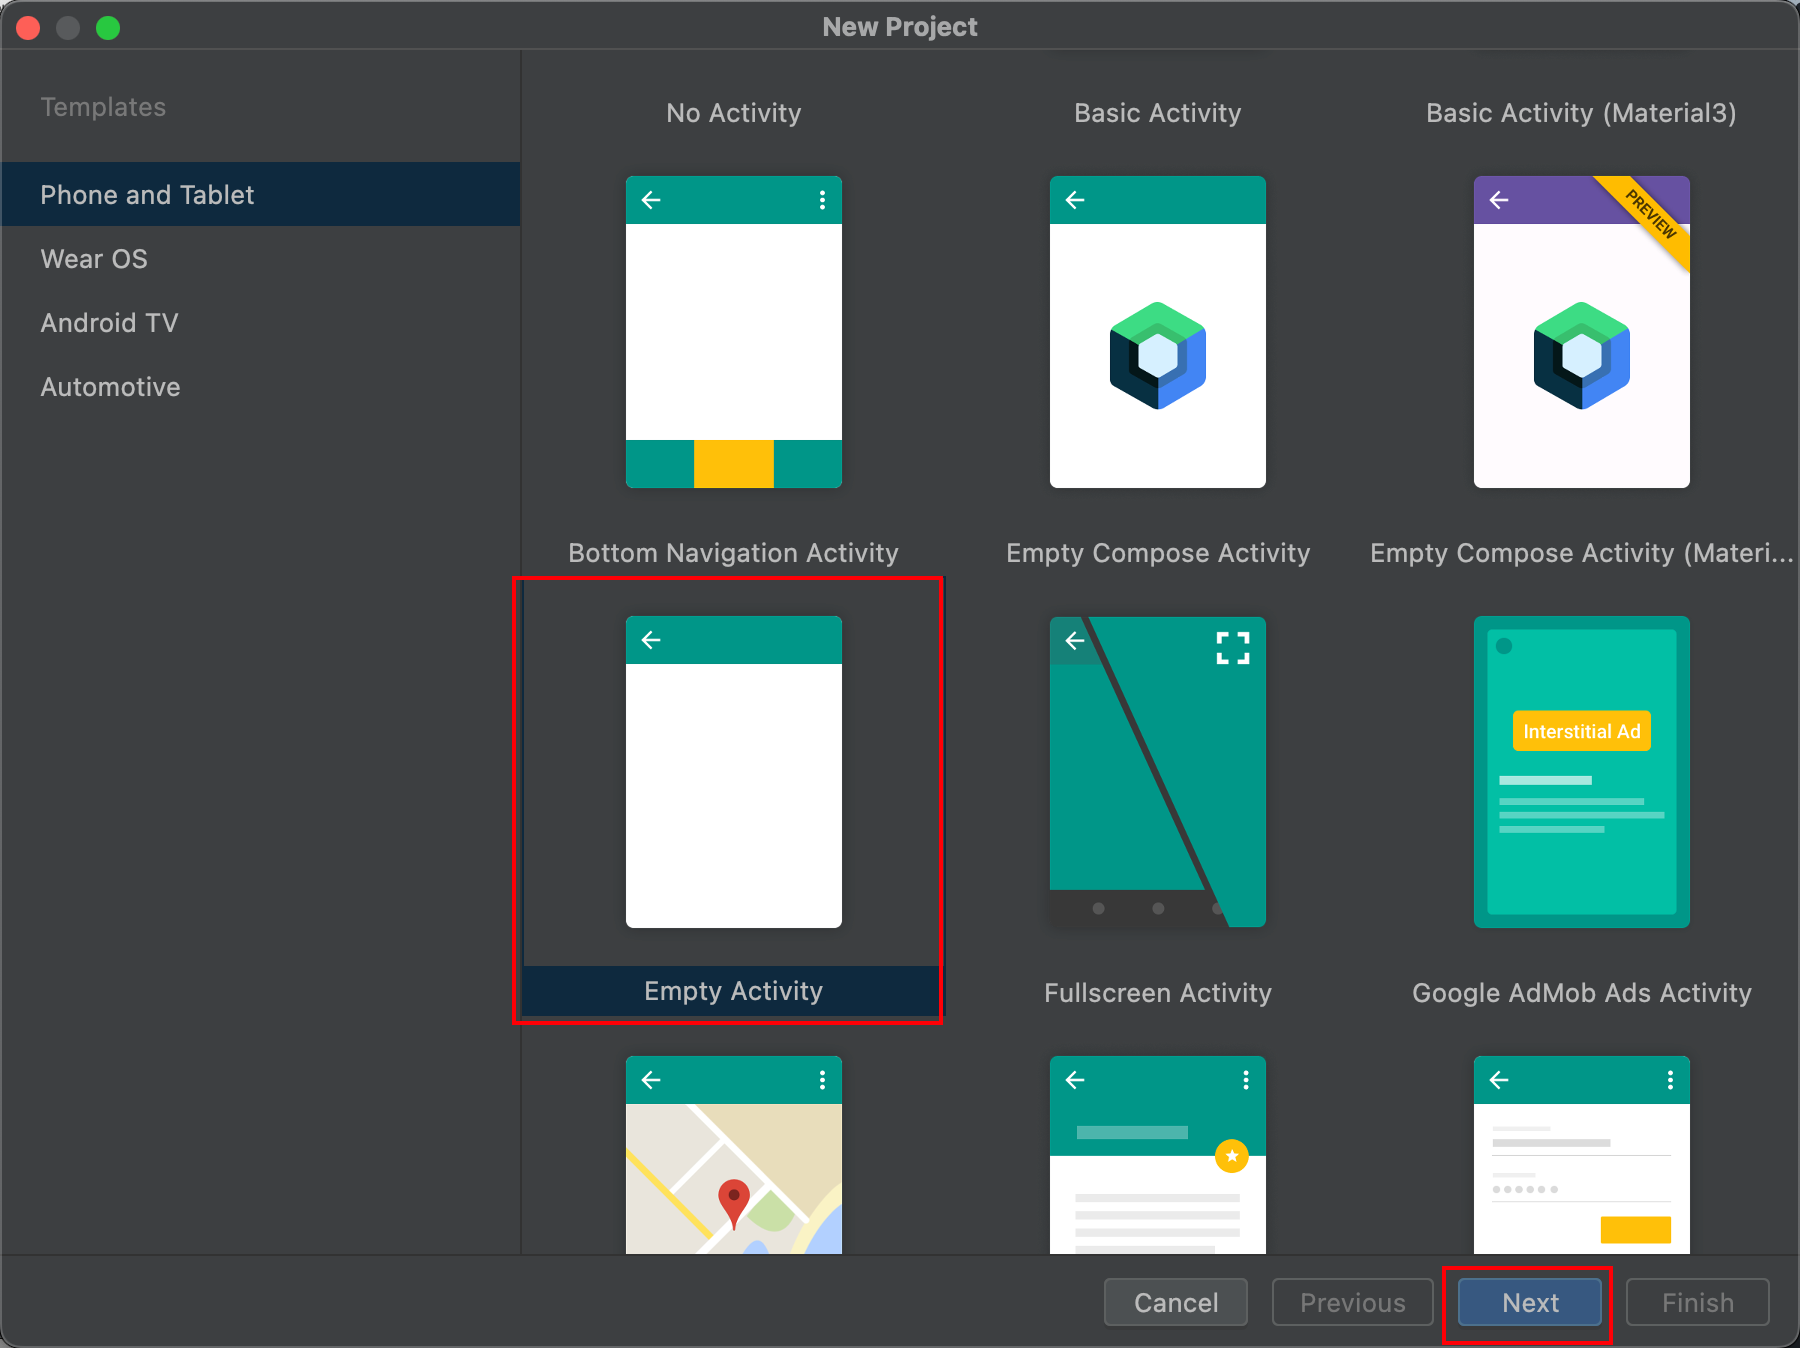
(2) There will be some new project types for you to choose. You can choose this by yourself. I usually choose it when I am doing a new project Empty Activity, and then click Next.
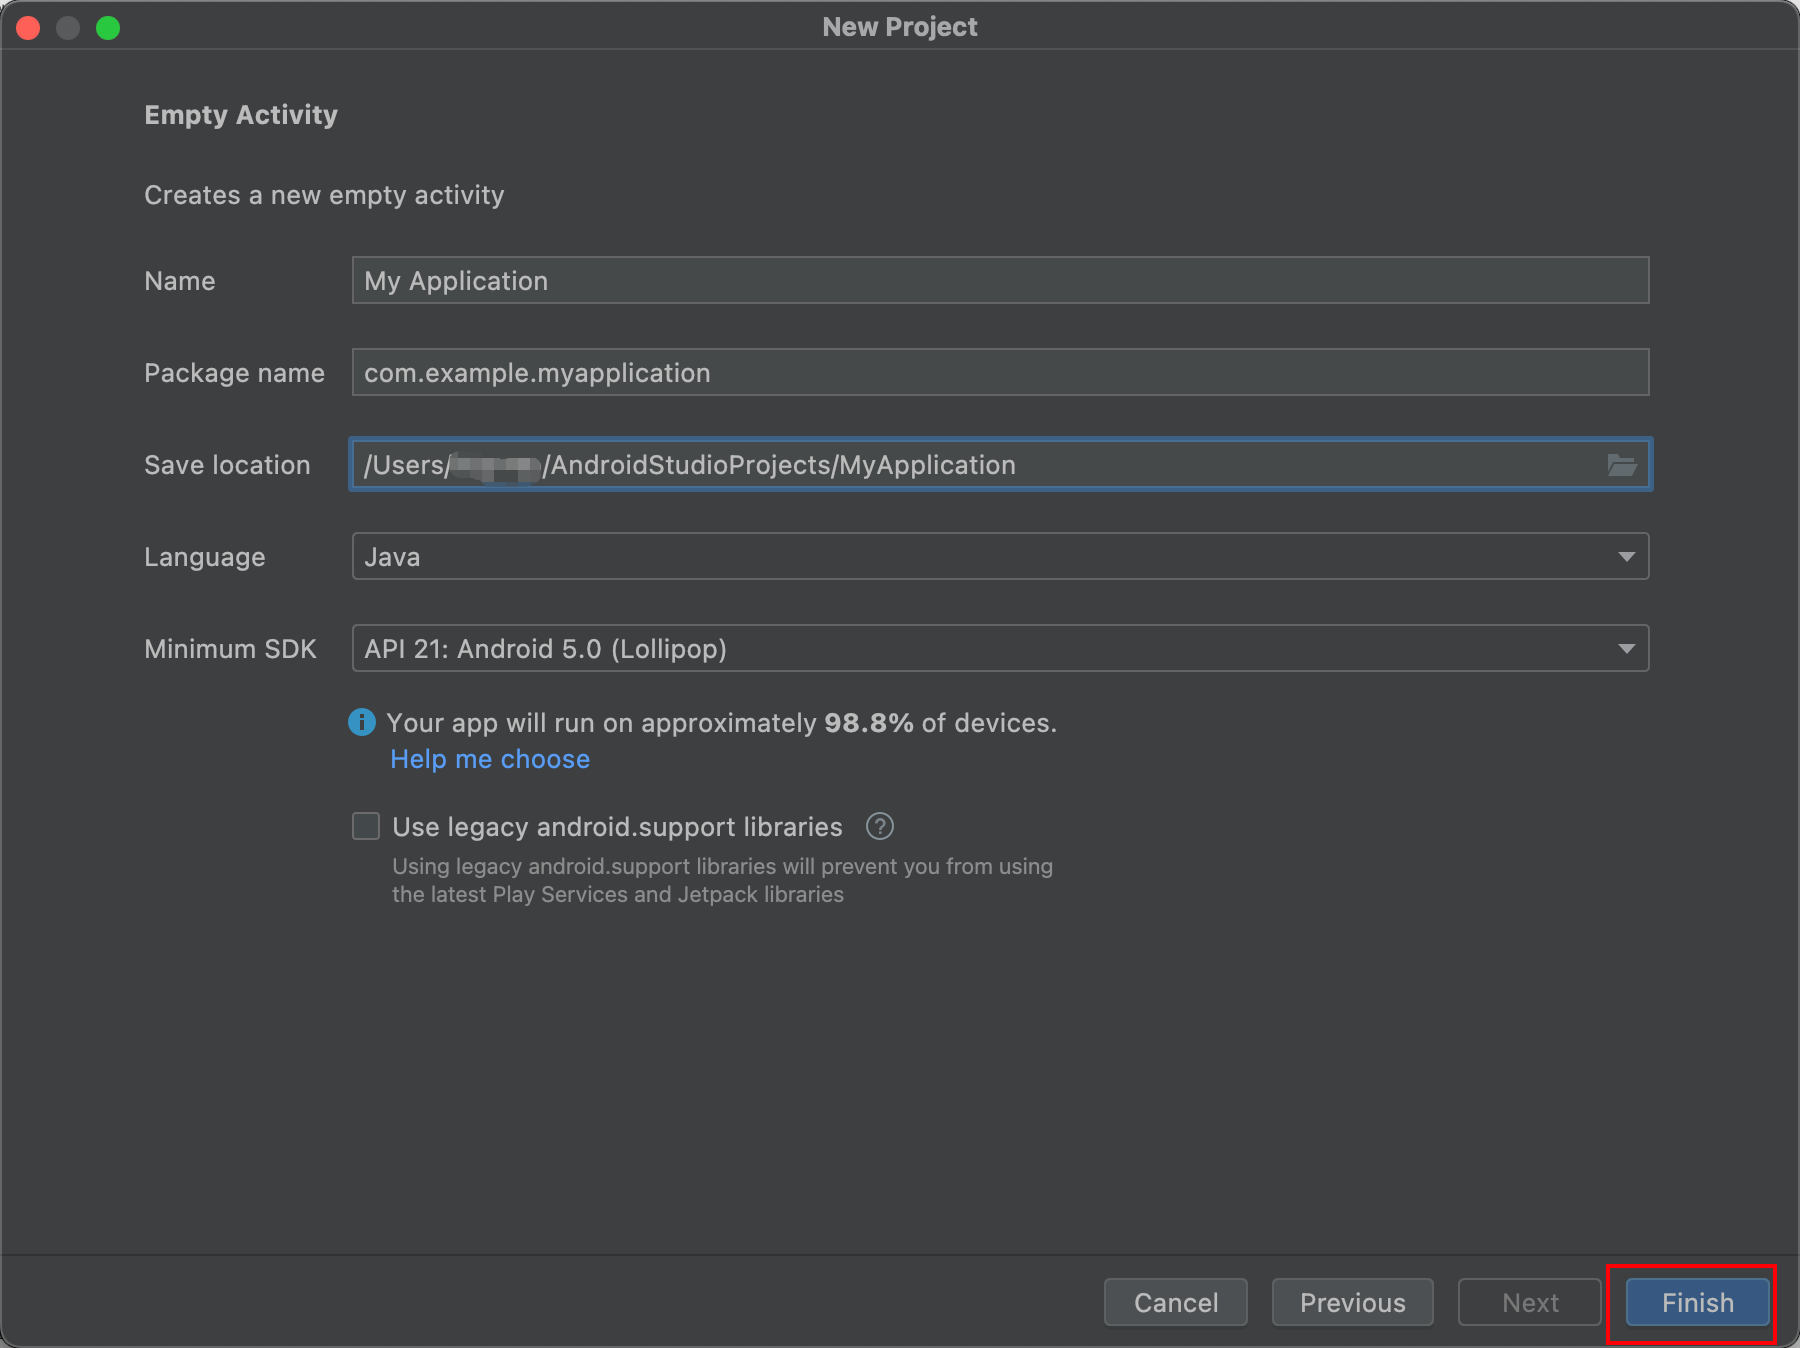
(3) Then fill in the information here and click Finish.
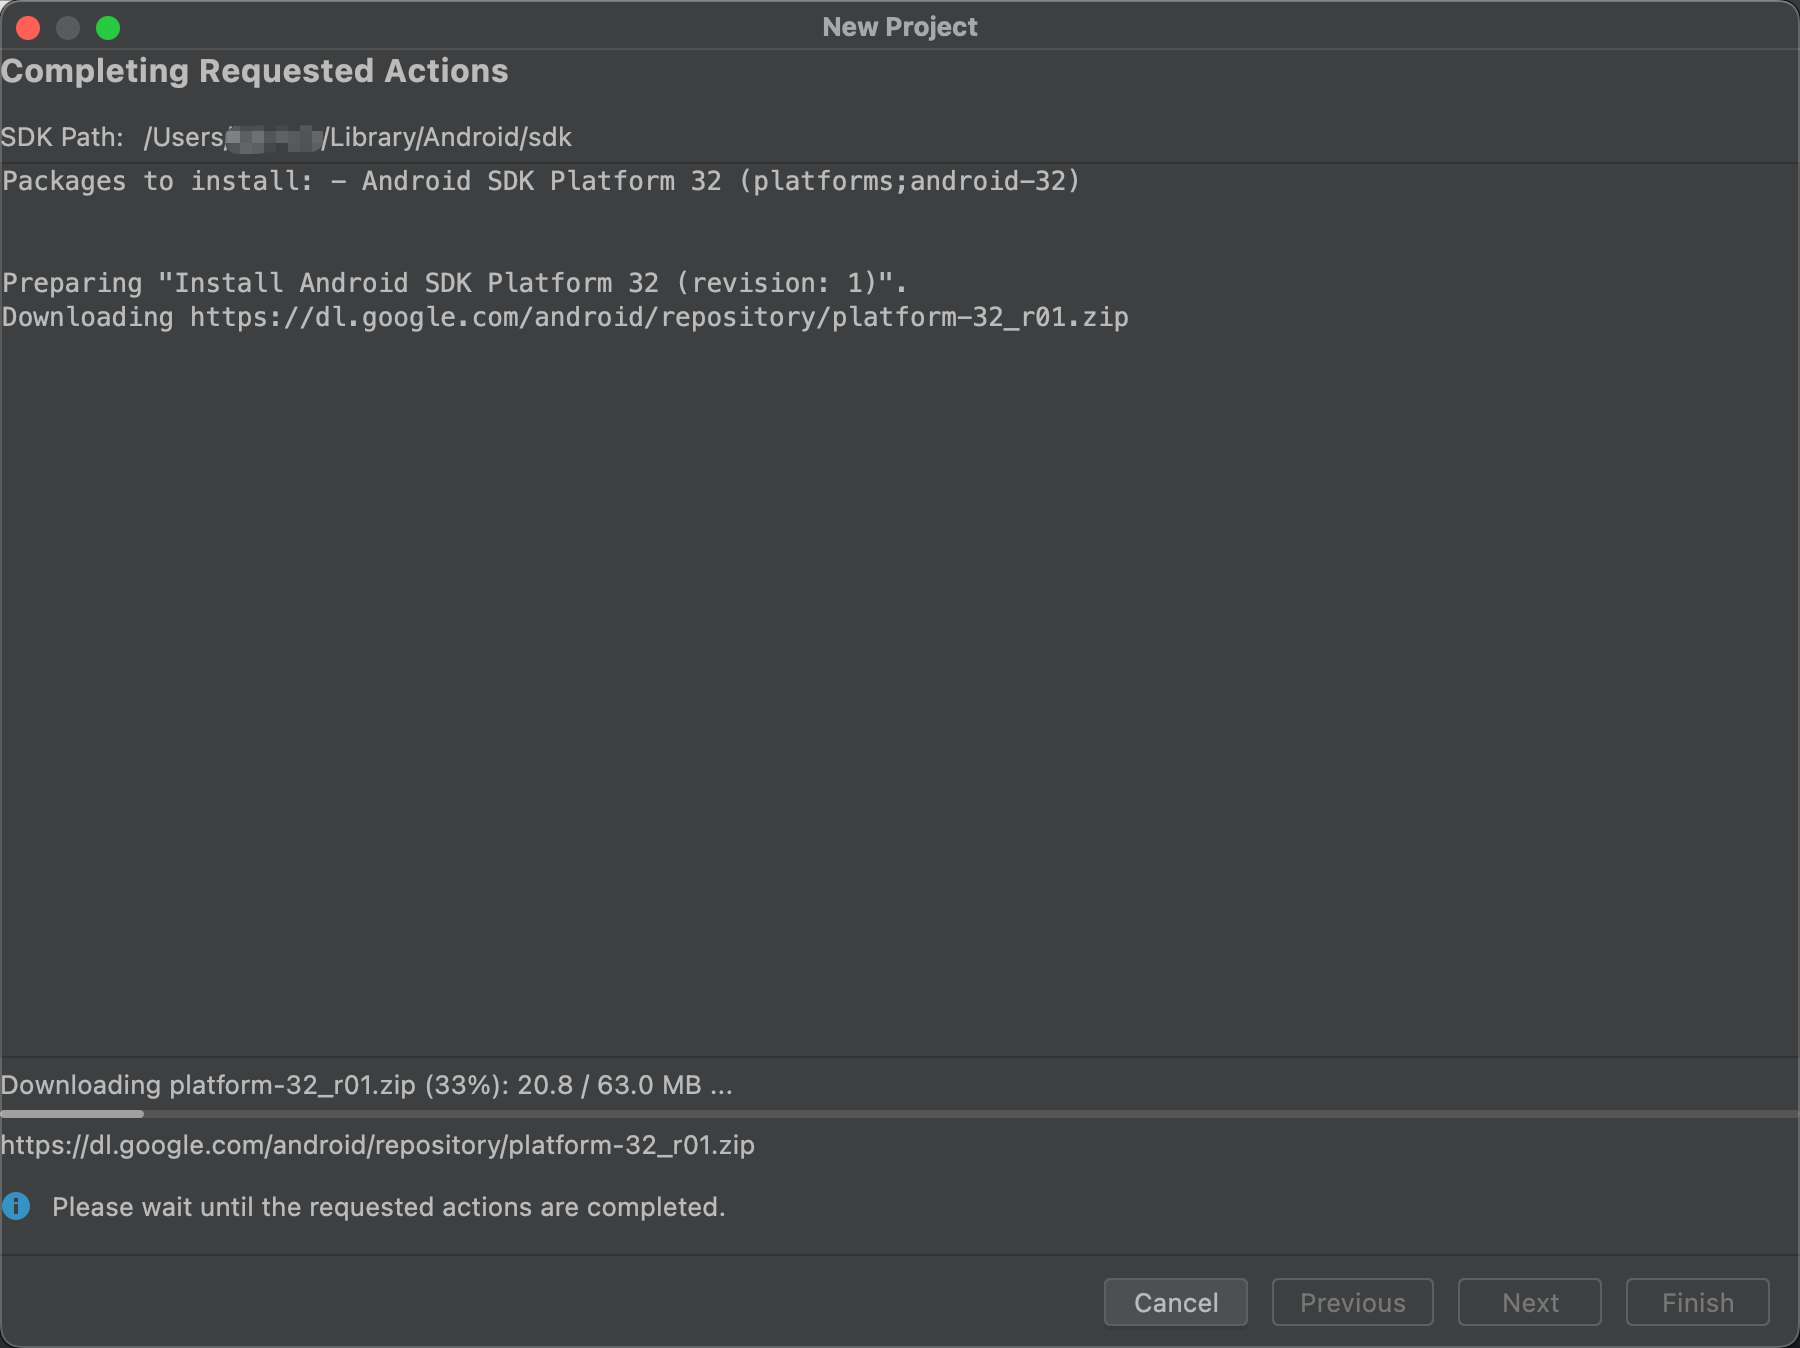
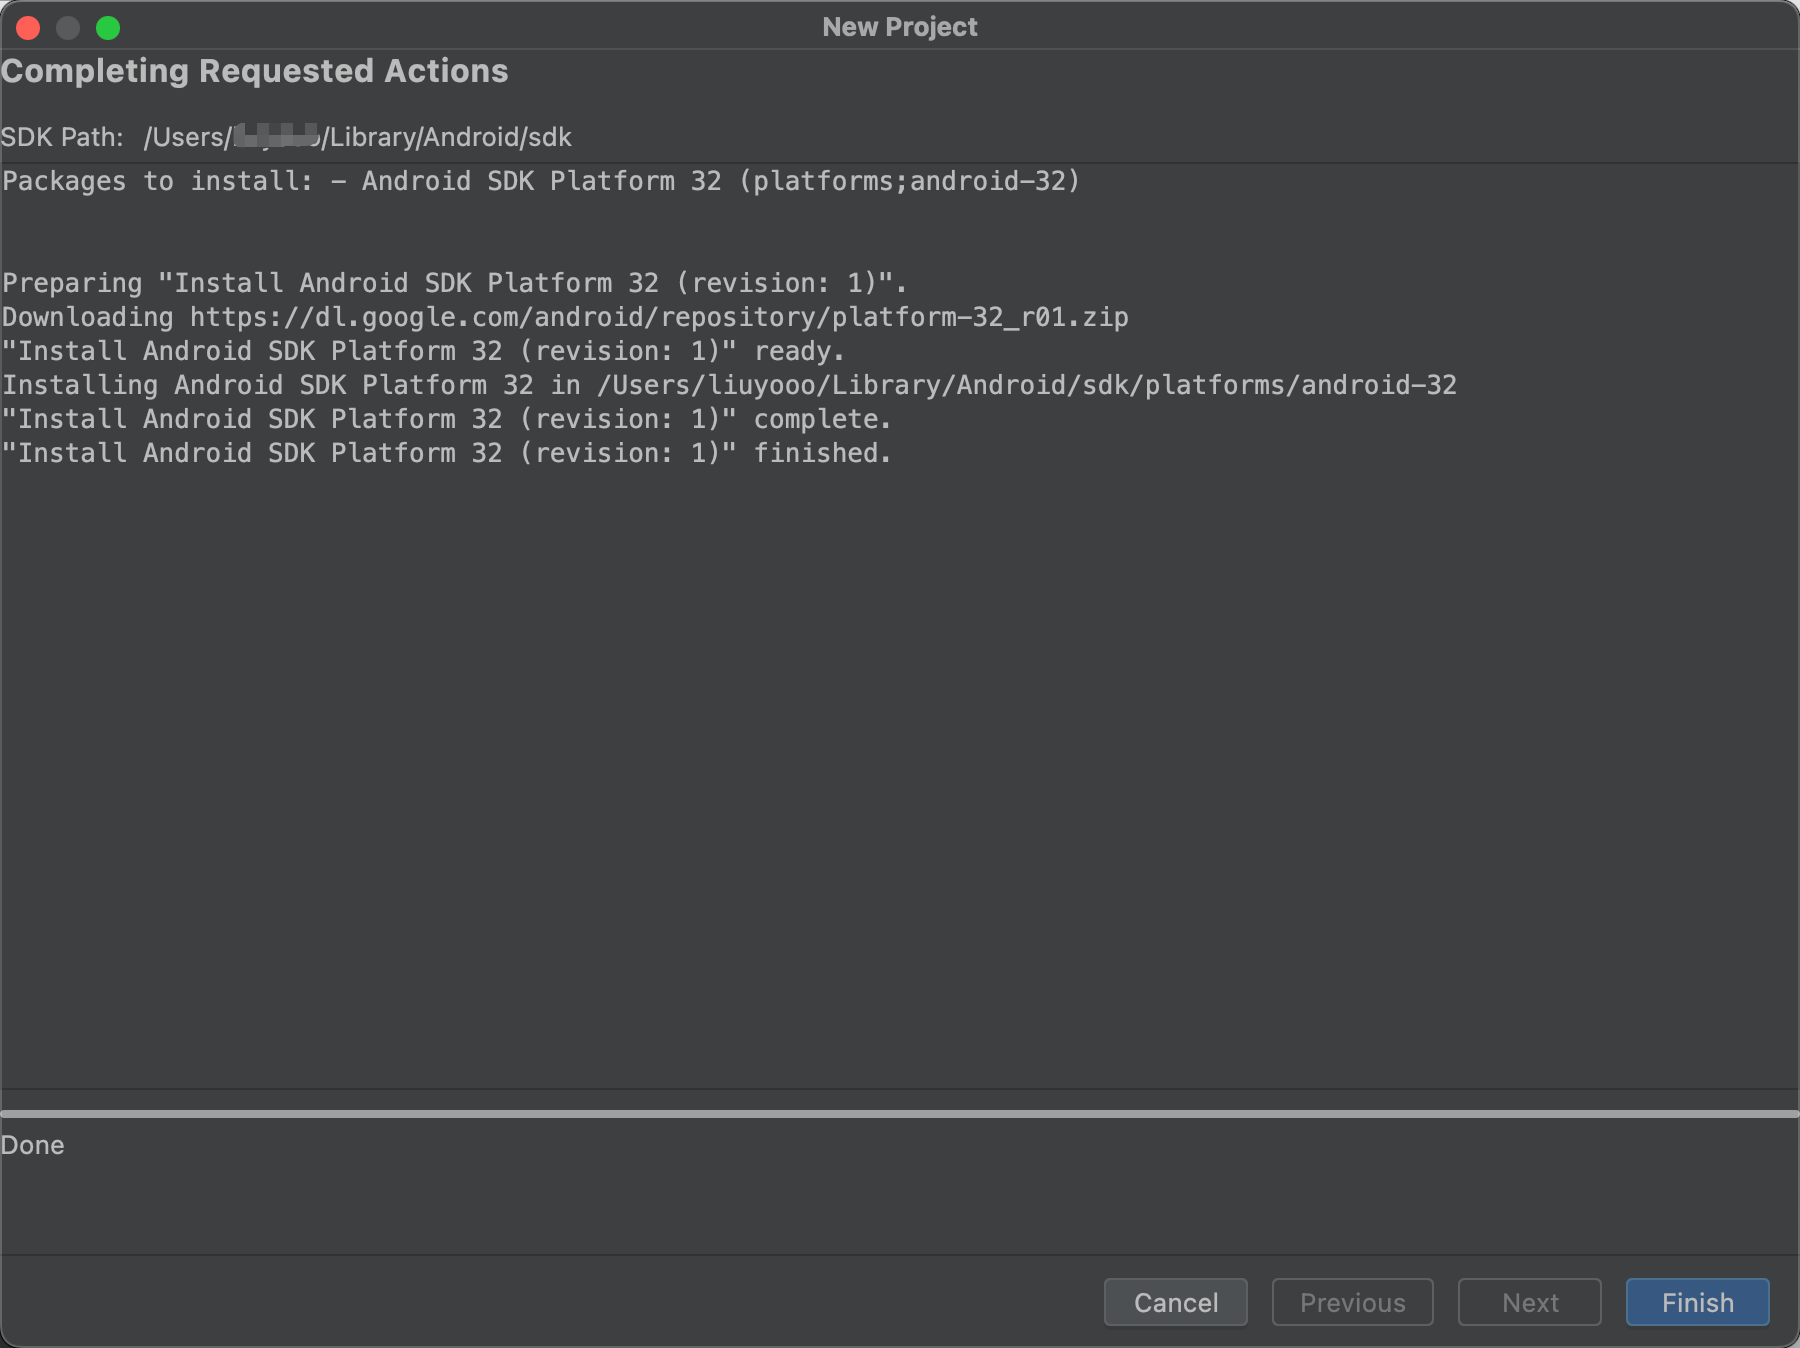
(4) The SDK is being installed here.
(5) After the installation is complete, clickFinish
(6) Then we enter the project, and some configuration files are being downloaded in the lower right corner, and we need to wait for a while.
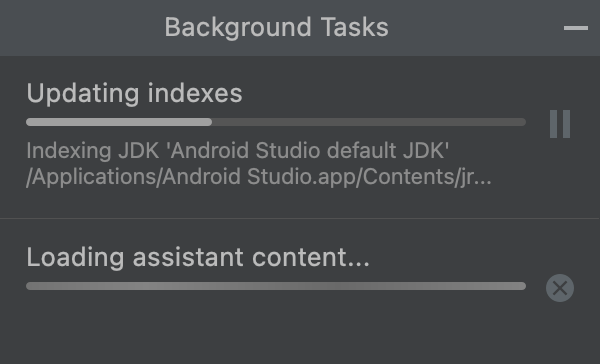
(7) I think the download is still a bit slow, of course it also depends on the speed of the network. After downloading these configuration files, the status bar on the top will change, and it will be gray when it is not downloaded.

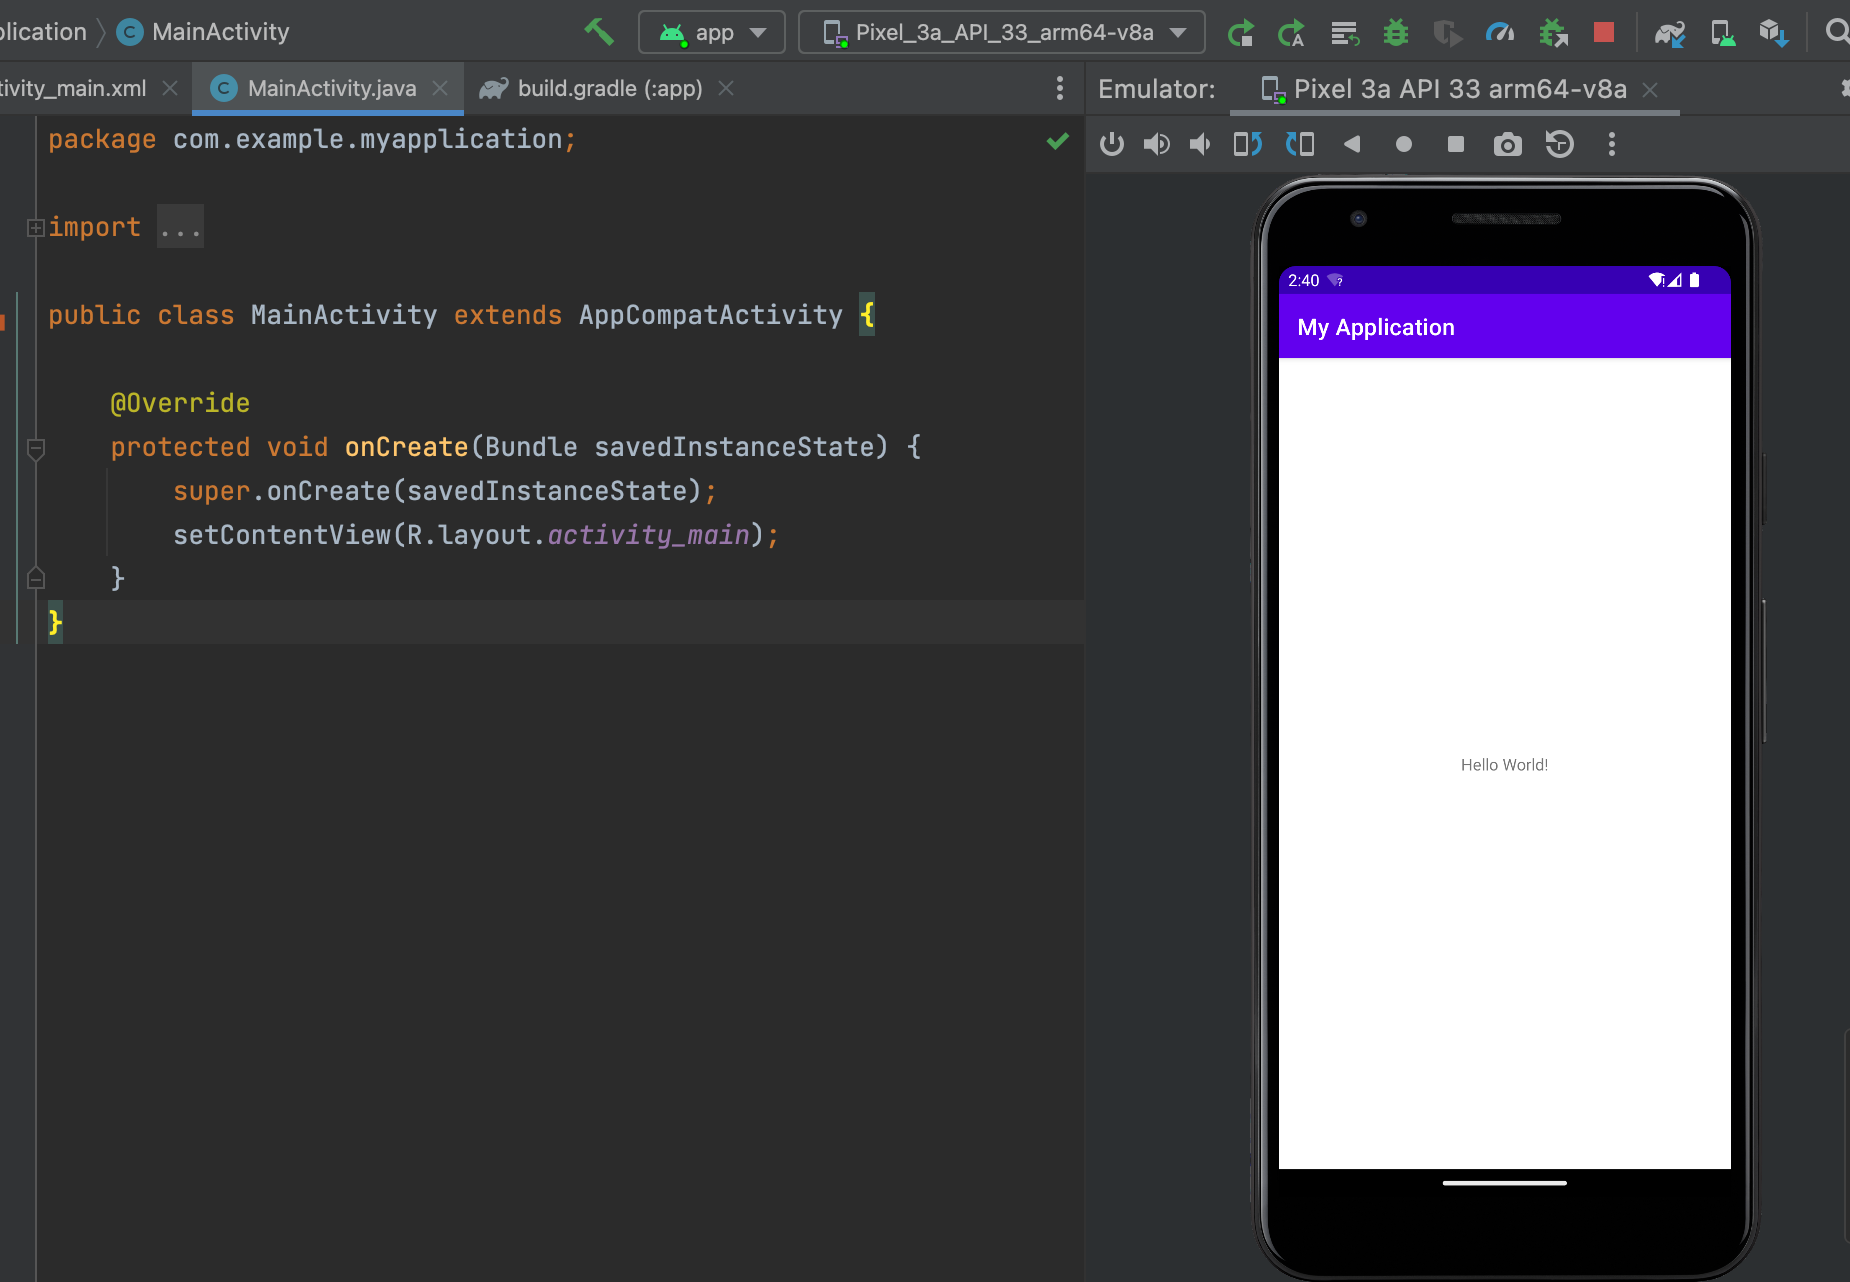
(8) Click the Run button to run the current program.

(9) SUCCESSFUL RUN.
So far, all have been downloaded and installed successfully.
Android Studio configures local JDK
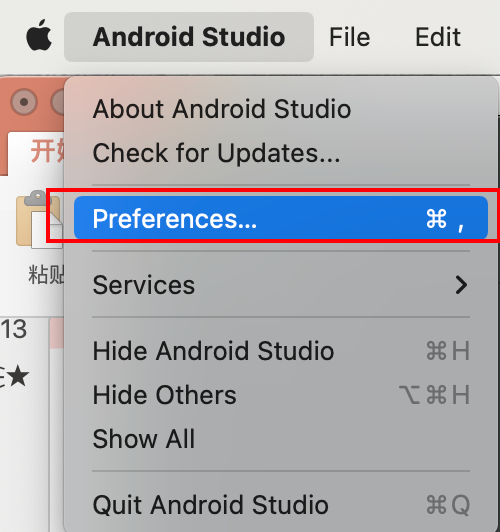
(1) Click Android Studioin the tab barPreferences
(2) Click the picture below to enter Gradle.

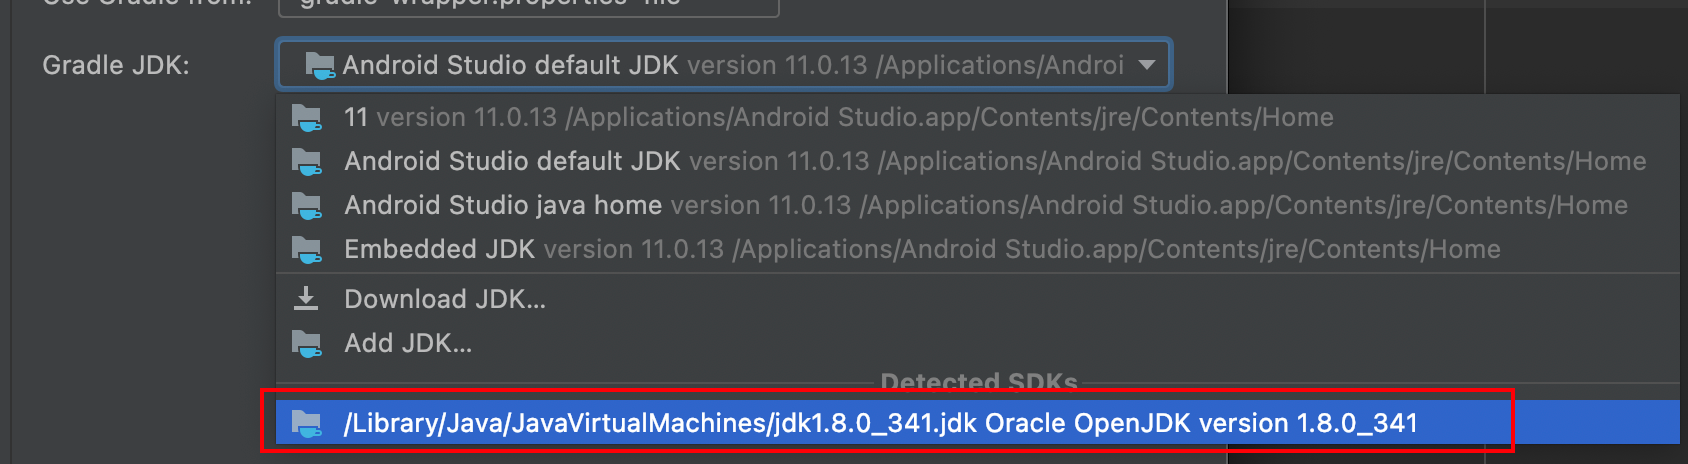
(3) It can be seen that the default JDK of Android Studio is used now.
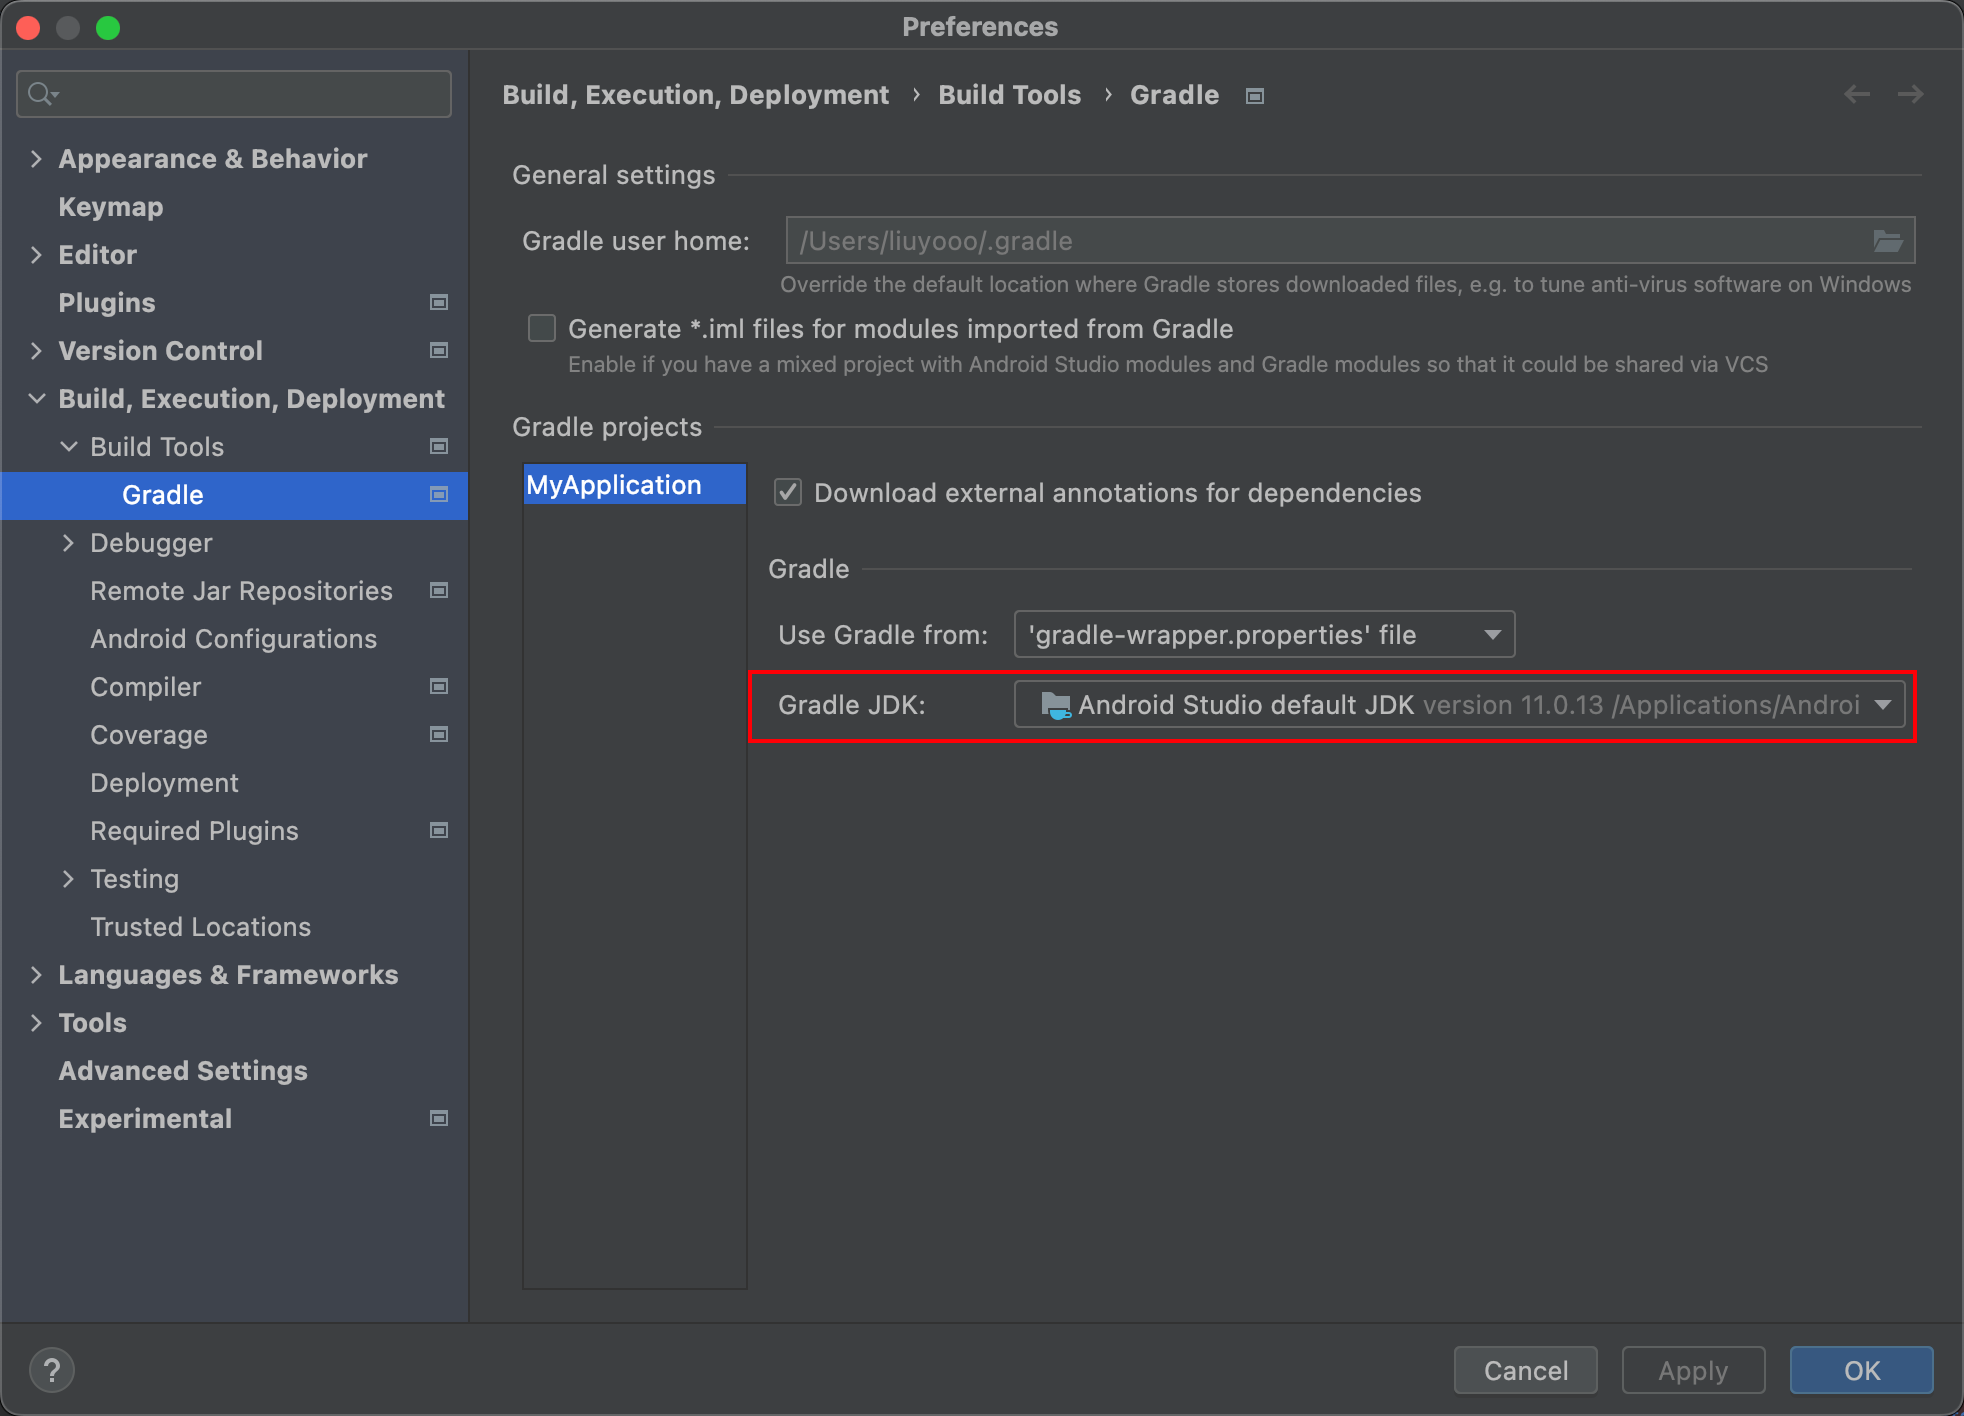
(4) Select the existing JDK locally. Of course, you can click Download JDKto download the required JDK version, because sometimes the required JDK version will be different.