Homebrew installation
Downloading git on MacOS requires Homebrew for installation. After installing homebrew according to other installation tutorials before, I couldn’t use the brew command in the terminal. When I entered brew, the computer would prompt that the command could not be found, and then I couldn’t find it in the computer. Now it finally works.
installation steps
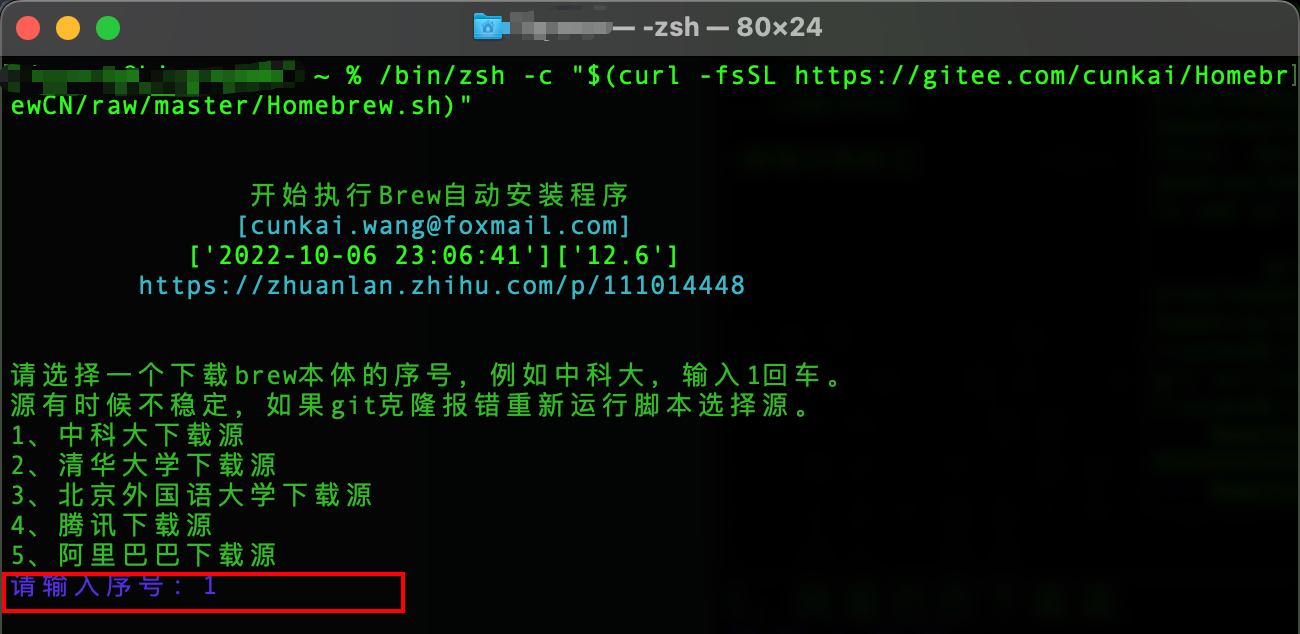
(1) Open the terminal and enter the following command.
/bin/zsh -c "$(curl -fsSL https://gitee.com/cunkai/HomebrewCN/raw/master/Homebrew.sh)"
(2) Choose a download source, whichever is fine.
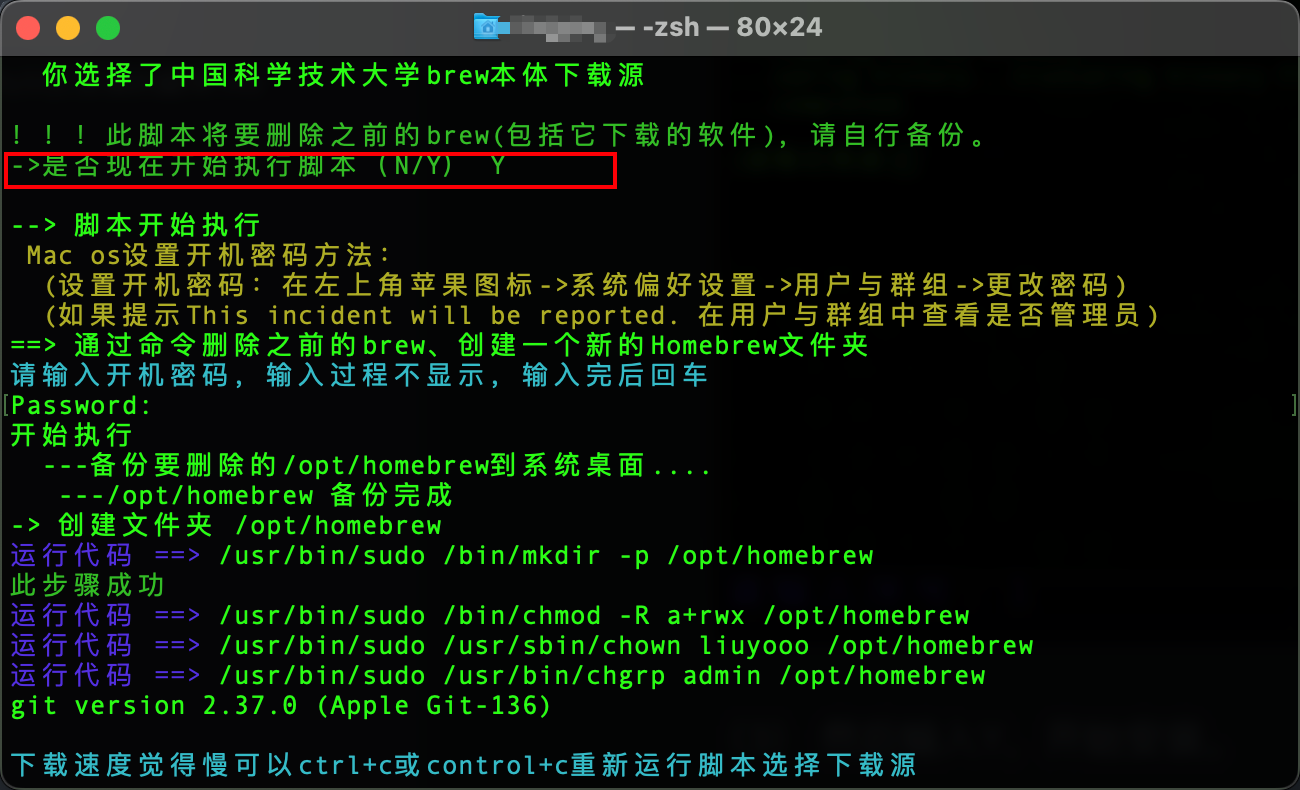
(3) Then enter Y to start the installation.
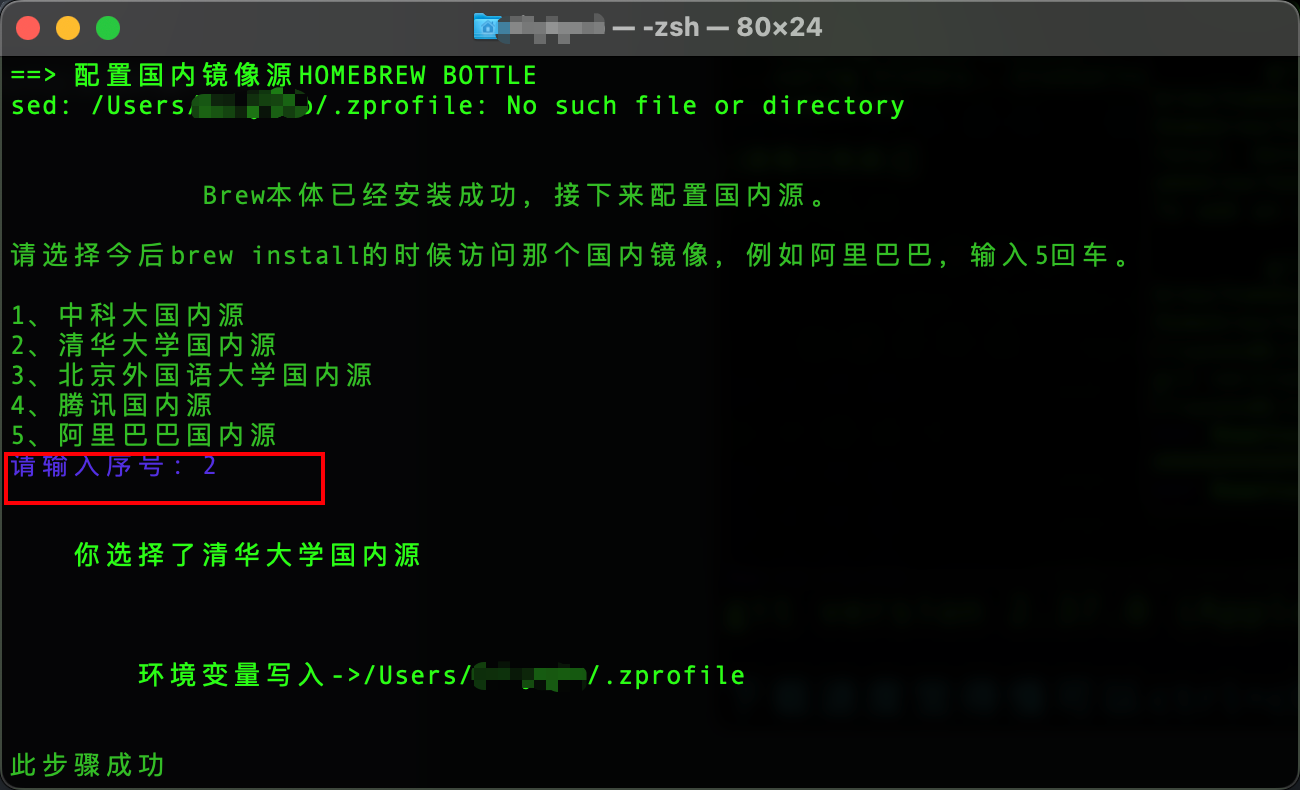
(4) After installing locally, you also need to select the mirror image configured by brew install.
(5) After the installation is successful, the following interface will appear, copy the string of instructions I framed.
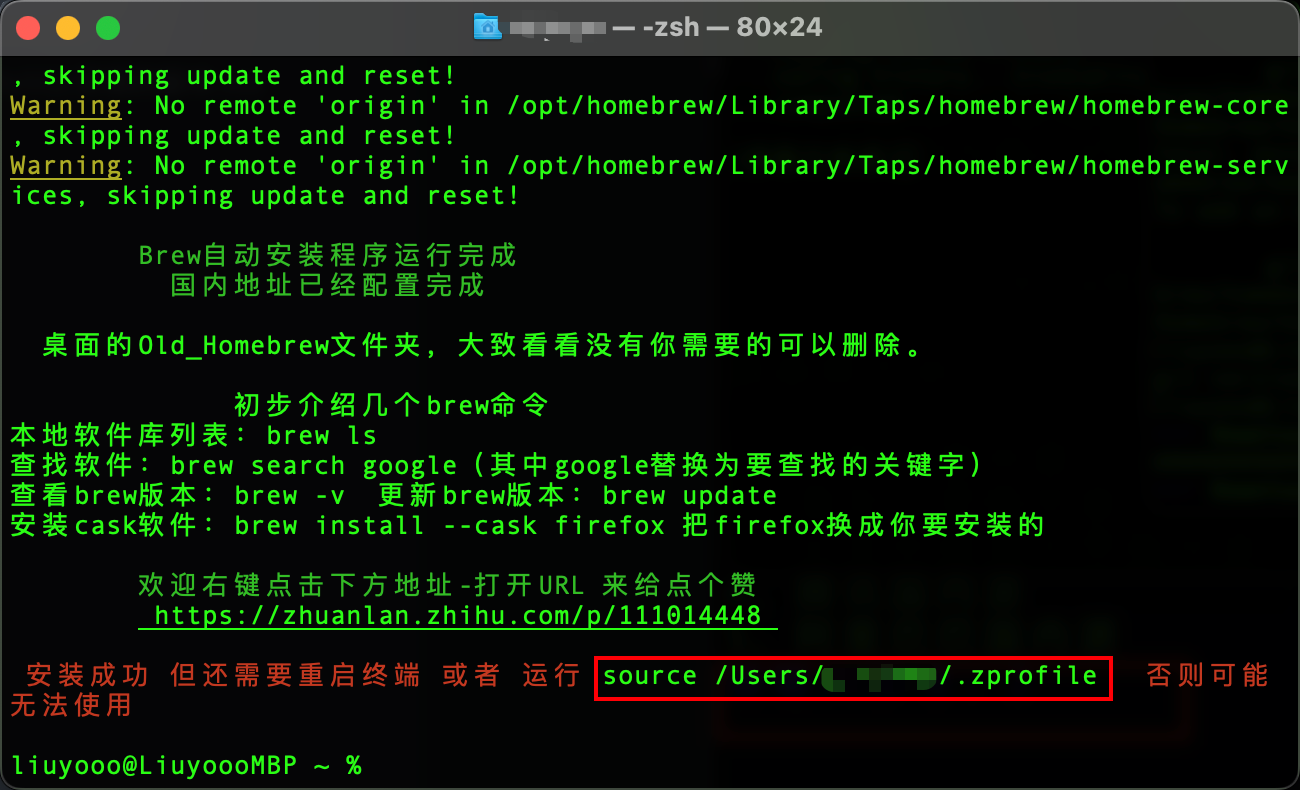
(6) Run the string of instructions in the previous step to activate the environment variables.

(7) Enter the following command to verify whether the installation is successful. If the version number appears, the installation is successful.
brew -v
Problems encountered during brew install
1. report errorfatal: not in a git directory Error: Command failed with exit 128: git
Solution:
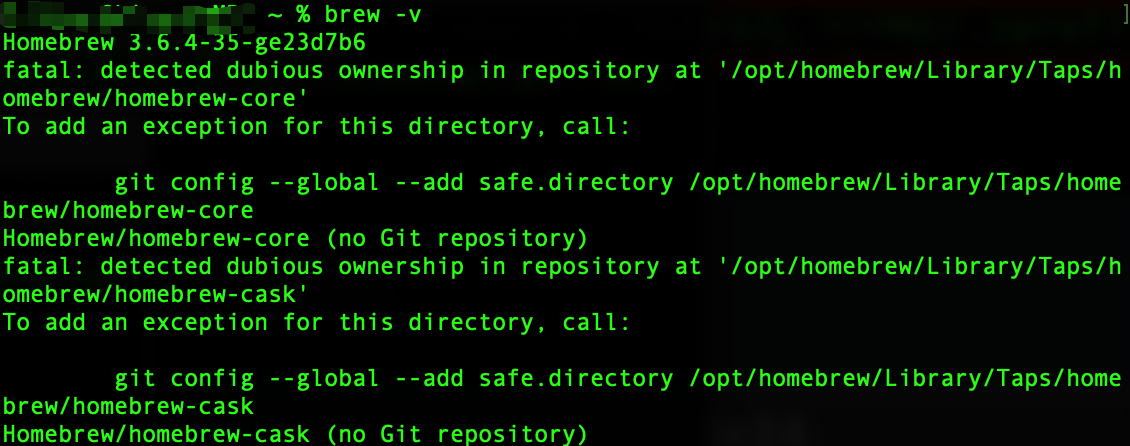
(1) Enter the following command, the following content will appear.
brew -v
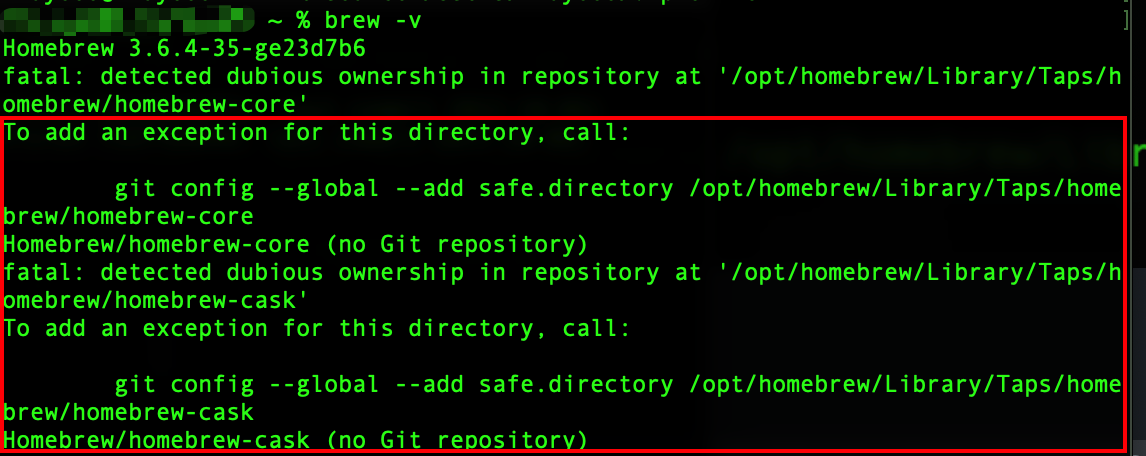
(2) The content prompts that homebrew-cask and homebrew-core need to be configured, just enter the following command in the terminal.
git config --global --add safe.directory /opt/homebrew/Library/Taps/homebrew/homebrew-core
git config --global --add safe.directory /opt/homebrew/Library/Taps/homebrew/homebrew-cask
2. hintDisable this behaviour by setting HOMEBREW_NO_INSTALL_CLEANUP. Hide these hints with HOMEBREW
Solution:
Enter the following commands as prompted.
export HOMEBREW_NO_INSTALL_CLEANUP=TRUE